O-Sense

.jpg)


Page 5 of 9
PRINTER ASSEMBLY
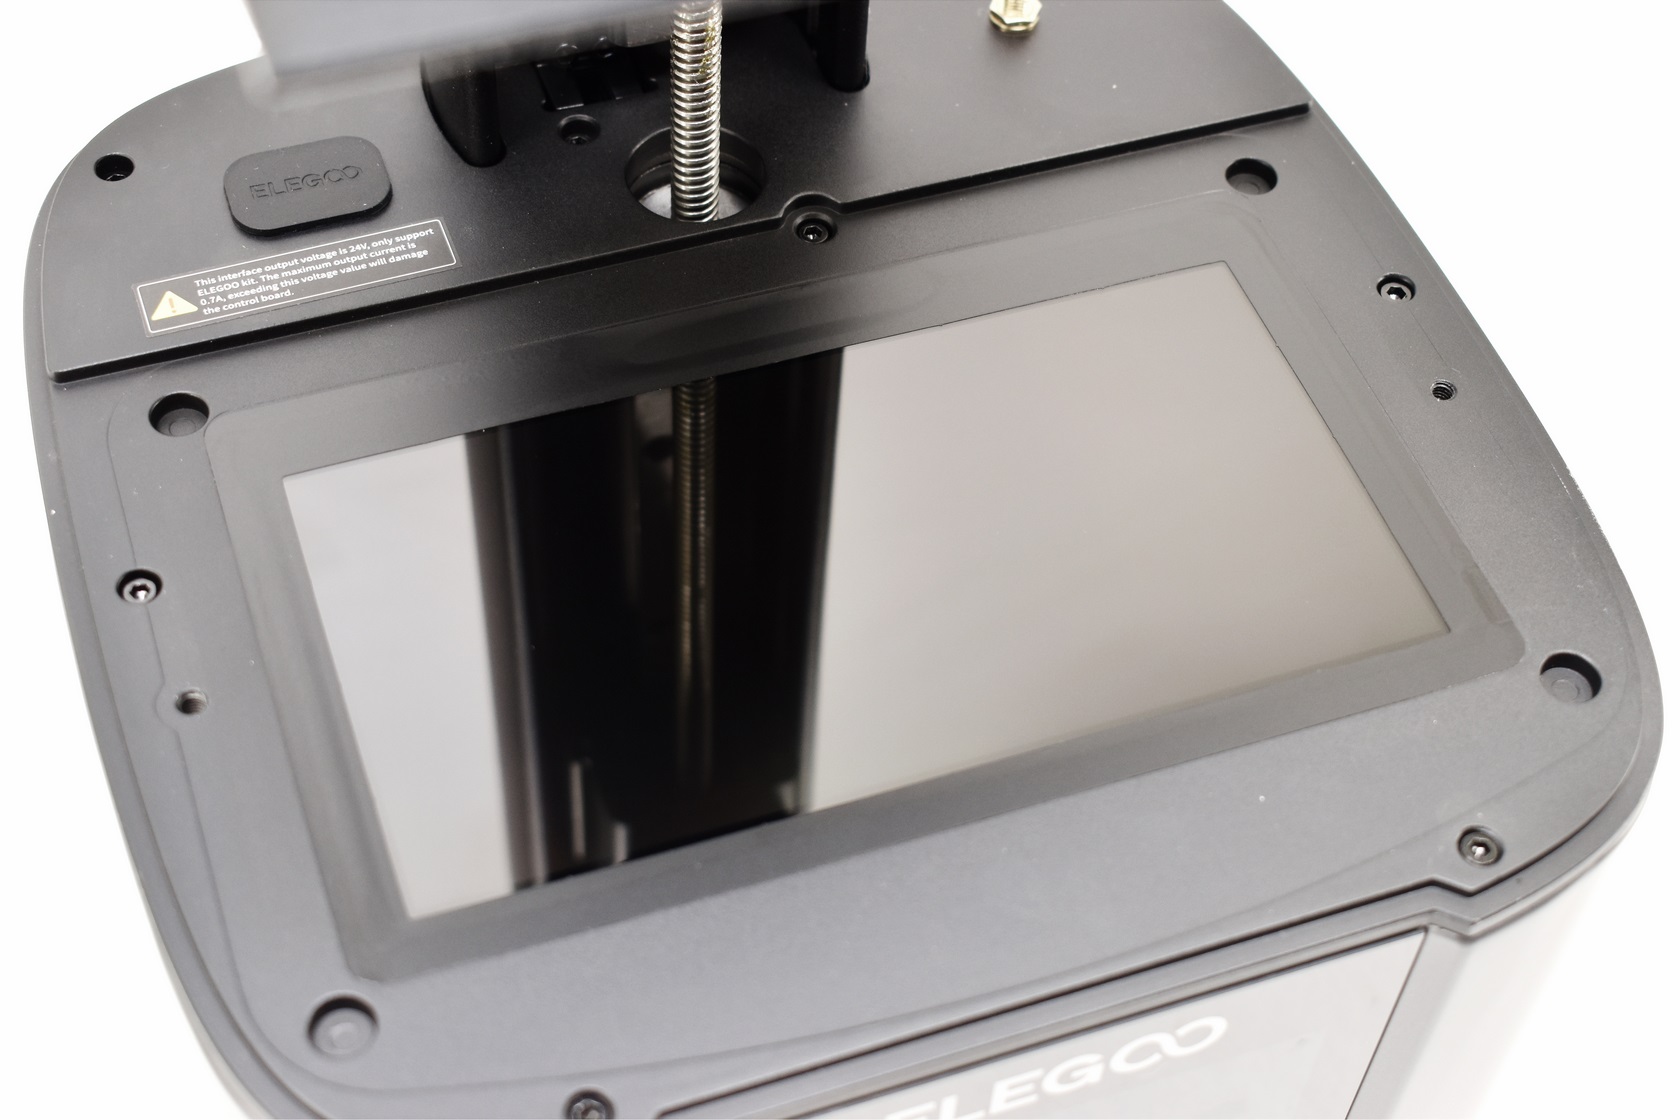
First order of the day was to remove the film from the 7-inch mono LCD screen as seen above.
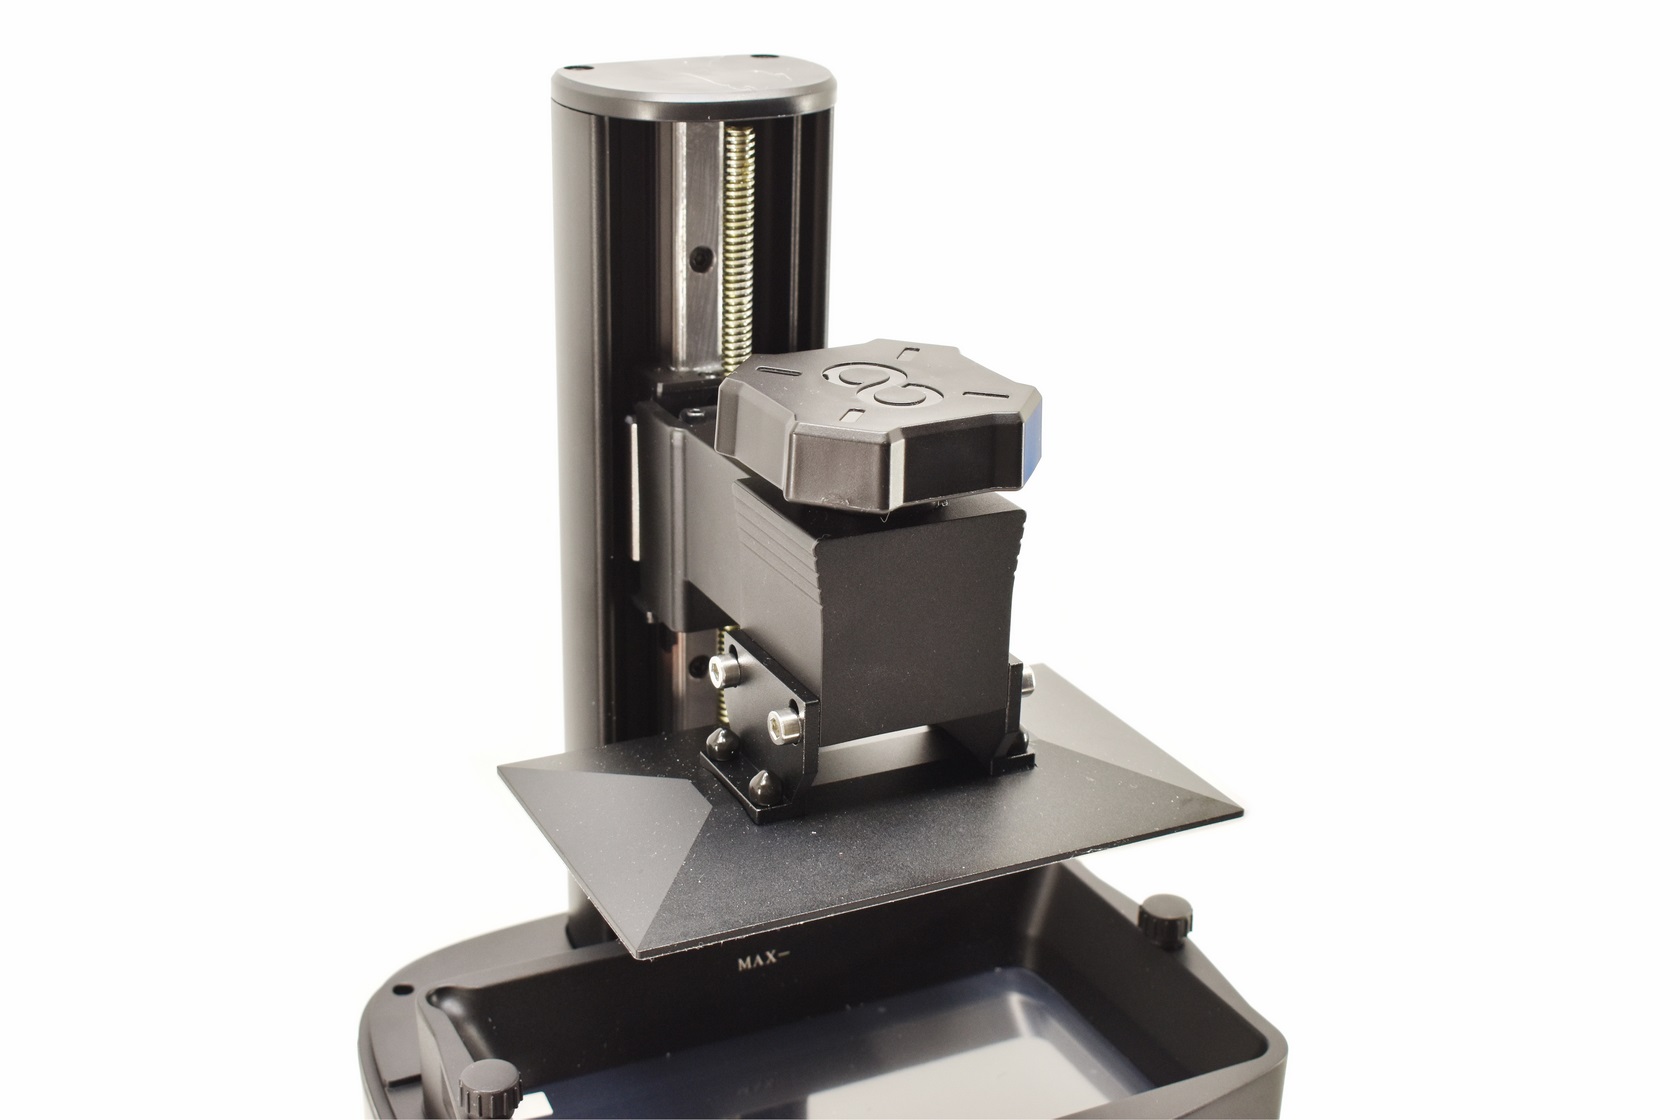
Next came mounting the resin vat and the laser carved print plate.
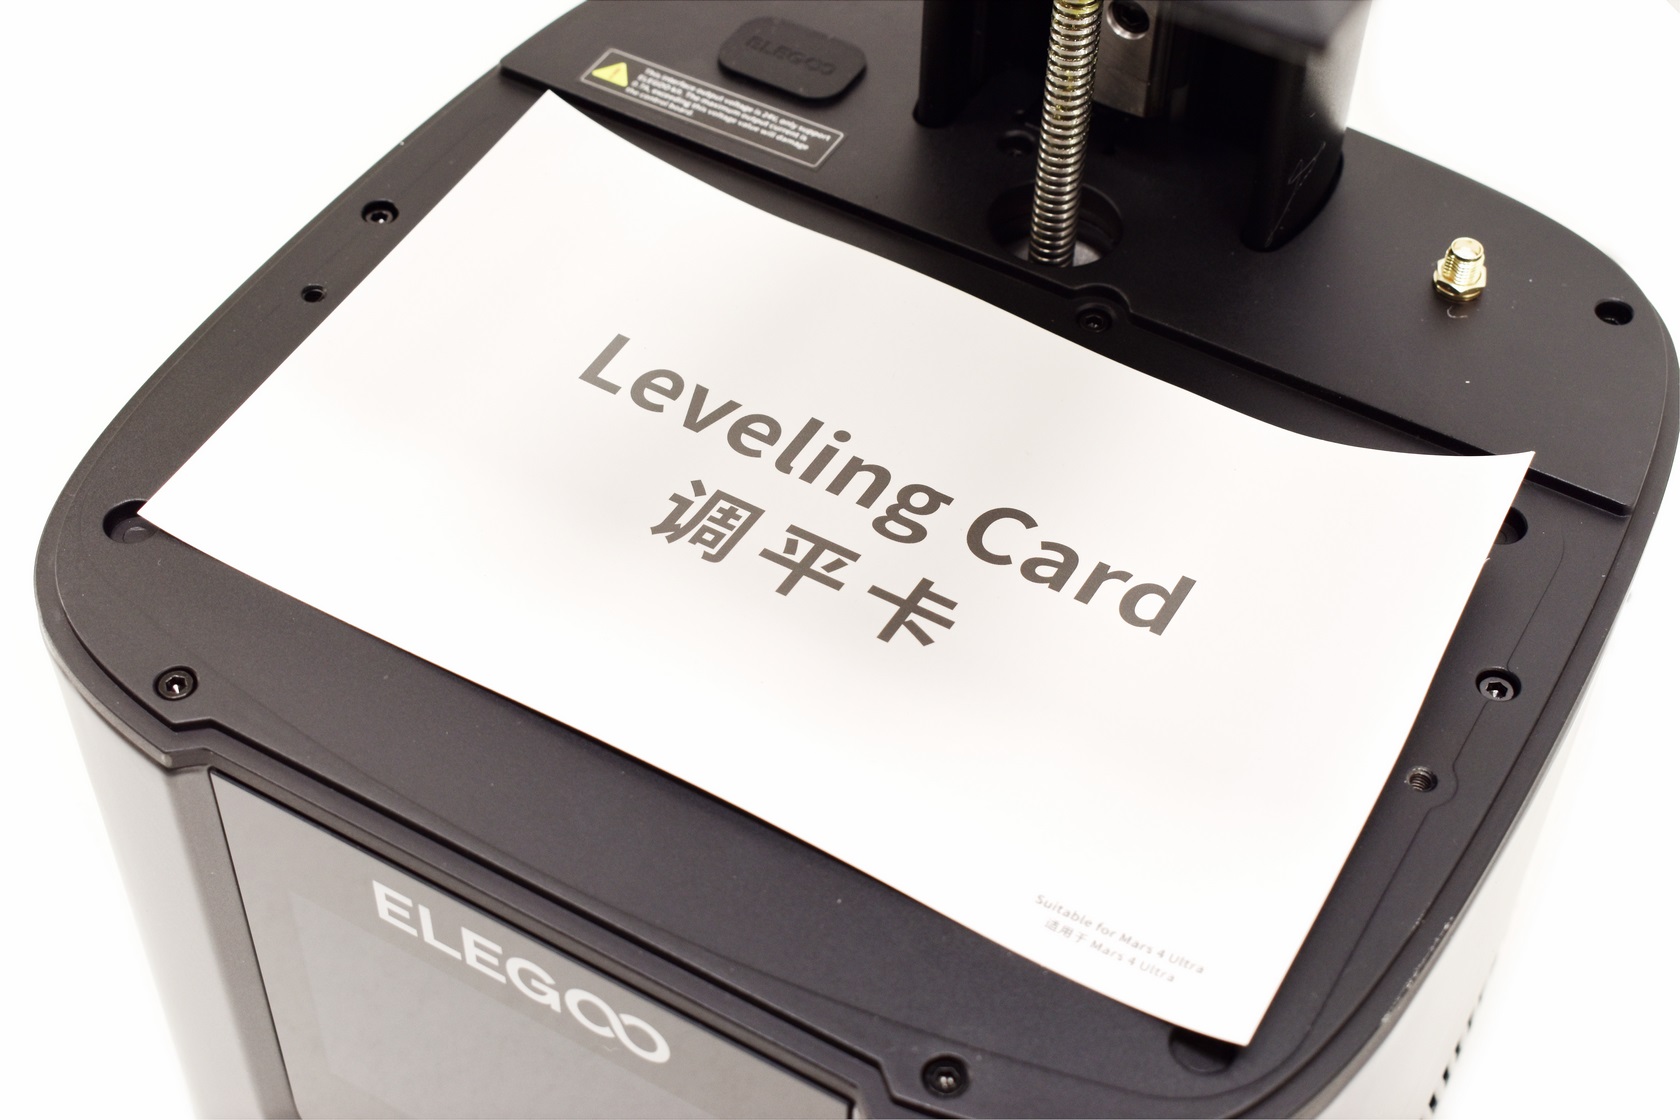
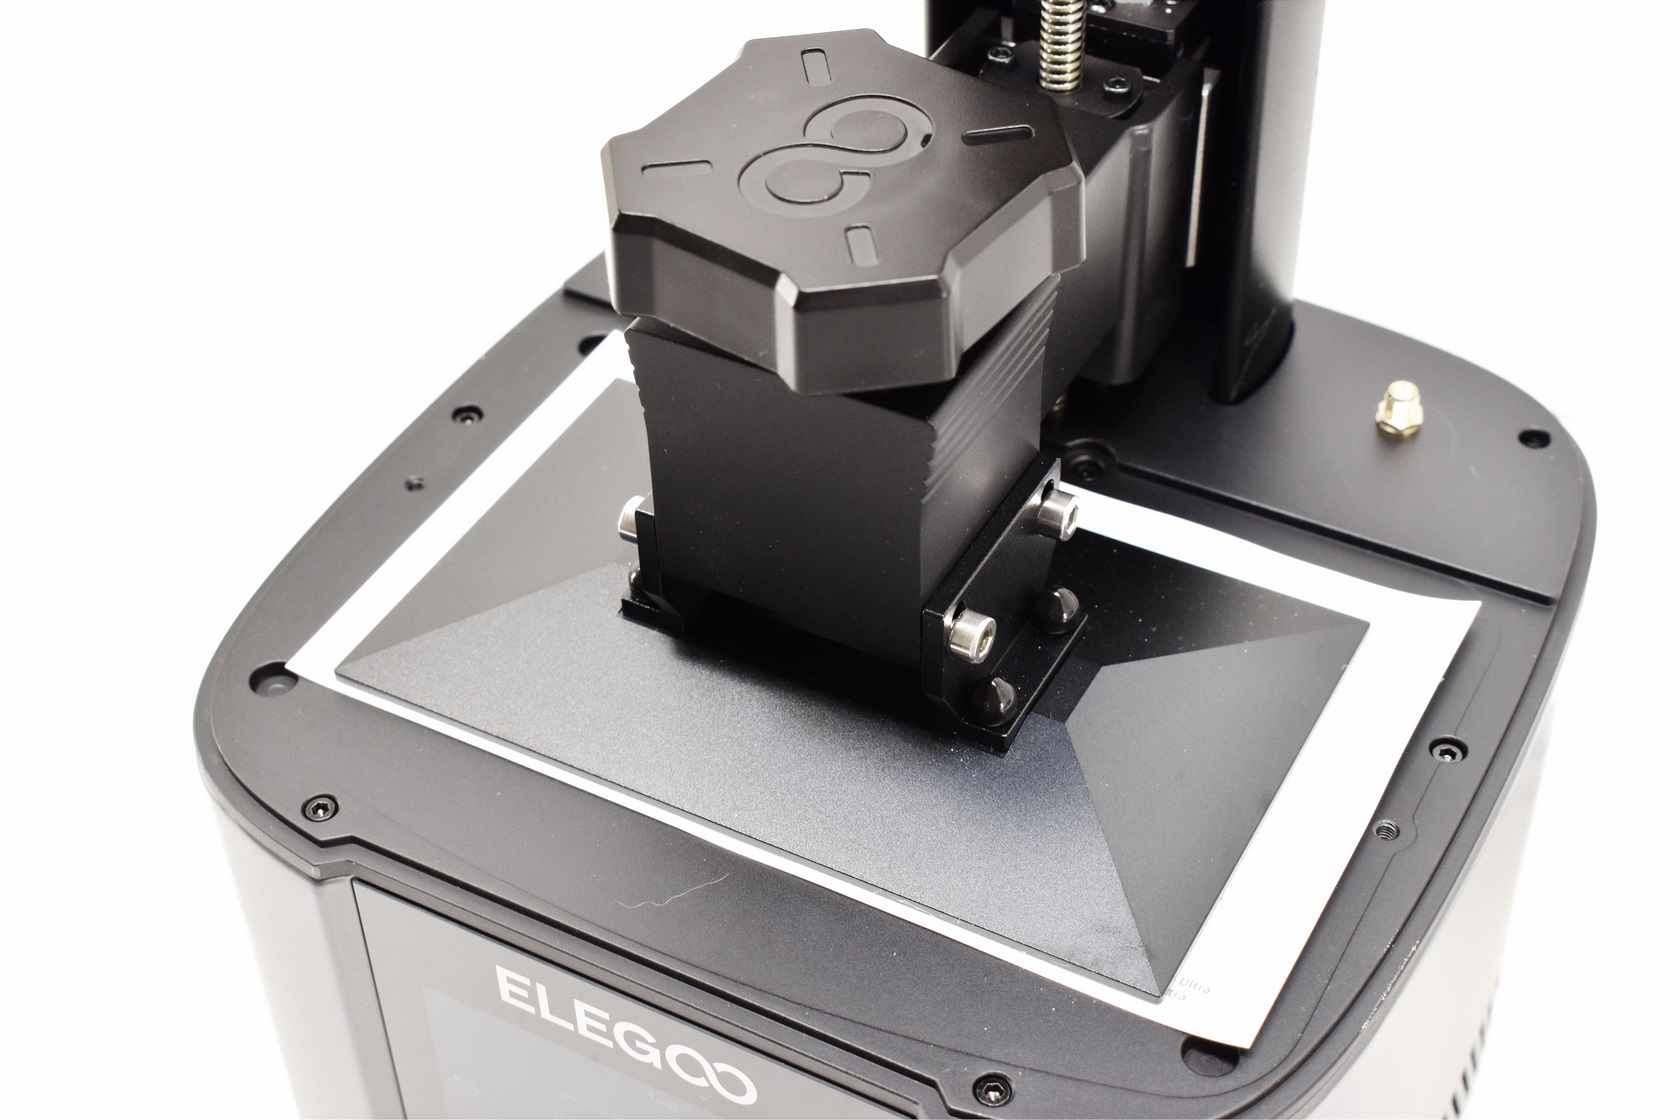
Remember to use the leveling card prior to printing as seen above. Yes you can also level the print plate withour removing the resin vat (whichever way you feel is best, both ways work fine).
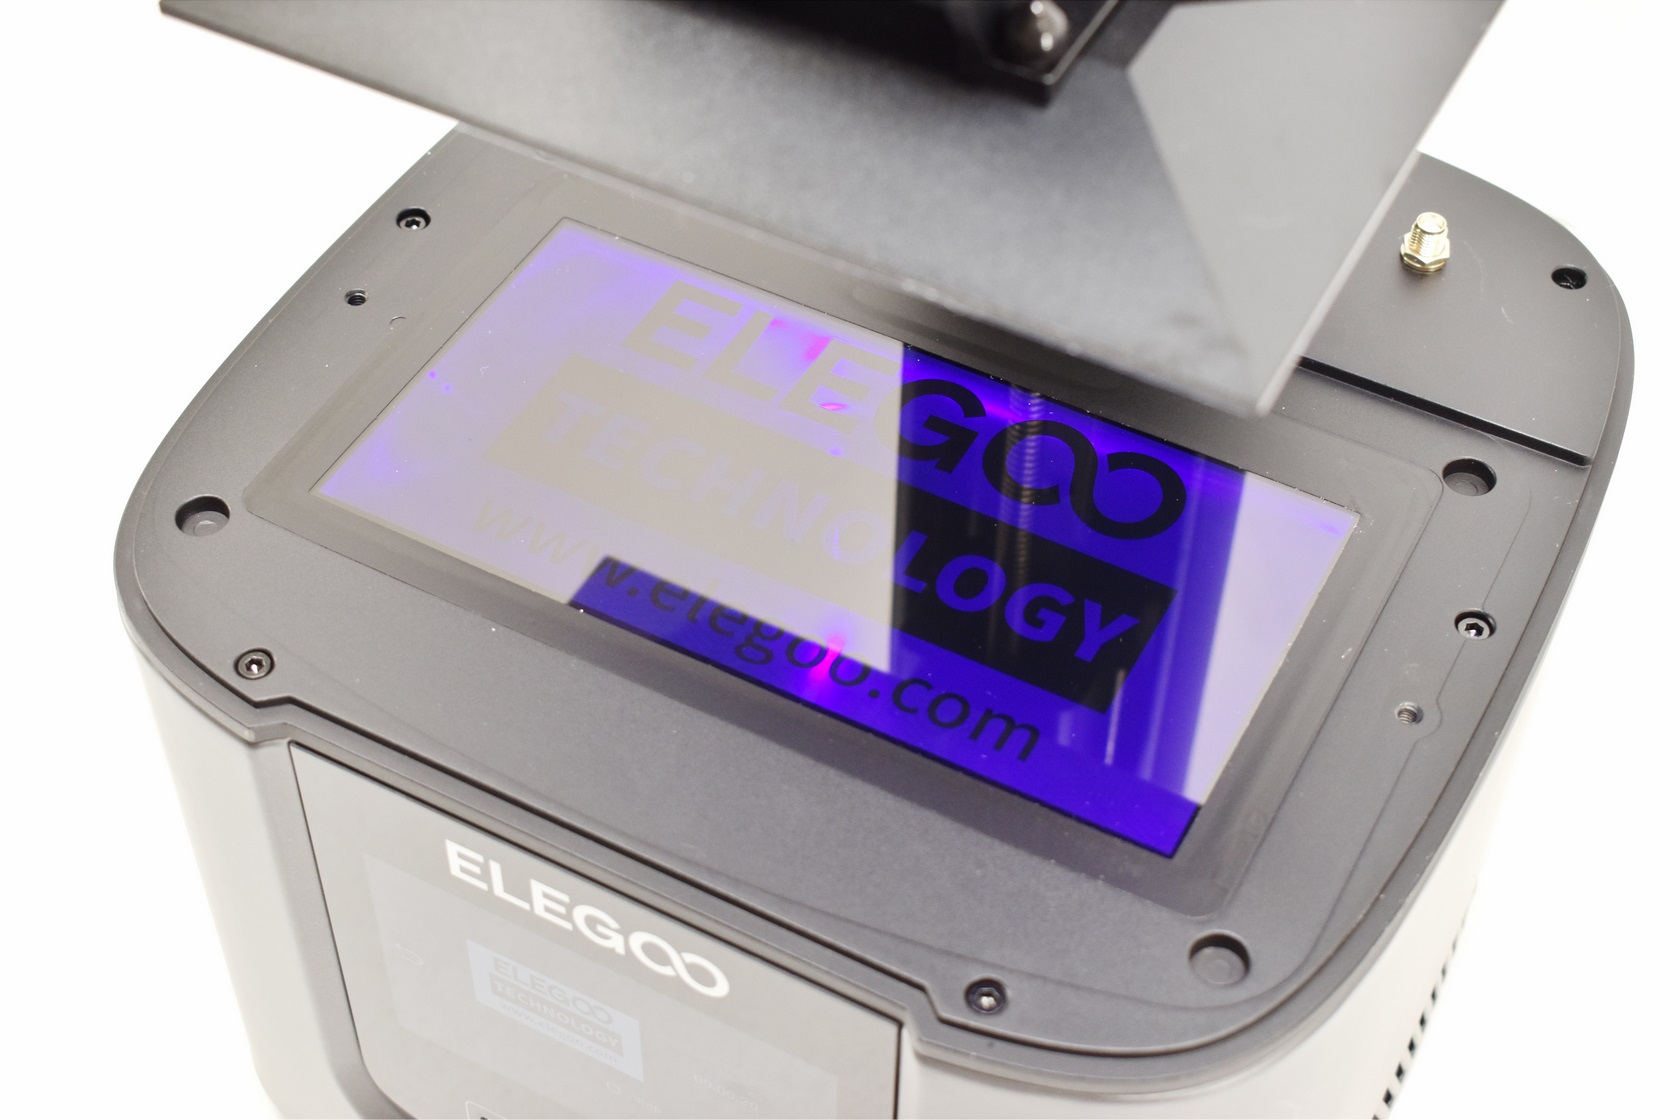
This is how the COB UV light source looks when enabled.
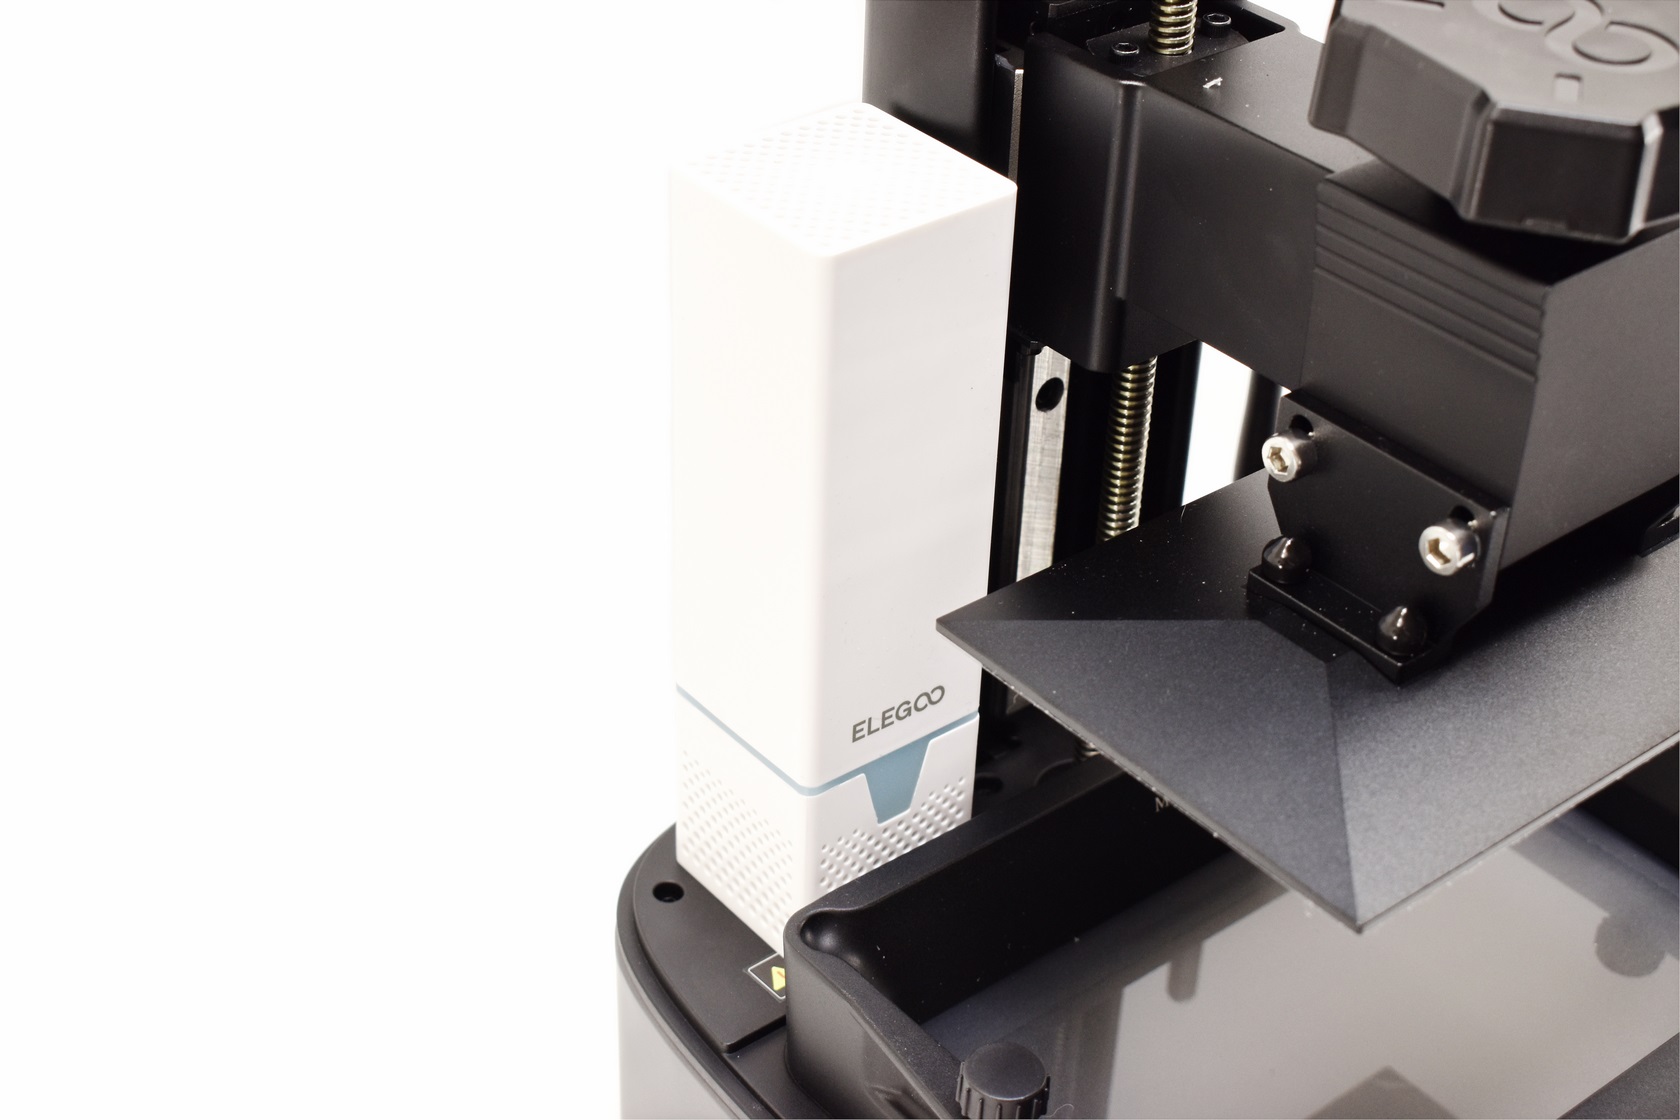
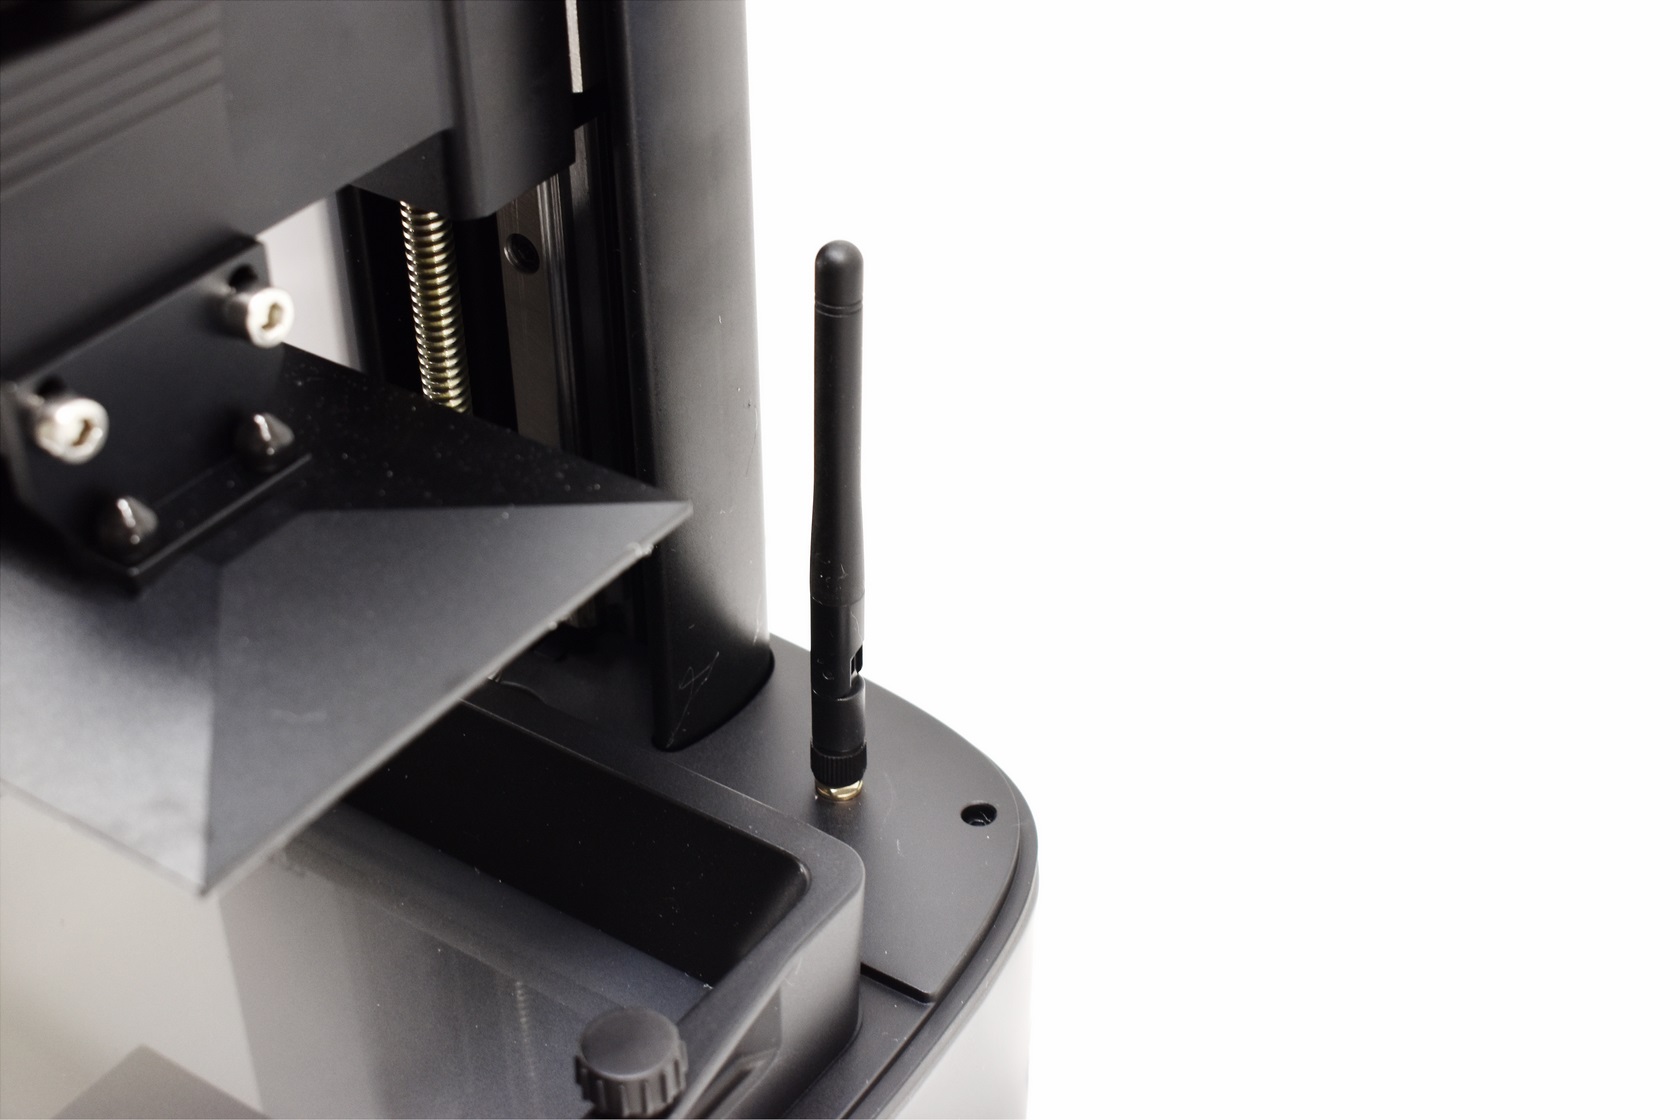
After that just attach the air purifier 2.0 and the Wi-Fi Antenna and you're good to go.
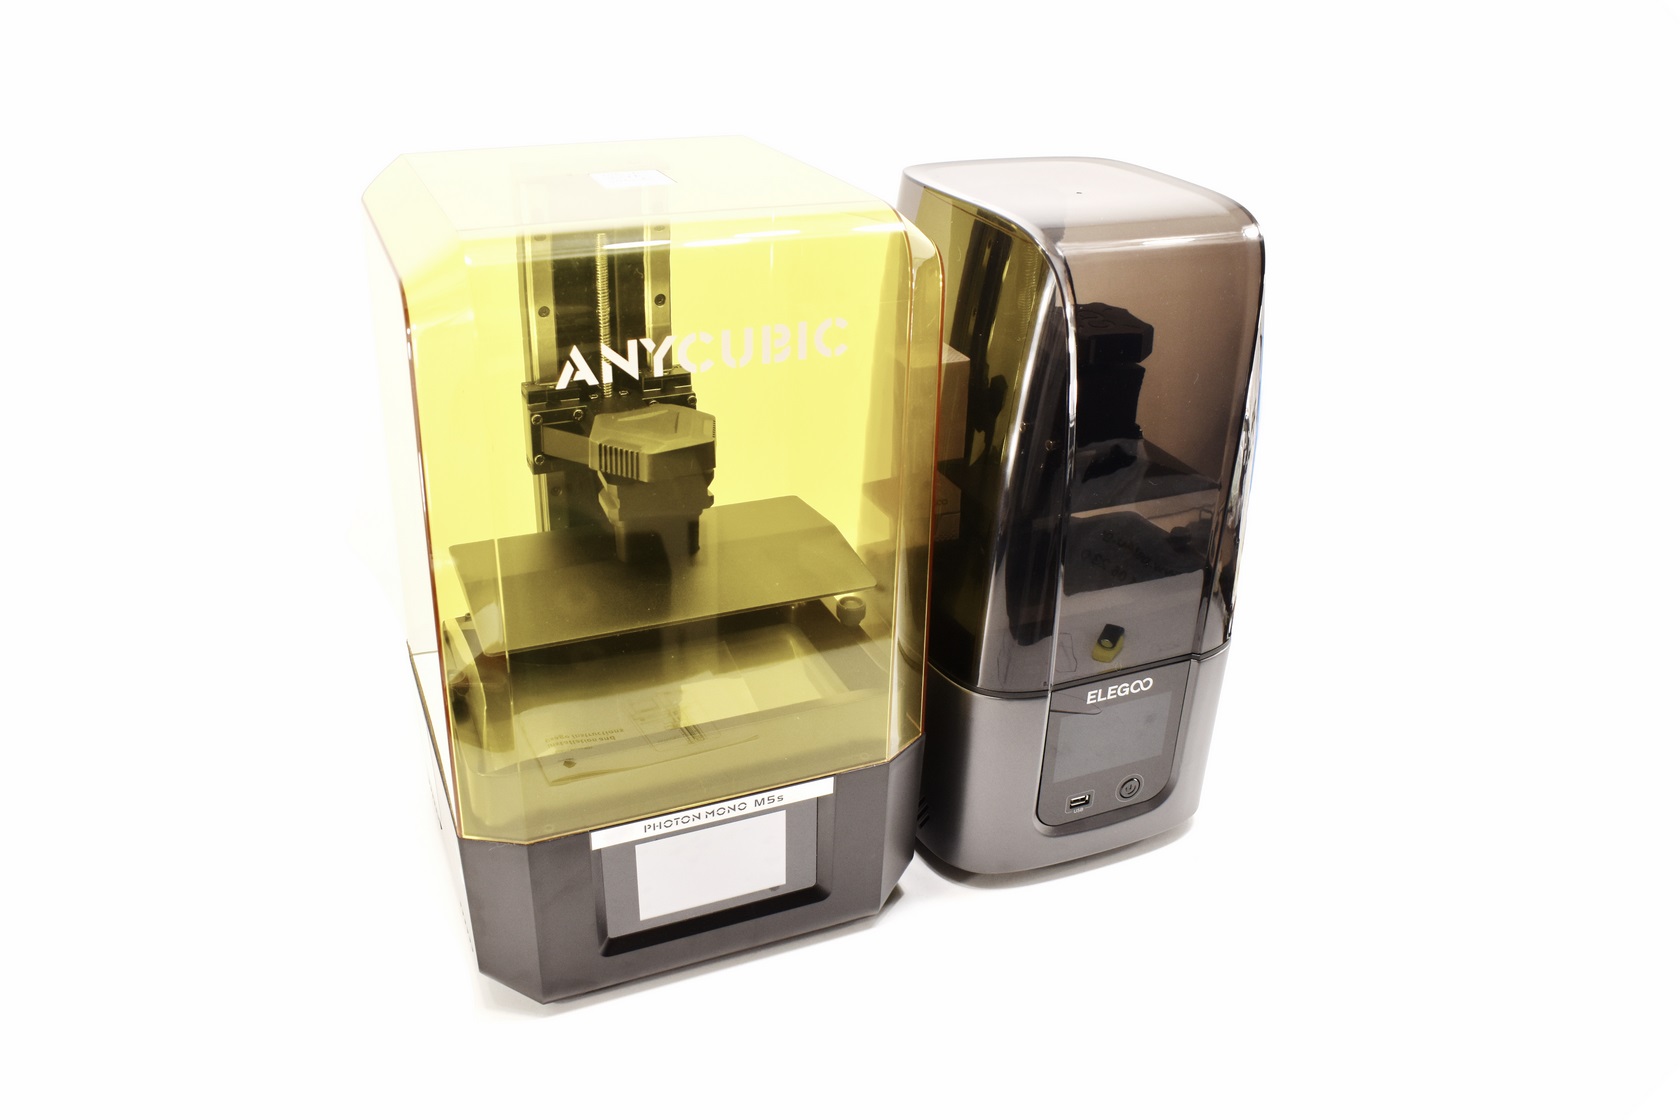
I am sure many of you will wonder how the Mars 4 Ultra compares to the Anycubic Photon Mono M5S so i placed them right next to each other exactly for that.


.png)