


DISPLAY MENUS
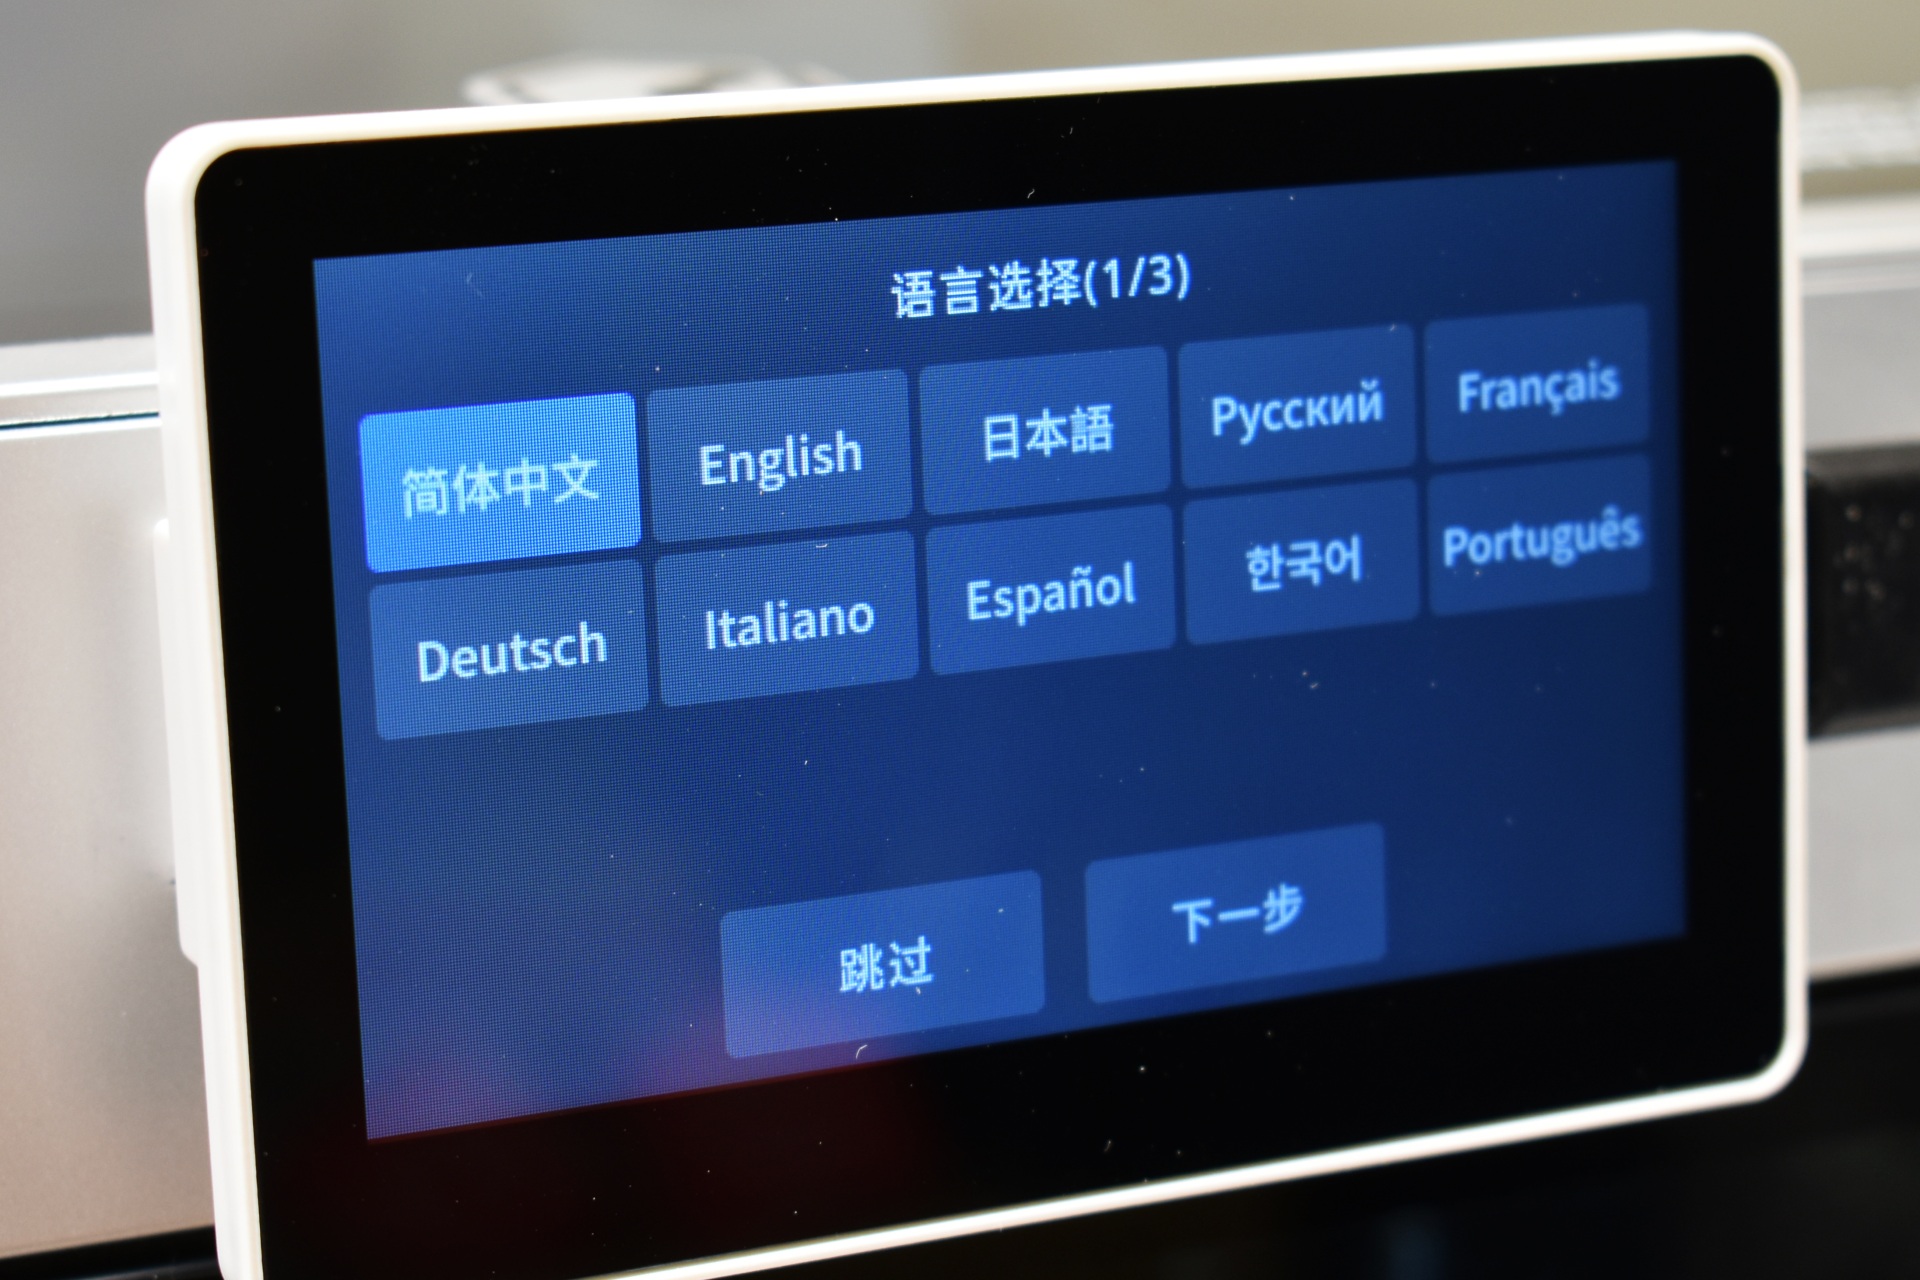
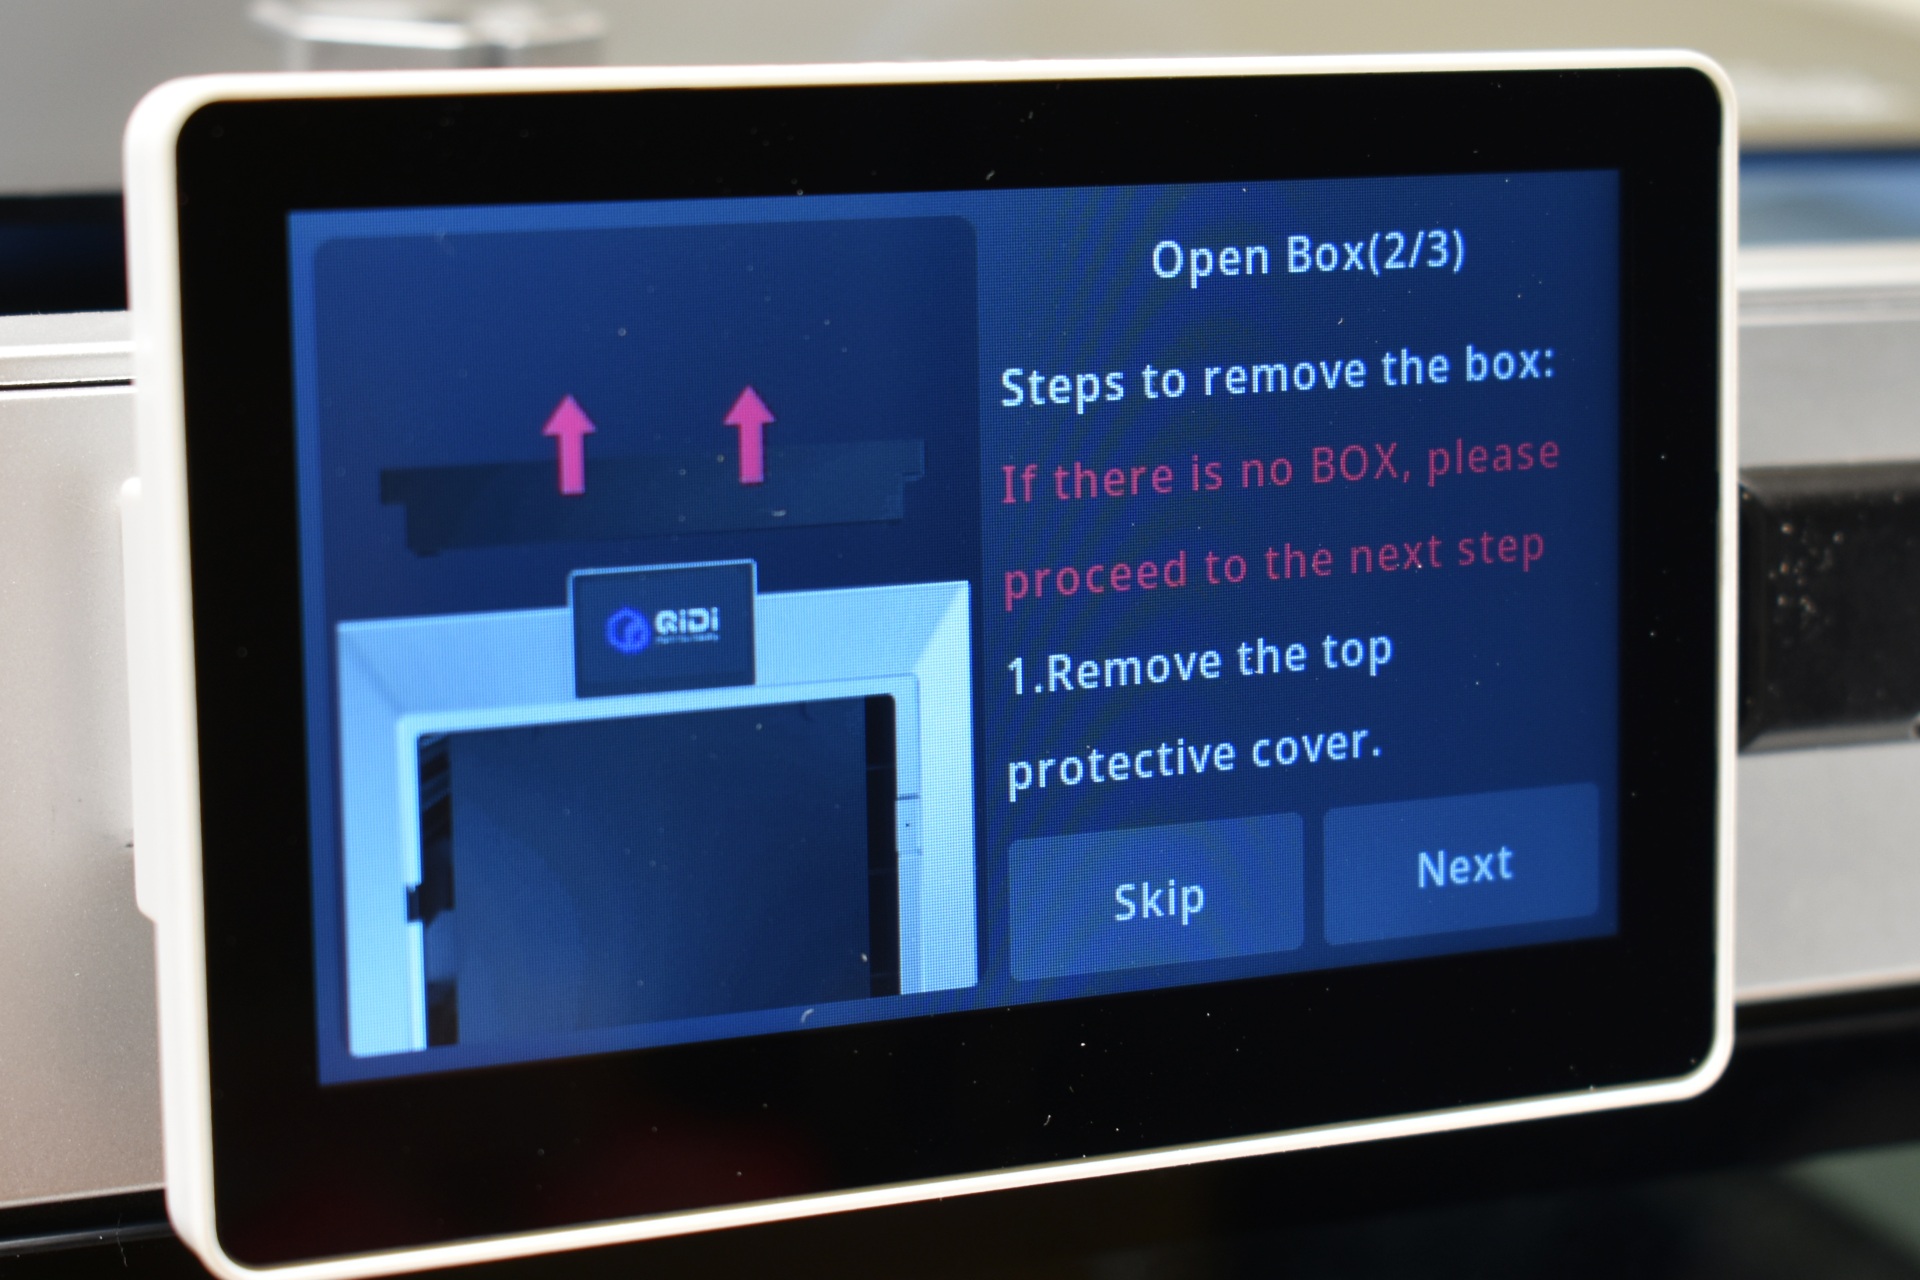
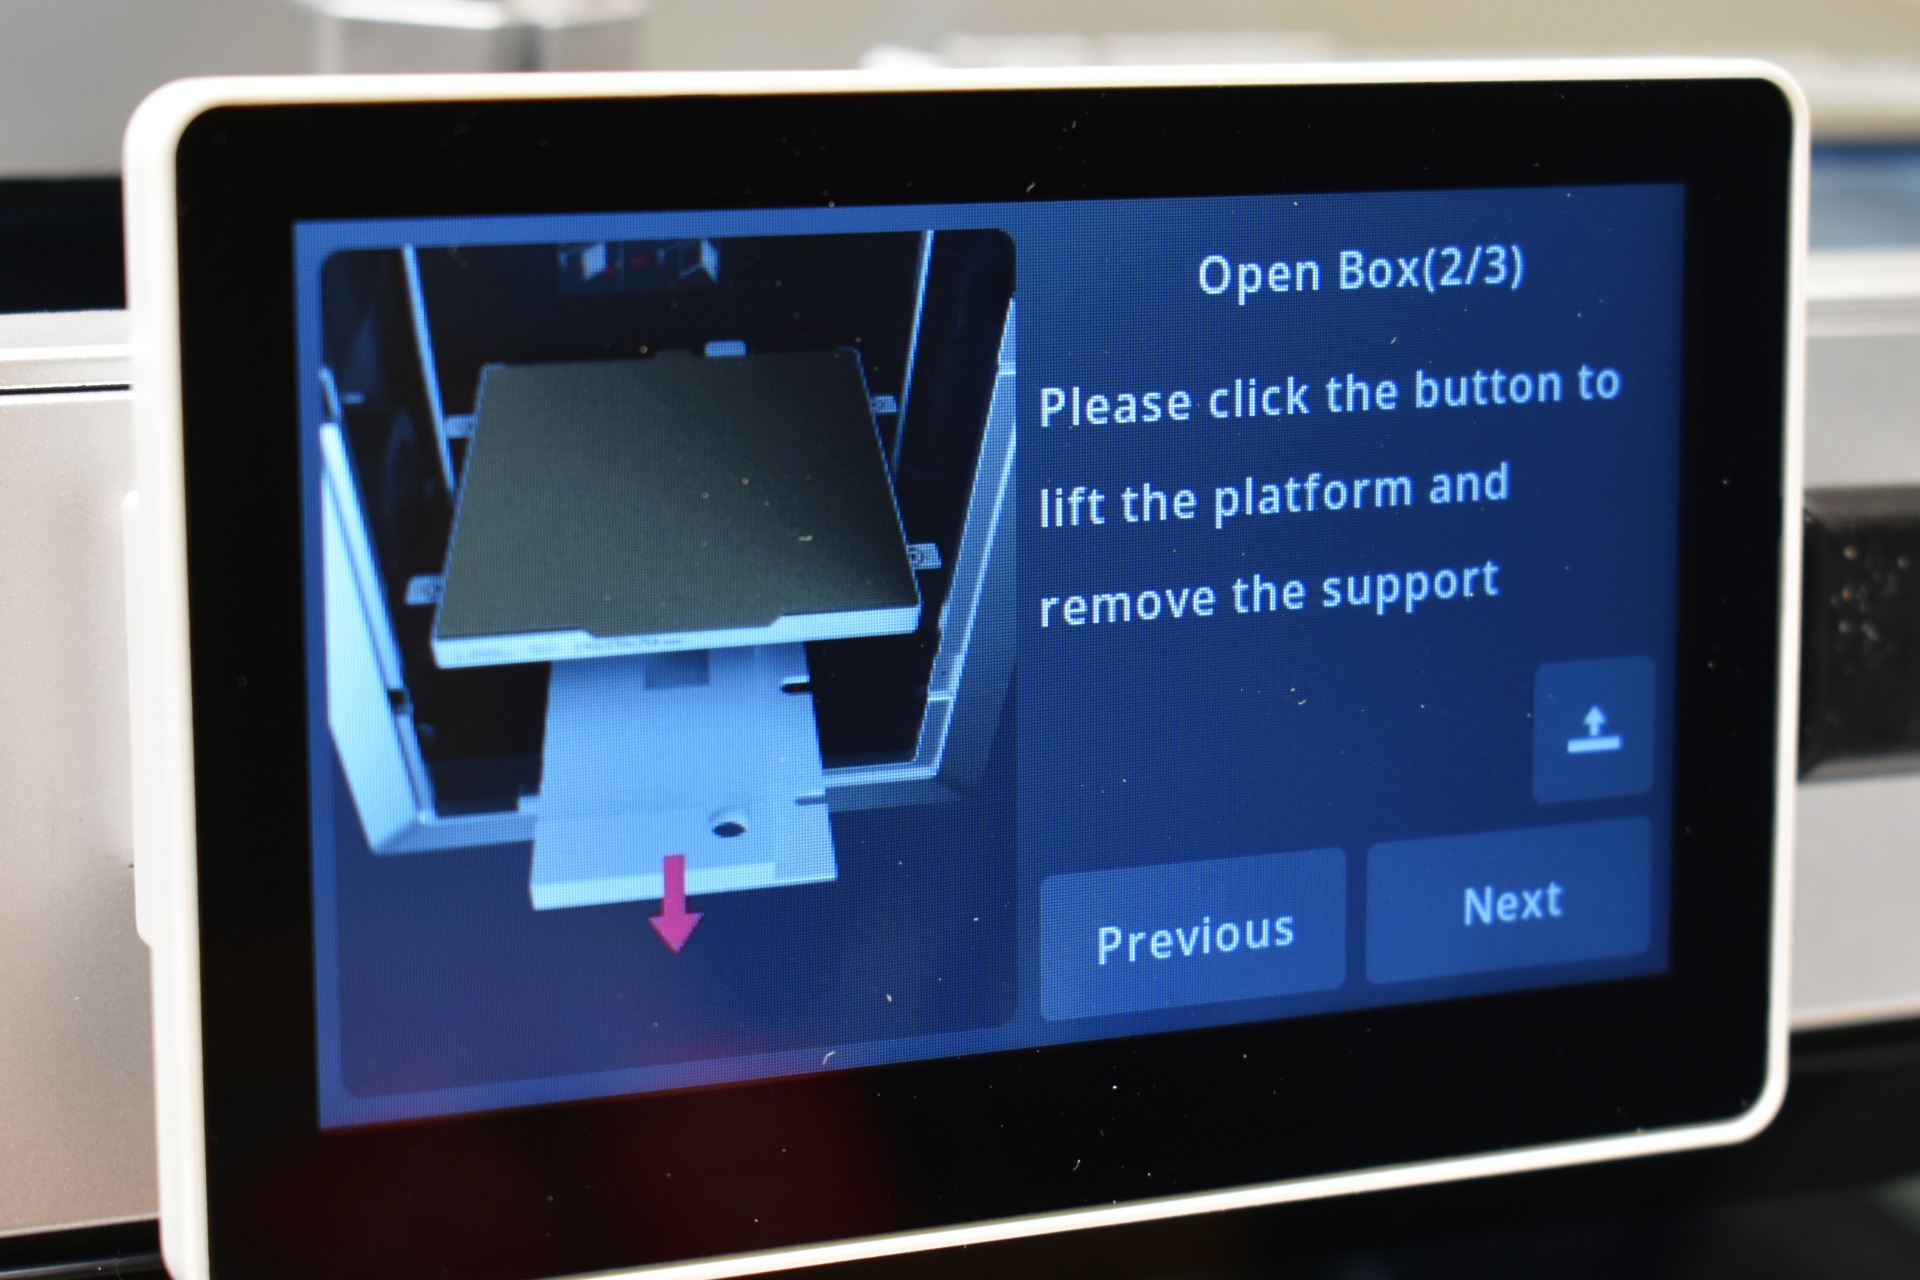
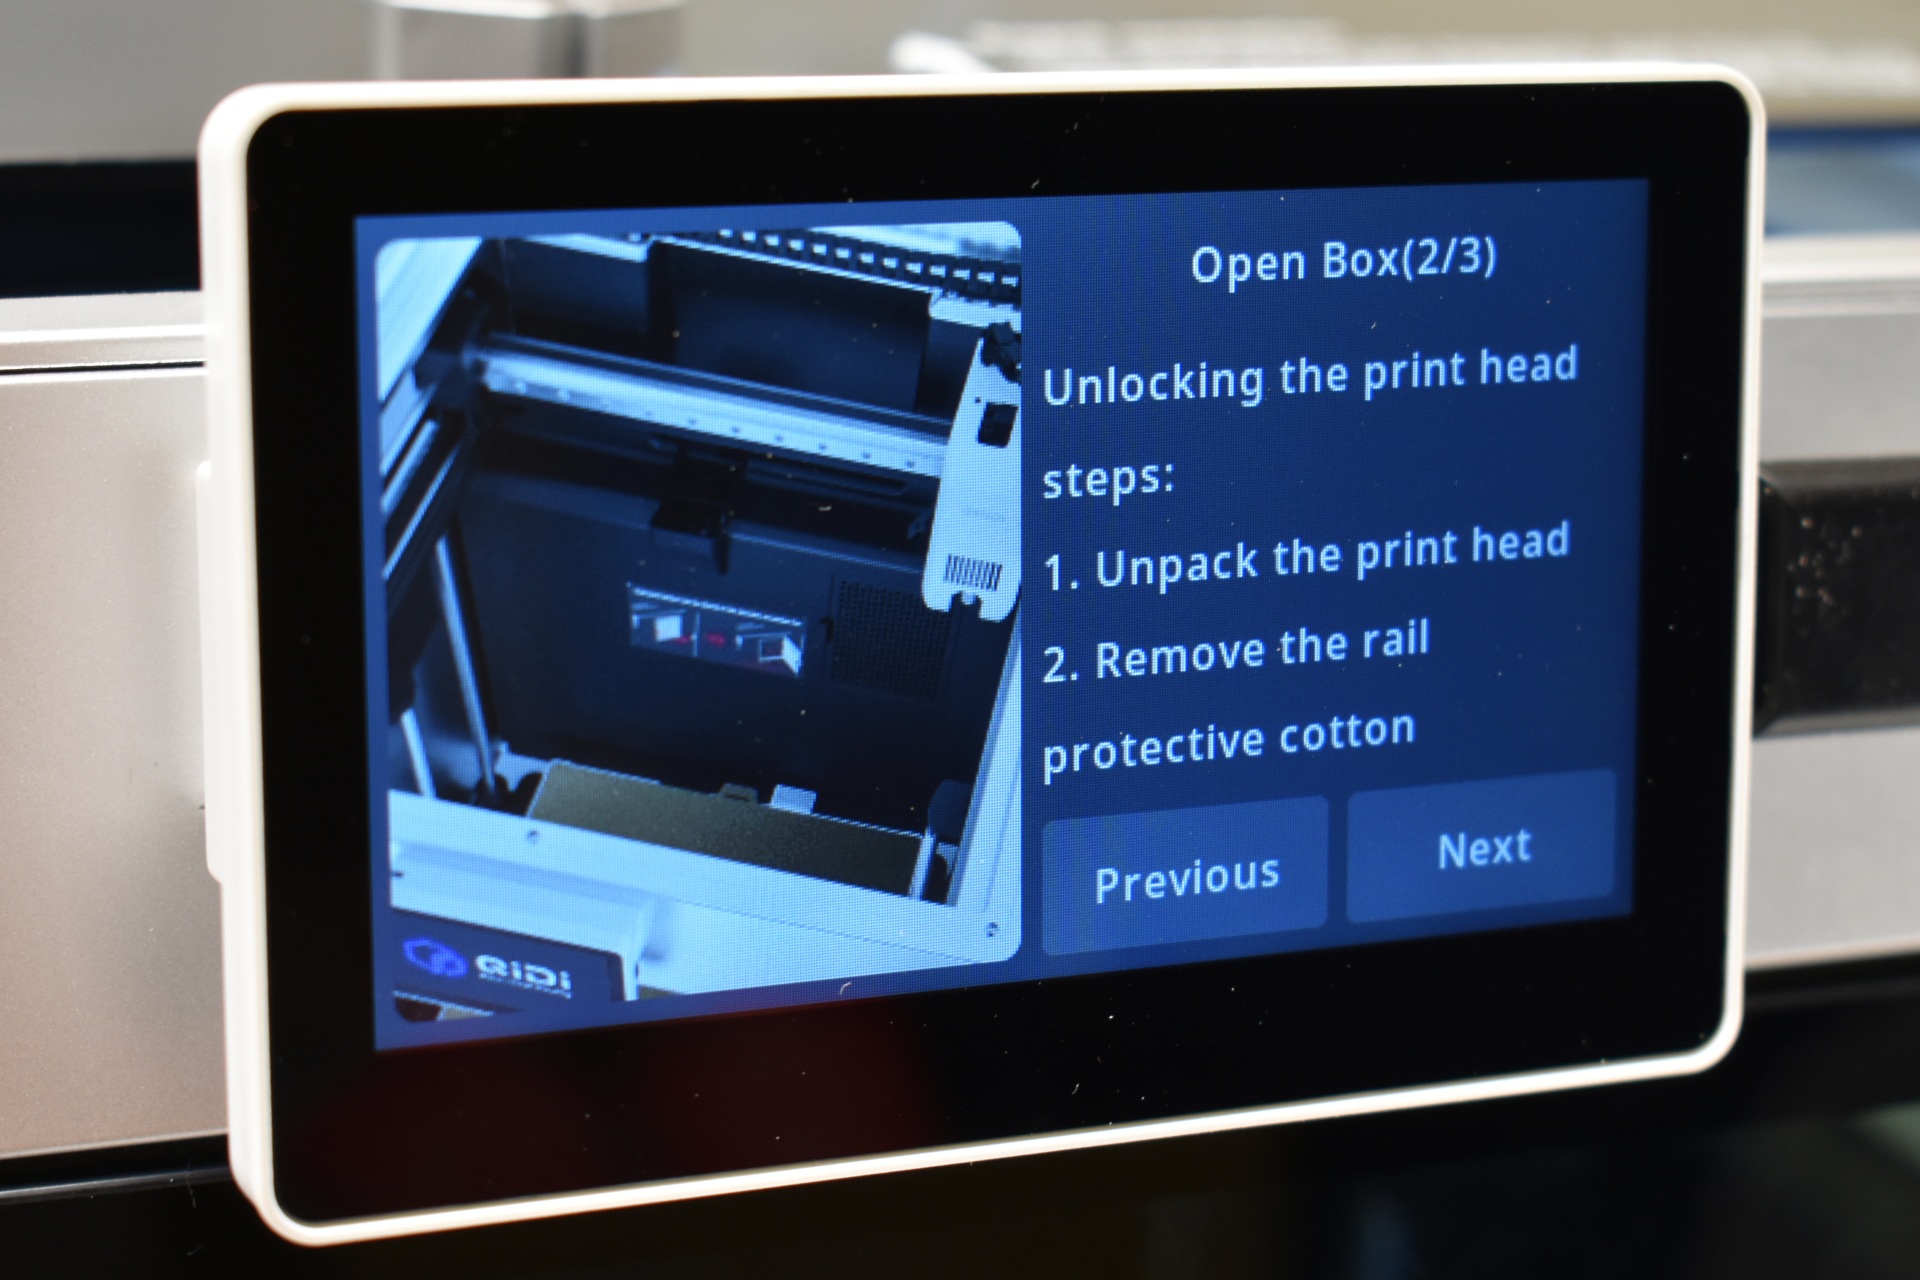
Once you turn on the printer you will need to choose the language, region, bind the printer with the QIDI Maker app (if you want to) and follow instructions on how to remove the QIDI box (if you got the combo model) and unlock the bed and print head.
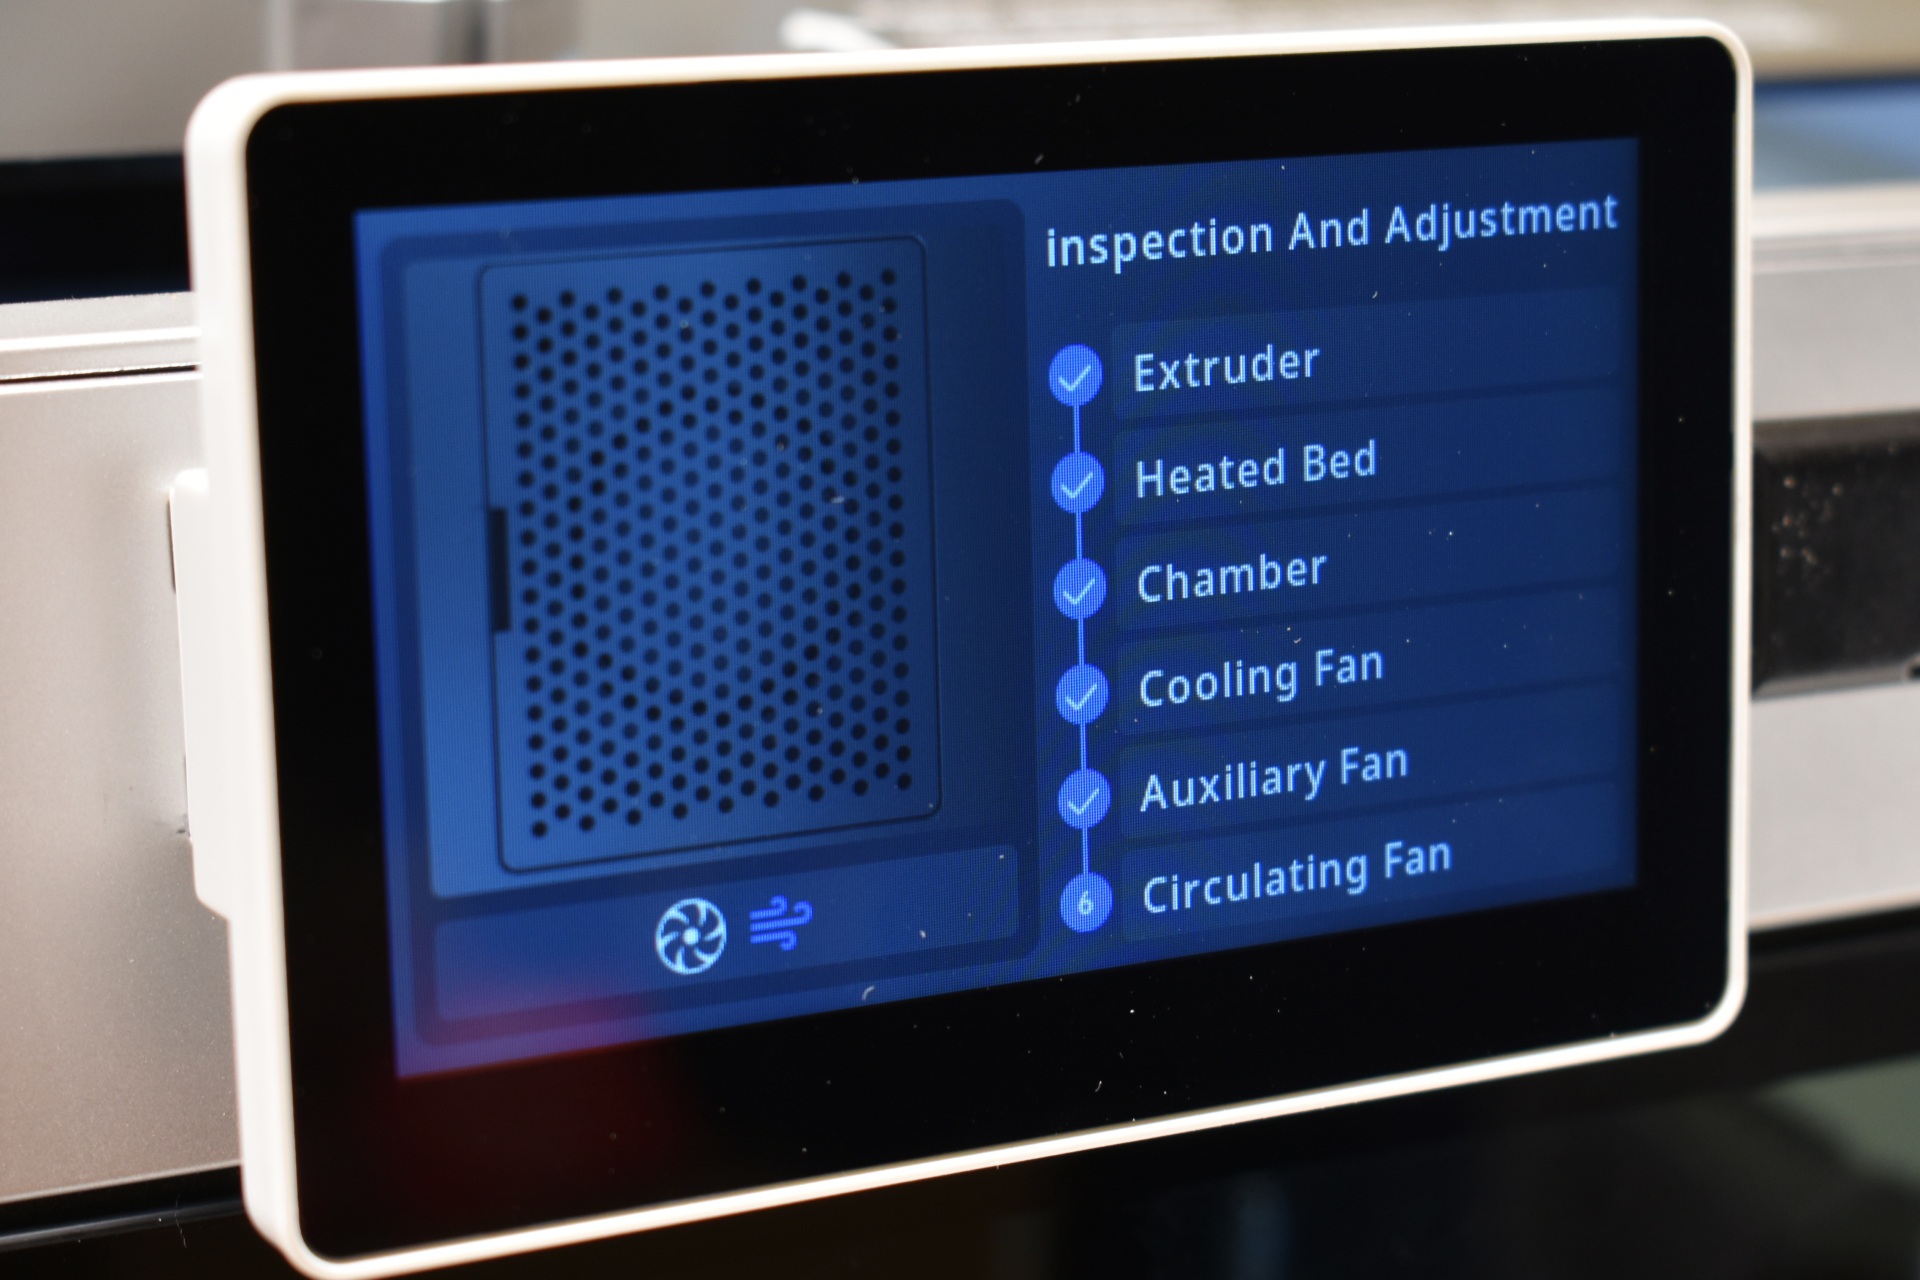
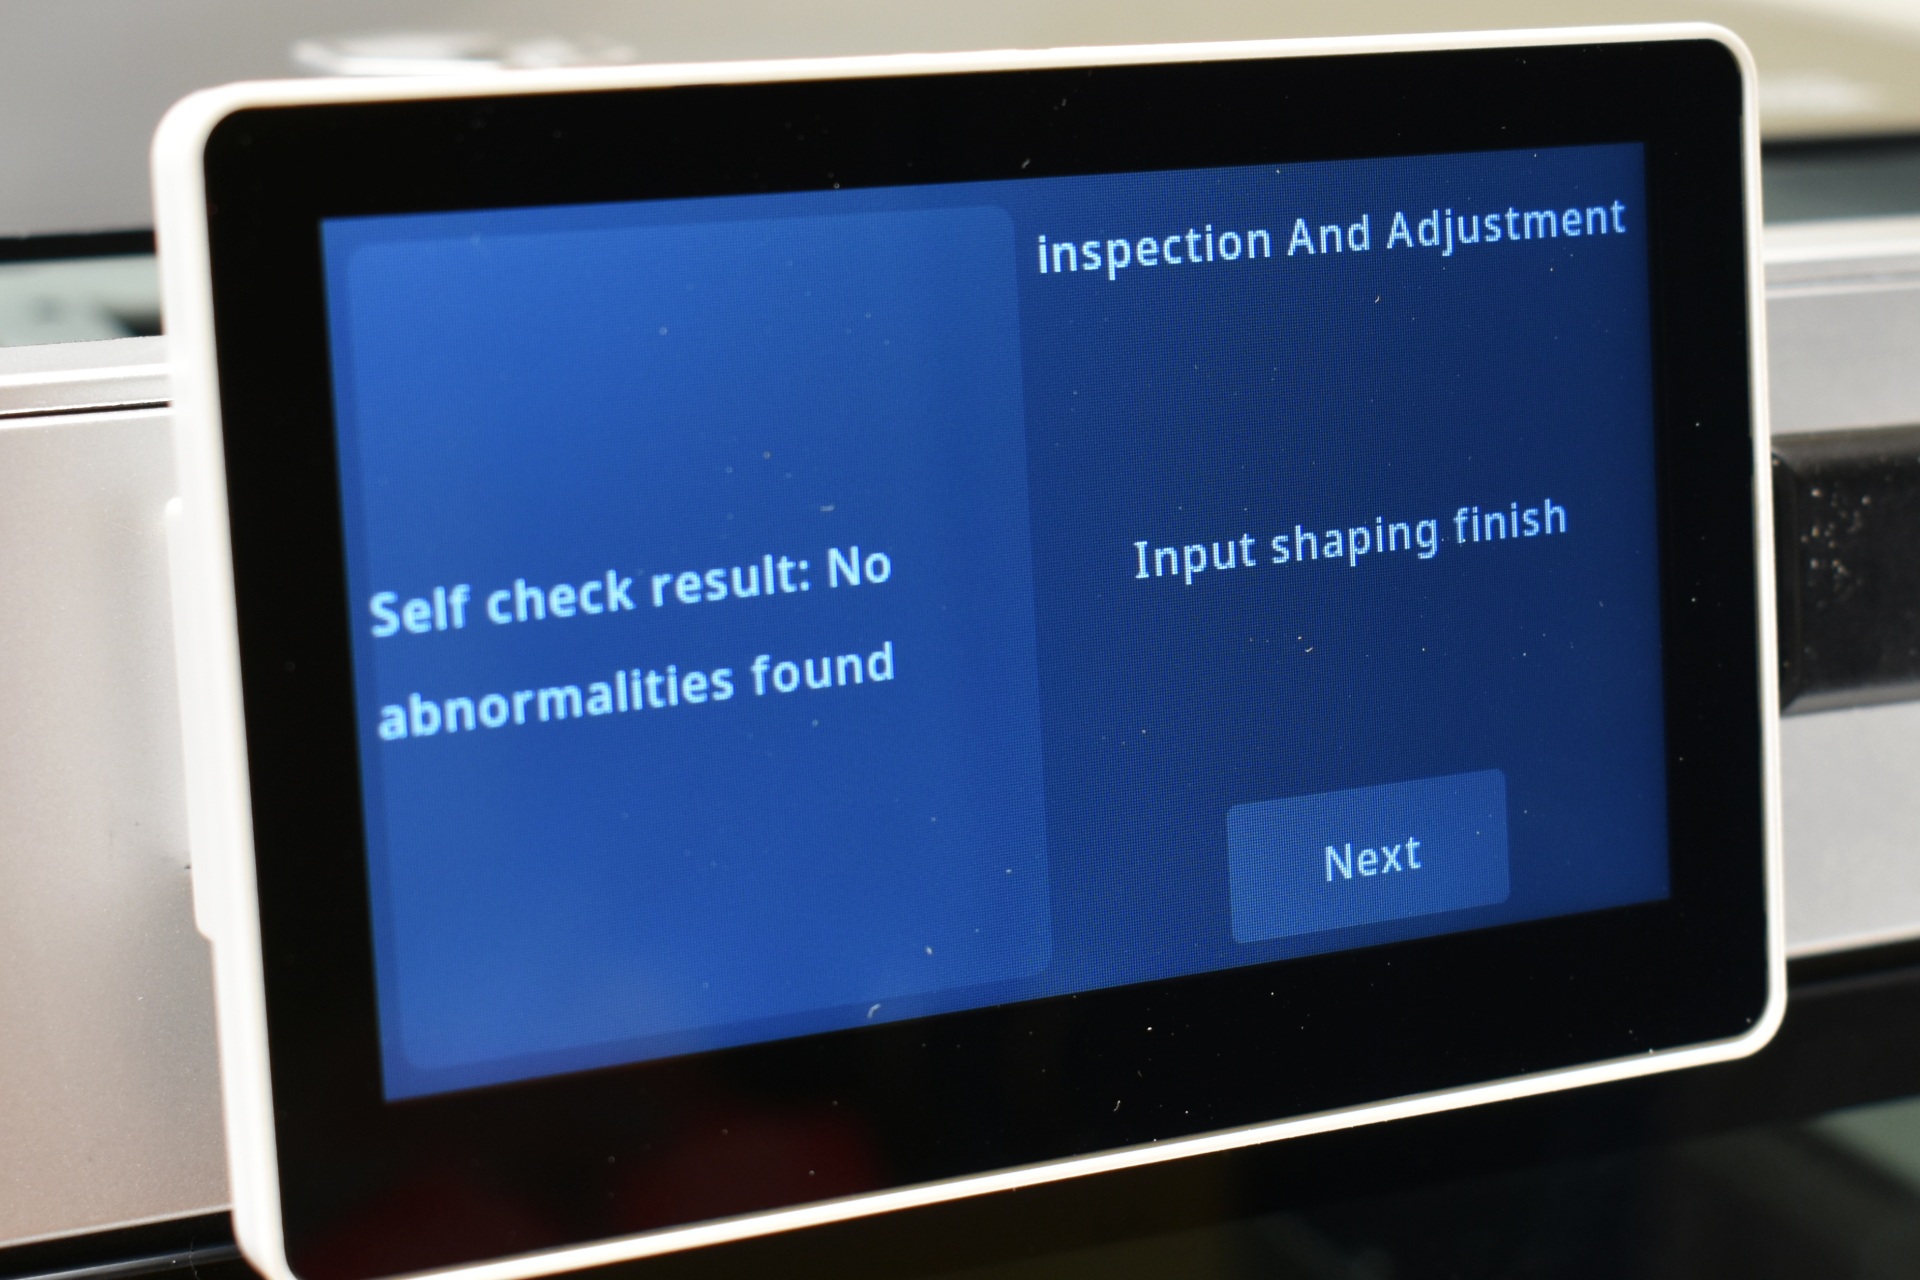
Next stop is to allow the unit to perform a self-check and calibration.
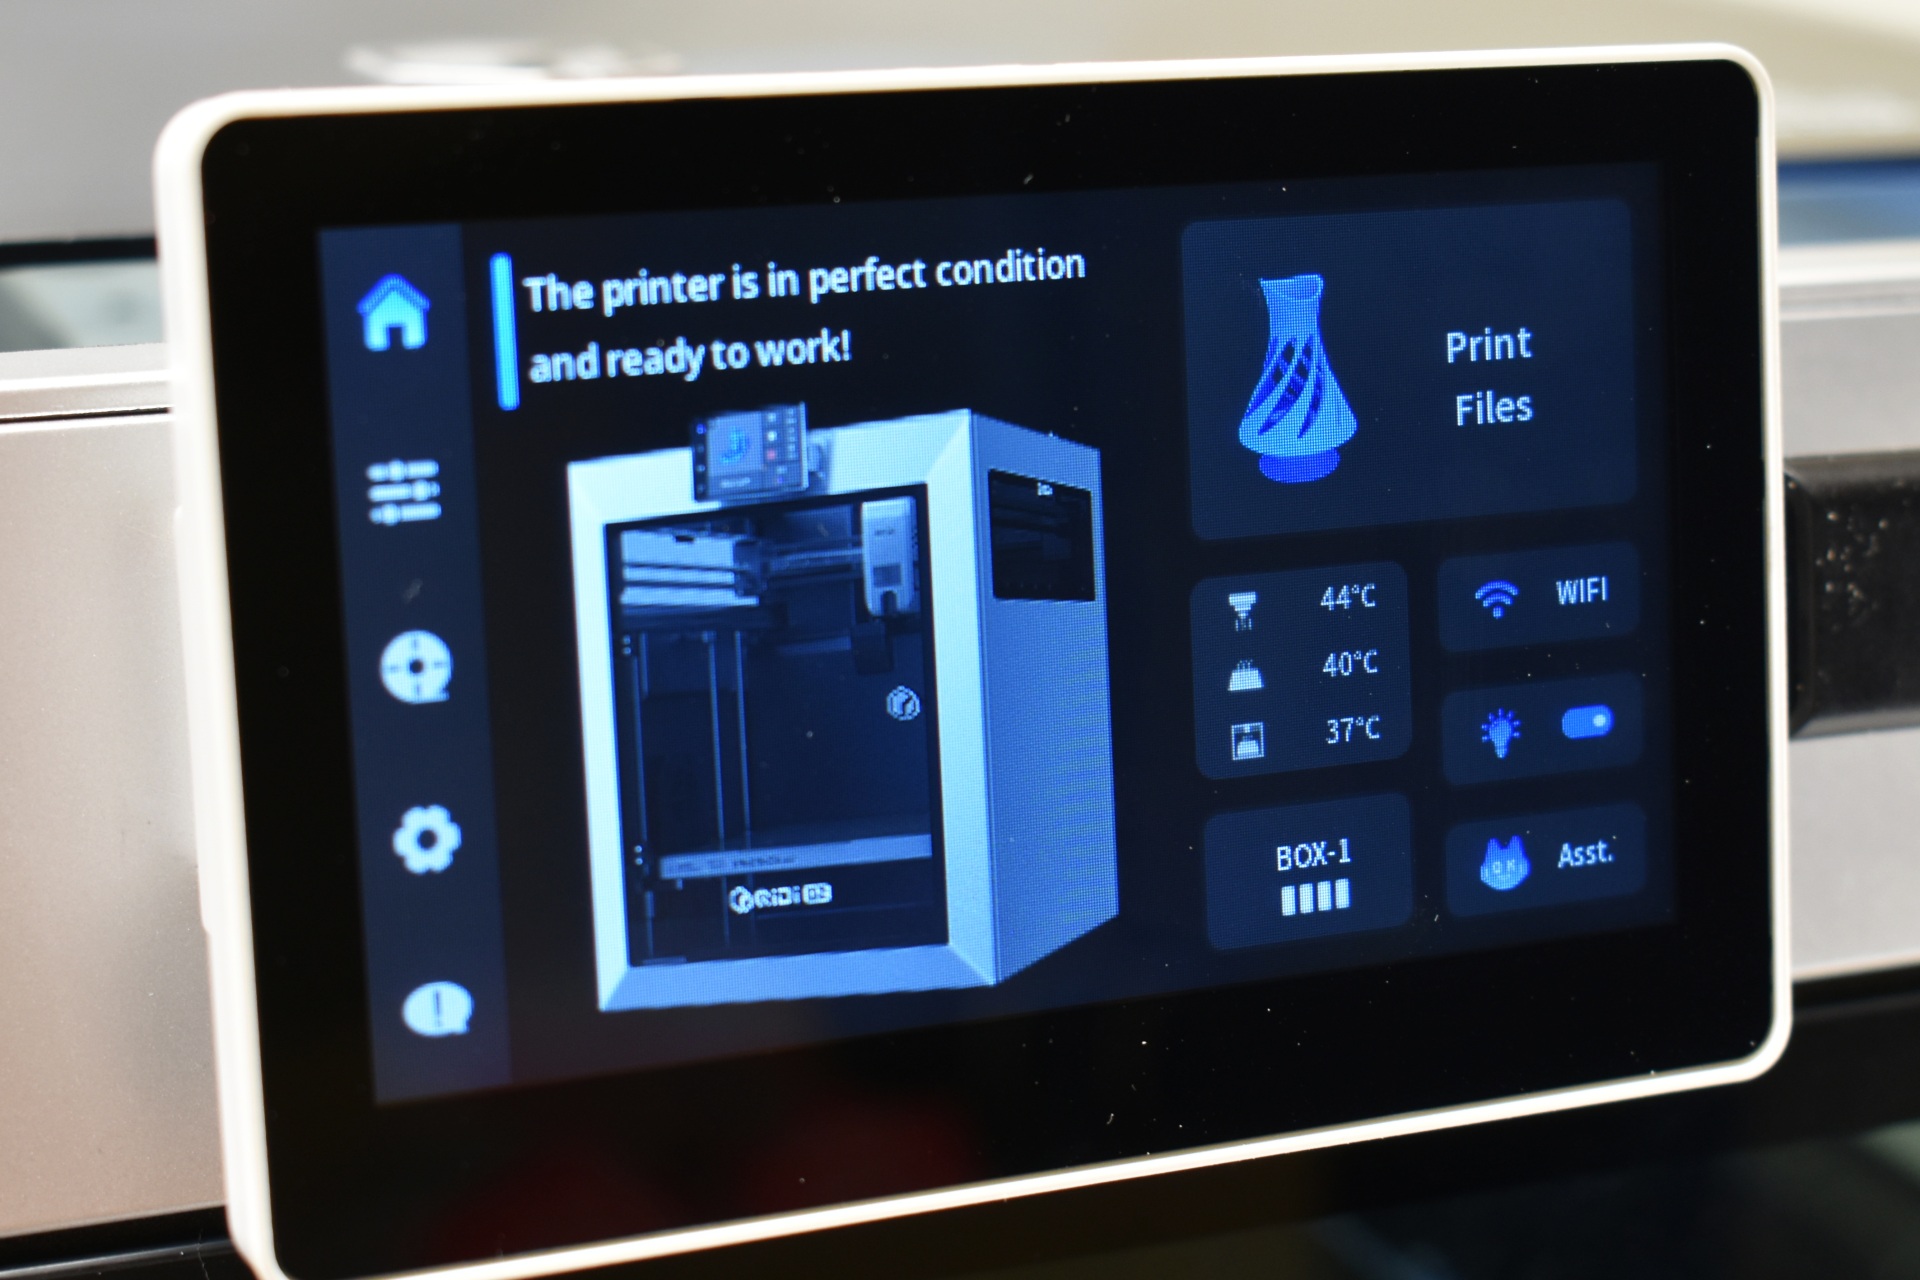
The main tab shows a picture of the printer along with a small area for the BOX addon, temperatures, Wi-Fi status, LED light on/off button and the assistant button.
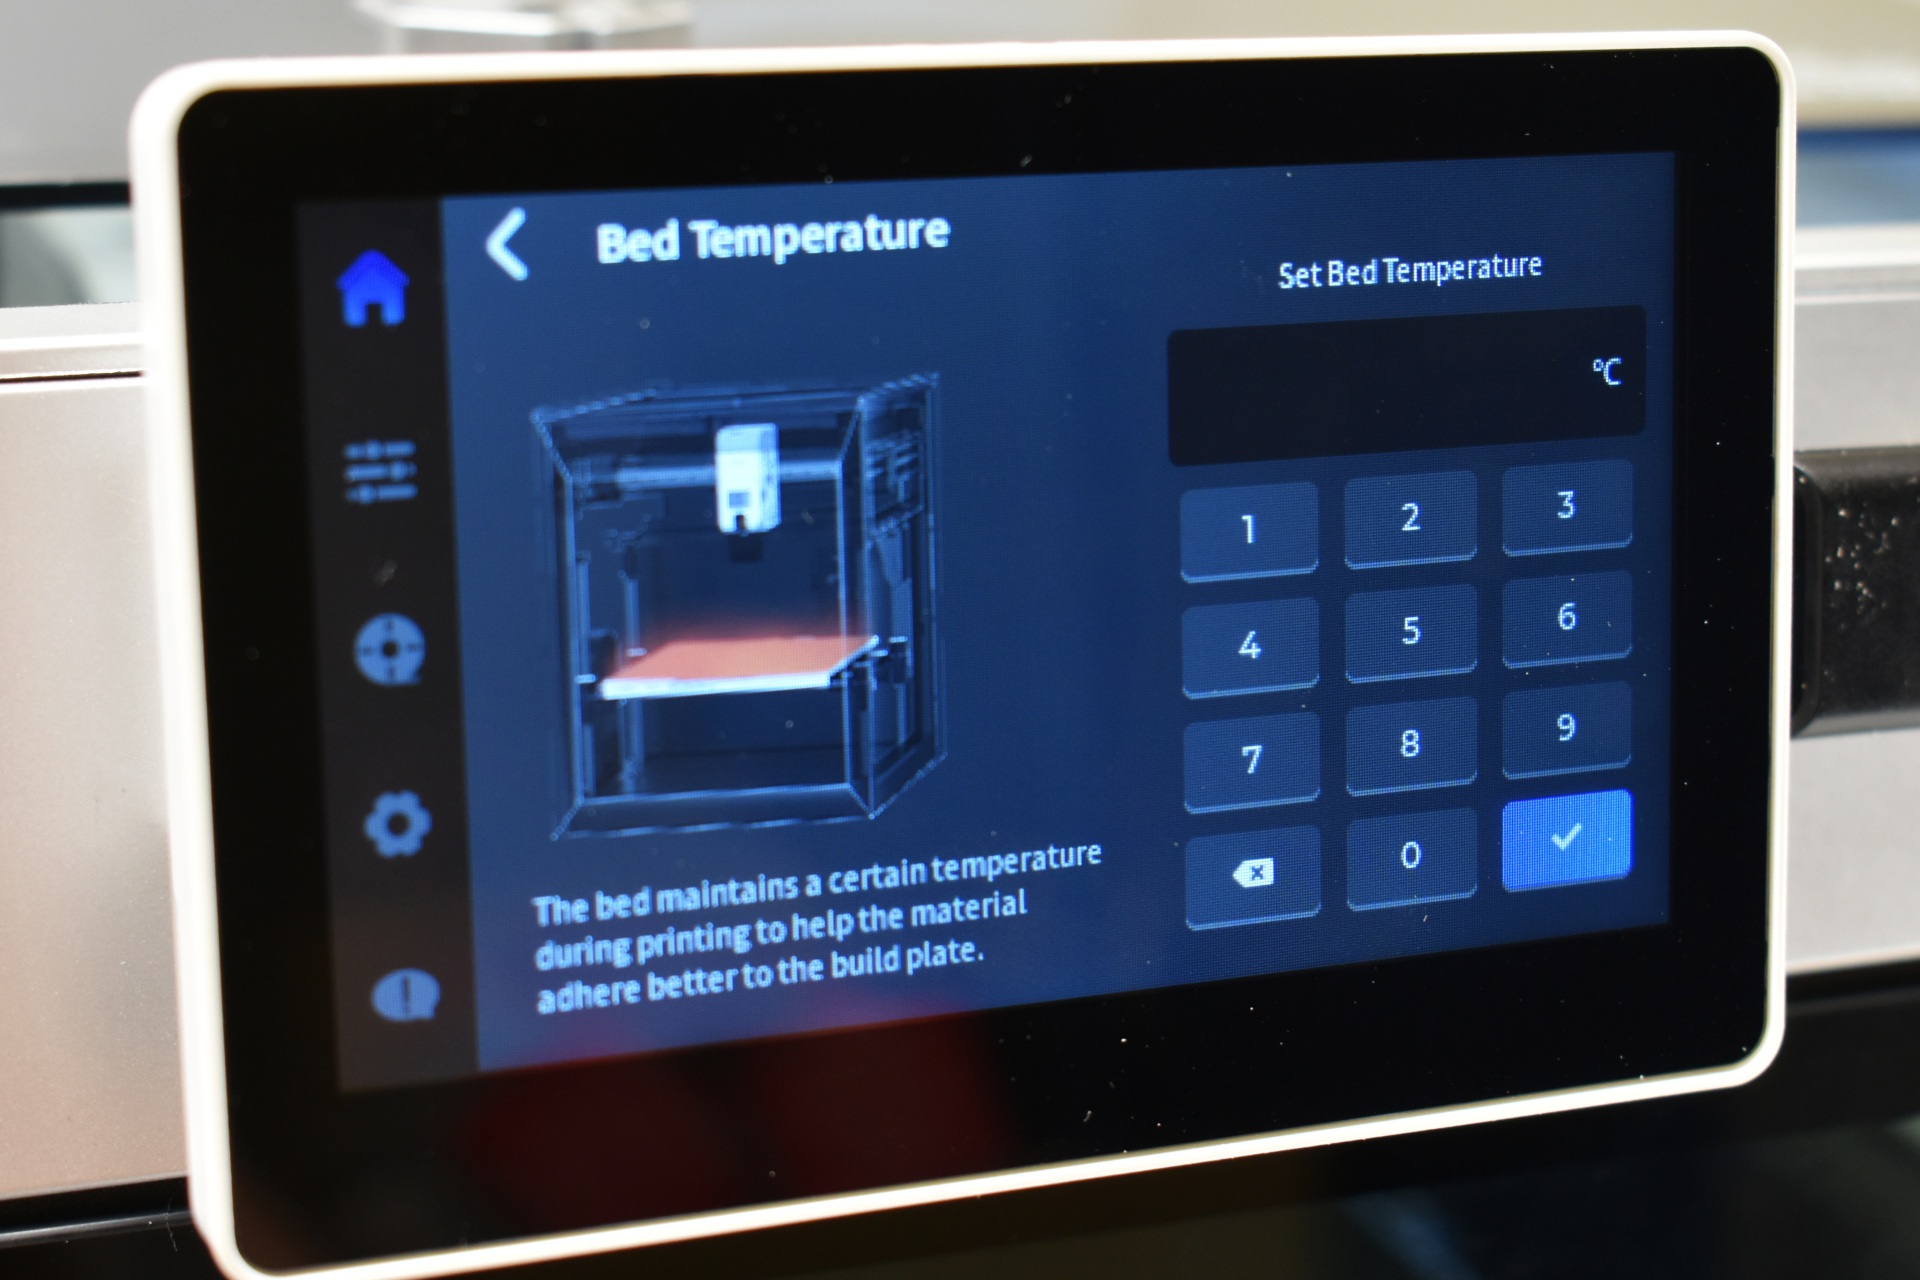
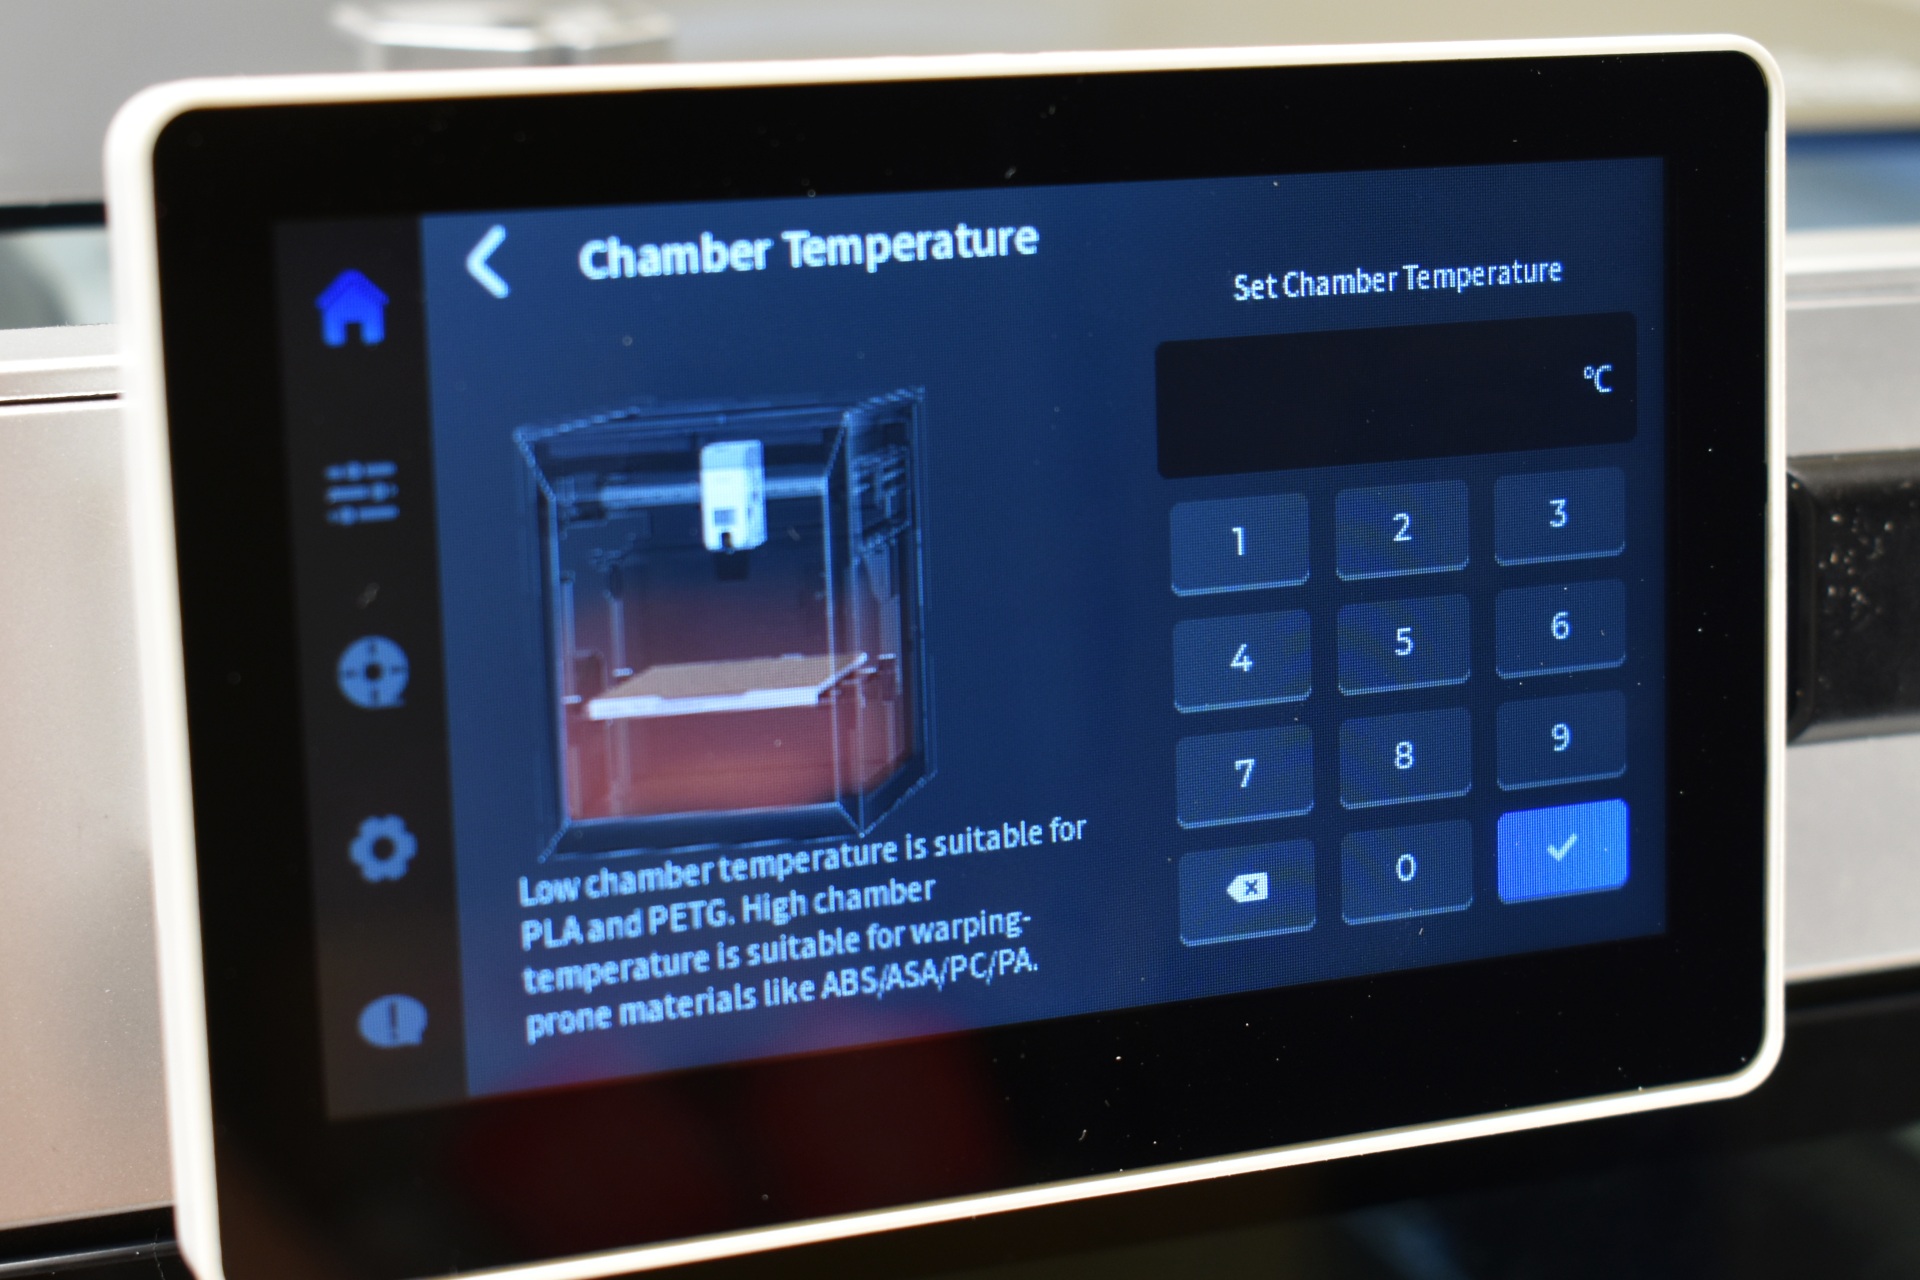
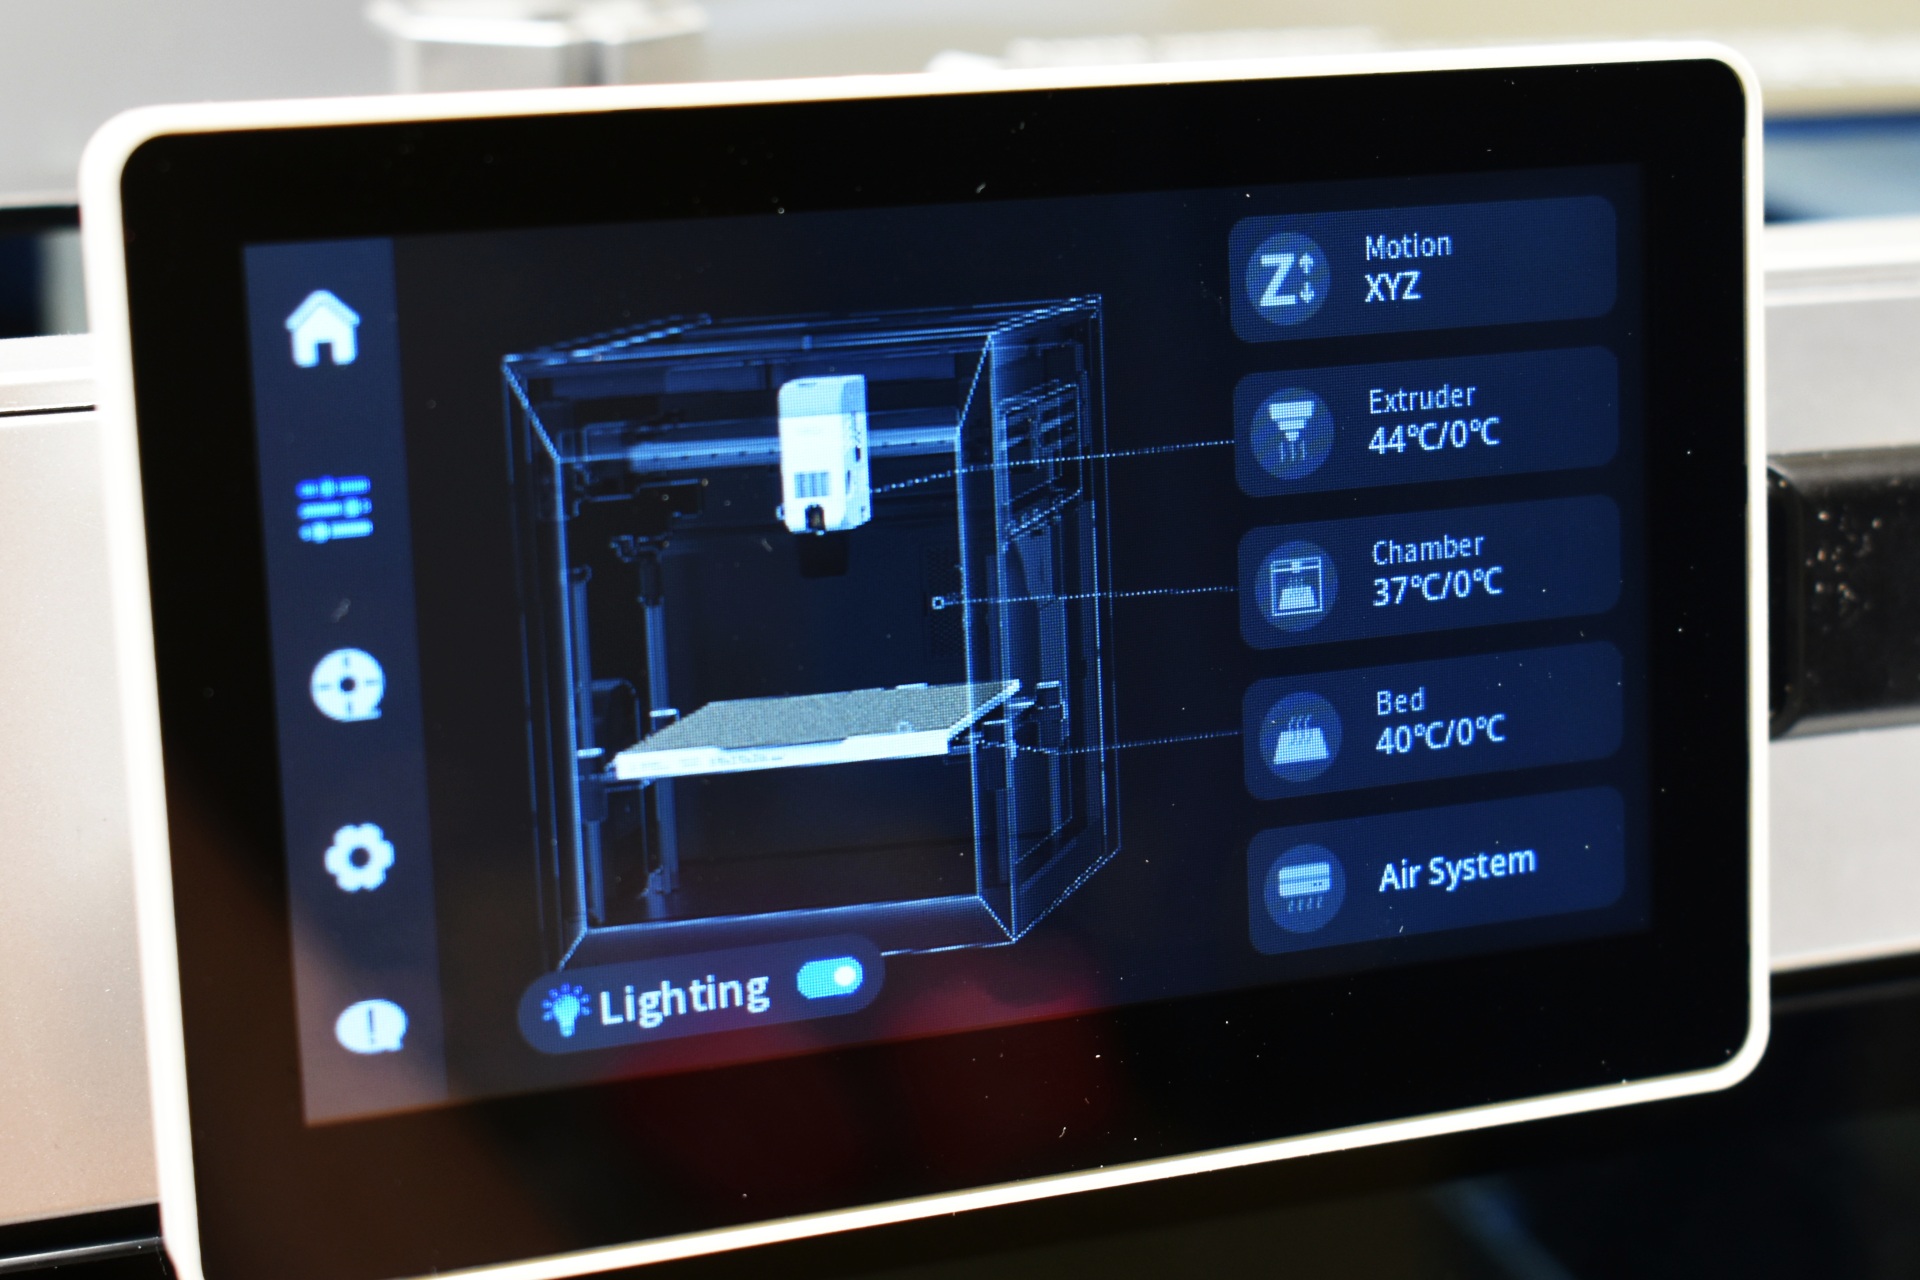
From the 2nd tab you can move the extruder and the printing bed, adjust temperatures for the extruder (and either push or remove filament), chamber and bed, turn the LED light on/off and adjust the cooling system.
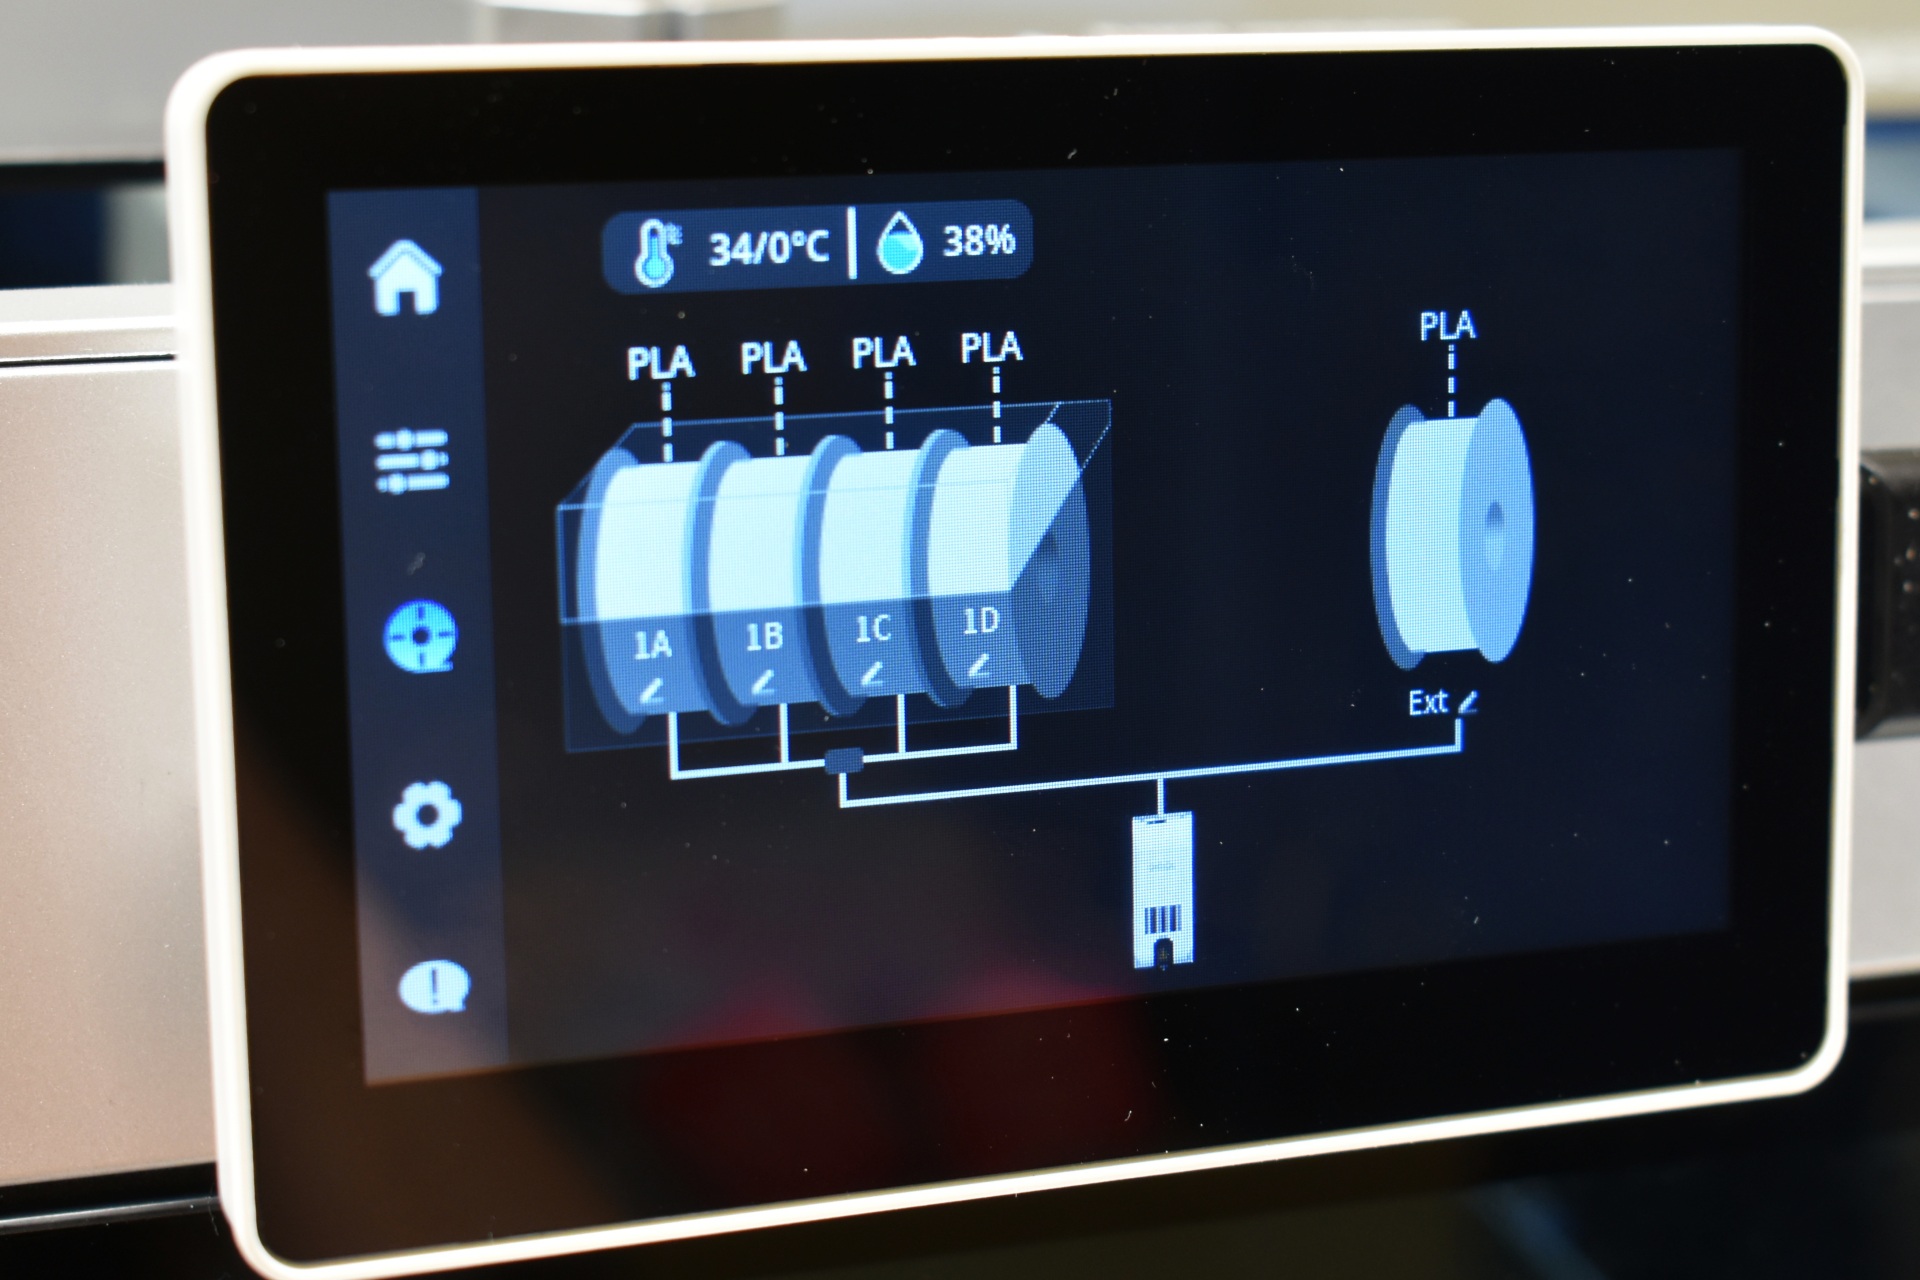
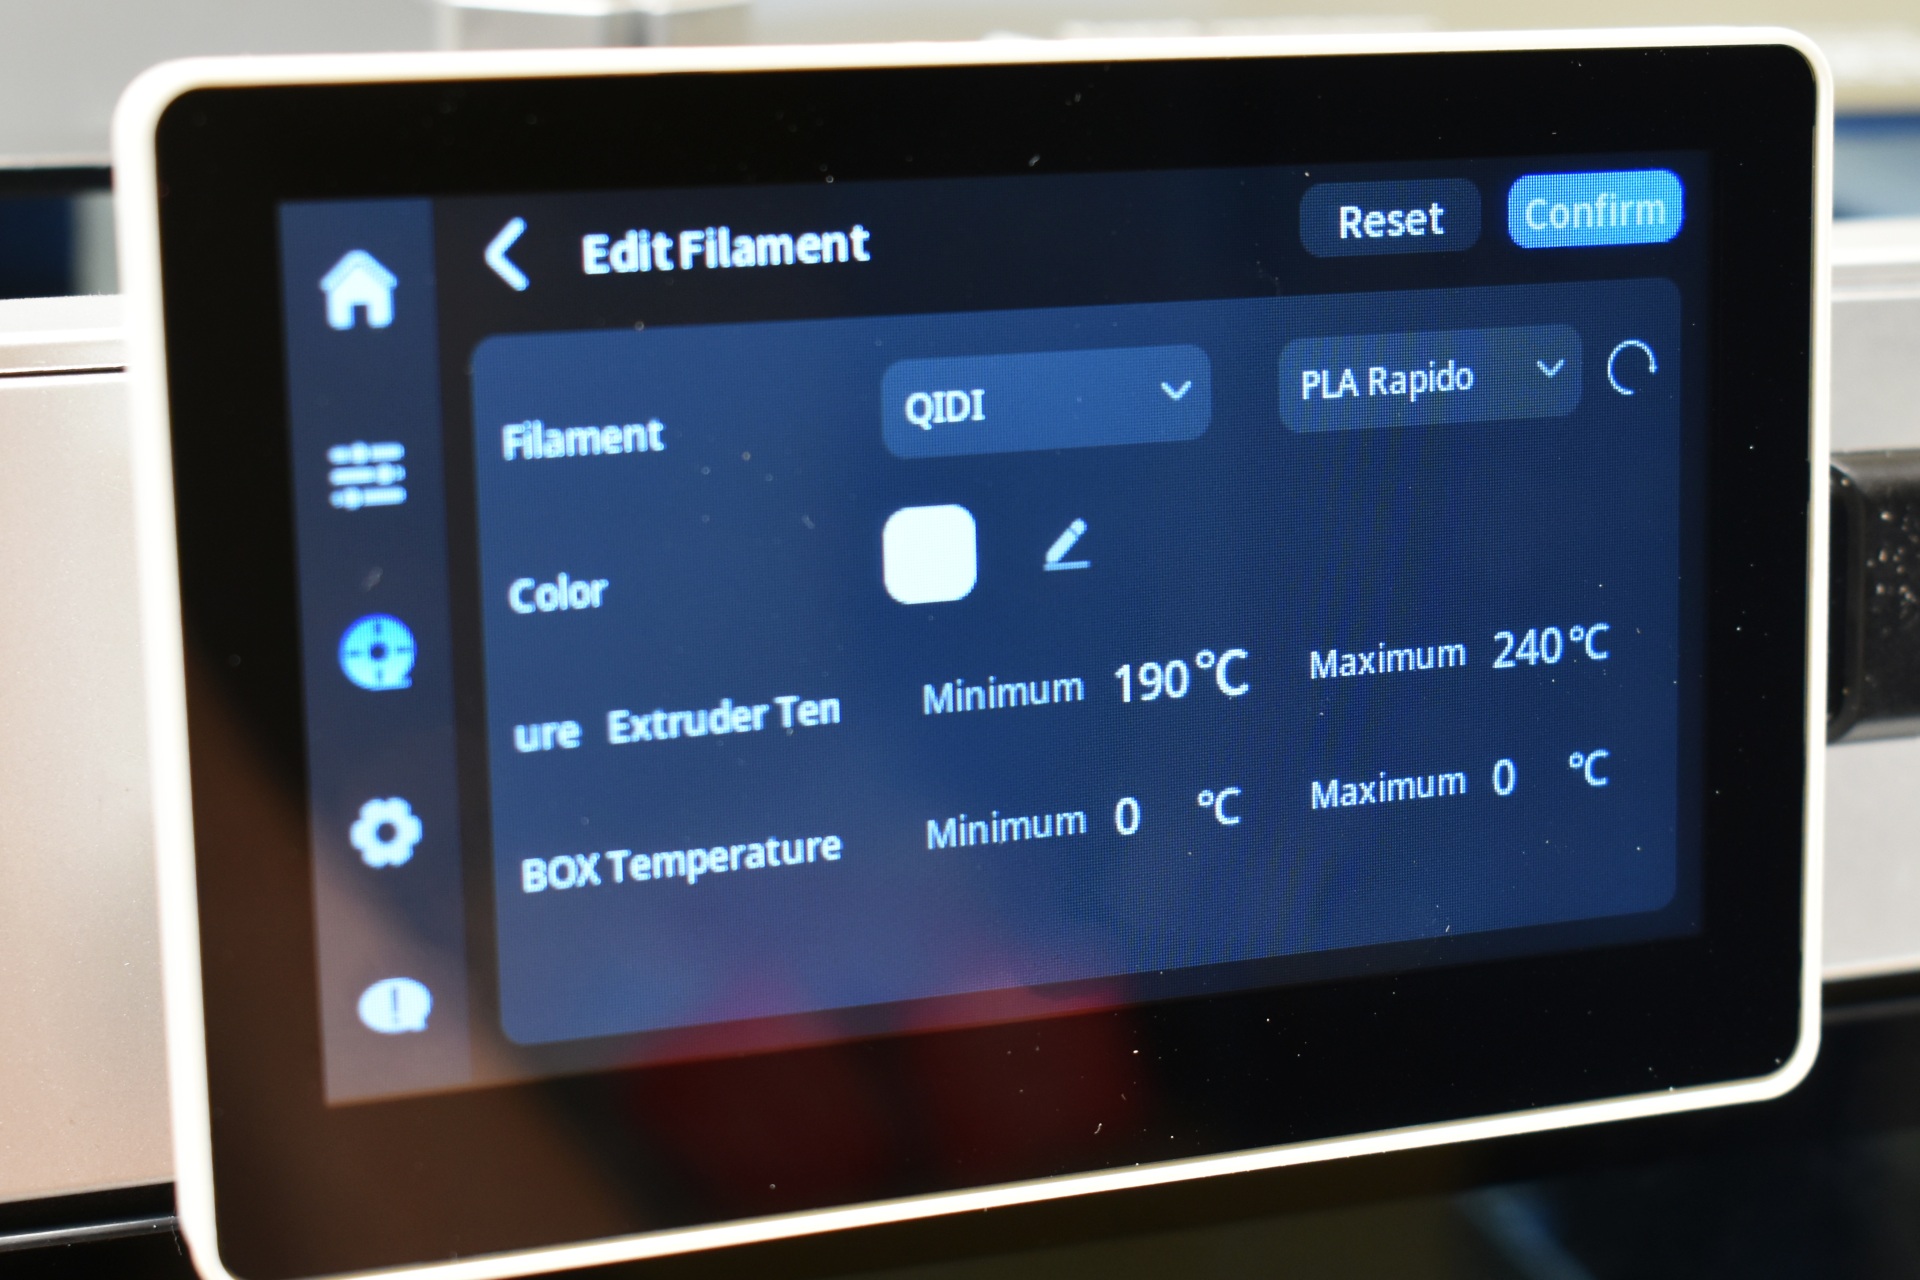
Inside the filament tab you can select the brand and type of filament and temperatures and choose between the spooler and the QIDI BOX (if the BOX is not installed you only see the spooler).
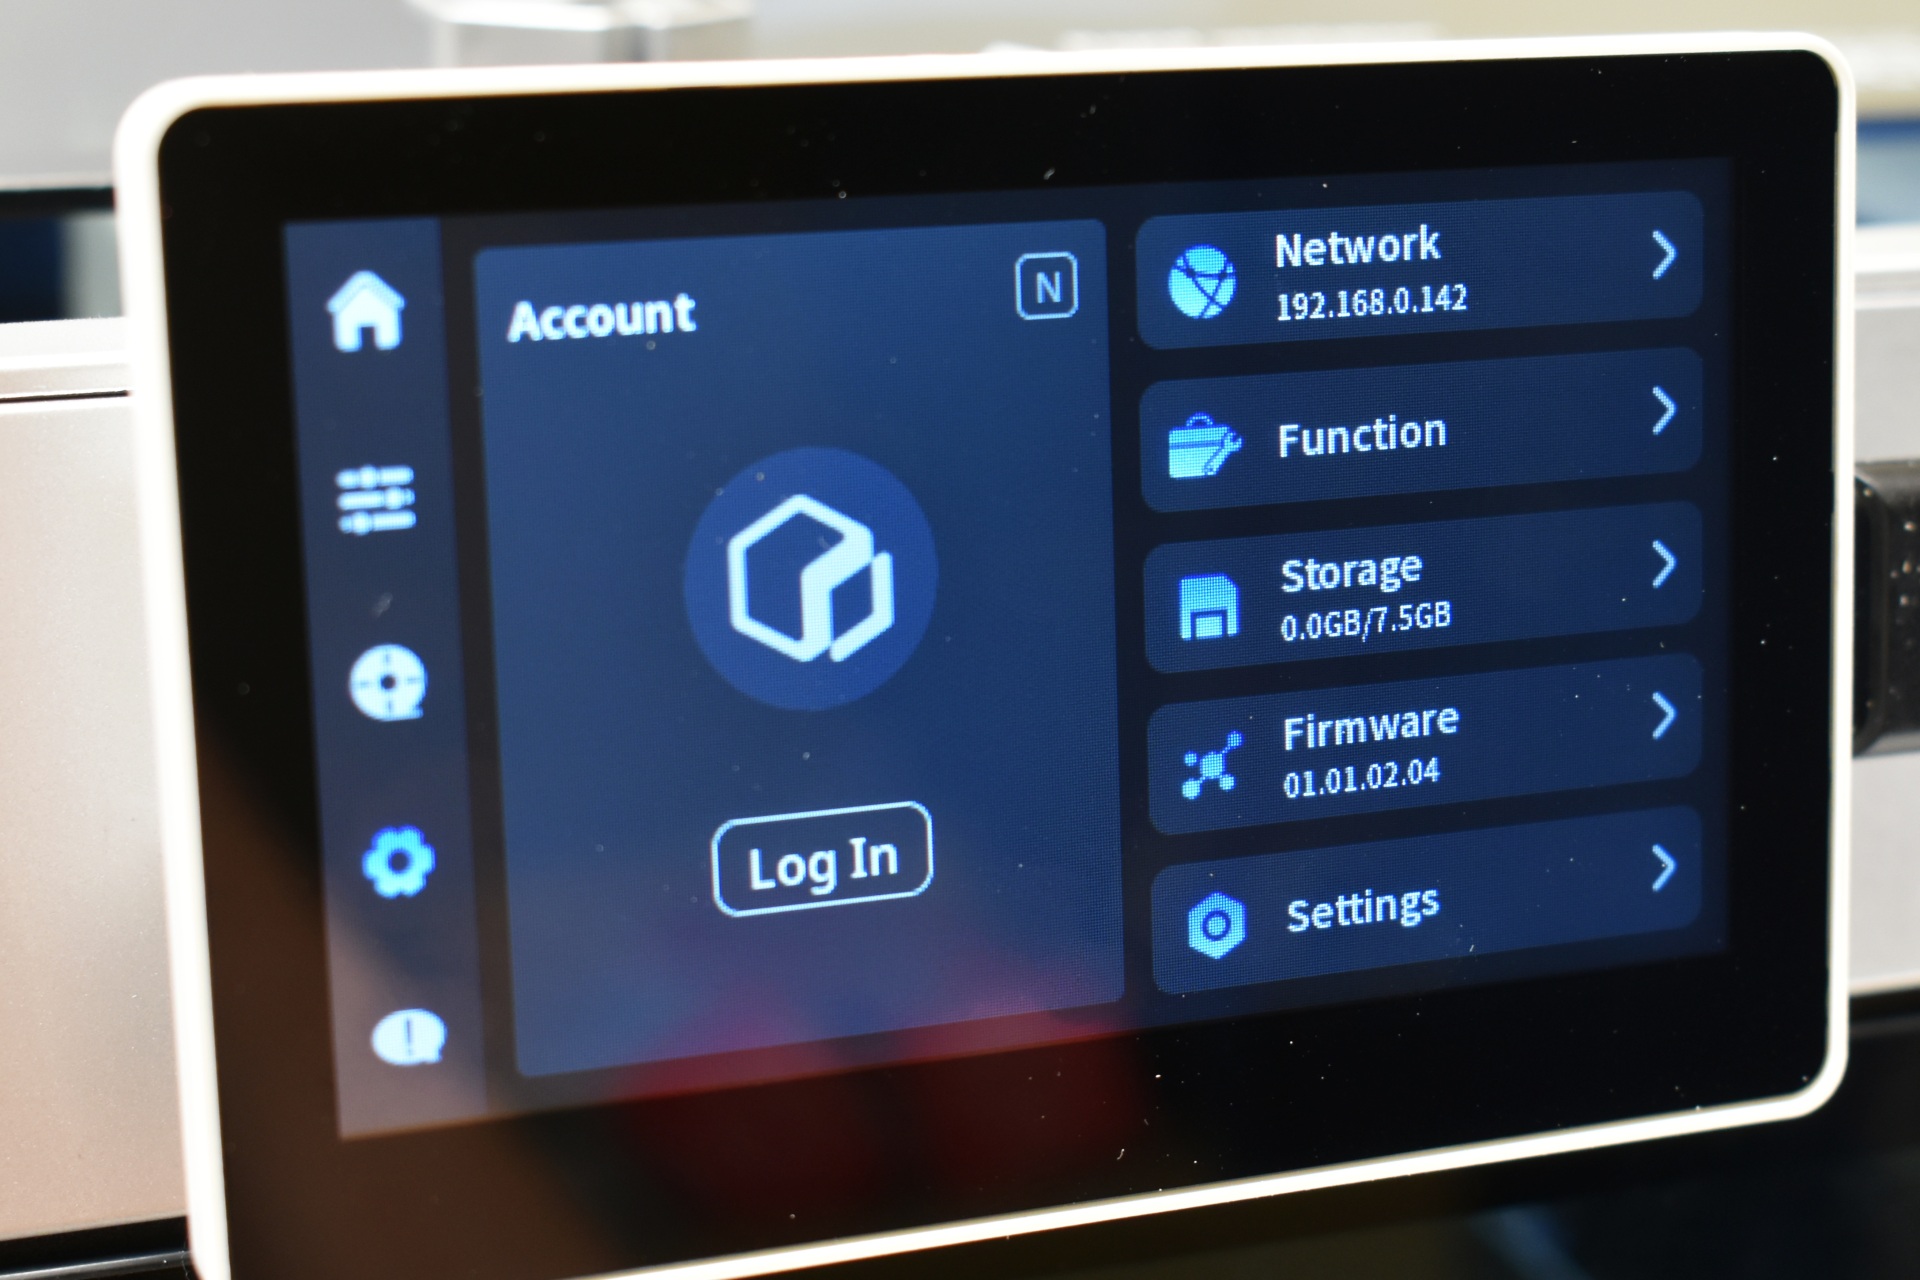
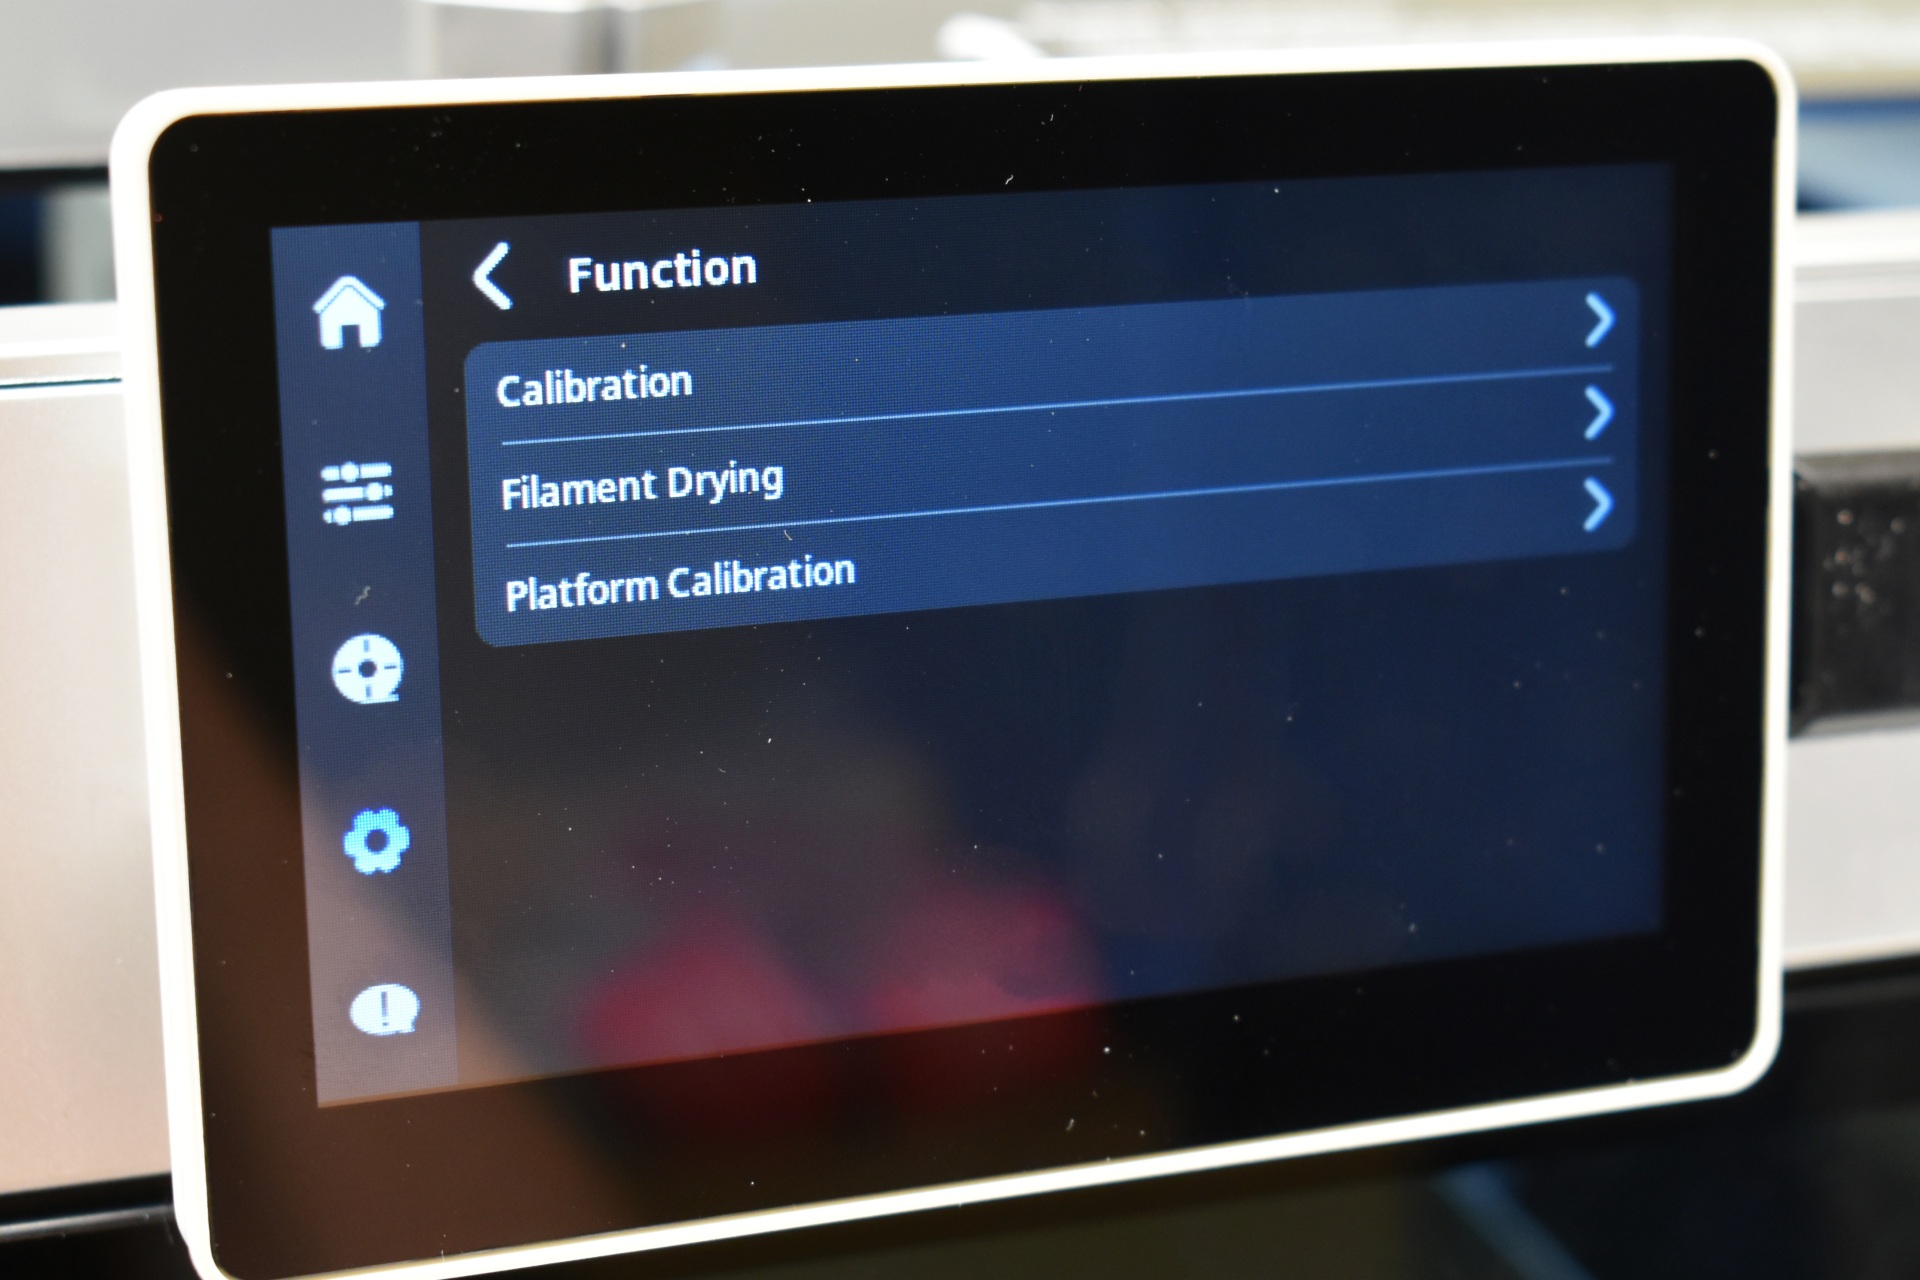
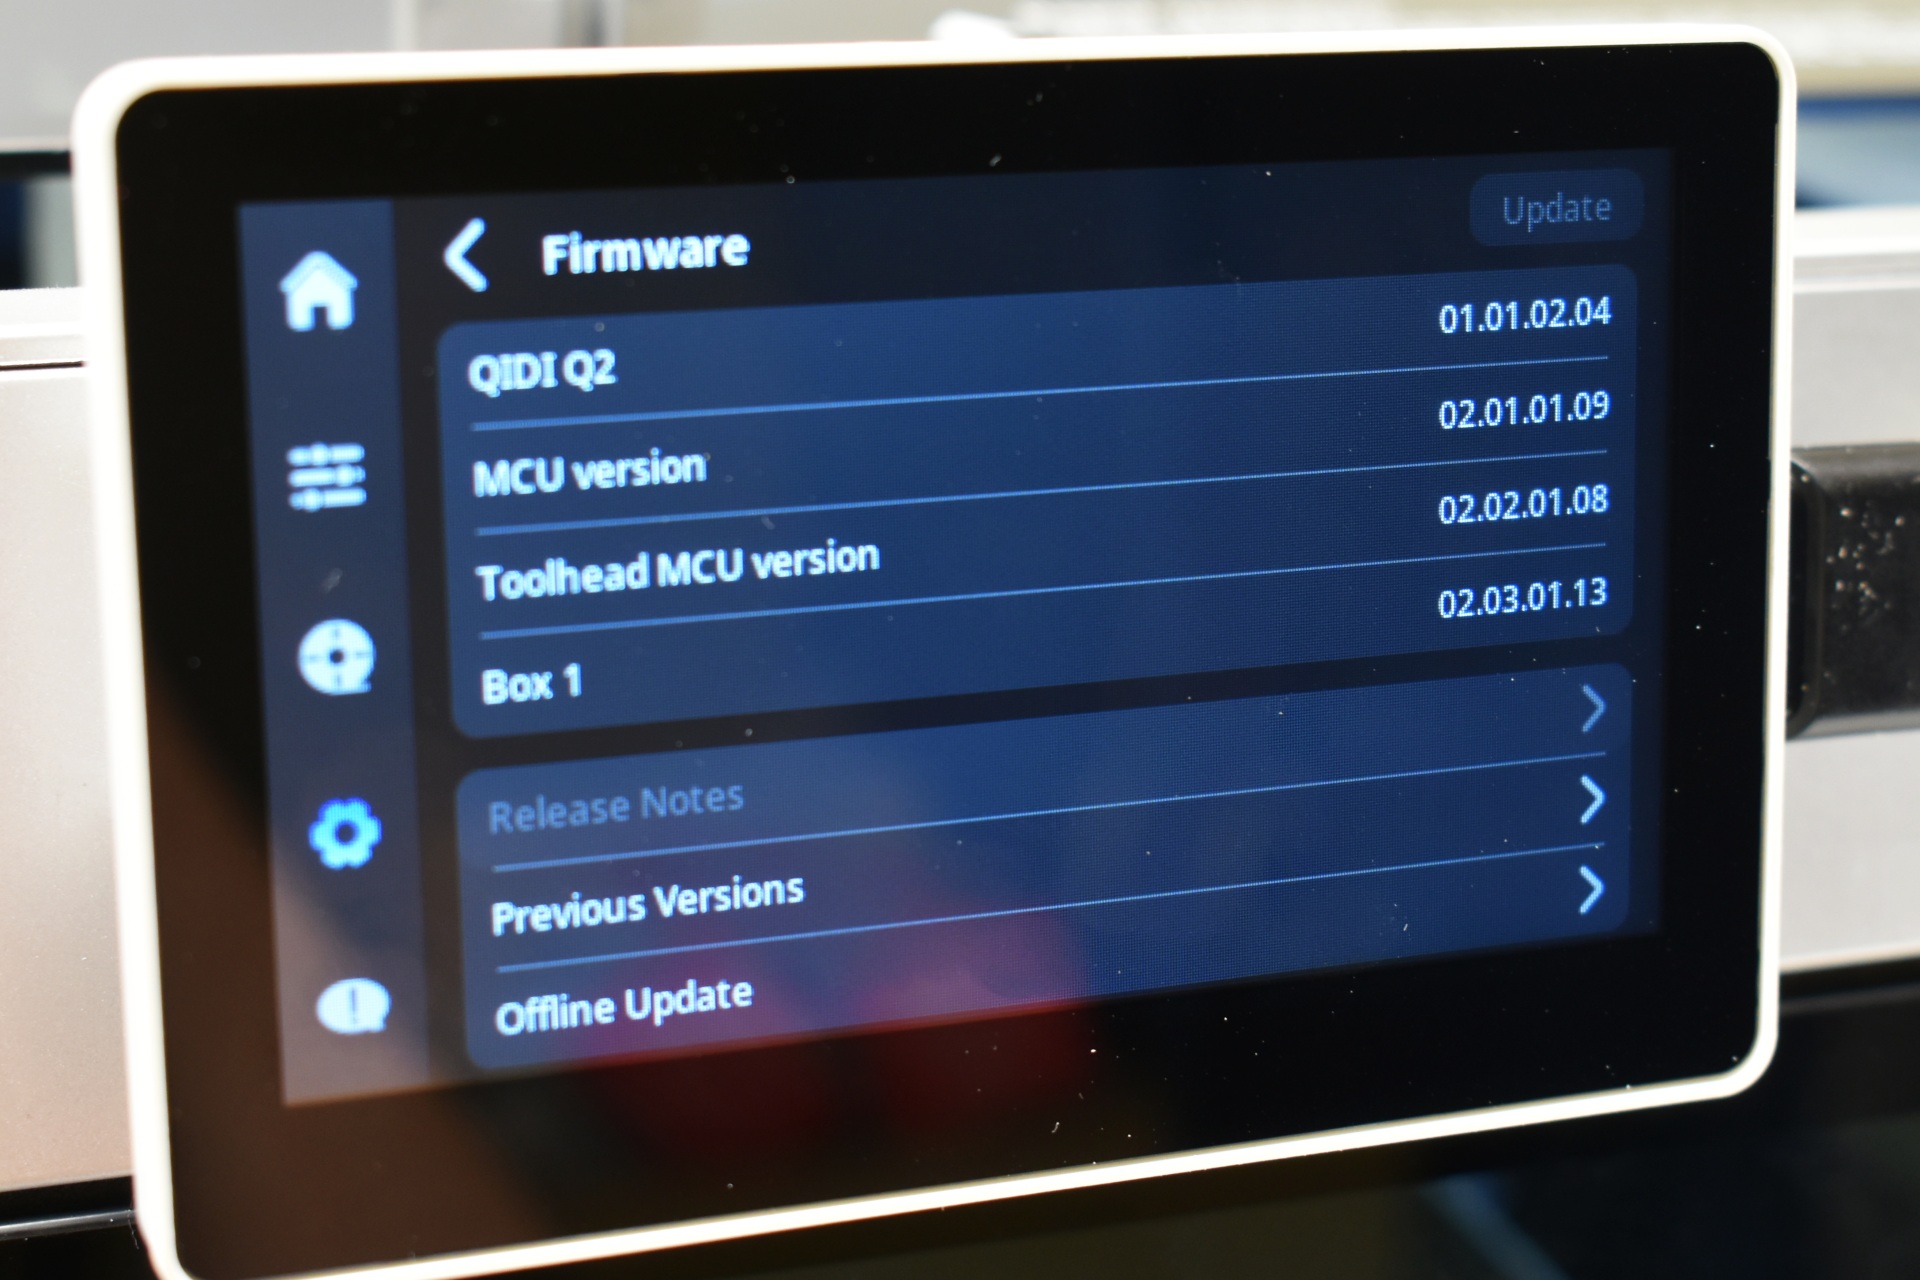
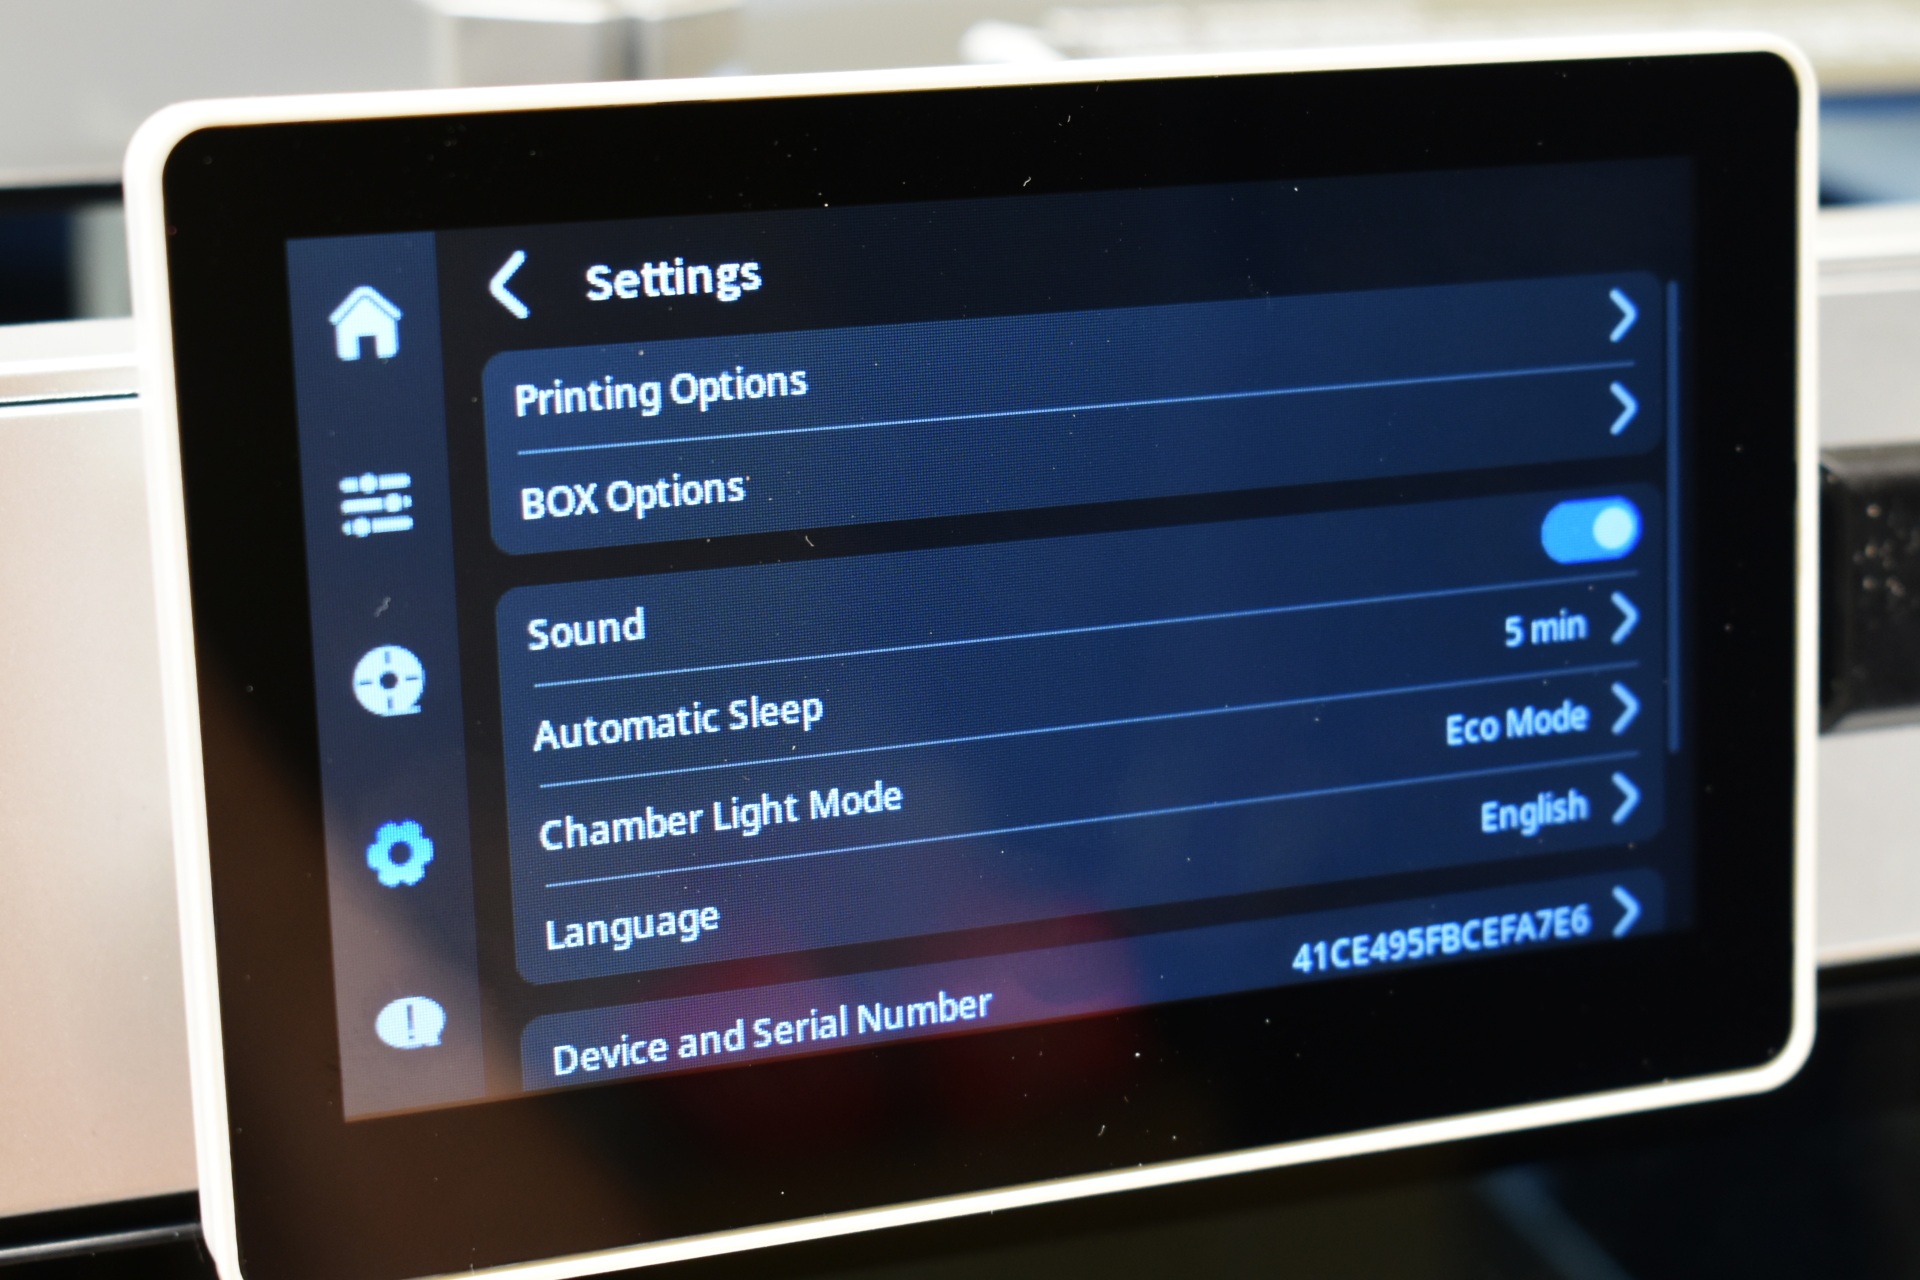
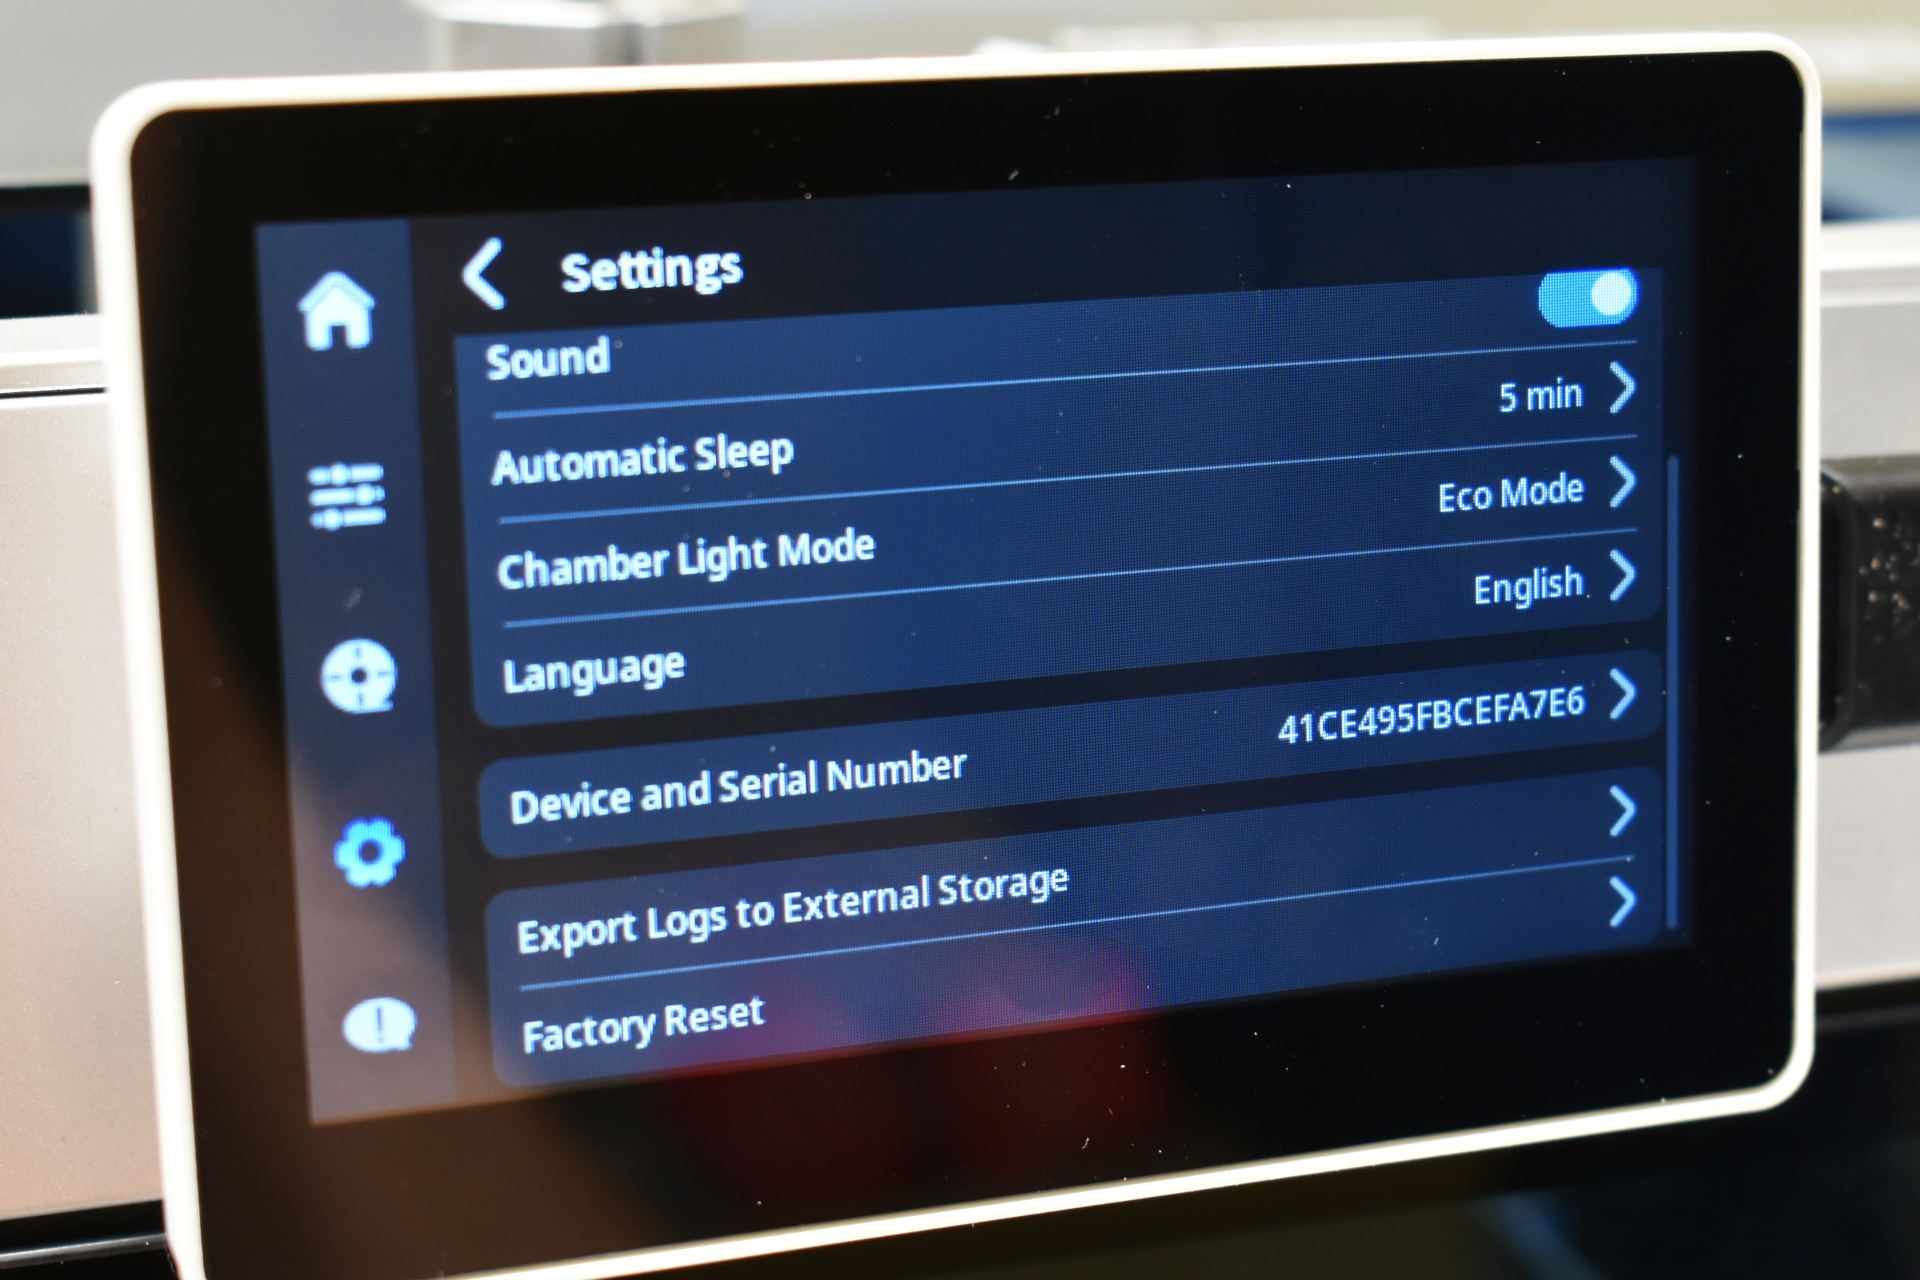
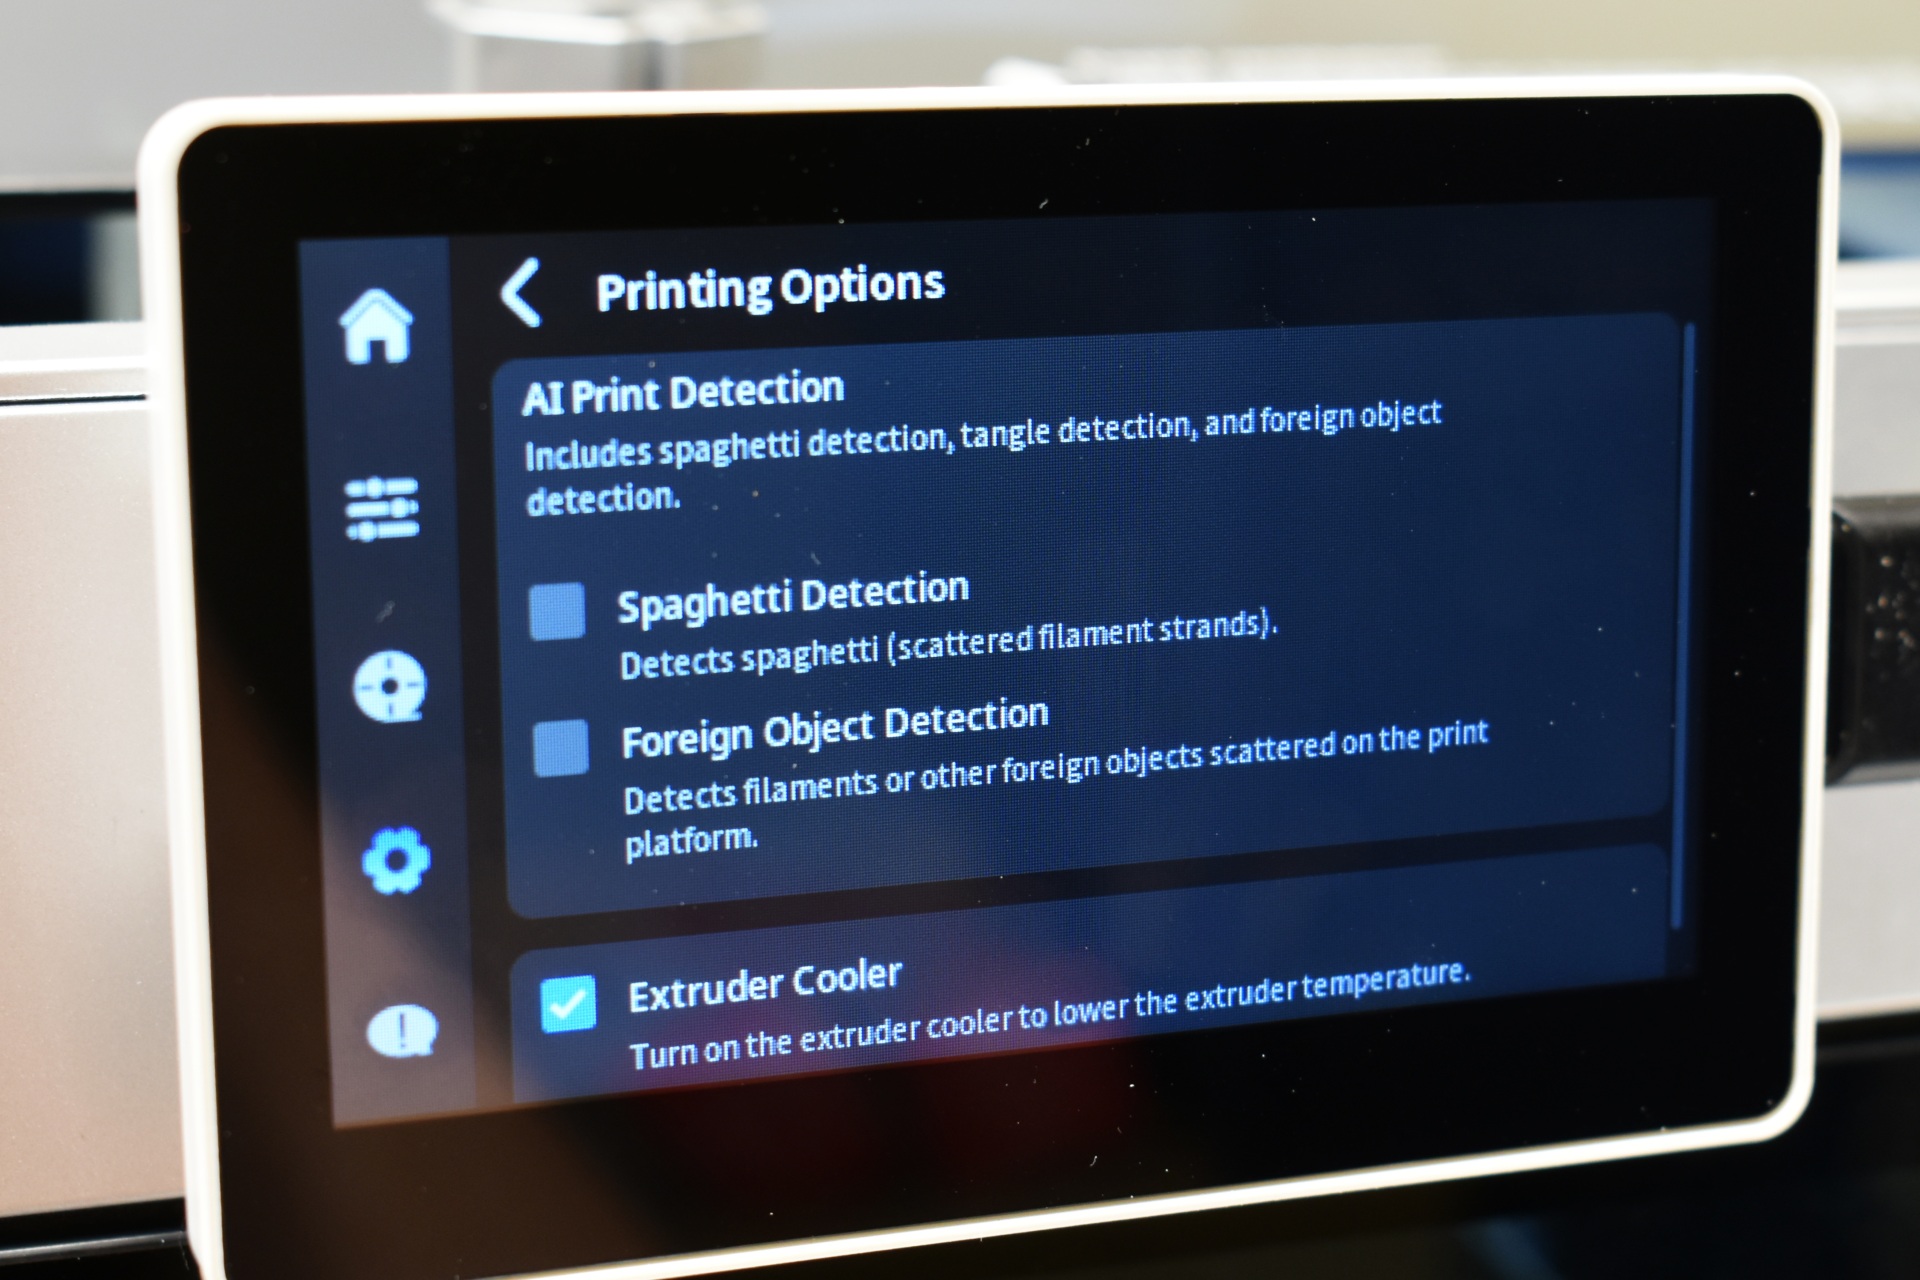
The settings tab includes the Wi-Fi, calibration, filament drying, firmware update, storage and general settings, AI printing options, BOX options and the factory reset.
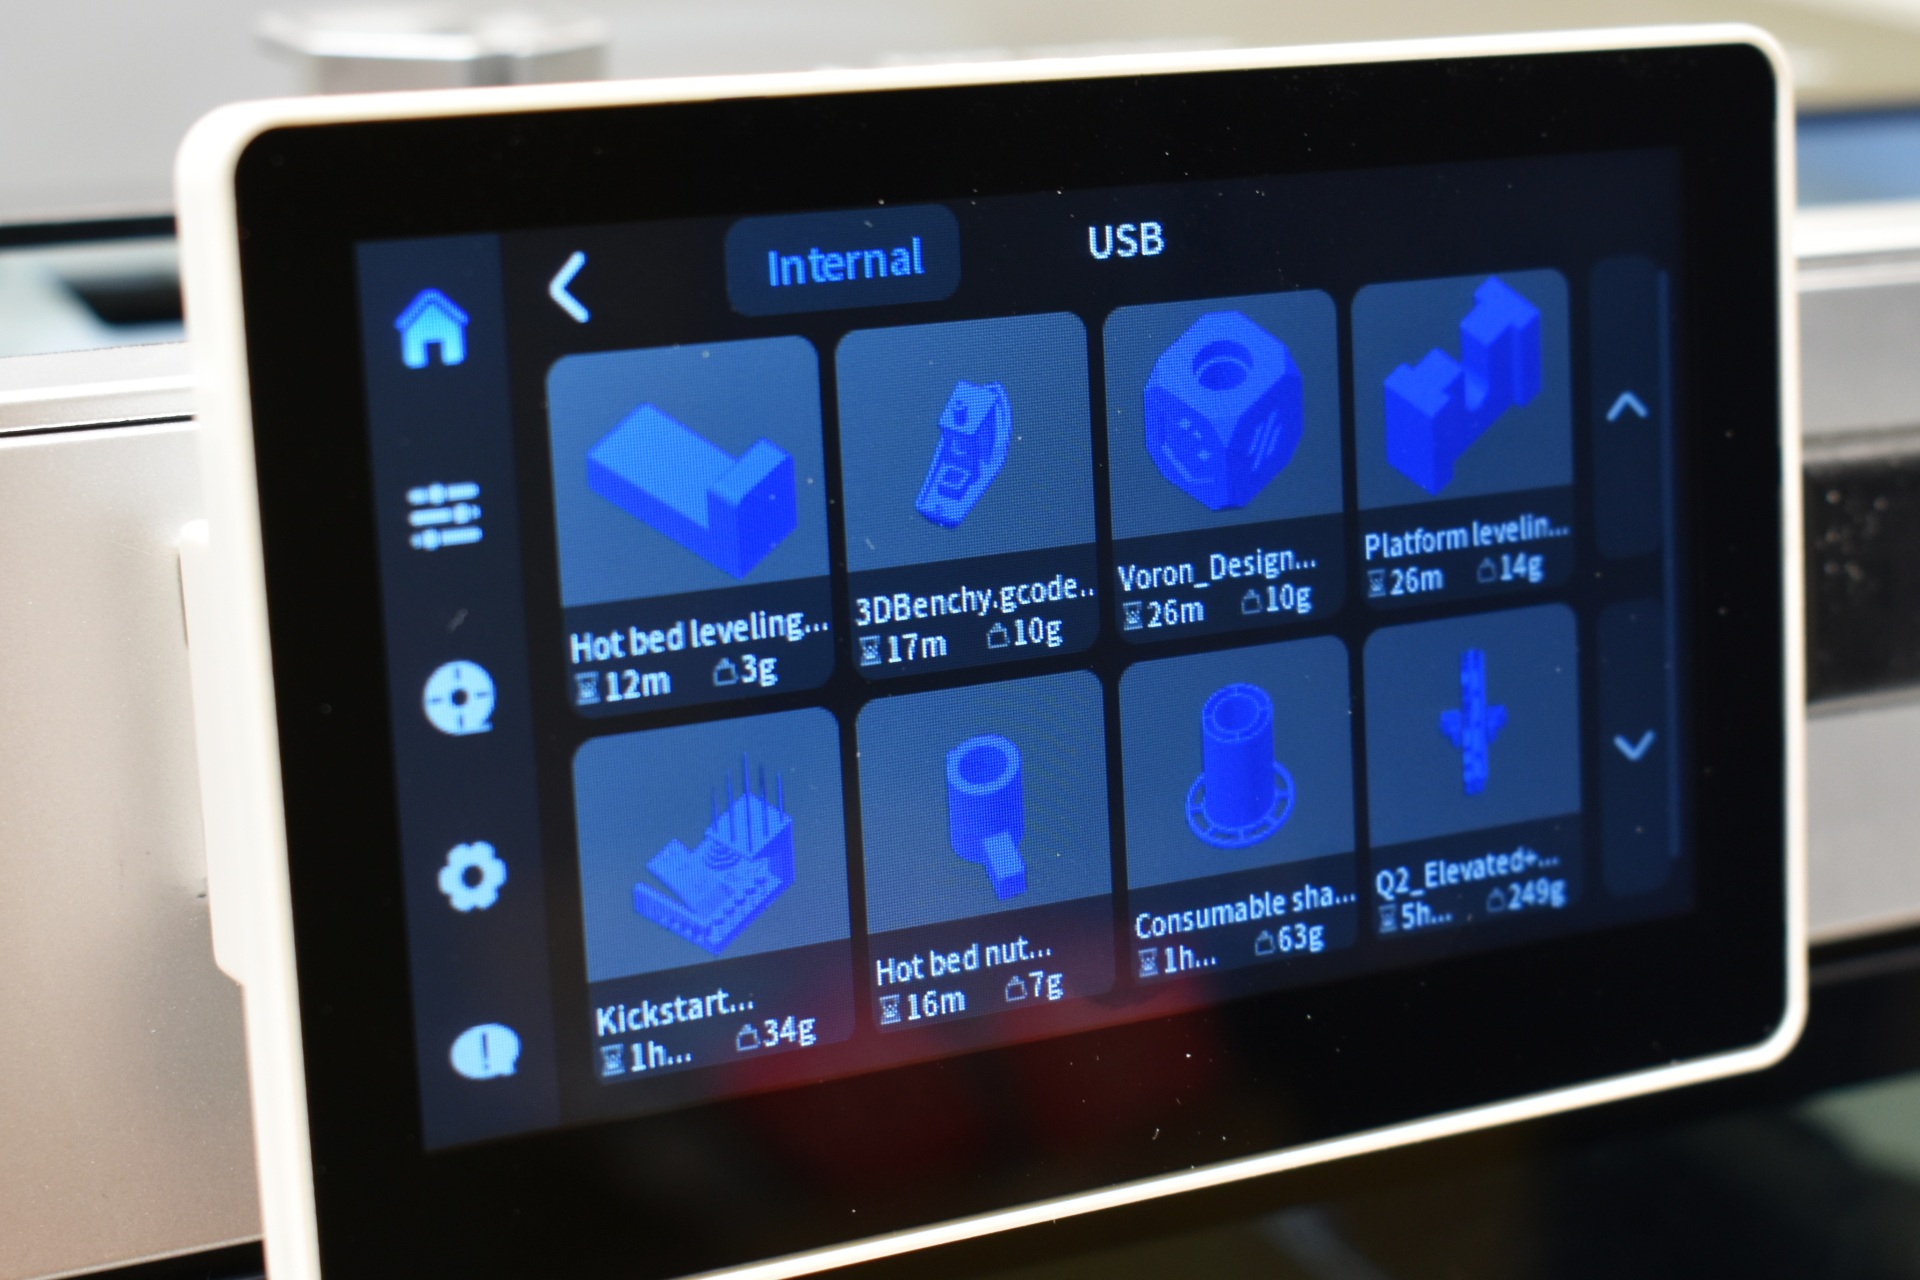
The Q2 comes with several pre-loaded 3D models.