INTRODUCTION
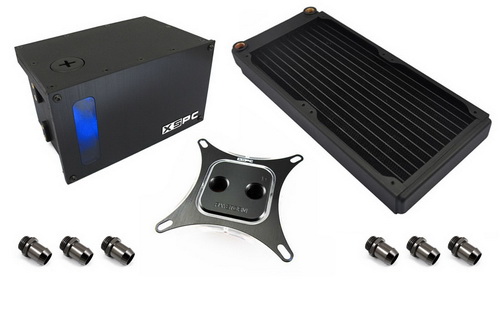
When you're testing PC hardware and electronics like we do there's really nothing better than to get in your test room (or lab as some like to call it) and see that the current ambient temperature is at around 23-25 degrees Celsius if not less. This is also part of the reason as to why i really enjoy and prefer the winter season over the summer one although i know most people feel the exact opposite. Still although winter is almost here that may not be enough to help keep your system cool and so since quite a few of you have requested it we will do our best to bring reviews of some of the most popular custom watercooling kits (aka loops) in the market aimed towards professionals, overclockers, serious gamers and enthusiasts. One such watercooling kit is the latest Raystorm 750 EX280 by XSPC and after almost 3 weeks of serious testing it's finally showing its true colors.
As gaming and overclocking enthusiasts, we started XSPC over 10 years ago with the vision of offering world-class cooling products that don’t sacrifice reliability or quiet operation in the pursuit of ultimate cooling performance. Today, our product range has expanded to include everything you need to build the ultimate liquid cooling system, from water blocks, radiators and reservoirs to fixtures and fittings. Every component we create at XSPC is engineered to the highest standards with the highest quality materials, and delivers market-leading performance without sacrificing reliability. As XSPC continues to grow, we remain totally focused on our original values and vision - creating water cooling components with superior performance and reliability.
Whenever we test one of the extremely easy to use AIO liquid cooling solutions it doesn't take more than a couple of days to record temperatures and noise levels that's not however the case with custom watercooling kits since there are more many more things we need to check. So in the case of the Raystorm 750 EX280 (the same of course applies with every custom loop in the market) aside the fact that we had to install it we also had to wait almost a full week for the EC6 coolant (again manufactured by XSPC) to arrive since the one we had here was almost 2 years old and near it's expiry date (so naturally we wanted something at optimal condition just to be on the safe side), then we had to check and recheck to find the ideal component layout (always connect the radiator before the waterblock) and finally we also had to keep the loop running for a day to check for leaks and for air bubbles to clear out. That being said the Raystorm 750 EX280 watercooling kit consists of a dual 5.25" bay reservoir/pump combo (X2O 750 model), a dual 280mm (2x140mm) radiator, two 140mm fans and a waterblock so it's basically designed for people who seek a high performance kit that's also very easy to install and the Raystorm 750 EX280 was extremely easy to install especially thanks to the incredibly detailed installation instructions. As a matter of fact the only other thing with this kit that can even compare with its easy installation is its performance so let's see just what XSPC has brought to the table.
SPECIFICATIONS AND FEATURES
PACKAGING AND CONTENTS
The kit arrived inside a somewhat beaten up large black box which has the XSPC logo at the front.
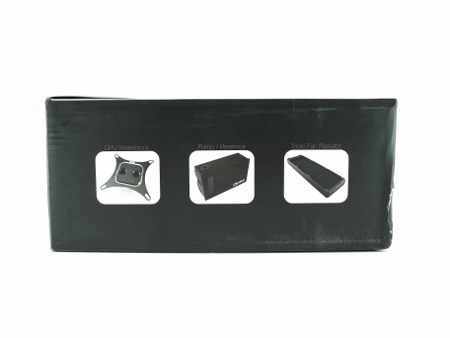
What is included in the box can be seen at the bottom of the box.
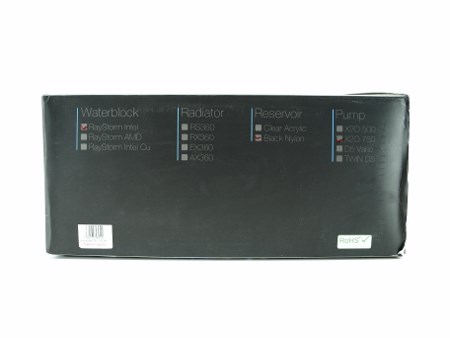
At the top XSPC tags the exact components in the box however as you can see there's no EX280 selection for the radiator (that is pointed out at the white sticker at the lower end).
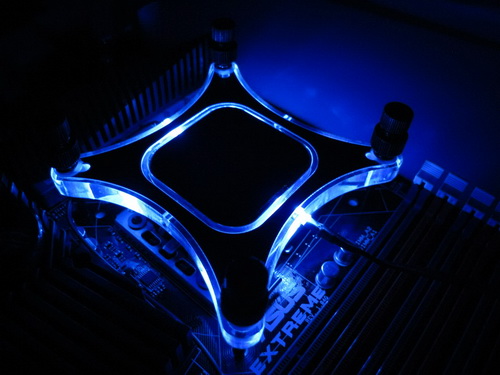
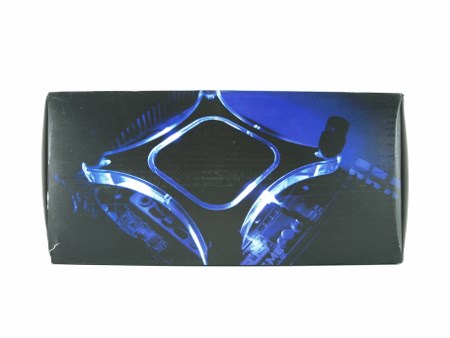
A nice picture of the illuminated waterblock is placed at the rear of the box.
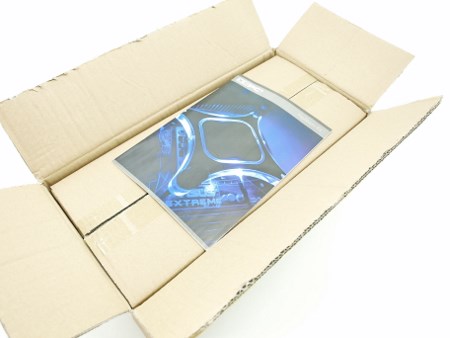
XSPC packs the kit inside two cardboard boxes and a cover so i was glad to see that just the cover was torn during shipping.
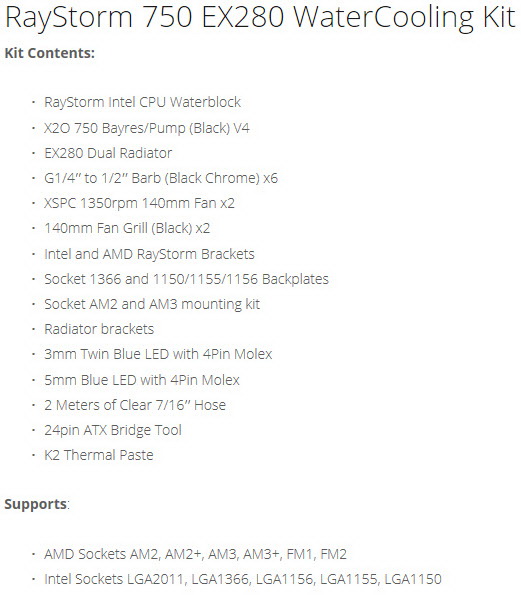
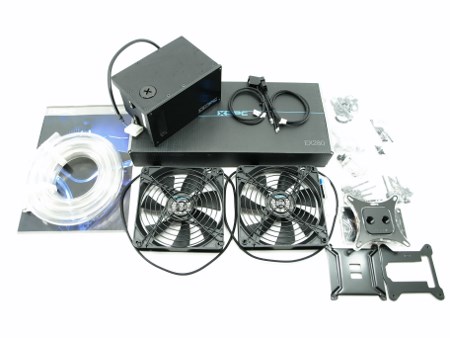
I really can't think of anything you could wish to have while installing a watercooling kit that XSPC hasn't placed inside the box. So we got the X2O 750 reservoir/pump, 240mm radiator, waterblock, two 140mm fans, 2 fan grills, 6 black chrome fittings, 2m 7/16" clear hose, 24pin ATX bridge tool, K2 thermal paste tube, 3 blue LEDs, detailed installation instructions and all the necessary backplates and mounting hardware for Intel LGA 2011/1366/1156/1155/1150 and AMD AM2/AM2+/Am3/AM3+/FM1/FM2 sockets.
THE RAYSTORM 750 EX280
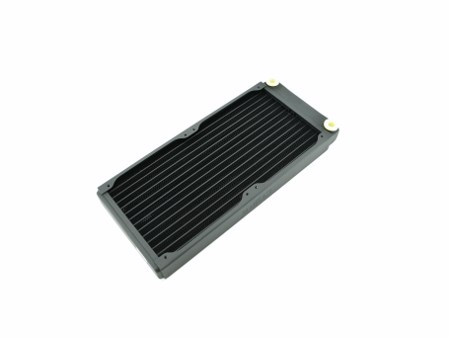
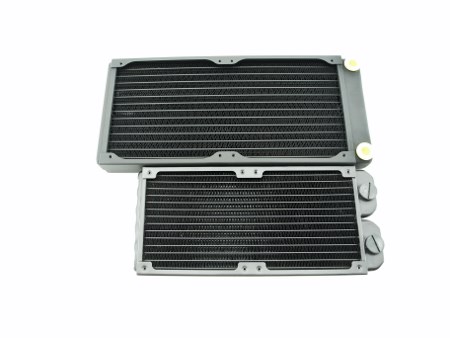
I will start with the 280mm radiator because i compared it with a few others i have here and i have to say i really liked the craftsmanship by the guys over at XSPC.
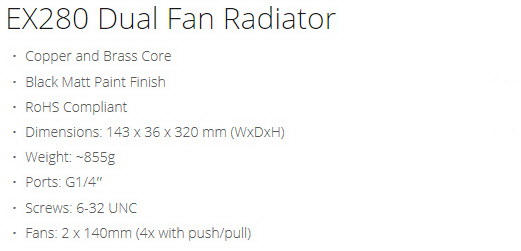
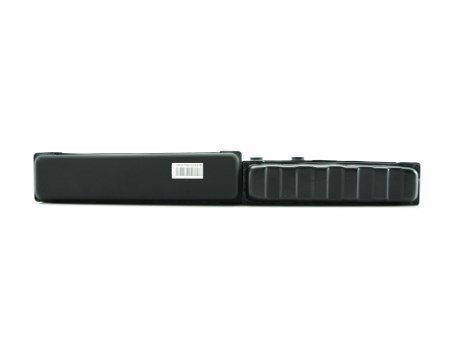
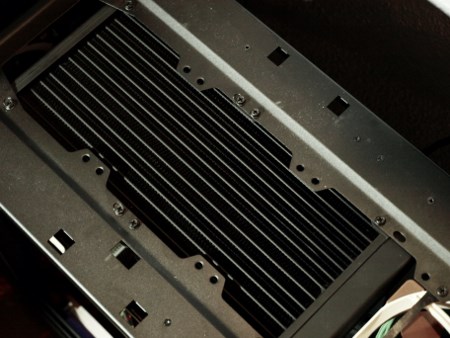
This radiator is 36mm thick, 320mm long and 143mm wide so as you can see from the above pictures it's not only longer and wider but it's also thicker than your average 240mm radiator.
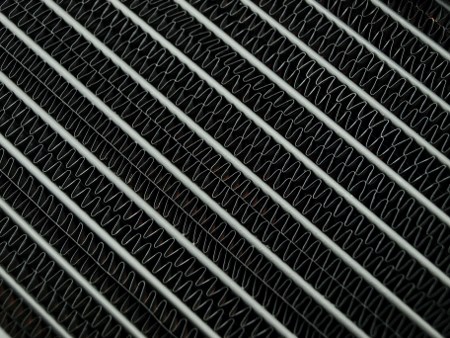
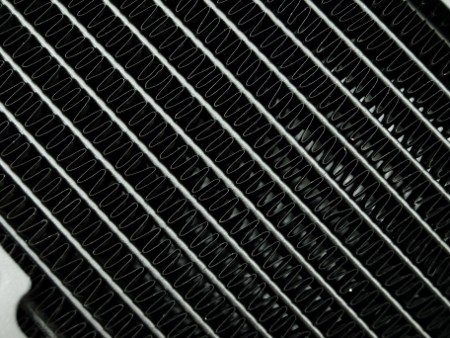
Another thing i found interesting is that it actually uses twice as many fins as the radiators i have here (smaller of course but higher density) and that should increase its cooling efficiency.
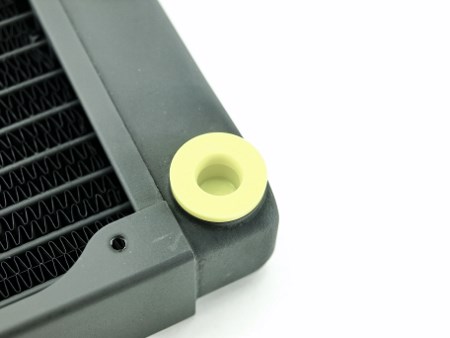
You will need to remove the caps to install the bundled fittings (suggest using an spanner to do that).
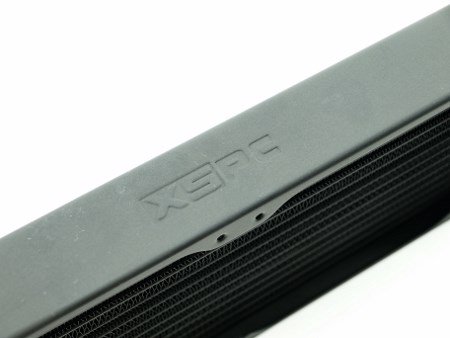
The XSPC logo is engraved on both sides of the radiator.
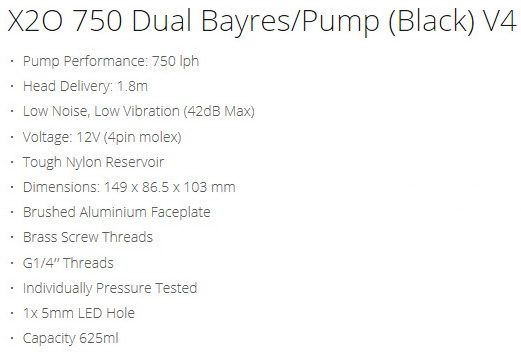
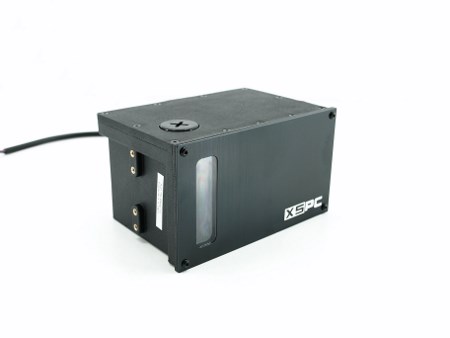
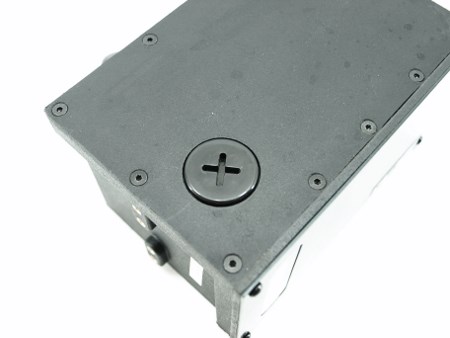
The reservoir/pump combo is very convenient although i do understand that many people might not want to use two 5.25" bays for that (XSPC has them covered with their solutions too).
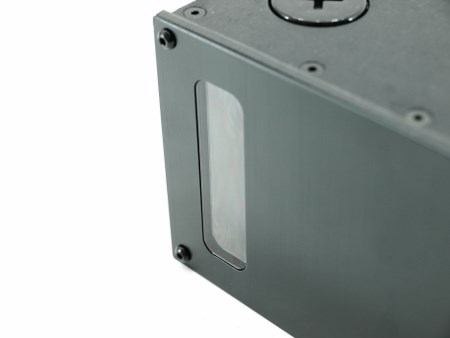
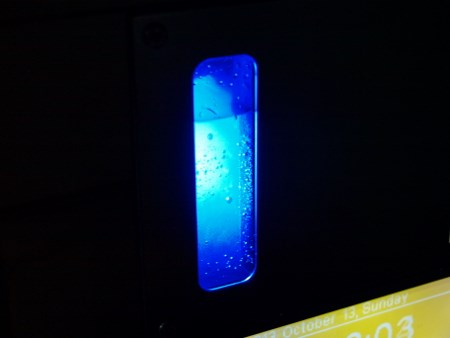
You can check the current coolant level from a small clear plastic section at the front of the reservoir (naturally the fill cap is placed at the top).
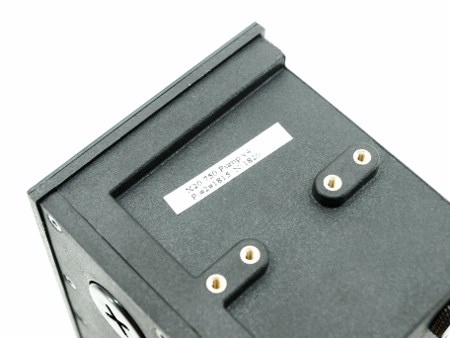
The reservoir/pump model is also indicated on a small sticker on the right side.
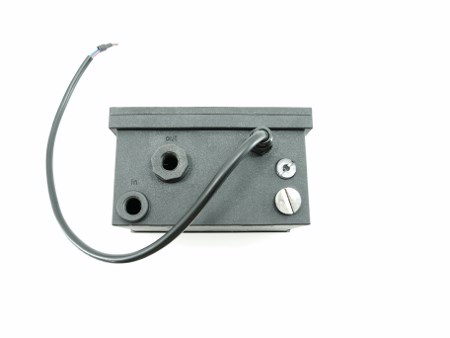
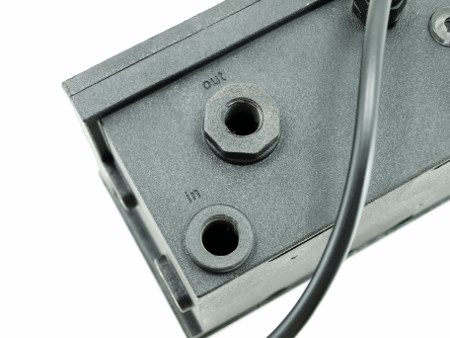
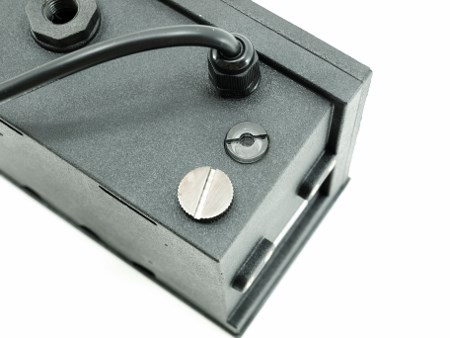
At the rear we see the in/out fitting holes, a small rubber area where you can place the bundled LED and what seems to be a cap for when you wish to empty the reservoir.
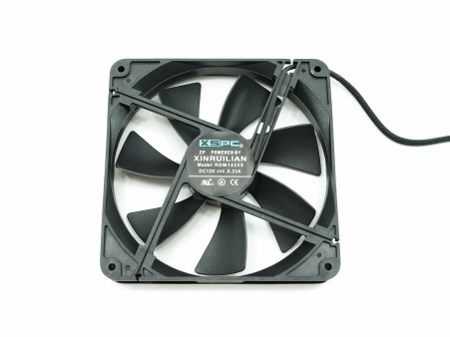
XSPC bundles two 140mm XINRUILIAN fans with the Raystorm 750 EX280 kit which can reach speeds up to 1350RPM and output up to 73.92CFM of airflow with 29dBA of noise.
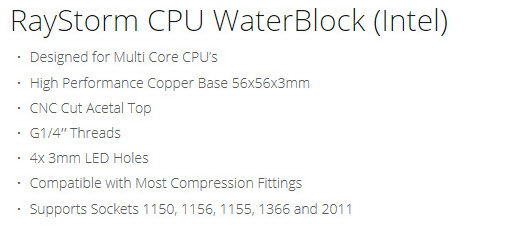
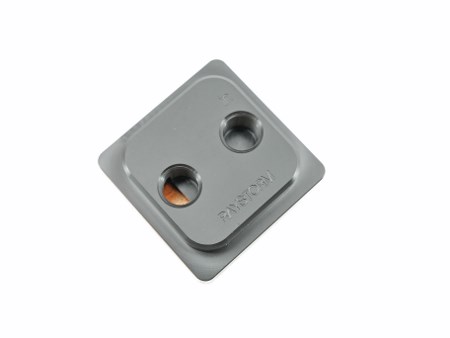
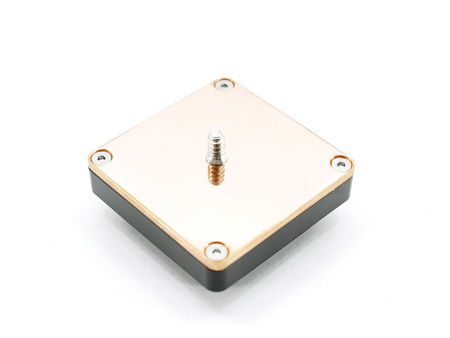
The CPU waterblock may not be all copper (XSPC makes a full-copper one) but it does feature an all-copper base (56x56x3mm in size) that has a mirror like finish.
The bundled LEDs are for the reservoir/pump (single) and the waterblock (dual) but unfortunately they are not as bright as we'd like them to be.
FINISHED LOOKS
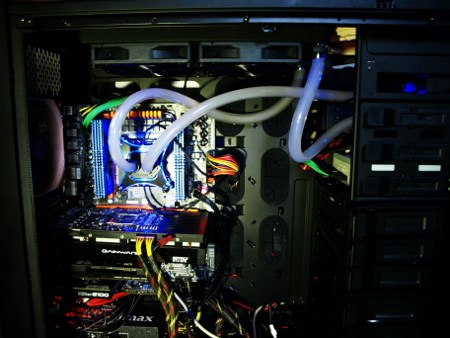
As you all know we never place installation pictures because A) it's very easy to install a CPU Cooler nowadays and B) out test rigs are nowhere close to our photo bench so the quality of the pictures if we were to take some would be a lot worse compared to our normal ones. Still we did decide to take shots of custom watercooling kits once installed inside our test rig.
The good thing with very large towers like the 900D is that you can mount even longer radiators at the top.
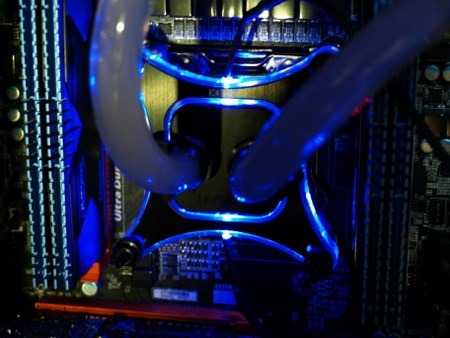
Like i said the blue LEDs do add an extra flash to the kit but a bit brighter would be nice.
The first time you put coolant in the reservoir it will start to spread throughout the loop so you will need to add more until you see that the reservoir is full (we used 1 litre exactly). Custom loops also hold some air inside so it may take a while for air to bleed out completely.
TEST BED
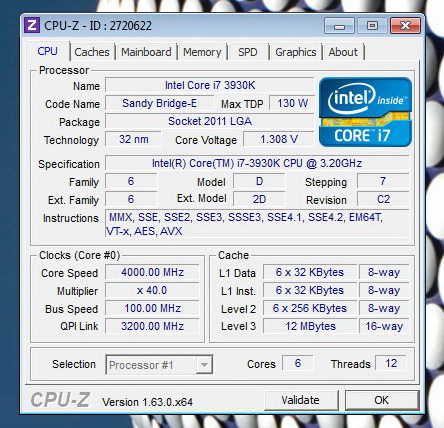

As you can see we made some minor improvements on our test rig (the 670 is temporary until a 780 gets here).
TESTING METHODOLOGY
We always take things quite seriously when it comes to work so just like with the previous LGA1366 database we will not be testing each CPU Cooler on its own and with different ambient temperature levels and thus we can actually have yet another valid CPU Cooler database. Testing a CPU Cooler automatically means that you need to know where it stands against the immediate competition and to accomplish that we have spent both money and time through the years, something that we plan to continue to do so in order to get the most accurate results for the end consumers who read these lines. Every CPU cooler in this database is tested with the bundled 140mm/120mm/92mm/80mm fans while working at both idle speed and 100% of their speeds for all the temperature tests. CPU Coolers that do not come bundled with a fan/s are measured using a Noctua fan (size dependent on the model) to test for the temperature tests but due to the lack of a stock fan dBA level tests are obviously skipped. Single (120/140mm) watercooling solutions are tested with the radiator mounted at the rear of our test rig while dual/triple/quad (240/260/280/360/420/480/560mm) solutions with the radiator mounted at the top. For the dBA tests every cooler in the database was measured both while on idle mode or with the fan controller in the minimum setting and while on extreme load or with the fan controller all the way to the highest possible setting (PWM fans do that on their own without our intervention). Every single test takes place in a temperature controlled room of 23 degrees Celsius Ambient Temp with the help of two AC units placed diagonally inside the room. The Arctic Silver 5 thermal paste is used with every CPU Cooler in our latest LGA2011 database (although initially this was not the plan we had to change things to get the most accurate results). Finally it's very important to point out that just because a CPU Cooler is better than another when tested with our Intel Core i7-3930k test rig that does not necessarily mean that the same performance differences will apply 100% for other CPU models and in other situations (such as different ambient temps and system configurations).
To successfully record the load temperatures we use the latest OCCT application for around 6-10 minutes to push the processor to its limits and after that is done and the temperatures are recorded we wait for about 10-20 minutes for the CPU to cool down and record the idle temperatures. This is done to allow time for the thermal conductive material to achieve the optimal performance level. Same procedure is then repeated with the Passmark BurnIn Test as a failsafe just in case the OCCT results are wrong. This procedure takes a lot more time than the usual peltier/thermometer tests but this way not only can we deliver real world results to our readers based on real CPUs but we can also triple check the results using a variety of programs. Last but not least the temperatures were recorded using both the latest versions of AIDA64 and RealTemp while the noise level tests are performed using a high precision ExTech HD600 Decibel Meter placed about 10-15cm above the CPU Cooler. Still although the same testing procedure applies to all units do take into consideration that unlike the official numbers which are measured in special noise isolated labs with just the fans here we also have both the rest of the cooler and the rest of the system (although all system fans are turned off when recording noise levels).
TEST RESULTS
CONCLUSION
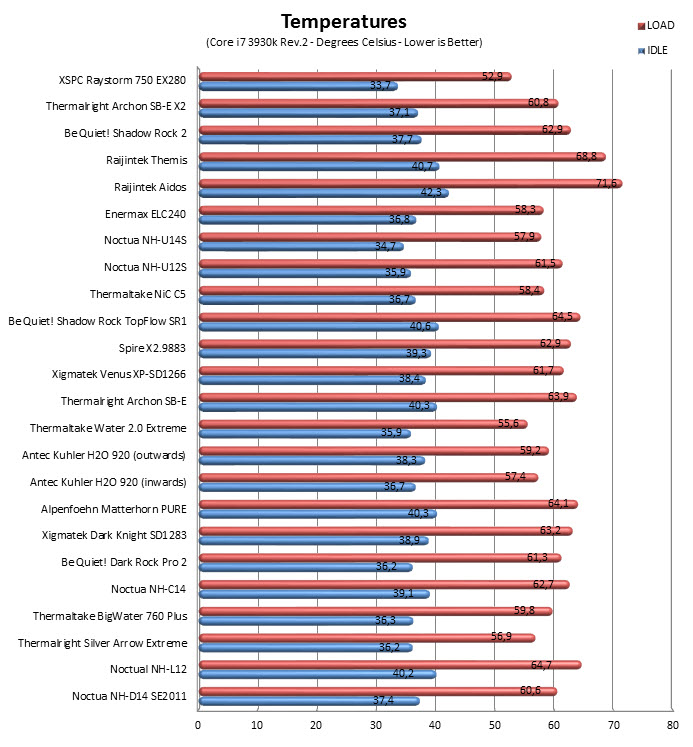
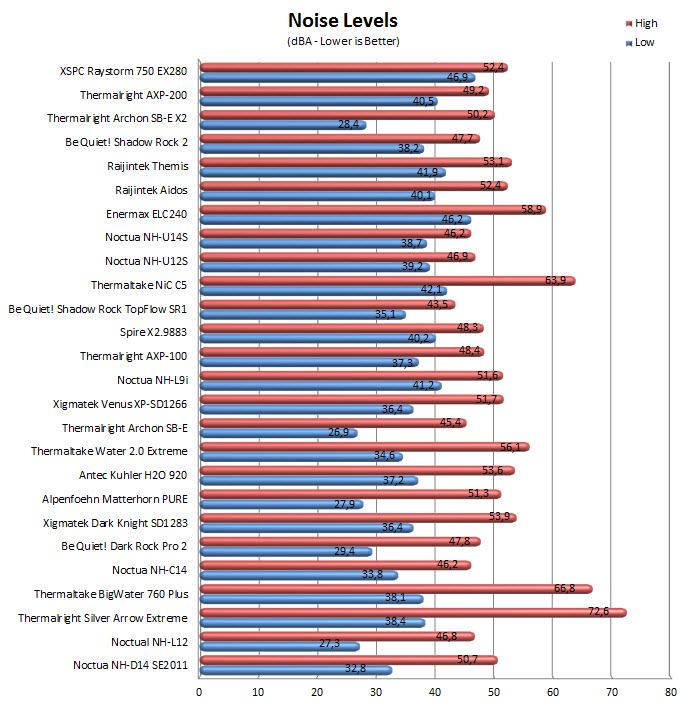
Although it did take quite a bit of time for us to wrap this review in the end it was well worth it since the Raystorm 750 EX280 WaterCooling kit outperformed every other CPU Cooler in our database with ease and at just 52.4dBA of noise (the pump may get slightly noisier from air bubbles but that will go away). Of course one of the things i really like about custom watercooling kits is that you can use massive radiators up to 560mm in length whereas AIO solutions only come with radiators up to 260mm long so in a way the 280mm one we had in this test is far from the largest/best one available. Still thanks to the excellent craftsmanship by the people over at XSPC it did manage to keep our overclocked Intel Core I7 3930k @ 4GHz from crossing over 53 degrees Celsius at heavy load. On our way to this result however we did experiment a bit and so we did learn that by connecting the waterblock before the radiator with the reservoir/pump we lost almost 3 degrees Celsius and although that's not a very large amount (roughly 6%) I’m sure that no one out there would want to lose them. Also the easier way to bleed out air from the loop is to add coolant until the reservoir is filled all the way up and to verify it we tried it twice. Of course custom watercooling kits are not perfect and so at first you need to check for leaks which means that you'd better have the loop running without the hardware components inside the case. This of course is not the case with AIO solutions so in a way i can understand why some people choose those instead. Also custom watercooling kits lose coolant over time so you always need to keep watch on the coolant level so you can add more if it drops again something that's not even possible with the closed AIO solutions. On the other hand however you just can't get the same performance from AIO solutions at least not currently so in the end you need to weigh the pros and cons and make your decision. Installation wise it took us less than 20 minutes to cut the hose, secure the fittings and mount the entire kit into the 900D and although we didn't really use the installation manual we did read it and it's perhaps the most detailed one we've seen to date.
Since i strongly believe that almost always you get what you pay for the current price tag of USD279.99 inside the USA (Amazon.com) and 195Euros inside the EU (Amazon.co.uk) for the Raystorm 750 EX280 WaterCooling Kit by XSPC doesn't really seem high to me. As i explained above however in the end it all comes down to what your needs are so if you are after superior performance and you can fit an 280mm radiator into your tower then the Raystorm 750 EX280 could be the ideal solution for you. Certainly if you own a beast of a tower like the 900D then i strongly recommend making use of that by going for one of their other kits that feature 420mm long radiators. My only slight problem with the kit is that XSPC doesn't include their own EC6 coolant and it may not be the easiest thing for people to find it (we had to wait for a full week to receive ours) so i hope that may change soon. In the end i really think that XSPC has introduced an excellent choice in the market for enthusiasts, overclockers, serious gamers and professionals who are after superior performance at a good price point and that's why the Raystorm 750 EX280 WaterCooling Kit gets our Platinum Award.

PROS
- Build Quality
- Excellent Performance
- Noise Levels
- Reservoir/Pump Combo
- Coolant Level Window
- 2x140mm Fans
- Socket Compatibility
- Easy Installation
CONS
- Price (For Some)
- EC6 Coolant Not Included

 O-Sense




.png)

