ASSEMBLY
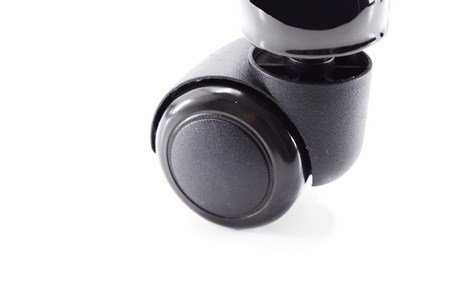
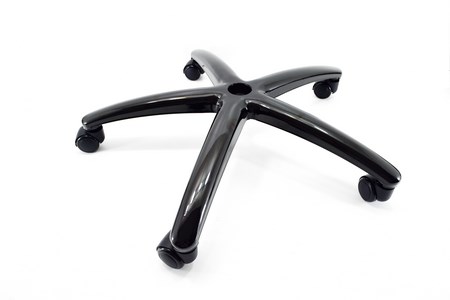 Some people may start with the base seat but as always i prefer to start with the lower end and make my way up so first we mount the wheels on the 5-star base (just push them in the holes until you hear the lock sound).
These wheels may not look as good as the ones used in the Nitro or the Premium V2 chairs but the wheels are the last thing i check when i sit on a chair.
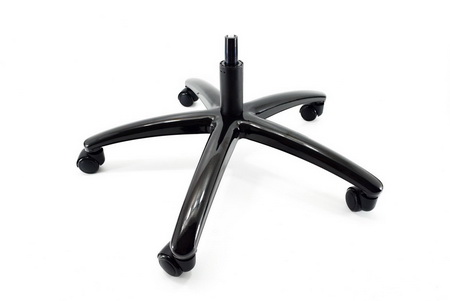
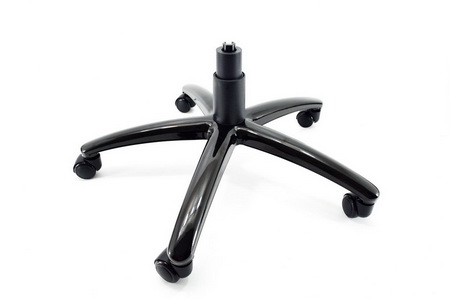 After that just place the class-4 gaslift in the hole at the center and then the plastic cover over it.
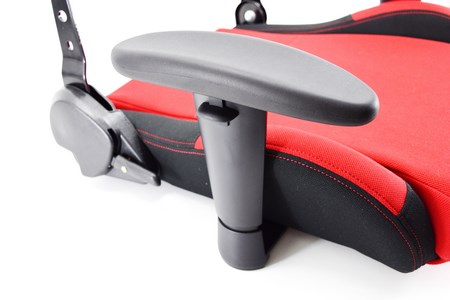
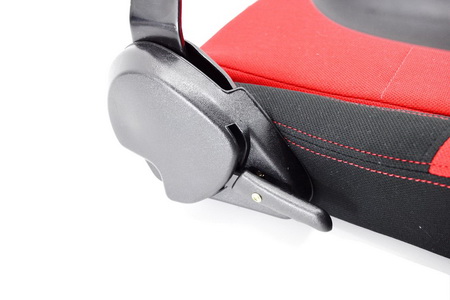 The seat base is once again assembled in large part right from the factory since the two height adjustable arm rests and the backrest adjustment mechanism are already mounted.
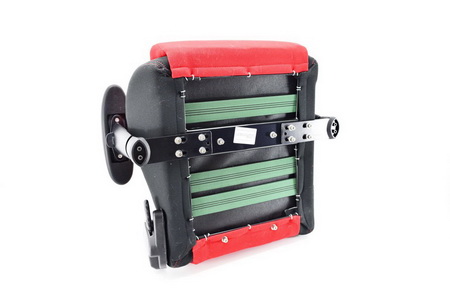
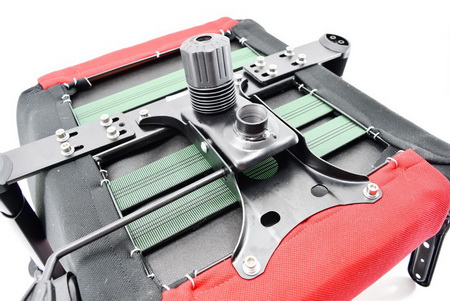
Turning the seat base over we see the same components and quality as the Nitro chair and the Premium V2 (only 3 screws were included in the box because all the others are in their place already).
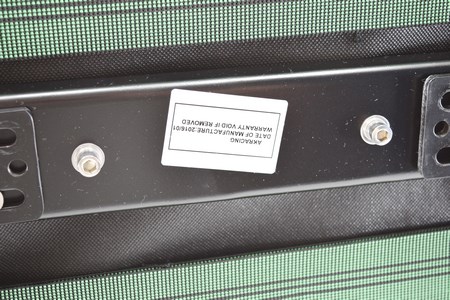
A small sticker reveals that our sample rolled out of the factory in January this year.
Next on the list is the height adjustment mechanism which requires removing 4 Allen screws and then placing them back to secure it in place (the green elastic bands are there to increase support while the copper clips remind us the ones used in regular sports seats).
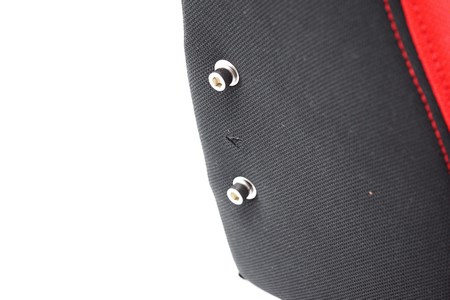
There are also two Allen screws mounted on each side of the back rest.
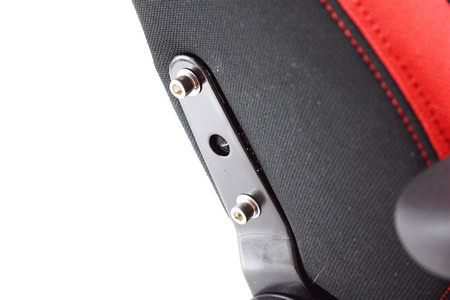
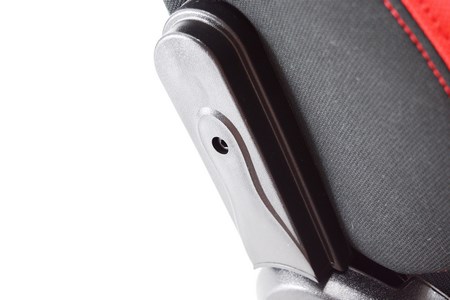
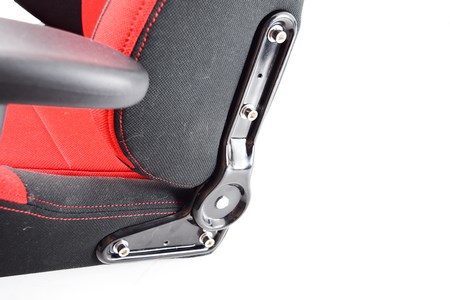
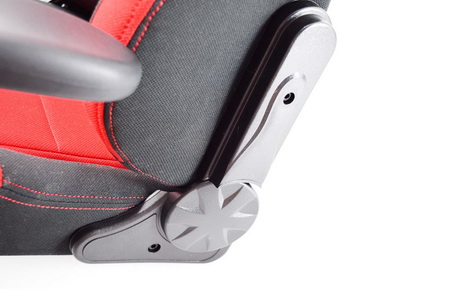 You will need to mount the back rest on the seat base using those 4 screws and then using the plastic side covers as seen above.
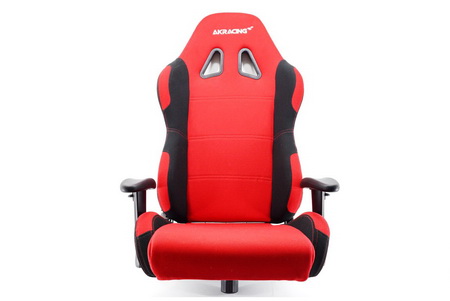
Once you're finished with the top end of the chair you will just need to place it on the 5-star base and the gaslift.

 O-Sense




.png)

