ASSEMBLY
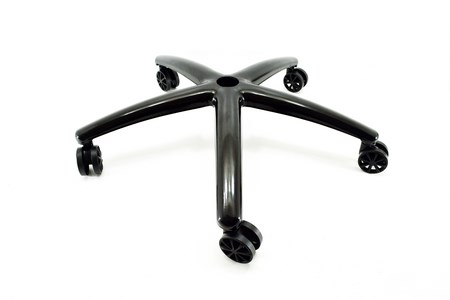
Once again we started assembly of the chair in our hands by attaching the nylon casters (wheels) to the 5 star base.
These are premium quality 60mm wheels (usually we see 50mm ones) so even after some extreme testing we had no issues with them (one of them did fall off during those tests but that was somewhat expected).

 After that we mounted the class-4 gaslift and its plastic cover as seen above.
The "belly" of the base may not be on par as with some others we've seen to date (from far more expensive models) but it's certainly much sturdier compared to that of the TGC20.
Each of the two 4D armrests is attached to the base via 3 Allen screws.
ThunderX3 used the same basic butterfly type height-adjustment mechanism just like with the TGC20 (mounting required just 4 Allen screws).


After that you will need to attach the backrest to the base as seen above (two Allen screws per side).


Also bundled are two small Philips screws and two small caps both of which are used to secure the side covers in place.
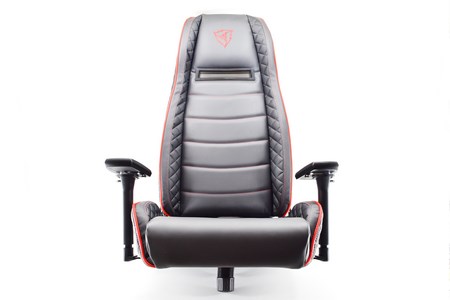
With the entire upper body of the TGC40 assembled we just need to place it onto the class-4 gaslift.

 O-Sense


.png)

