ASSEMBLY - FINISHED LOOKS
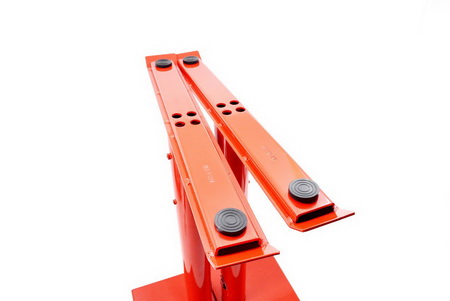
Let's start the assembly by taking a look at the powder coated legs of the Arena Gaming Desk (quite sturdy and heavy).
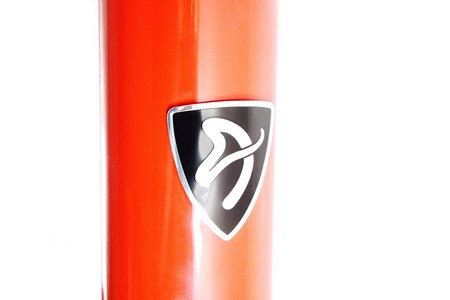
A metal sticker with the Arozzi logo is placed on the exterior of both legs.
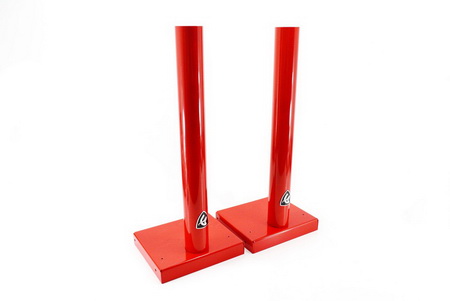
Before you mount the feet you will need to release the tubes inside the legs (via the two Allen screws placed on the sides) take them out and align them with the feet (otherwise you will get the above result).
Both feet attach to the legs via a total of 8 Allen screws (4 each).
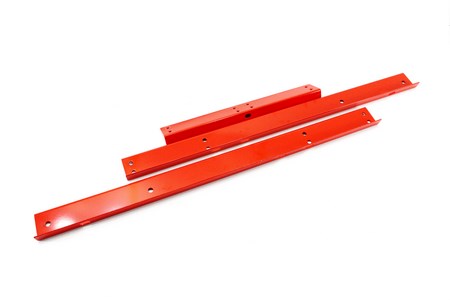
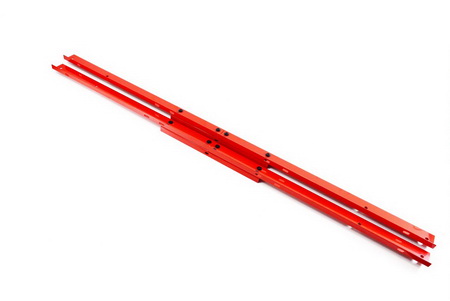
Next are the 4 long rails which are held together with two shorter ones.
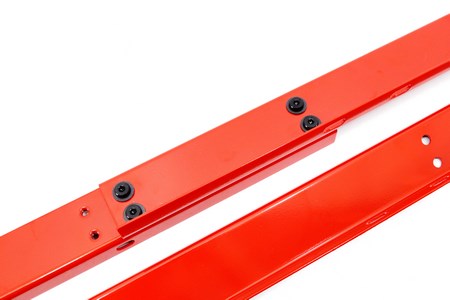
The shorter rails get attached to the longer ones with a total of 8 Allen screws (4 on each side). Just make sure you align them correctly.
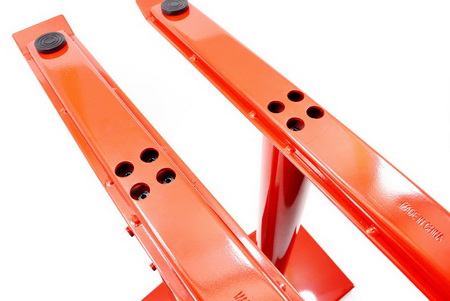
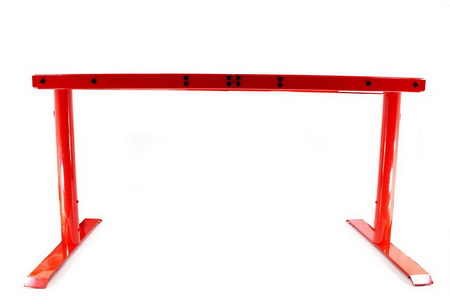
Here we have both the front and rear rails ready to be mounted on the legs.
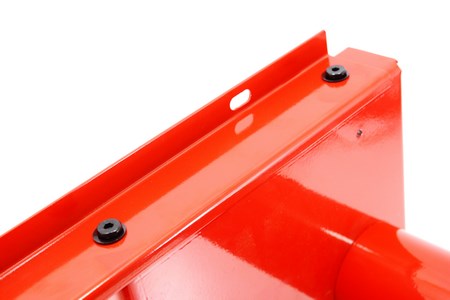
Each of the rails attaches to each of the legs with a total of 4 Allen screws (2 on each end as seen above).
Once the frame is complete you will need to either place it someplace where you can get underneath and attach the MDF boards or place the MDF boards on the ground and place the frame on them by inverting it (we did the first).
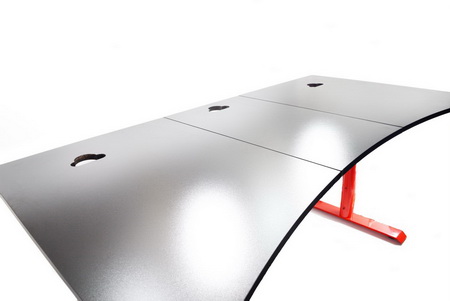
This is how the Arena Gaming Desk looks like with the 20mm thick MDF boards attached (also notice the cable management holes at the front of each board).
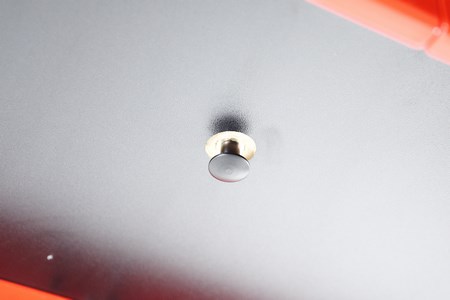
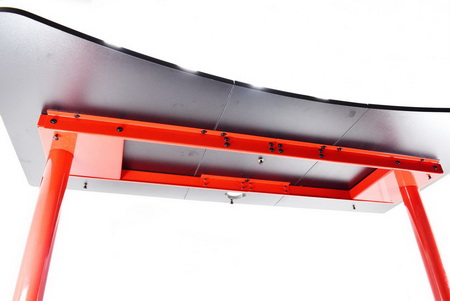
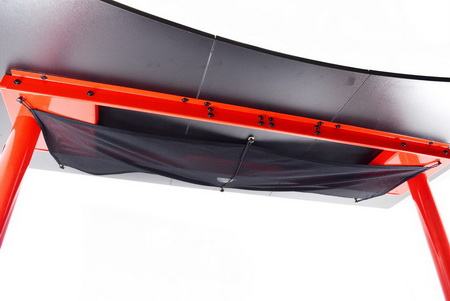
Once that's over with you will need to mount the 6 screws beneath each MDF board and the two legs on which you will hang the cloth net.
The cloth net is far from perfect since heavy cables may not be hidden easily, overall however it does help.
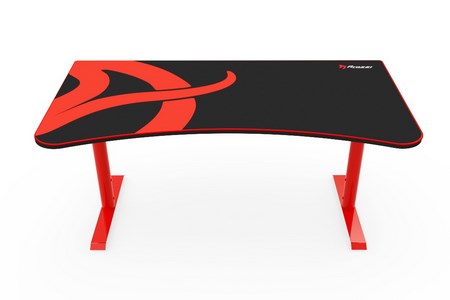
Last thing on the list is to place the 5mm thick mouse pad ontop of the three MDF boards (looks nice doesn't it?).

 O-Sense




.png)

