WEB INTERFACE PART 1
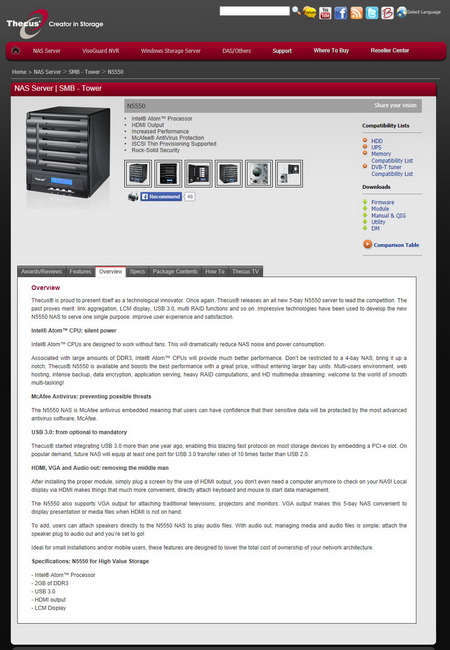
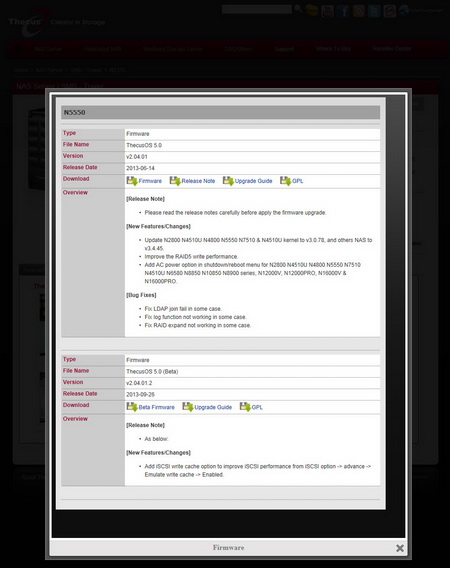
Although the N5550 comes with the OS preinstalled in the MDS module you should visit the official support page to download the latest FW version.
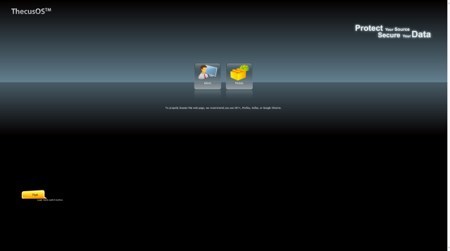
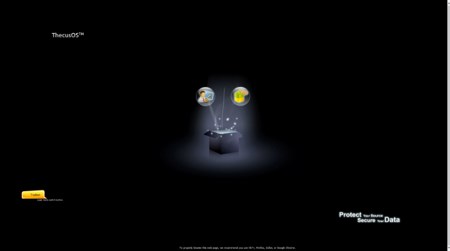
Unlike the N2560 which we had the chance to review a while back the N5550 uses the previous version of the ThecusOS (v.5).
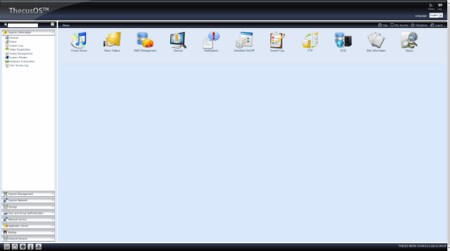
11 icons are the very first screen you will see once you enter the web interface.
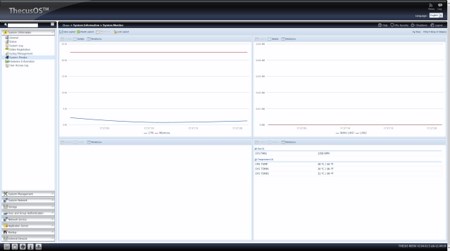
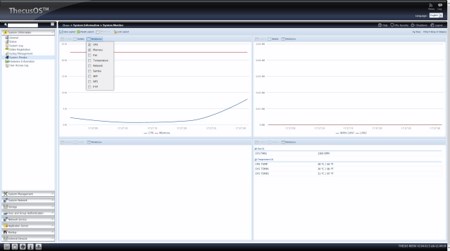
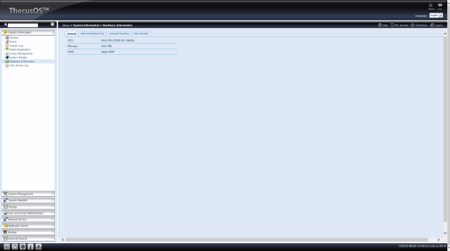
Via the system information menu you can check information such as the status of the device, system logs, hardware components and you can also access the system monitor.
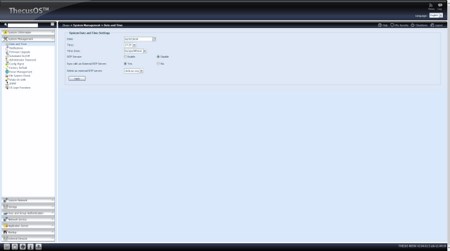
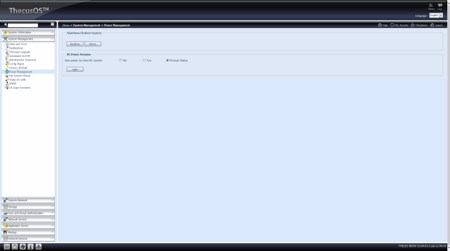
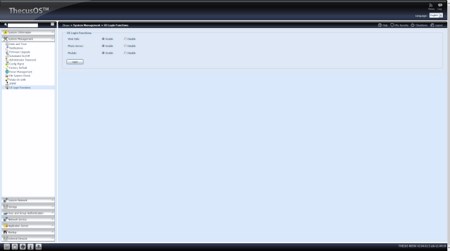
The system management is perhaps the heart of the ThecusOS since from here you can set the time and date, check system notifications, enable/disable the scheduler, perform FW updates, adjust power management options (including shut down and restart of the NAS), enable/disable Wake-On-LAN, check the file system, restore all settings to their factory defaults and select the icons available on the login screen.
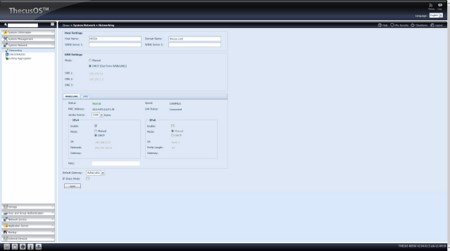
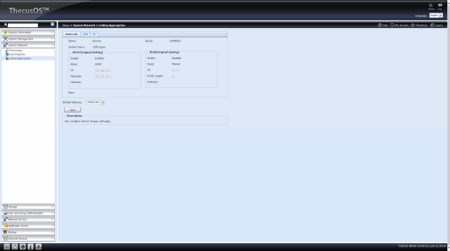
All the important network settings including linking aggregation are available inside the system network menu.
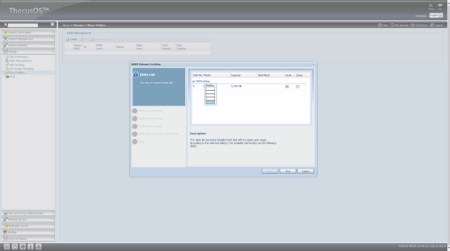
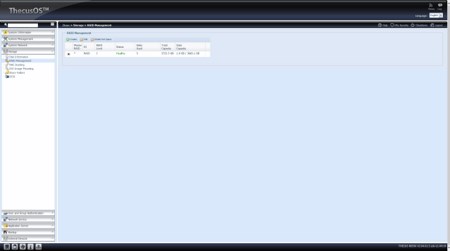
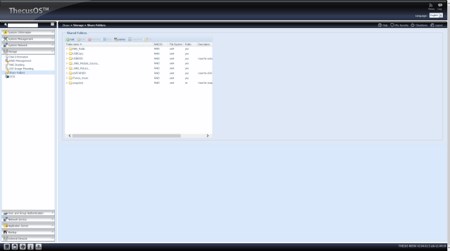
Everything regarding the installed drives from RAID management, ISO mounting, iSCSI, shared folders and up to checking their health via SMART are placed under the Storage tab.
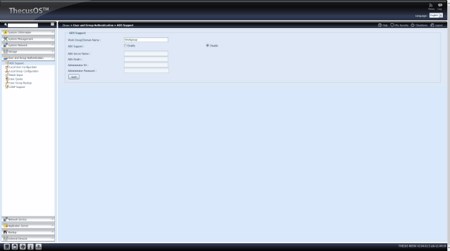
You can add new users and groups, backup them and adjust their quota from within the User and Group Authentication.
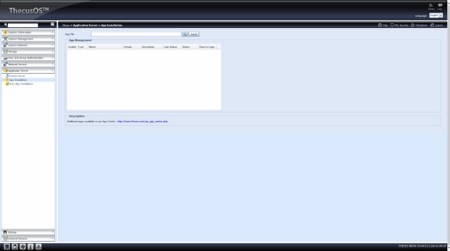
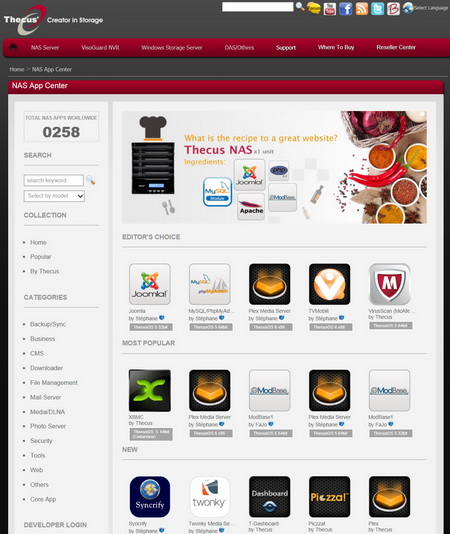
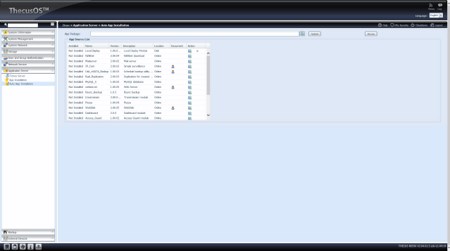
Installation of extra applications is possible from within the application server menu either manually (you will have to download each application from Thecus as seen above) or automatically from a list of chosen applications (not nearly enough however and not the last versions).
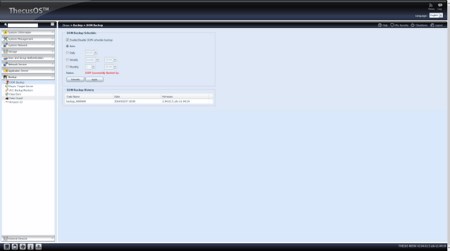
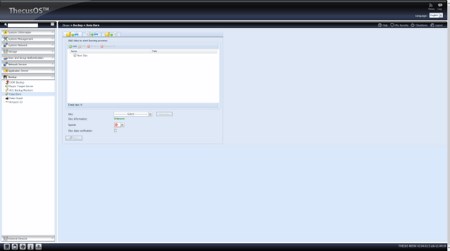
Backup applications are placed inside the backup menu and so from here you can back up the DOM contents, backup everything locally, use data burn to backup files onto an external disk recorder or use amazons s3 (simple storage service) online cloud service.
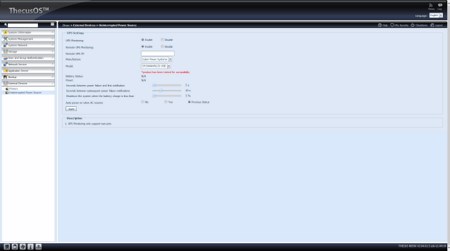
Attached devices like printers and UPS can be accessed from the external devices menu.

 O-Sense




.png)

