WEB INTERFACE PART 1
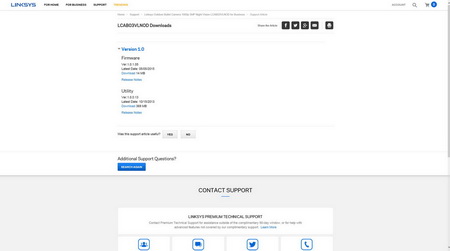
As usual prior to accessing the IP camera we strongly suggest downloading (and then install through the Maintenance tab in the web interface) the latest FW update from the official support page (we also used version 1.01.05 for this review).
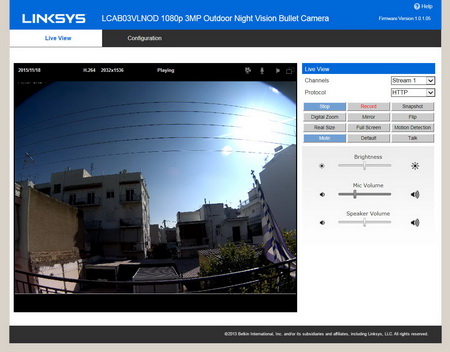
Accessing the web interface is very easy, just put the IP address in your web browser and you're good to go. The first page (Live View) has all the basic functions of the camera in one place including the 3 available stream outputs and the available protocols (HTTP, UDP, TCP).
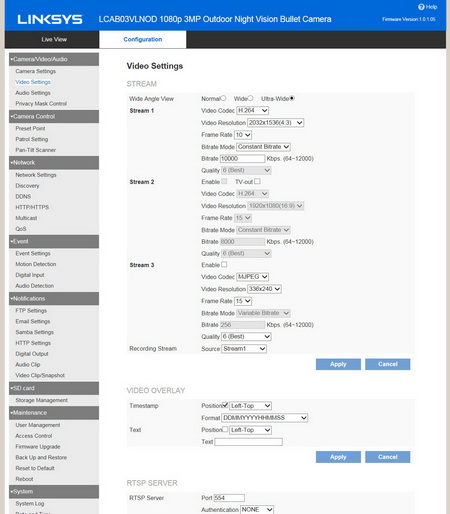
The very first tab you will see once you enter the configuration page is the Video Settings one and through here you can setup the Wide Angle View (Normal, Wide, Ultra-Wide), select the compression codec (H.264, MJPEG, MPEG4), choose the desired resolution through a large number of 4:3 and 16:9 ones (320x240, 640x480, 720x480, 800x600, 1024x768, 1280x720, 1280x800, 1280x960, 1280x1024, 1920x1080, 2032x1536), adjust frame rate (according to the used resolution), select between variable and constant vibrate of up to 12000Kbps, enable/disable the timestamp feature setup RTSP and select the video standard (NTSC or PAL).
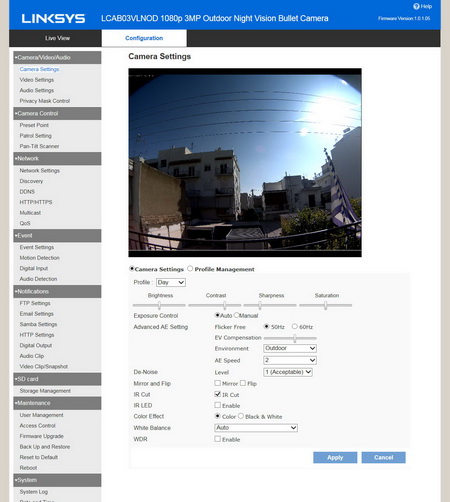
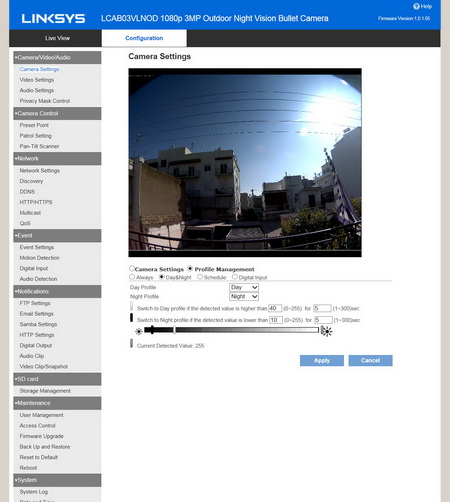
Through the Camera Settings tab you can adjust everything related to image quality from brightness, contrast, sharpness and saturation and up to WDR, white balance, environment control and many more.
You also have access to the IR LEDs since you can adjust the when they should turn ON.
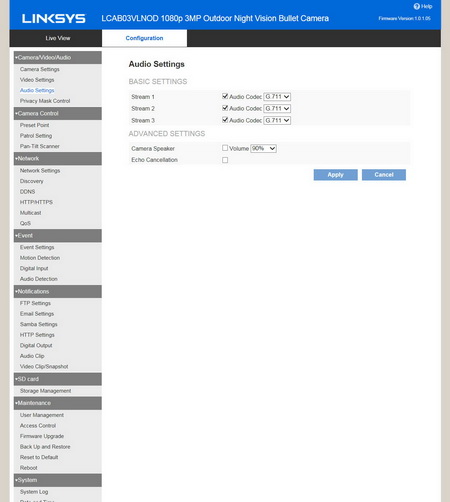
All the audio related options for the microphone and speaker (if plugged in) are placed in the Audio Settings tab.
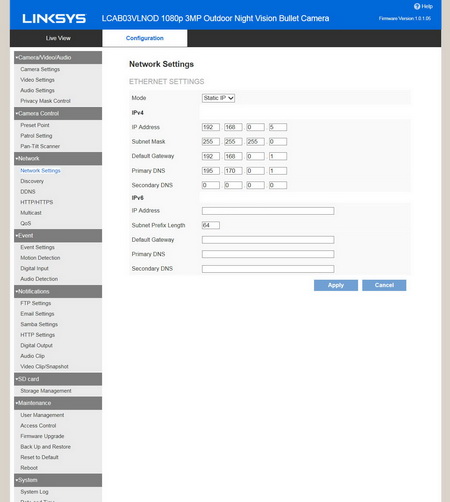
Under the network settings tab you can setup the IP address of the camera.
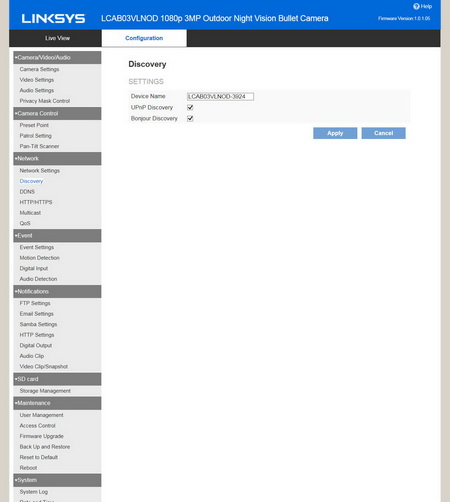
If you wish to enable UPNP and Bonjour discovery you can do so from within the discovery tab.
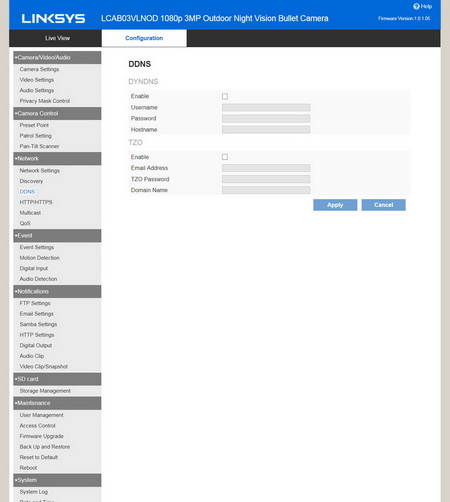
You may use DYNDNS and TZO to access the camera feed from afar.
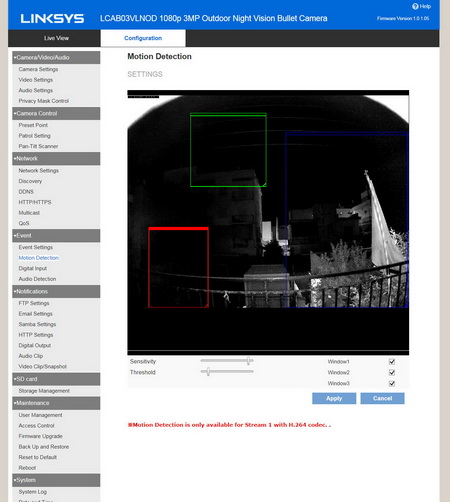
The LCAB03VLNOD can use up to three different windows with its motion detection feature.

 O-Sense




.png)

