WEB INTERFACE
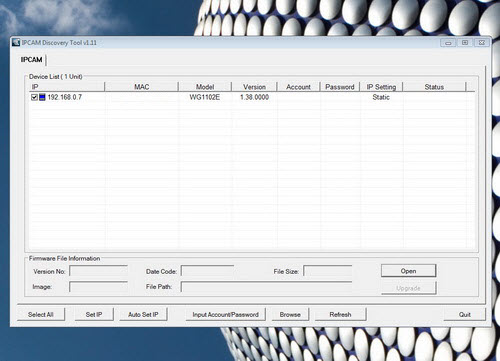
If you don't know how to find the IP address of the unit you can use the provided IPCam Discovery tool through which you can also set a static IP.
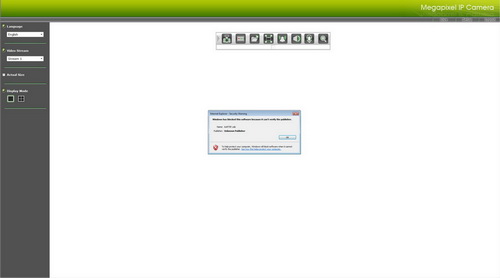
The first time you enter the web interface you are required to install an ActiveX control (you may need to head into tools-security-custom level and allow signed/unsigned ActiveX scripts).
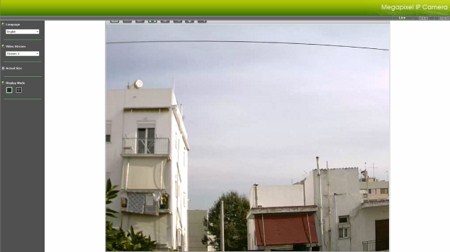
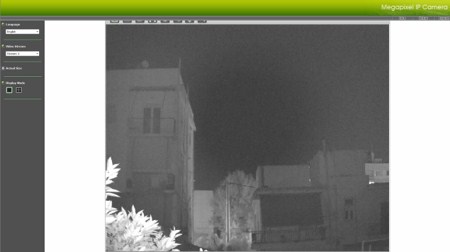
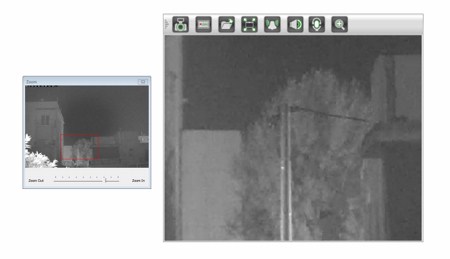
Once you install the ActiveX control you will see the main screen which is also the live feed screen. Unfortunately although both the night vision mode and the overall picture quality are quite good the viewing angle is just not as good.
To zoom you need to use the small window seen in the above picture which is just not as convenient as using the mouse wheel, a feature seen with other similar solutions.
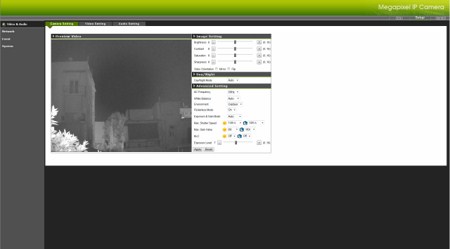
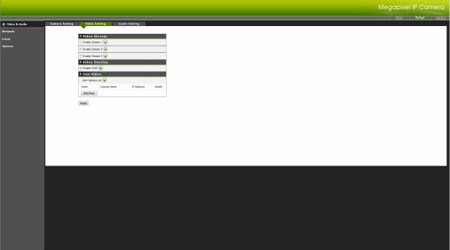
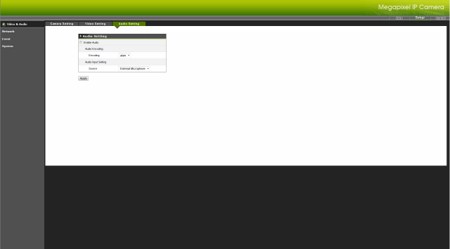
Under the video & audio tab you can adjust everything related with the image/video quality, watch/join up to three different IP cameras (regardless of brand) from the same web interface and finally enable/disable the audio input/output.
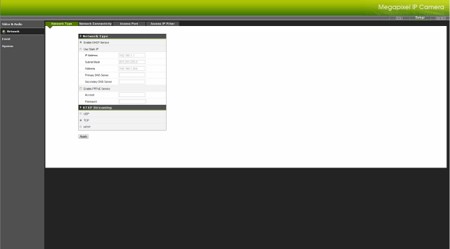
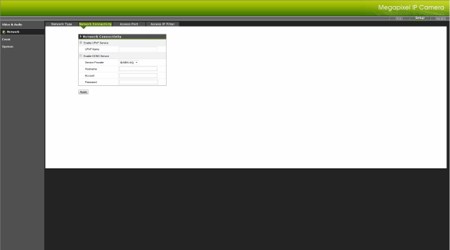
Through the network tab you can set a static IP address enable/disable UPNP and DDNS, set the access ports and also add access filters.
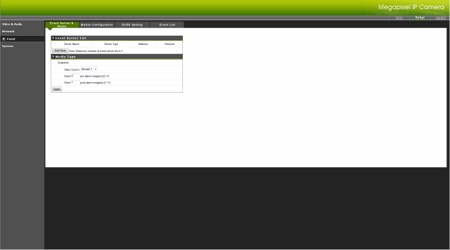
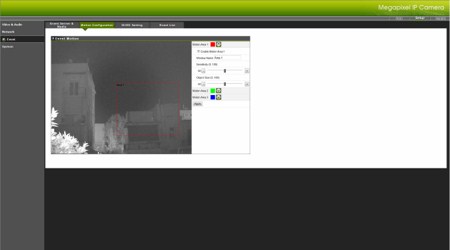
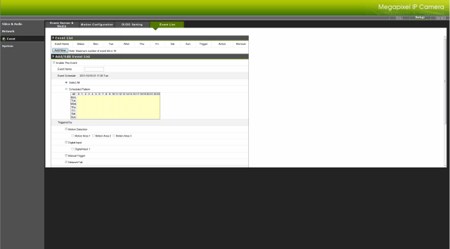
You can set specific events, setup the motion detector (up to 3 different areas), adjust DI/DO alarm settings and arrange the triggers/time for each event.
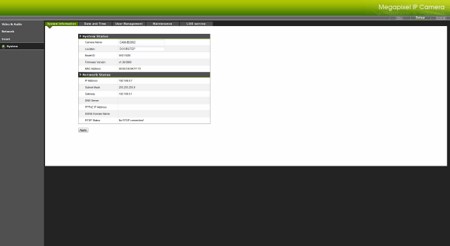
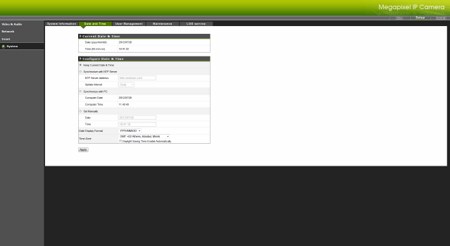
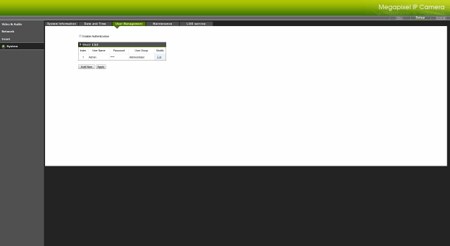
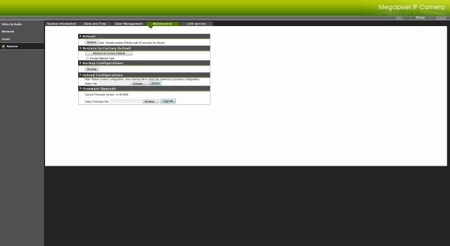
In the system page you will can adjust things such as the system and network status, date and time, add/remove users, reboot the unit, reset factory settings, backup the current configuration, perform a firmware update and check the system logs.
The firmware update (if you ever need to perform it) takes a few minutes to complete.

 O-Sense




.png)

