REOLINK ANDROID / IOS APP


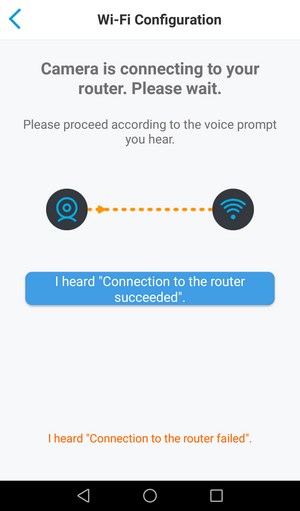
The first thing you will be asked by the Android / iOS app is to either setup the camera (connect it to your WiFi for remote access) or access it directly from your smartphone / tablet.


The entire setup procedure is very easy so you just need to follow the steps above by first scanning the 2D barcode located at the rear of the camera.
After the camera has been successfully intergrated into your local network you will need to name it (and enable DST if applicable).
From the main app screen you will now be able to see the available camera (or cameras) with the state of its battery and enable/disable the PIR motion sensor feature.


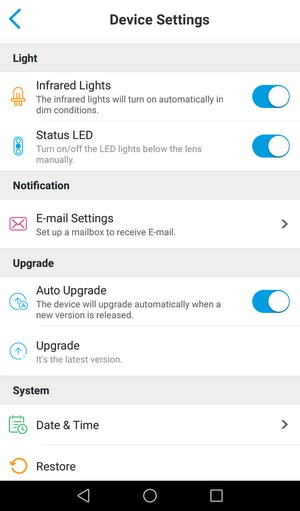
From the settings menu you can enable push notifications, access the beta version or Reolink’s Cloud Storage (recording on the cloud), adjust the image quality, enable/disable sound, adjust the recording settings (length), enable/disable PIR motion recording, change the password, enable/disable all the LEDs, perform automatic and/or manual firmware updates and finally you can change the time/date and restore the unit to its factory state.
The app has two different quality settings clear (1080p/720p at 15fps with up to 2048Kbps bitrate) and fluent (360p at 15fps with up to 512kbps bitrate).
The beta plan for Reolink’s Cloud Service ends on September the 30th and offers up to 10GB of cloud recording space for up to a total of 5 Argus cameras (however do keep in mind that as the disclaimer states cloud recordings are not 100% secure).
From the device info you can see the name and model of the camera, its installed firmware version, hardware version and much more.


You can use the two way audio feature from within the app (press on the talk to talk and on the speaker over the screen to listen) and you can switch between fluent and clear quality modes (and black and white and color night modes) as seen above.

 O-Sense


.png)

