WEB INTERFACE
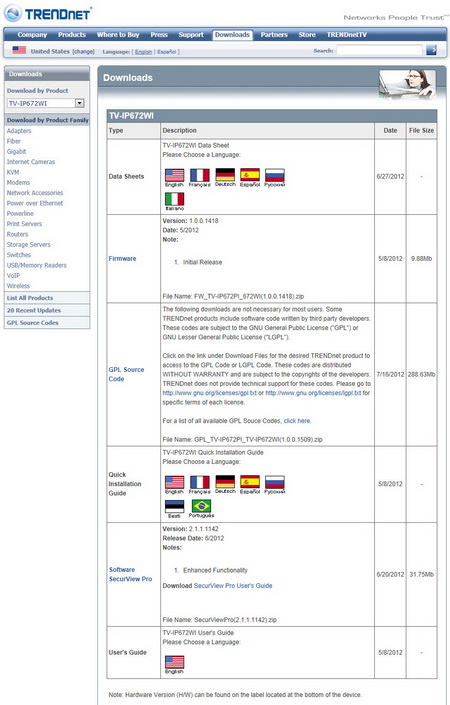
The TV-IP672WI is a new product and so up until this day TRENDnet has not released a firmware update, however that may soon change so i really suggest checking their support page before all else.
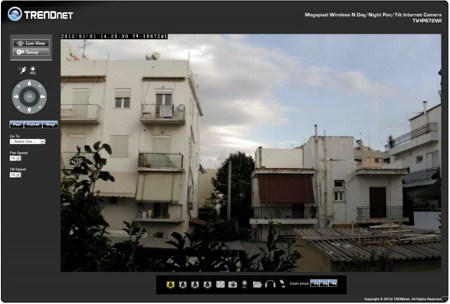
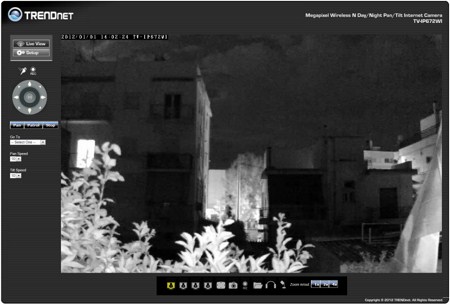
As with pretty much every IP camera out there the best way to configure and use the TV-IP672WI is via your preferred web browser and as always the very first screen you will see has a large live feed area (you will need to play with the image settings a bit to get the best results).
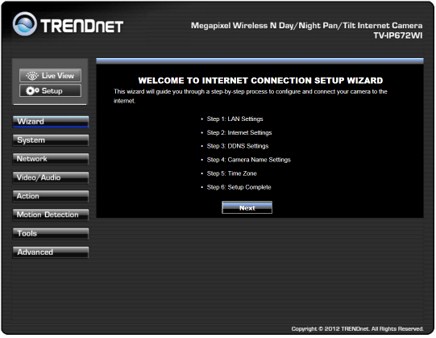
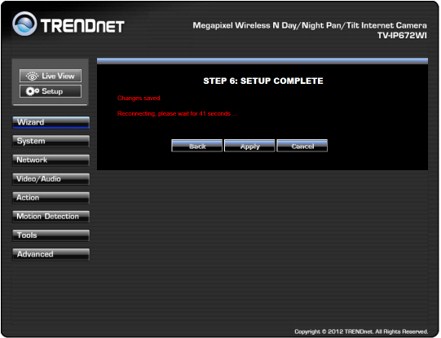
The first time you enter setup the setup wizard will launch and after you are done configuring the basics it will require roughly 60s to store the new settings and restart the device.
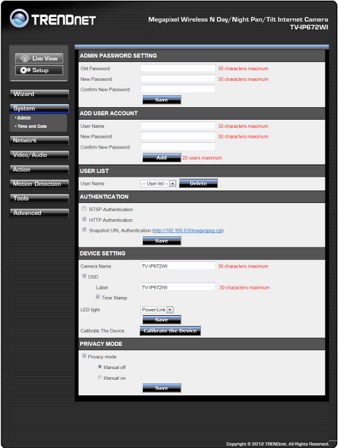
Under the system tab you can change the current password, add/remove new user accounts, enable/disable authentication protocols, adjust the OSD settings and enable/disable the privacy mode (you can also use the front button for that).
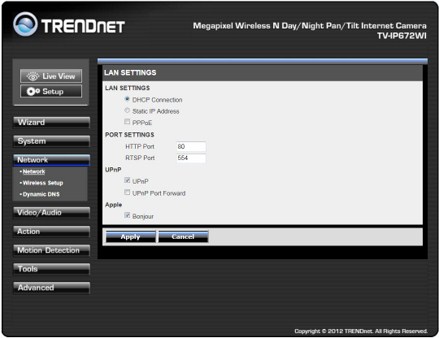
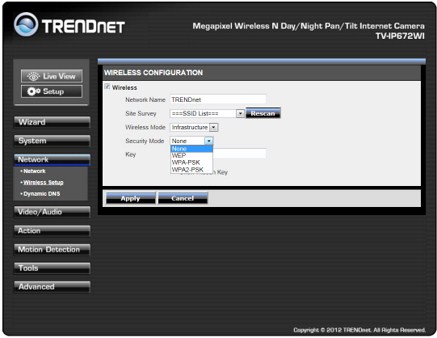
The network tab is quite forthcoming so through here you can set the IP address (manually or automatically through DHCP), open ports, enable/disable UPnP, enable/disable the Bonjour service, enable/disable wireless mode, set the wireless security and finally enable/disable the dynamic DNS service.
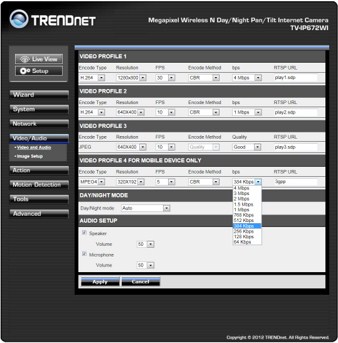
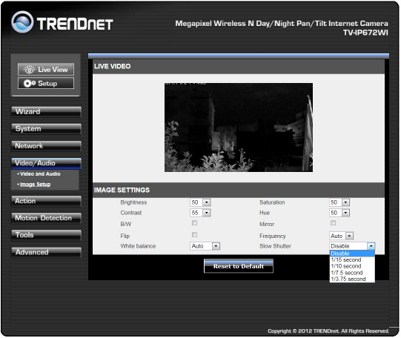
In the video/audio tab you can adjust the presets for the 4 available profiles, enable/disable night vision mode, enable/disable audio in/out and also adjust all of the image settings to get the result you want.
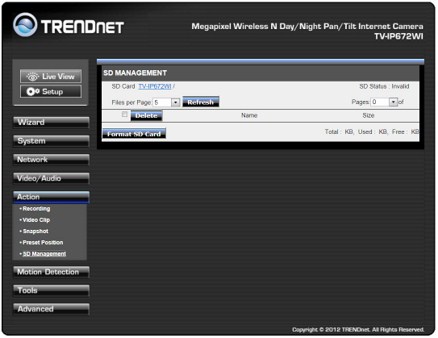
Most of the settings contained under the action tab have to do with recording on the Micro SD slot.
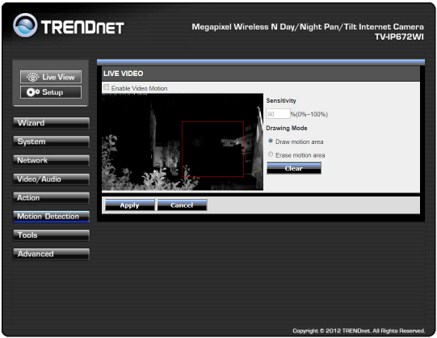
You can set the motion detect area, motion sensitivity and enable/disable recording in the motion detection tab.
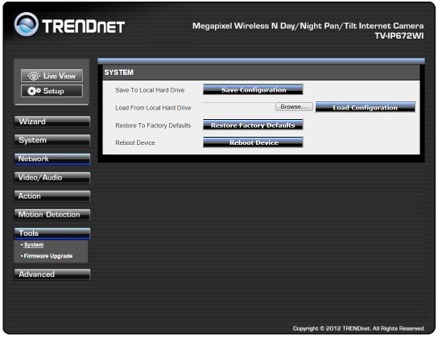
The tools tab allows you to save the current configuration onto a file, load a configuration from a file, reset the device to the factory settings, reboot the IP camera and perform firmware updates.
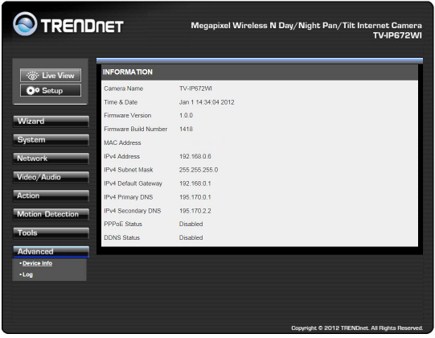
The device logs and information is accessible from the advanced tab.

 O-Sense




.png)

