GRAPHICAL USER INTERFACE
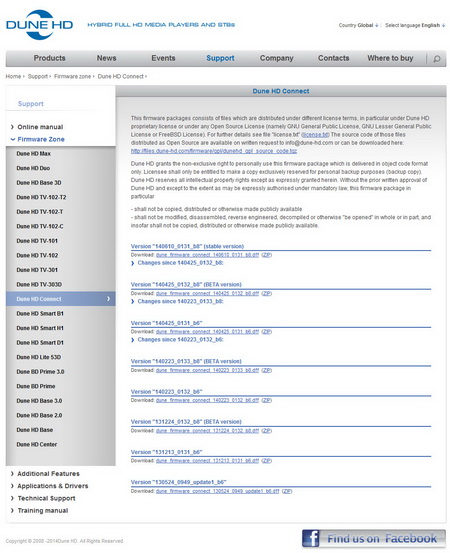
Typically the very first thing you should do prior to using the Dune HD Connect is to check online for the latest FW update (Dune HD releases new FW often so chances are the one that your device came with is outdated).
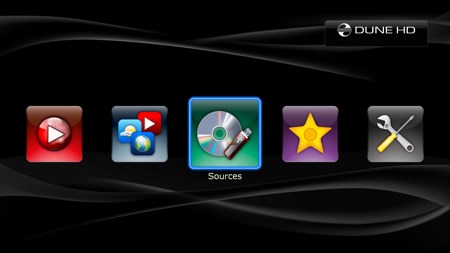
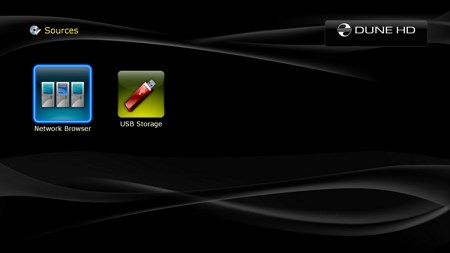
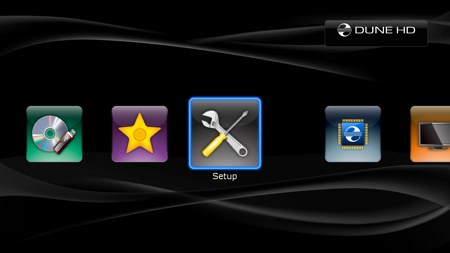
Dune HD has been using the same design for their GUI for 3 generations now and so once again the first thing you will see is a left/right selection line from where you can access the media sources (network, USB, HDD), favorites, TV feed (DVB-T dongle required), applications, Dune HD store, social networks, games and setup.
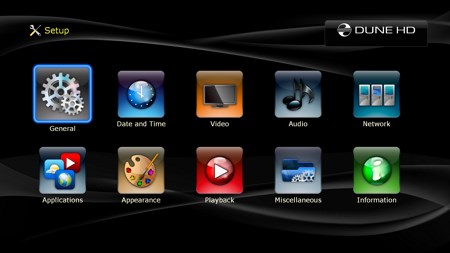
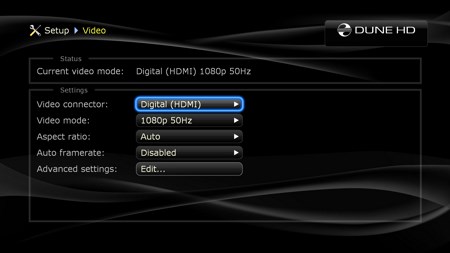
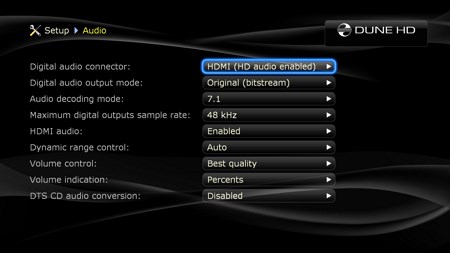
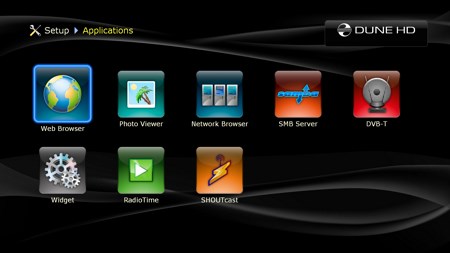
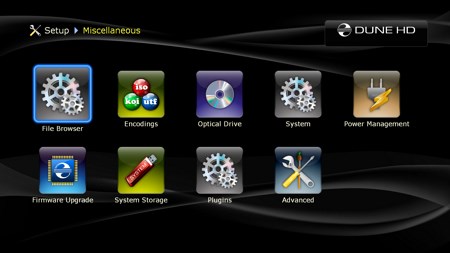
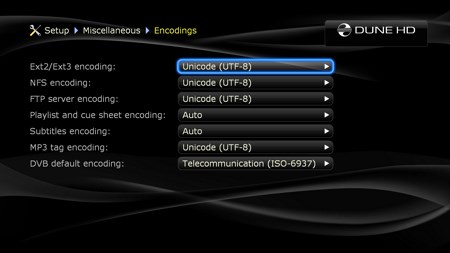
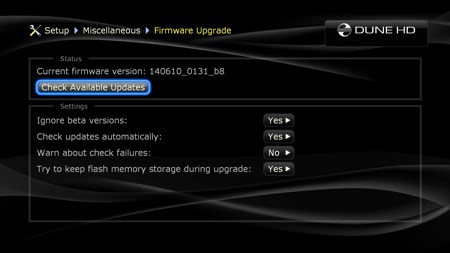
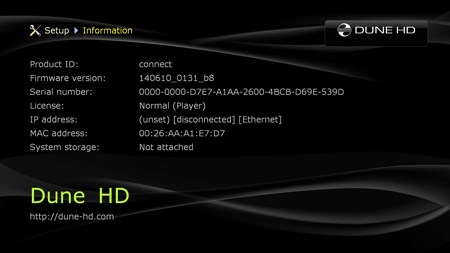
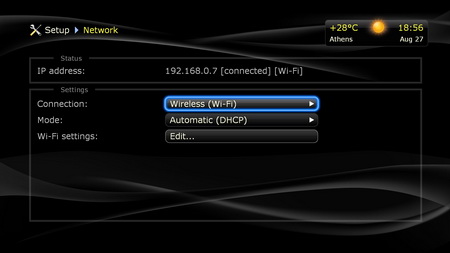
From within the setup screen you can change the interface language, set the screensaver timer, configure the date/time, adjust video settings (the device also allows you to adjust advanced settings such as color depth and colorspace), configure audio (HD audio is only available through HDMI), connect to the network via wired or wireless WiFi mode, choose which applications are shown in the applications screen, change the interface skin, adjust playback references, configure system settings (such as fast disk and SMB access), adjust the power management options, perform firmware updates, initialize/clear system storage, check the installed plugins (this time the Dune HD Connect comes with many by default) and finally see various info regarding the unit.

 O-Sense




.png)

