INTRODUCTION
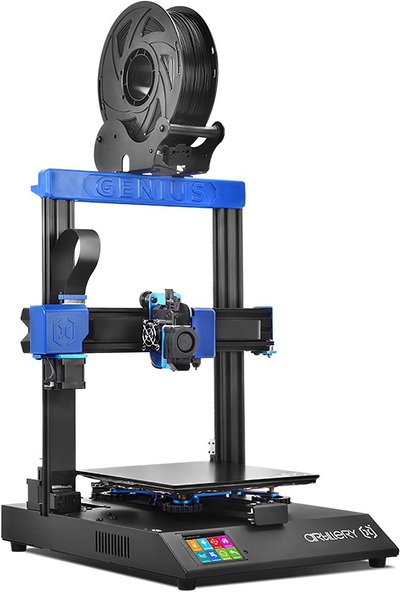
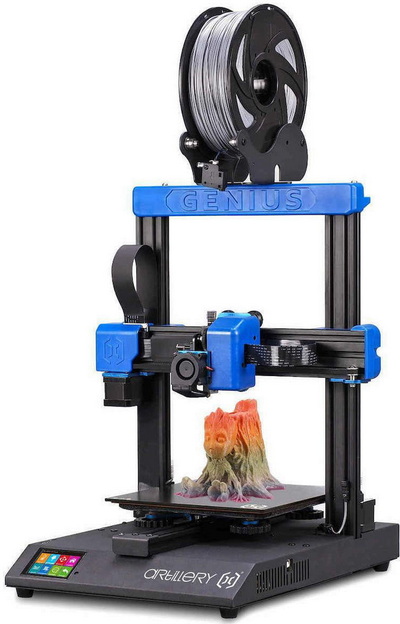
3D printing may not be quite perfect yet in terms of available materials and even speed but it's getting there and let's be honest about it, it's a very useful technology both for professionals and consumers alike. For people taking their first steps in 3D printing what comes first is to decide which printing technology is ideal for them and well, that comes down to detail, durability, size and ease of use. For example, SLA (stereolithography) 3D printers which use photopolymer resin for printing material offer higher detail and smoother surface (ideal for small models) whereas FDM (fused deposition modelling) 3D printers which use thermoplastic materials focus in providing higher durability (also offer larger printing surface). Unlike FDM printers post printing is actually a thing with SLA printers since their models require washing and curing, something which obviously takes up extra time and cost (and that's not even taking into account cleaning the printer itself). Today with me i have yet another FDM 3D printer, the Genius Pro by Artillery.
Established in 2018 and headquartered in Shenzhen, China, Shenzhen Artillery Technology Co., Ltd., with a modern production base of 10,000 square meters, is an international 3D printer technology enterprise integrating research and development, production, marketing and service. Shenzhen Artillery Technology Co., Ltd., has developed into an international 3D printer technology enterprise integrating R&D, production, marketing and service. Our marketing network covers the Americas, Europe, Southeast Asia, the Middle East, Africa and other major regions of the world. We established long-term strategic partnership with Germany, Spain, France, Chile and many other countries and built global network sales channels through Amazon, AliExpress, Ebay, Tmall/Taobao and other e-commerce platforms.
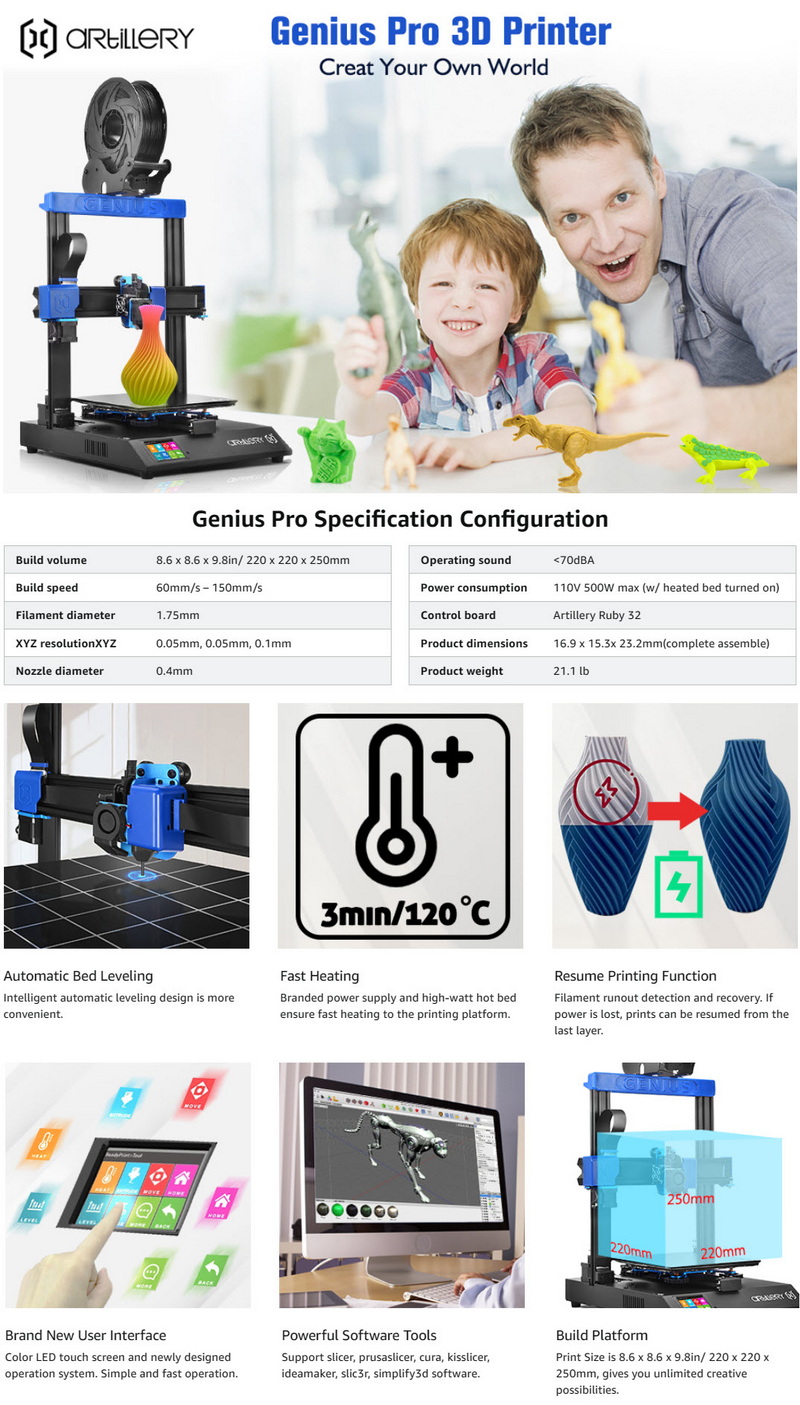
Just like the Sidewinder X2 model also by Artillery the Genius Pro features a 2-piece durable aluminum frame, 150mm/s print speed, TFT color touchscreen, titan direct drive extruder with intelligent automatic bed leveling (filament diameter 1.75mm / 0.40mm Volcano-style nozzle / 0.1mm - 0.35mm microns layer resolution / up to 240 degrees Celsius), synchronized dual Z axis, carborundum glass AC heated platform (up to 80 degrees Celsius), Ruby 32bit mainboard, quiet stepper driver, spool holder with filament runout sensor, USB port, microSD card slot and an 100-240V switching power supply. What really changes between the Sidewinder X2, and the Genius Pro is heat bed temperature (110/80 degrees Celsius) and print surface so from the 300x300x400mm of the former the latter drops to just 220x220x250mm. With those out of the way the Genius Pro is also fully compatible with a wide variety of printing materials including PLA, flexible PLA, ABS, PVA, HIPS, TPU and TPE.
SPECIFICATIONS AND FEATURES
PACKAGING AND CONTENTS
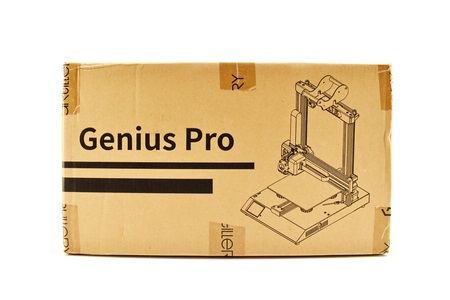
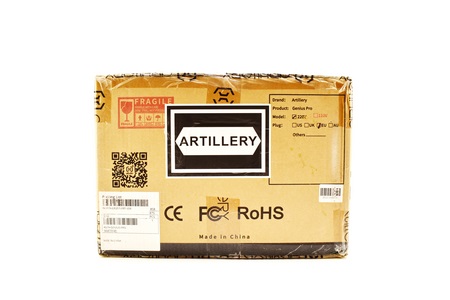
The Genius Pro arrived inside a plain cardboard box the front and rear of which have a product drawing.
Both sides have the plug version and the company name on a big sticker.
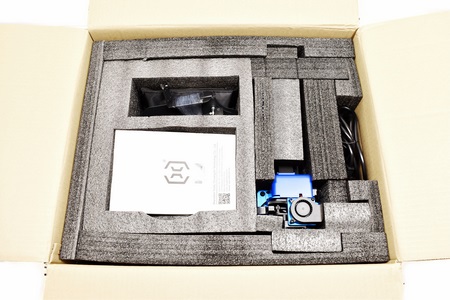
Packing is flawless with numerous pieces of foam keeping the bundle safe.
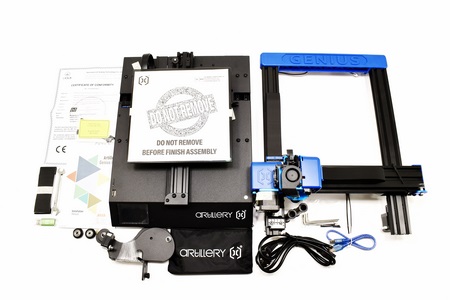
Aside the 2 main pieces the box also contains the 4 piece spool holder, power cable, user manual, USB flash drive, USB host cable (for the PC), two replacement rollers/pulleys, spare ribbon cable, spare motor connection cables, certificate of conformity and a pouch inside which you'll find 3 Allen keys, nozzle wrench and 2 cable ties.
THE GENIUS PRO
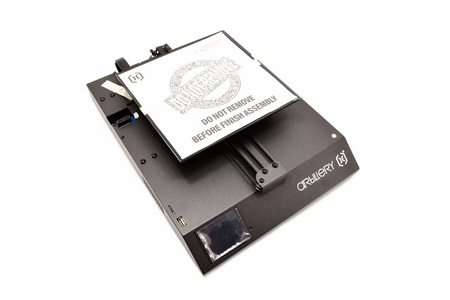
The main piece of the Genius Pro 3D printer measures 323mm in length and 424mm in depth.
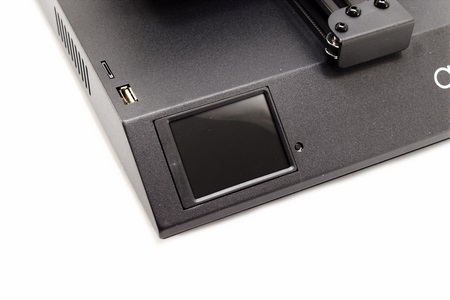
At the front we once again find the small TFT color touchscreen and the reset button.
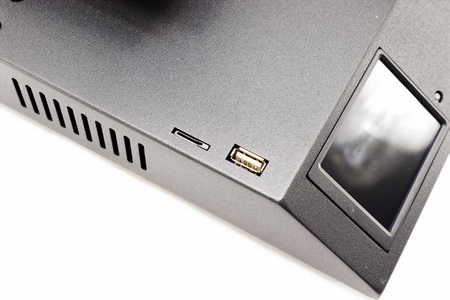
A USB 2.0 port and a microSD card slot are placed just over the TFT screen.
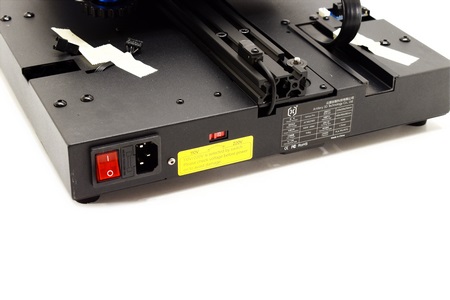
Moving at the rear we find the power port, power on/off switch, fuse compartment and the 110/220V switch.
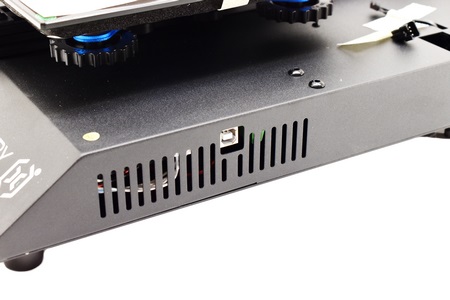
The USB host port is once again located on the right side of the enclosure.
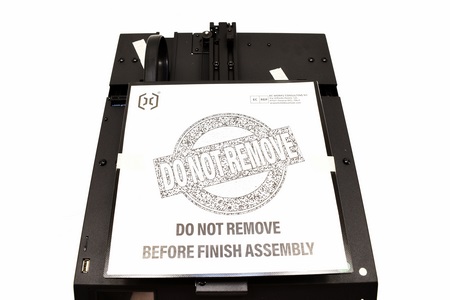
As with the Sidewinder X2 the build plate of the Genius Pro has a protective sheet of paper which you should remove after you finish assembling the printer.
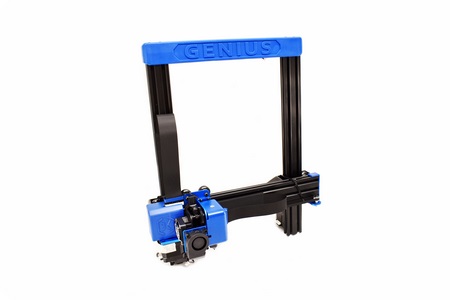
The top piece of the printer stands roughly 45cm tall.
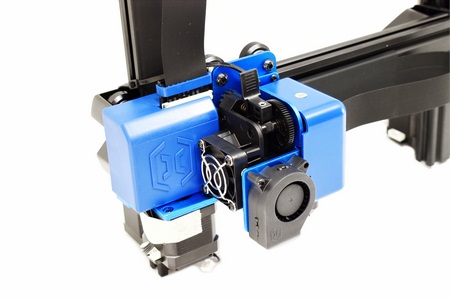
Artillery has used the same Titan active cooled extruder as the Sidewinder X2.
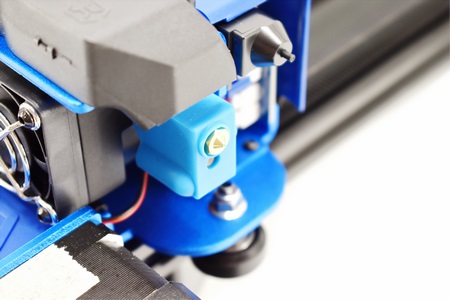
This is a 0.4mm volcano style nozzle direct drive extruder (the plastic next to it is for the auto-level feature).
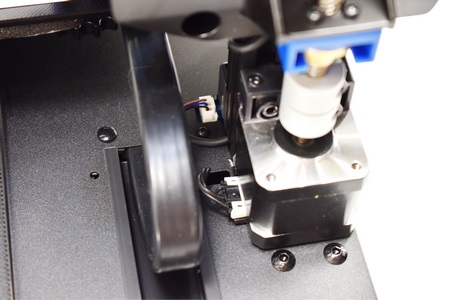
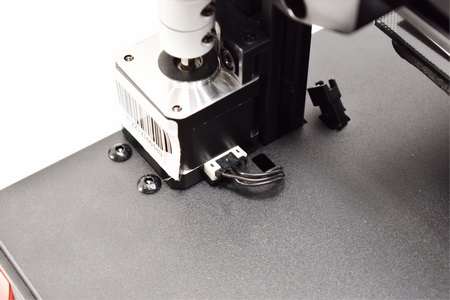
After you place the top piece on the bottom one you just need to tight the 4 screws found on the base of the bottom piece and connect these 3 cables.
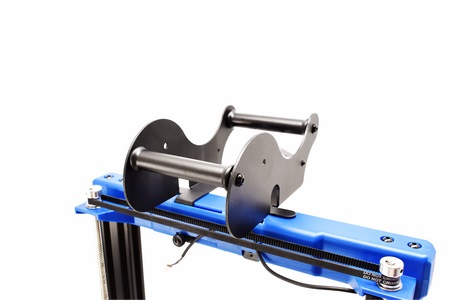
Attaching the spool holder as seen above is the last step of the assembly.
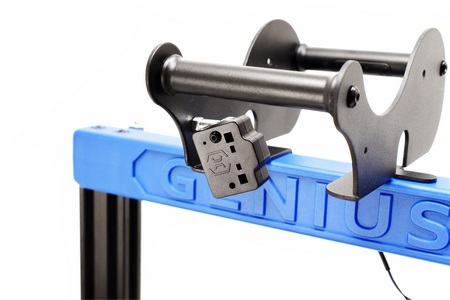
The filament runout sensor comes with the spool holder so be sure to pass the filament from it.
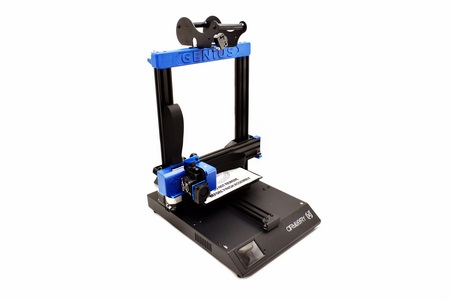
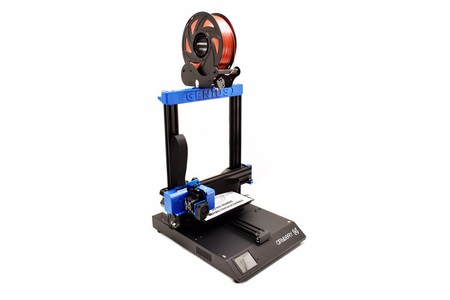 The spool holder may not be the most secure out there (for example if you happen to push the printer it may fall) but it gets the job done (many other models in the market use the same type after all).
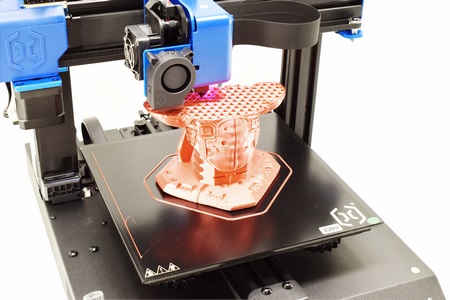
Here you can see the Genius Pro printing one of my test models (you can check a quick video of this both on YouTube and TikTok).
TFT DISPLAY
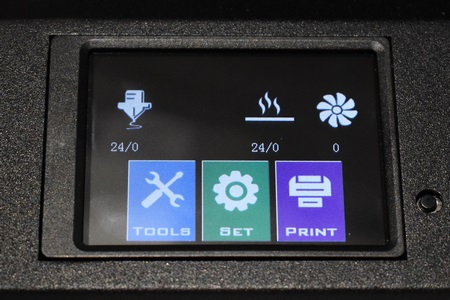
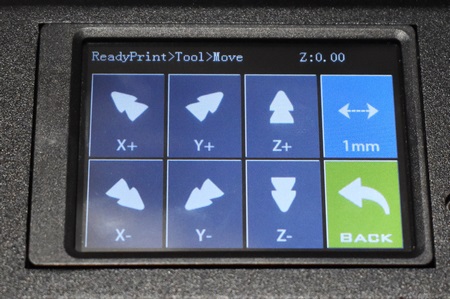
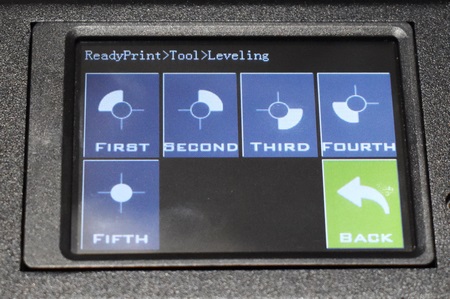
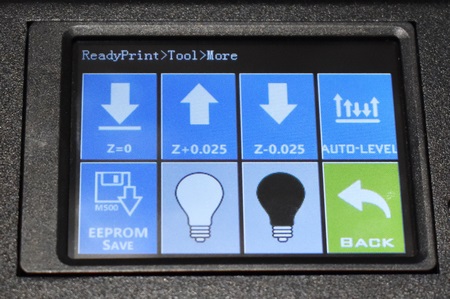
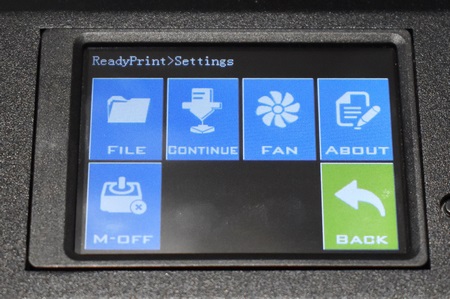
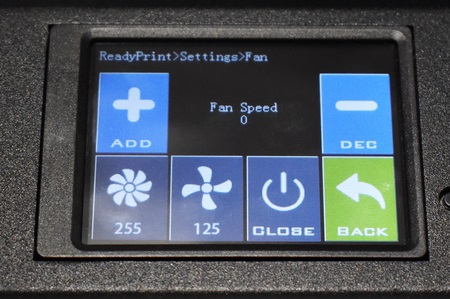
The TFT color touchscreen display is very convenient and so from the main tab you can immediately see the current temperature for both the extruder and the bed, current fan RPM and of course icons for the three sub-tabs.
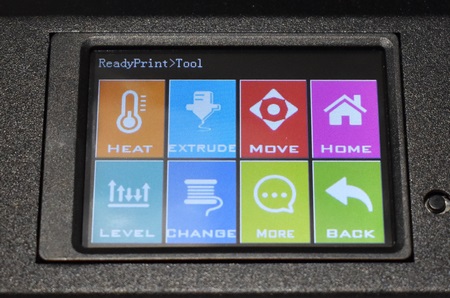
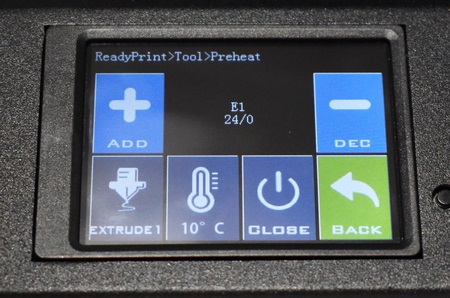
From inside the tools tab, you can preheat the extruder and the bed, pull filament in/out of the extruder, move the base and extruder, level the extruder, change the filament, level the extruder manually or automatically, save the settings and turn on/off the LED light of the extruder.
Moving to the settings tab from here you can access the files in the USB/MicroSD, continue a paused printing, set the speed of the fan, turn the motors on/off when not printing and check the installed firmware version.
TESTING METHODOLOGY
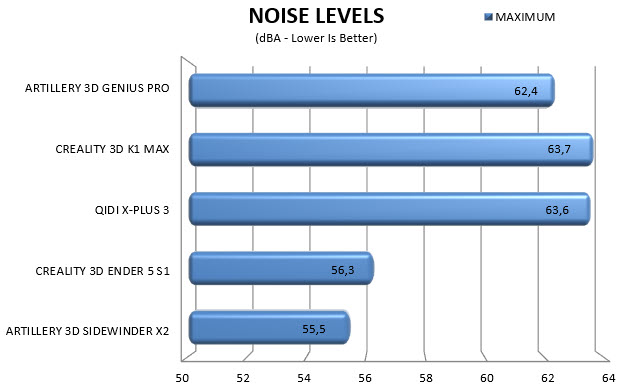
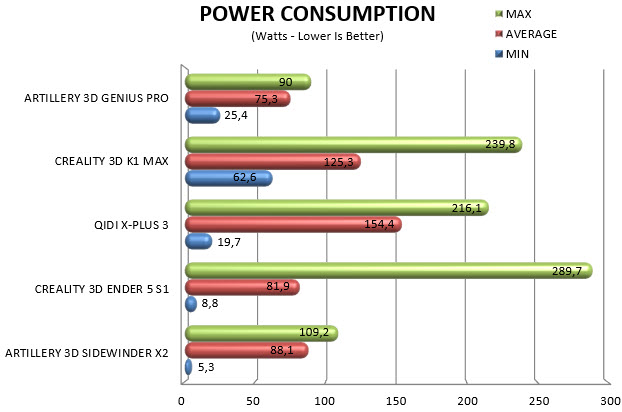
Just like with the Sidewinder X2 and other 3D printers I recorded 3 things first of which is total print time at 100% speed (for this I’ll be using 2 different sized models – downloaded from Cults3D / member Eastman - rendered in Cura v5.7 with a dynamic quality of 0.16mm, 20% infill density and cubic infill pattern). Second is noise levels and so once again I’ll be using my ExTech HD600 decibel meter placed roughly 30cm away to record the maximum noise coming from the 3D printer while printing. Finally with the help of an UPS and two power meters I decided to also record not only the lowest and highest but also the average instant power consumption of the 3D printer in my hands.
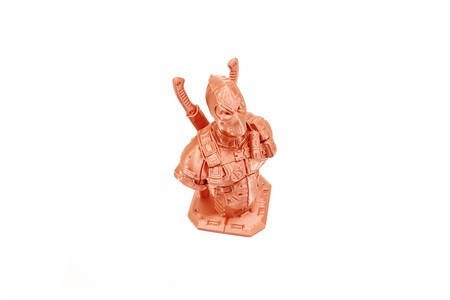
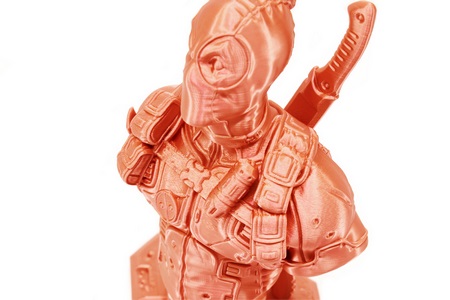
Once again, the Genius Pro might not be one of the fastest 3D printers out there, but it does a very good job in regards to print detail as you can see from the above pictures (PLA silk red filament).
TEST RESULTS

CONCLUSION
When the Genius Pro arrived here many months ago (mid last year to be exact) the bottom of the box was almost torn open, and the base of the printer was slightly bend (obviously Artillery is not to blame for this) so I decided to put the sample aside until I could figure out what to do with my contact in Artillery. Unfortunately, my contact left shortly after that and well, in the end almost 5 months went by waiting for a reply and by the time I was able to get in touch with another contact Artillery had stopped selling this particular model from their website (another reason that made me hold back on this review). Since it's still available elsewhere however (alas not in large numbers) I decided to proceed with the review (hopefully Artillery 3D will not hold this delay against me, things just happened which were not in my control). With that little note out of the way the Genius Pro is as expected an entry-level 3D printer with slow printing speed and a somewhat small printing surface. That being said however thanks to its rather low power consumption, print detail and acceptable noise levels it's still a valid choice for people on a budget.
As I type these lines the Genius Pro is not easy to find and the stores that do still carry it have it for around USD350/350Euros, a price tag which is set considerably higher even compared to just 1 year ago. Still, if you do manage to find it for less. I strongly suggest giving it a chance, it might just surprise you.
PROS
- Build Quality
- Print Quality
- AC Heated Tempered Glass Bed
- Dual Z Axis Motors
- Automatic Leveling
- Color TFT Screen
- PC, USB & MicroSD Connection
CONS
- Price
- Speed

 O-Sense




.png)

