THE GENIUS PRO
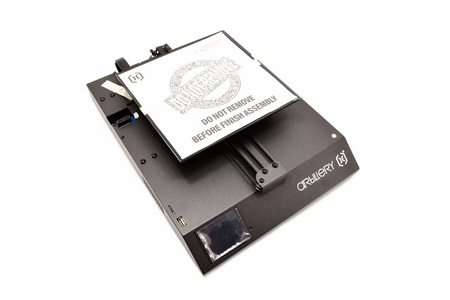
The main piece of the Genius Pro 3D printer measures 323mm in length and 424mm in depth.
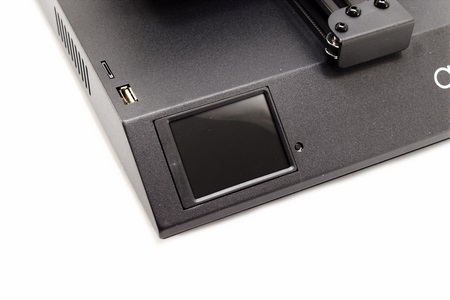
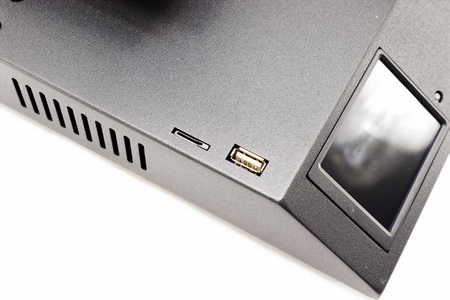
At the front we once again find the small TFT color touchscreen and the reset button.
A USB 2.0 port and a microSD card slot are placed just over the TFT screen.
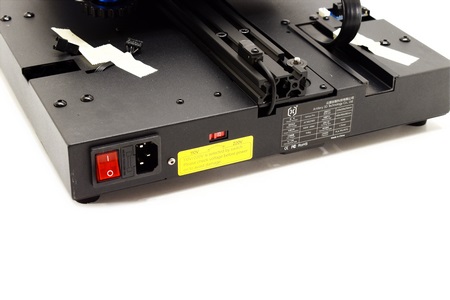
Moving at the rear we find the power port, power on/off switch, fuse compartment and the 110/220V switch.
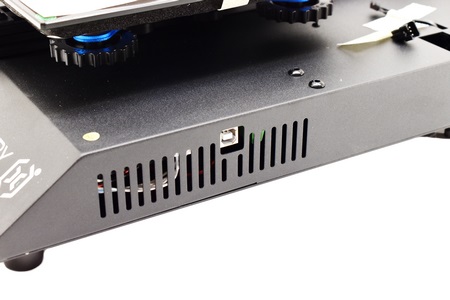
The USB host port is once again located on the right side of the enclosure.
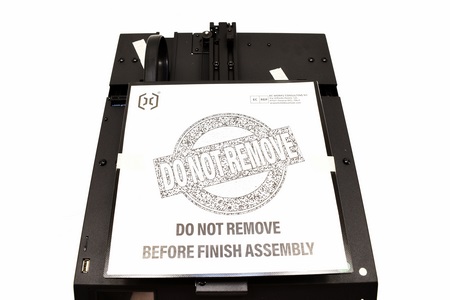
As with the Sidewinder X2 the build plate of the Genius Pro has a protective sheet of paper which you should remove after you finish assembling the printer.
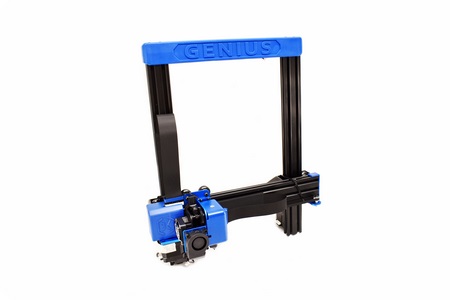
The top piece of the printer stands roughly 45cm tall.
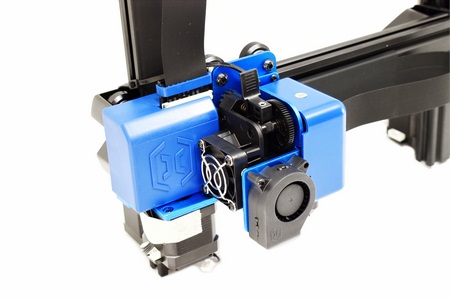
Artillery has used the same Titan active cooled extruder as the Sidewinder X2.
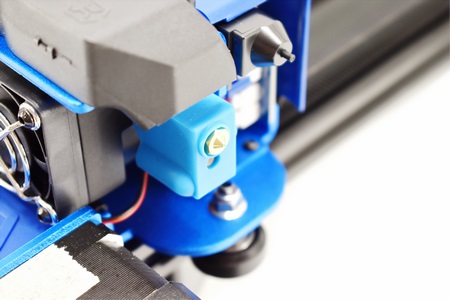
This is a 0.4mm volcano style nozzle direct drive extruder (the plastic next to it is for the auto-level feature).
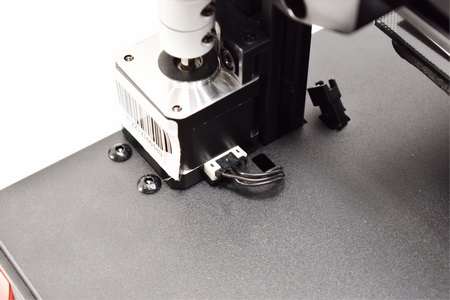
After you place the top piece on the bottom one you just need to tight the 4 screws found on the base of the bottom piece and connect these 3 cables.
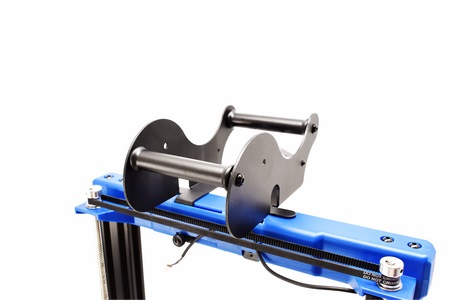
Attaching the spool holder as seen above is the last step of the assembly.
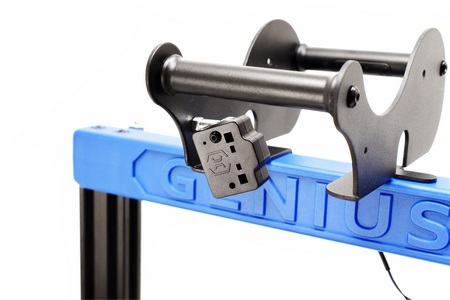
The filament runout sensor comes with the spool holder so be sure to pass the filament from it.
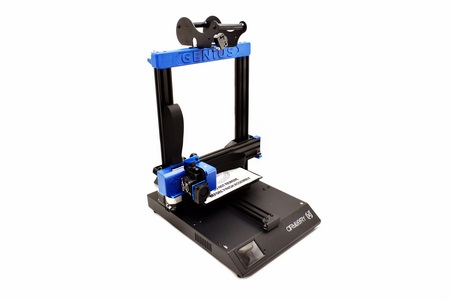
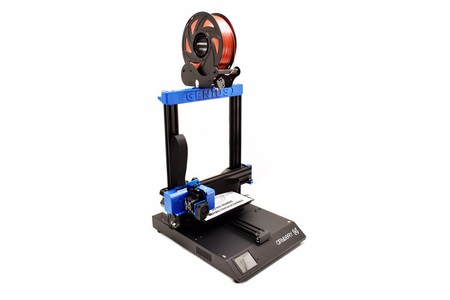 The spool holder may not be the most secure out there (for example if you happen to push the printer it may fall) but it gets the job done (many other models in the market use the same type after all).
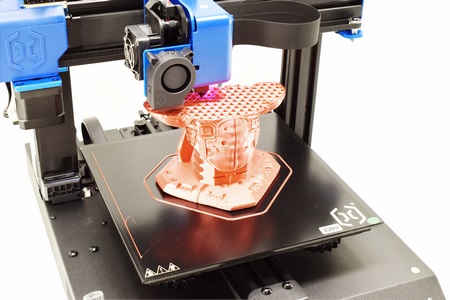
Here you can see the Genius Pro printing one of my test models (you can check a quick video of this both on YouTube and TikTok).

 O-Sense




.png)

