THE FC8 EVO INTERIOR
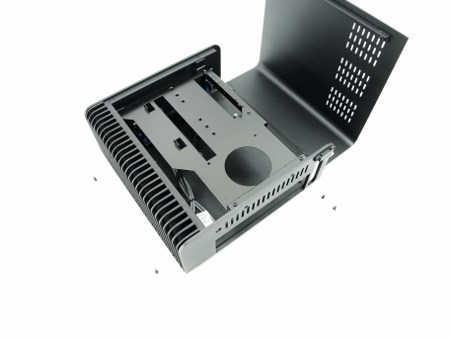
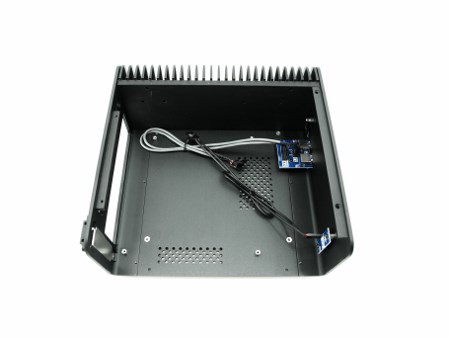
To gain access to the interior of the FC8 EVO you just need to remove two screws found at the base of the chassis and two from the aluminum fin area.
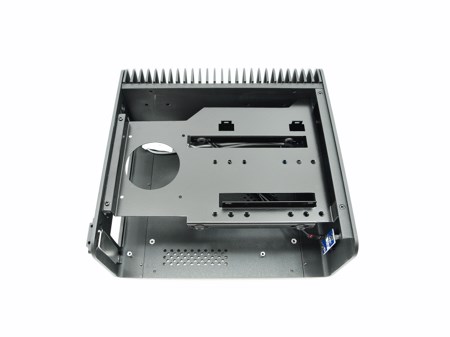
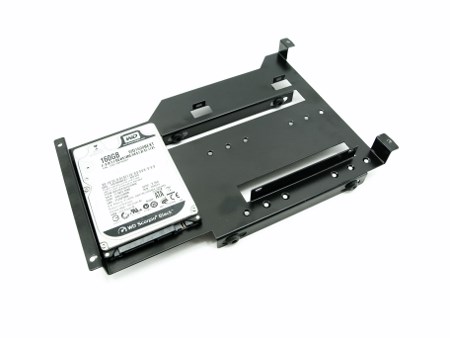
Much like most mITX cases we see an aluminum frame above the mainboard area which is used to mount both the optical drive and the HDD/SSDs.
You need to mount a slim optical drive on the aluminum frame.
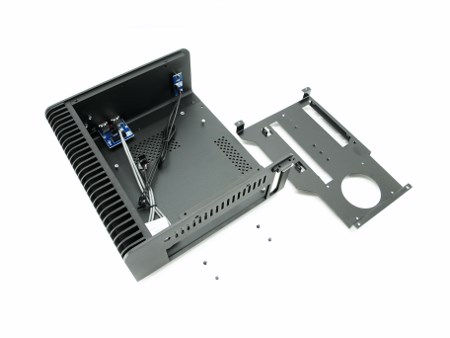
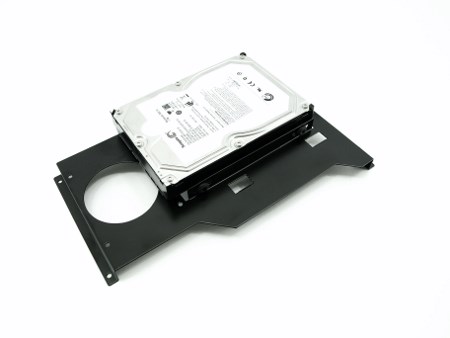
To install the drives with ease you can remove the frame via 4 screws placed at the front and rear.
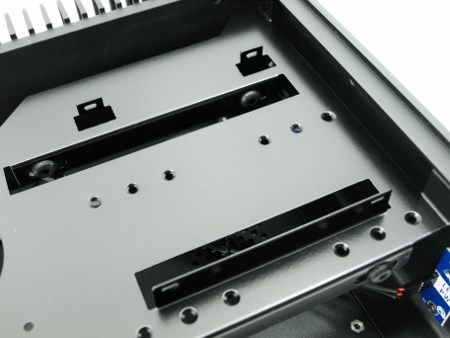
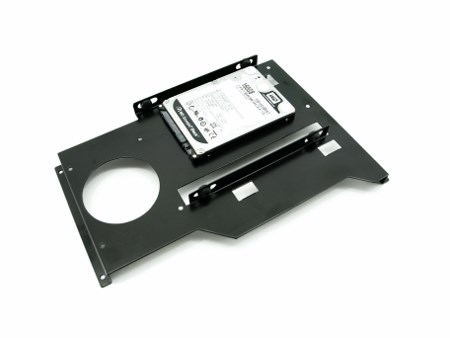
Behind the optical drive area Streacom has placed room for a 2.5" HDD/SSD as you can see in the above picture.
At the base of the frame there's room for either a 3.5" or an 2.5" HDD/SSD.
Without the top frame and thanks to the very clean interior it's extremely easy to mount the mainboard.
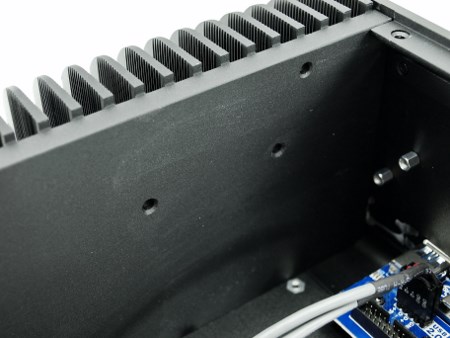
Perhaps the most impressive feature of the FC8 EVO is its passive CPU cooling which is where these holes on the right side come in.
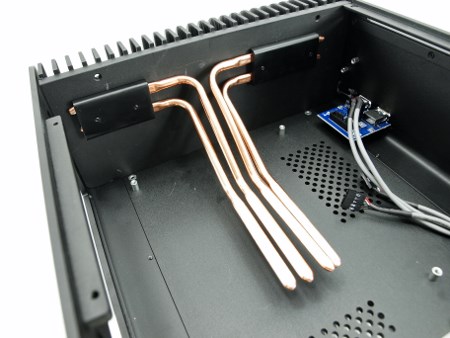
To make use of this passive system you first need to mount the blocks and the 4 copper heatpipes as seen above (you should also apply thermal conductive material between the copper heatpipes and the chassis/blocks). We need to mention that this procedure should only be done after you have installed the mainboard but since we received a wrong model (mATX instead of mITX) we will not be testing the passive cooling system by Streacom this time.
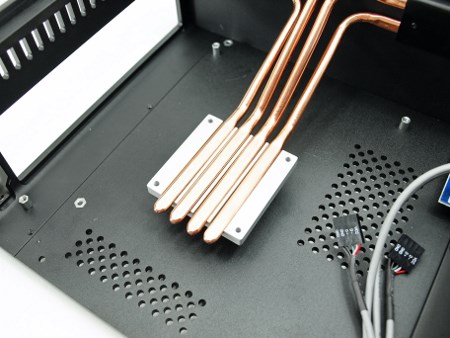
After that you need to mount the bottom end of the CPU plate (remember to place thermal conductive material between the lower end and the heatpipes).
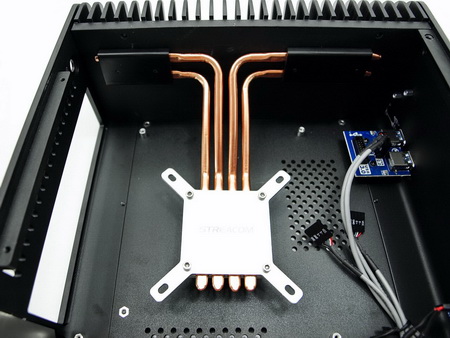
Last step is to mount the top end of the CPU block with the Allen key and in turn install it onto the mainboard/CPU.

 O-Sense




.png)

