BUILDING THE SYSTEM PART 2
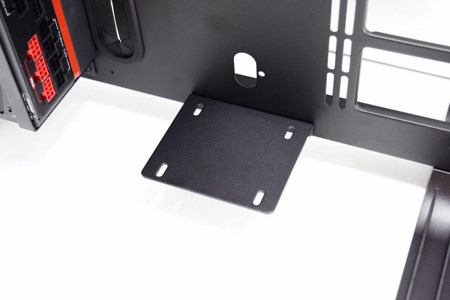
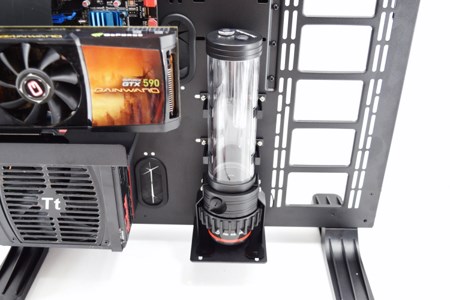
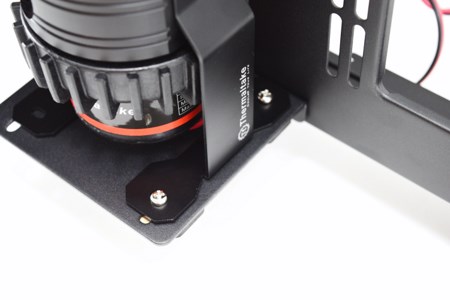
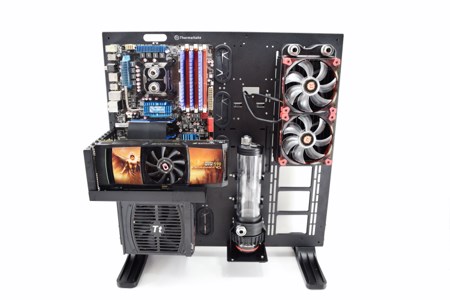
Mounting the Pacific RL240 Water Cooling Kit starts from the lower end of the Core P5 and the reservoir mount as seen above.
Since the Core P5 just has one such area the best possible solution is a Pacific PR22-D5 reservoir/pump combo as the one used in that kit.
This combo can be mounted using the two clamps but Thermaltake also recommends using the two metal feet for more stability (and we agree with them).
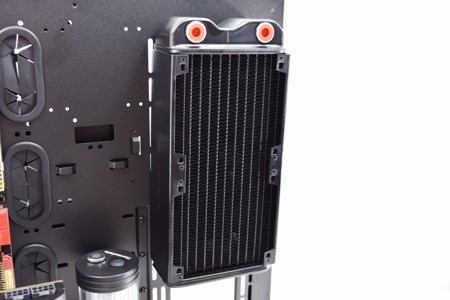
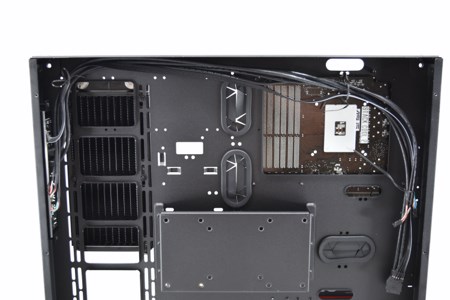
Mounting the Pacific RL240 Radiator comes next and requires mounting several short screws and their washers from the rear (remember that by mounting a smaller radiator than 480mm you can also use the two "hidden" mounting areas for 2.5" drives placed at the top end).
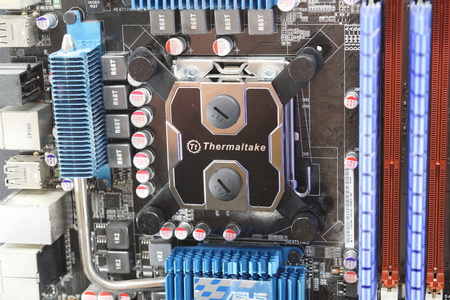
Moving onto the Pacific W1 waterblock installation is very easy as long as you mount the backplate at the rear (Intel LGA2011-v3 mainboards don't need one).
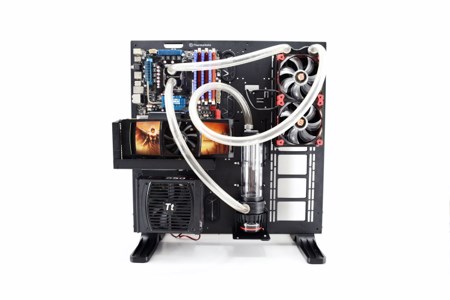
Mounting all 6 fittings is the next and perhaps easiest step.
Measuring and cutting the available tubes is not hard but you should cut them shorter than we did to avoid coming in contact with the acrylic panel (we have to use them on our test rig later on to review the Pacific RL240).
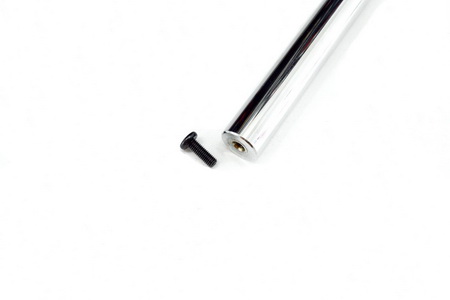
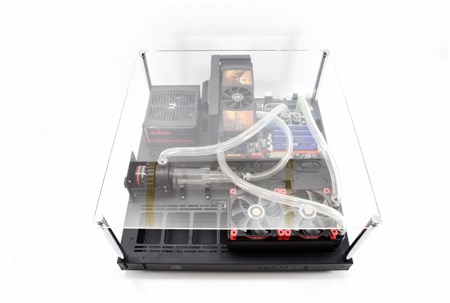
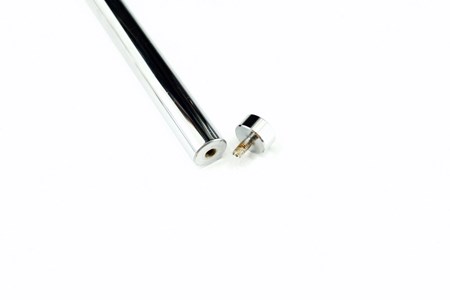
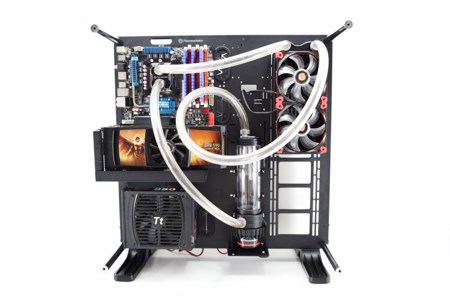
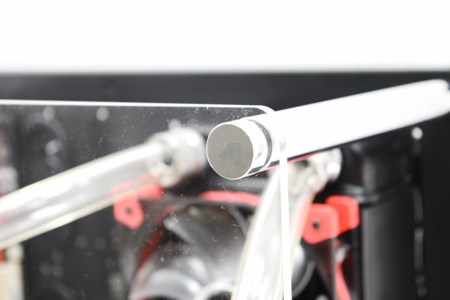
With all 4 chrome bars installed we can now mount the acrylic panel (to do that just place it over the bars and then put back their tops).
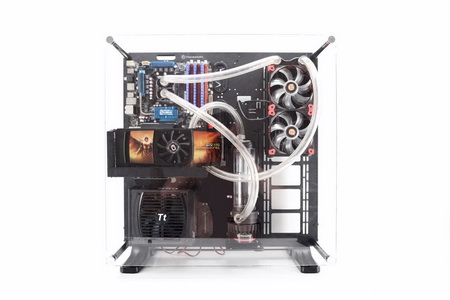
This is the finished Core P5 placed vertically (either on the two large feet or your wall).
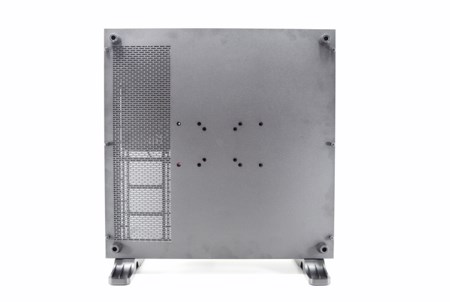
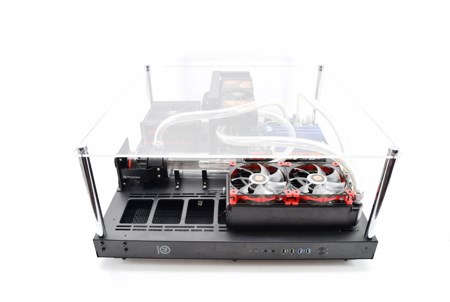
You can also mount the four round rubber feet at the rear of the case to place it horizontally on your desk or floor.

 O-Sense




.png)

