BUILDING THE SYSTEM
As always the purpose of this section is not to build a functional system but rather to showcase what you can expect from the case at hand in terms of interior space.
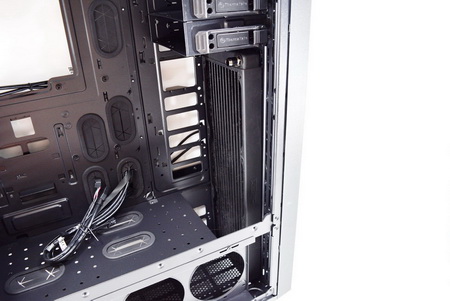
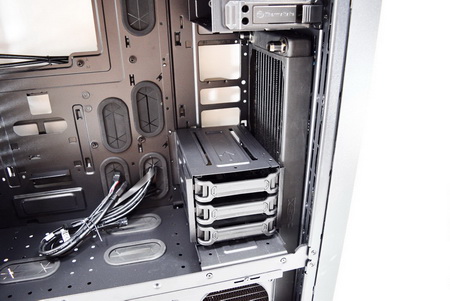
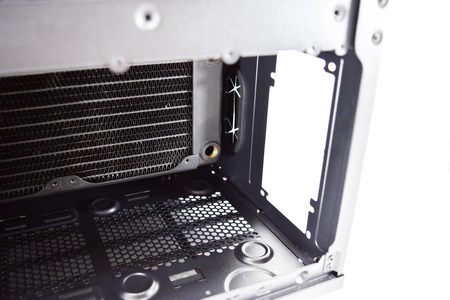
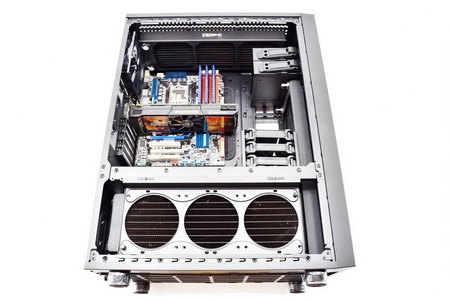
By removing the 3.5/2.5" drive cage you can mount a 420mm radiator max but if you choose to also remove the 5.25" trays you can even mount a 480mm one.
It may not be the easiest thing but the drive cage can be placed back after you mount the radiator (depends on the thickness of the radiator - we used a 35mm thick one).
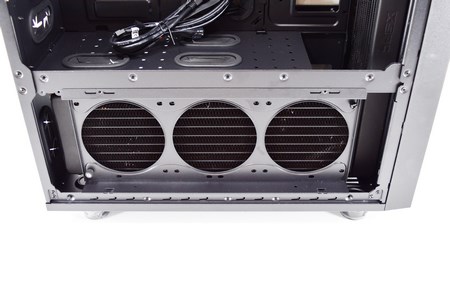
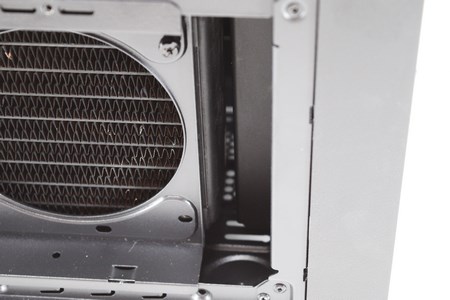
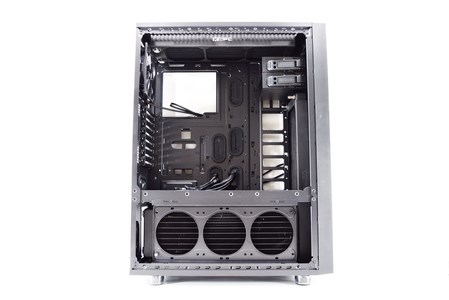
You can also mount a 360mm radiator on the removable bracket of the lower chamber and as long as you don't use thick radiators you will have no issues (you can use either one thick vertical radiator or one thick horizontal one).
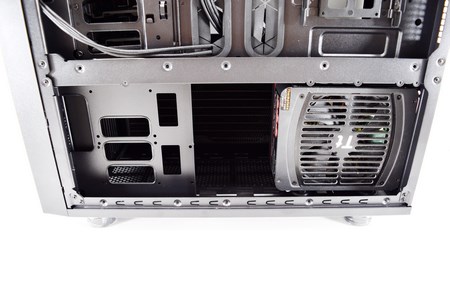
The PSU area is totally unaffected no matter how thick the radiator is.
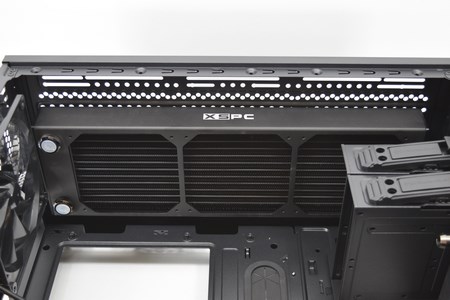
There's also room at the top for a 360mm radiator (pay no attention to our placement since we should had used the front holes).
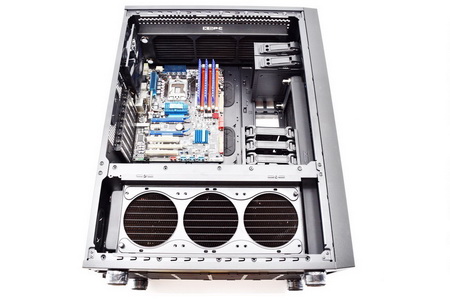
Here's the Core X71 with three radiators mounted at the front, top and left side.
Although not in the specs you should be able to install an E-ATX sized mainboard inside the Core X71.
Since the drive cage is placed on the lower end of the top chamber you can mount two graphics cards up to 420mm in length (even with the drive cage however the 278mm clearance is more than enough for most if not all graphics cards currently in the market).
On the opposite side of the lower chamber there's enough room for even the longest power supply units (depending on the model you may have to use the bundled 8 pin power extension cable).

 O-Sense




.png)

