WEB INTERFACE
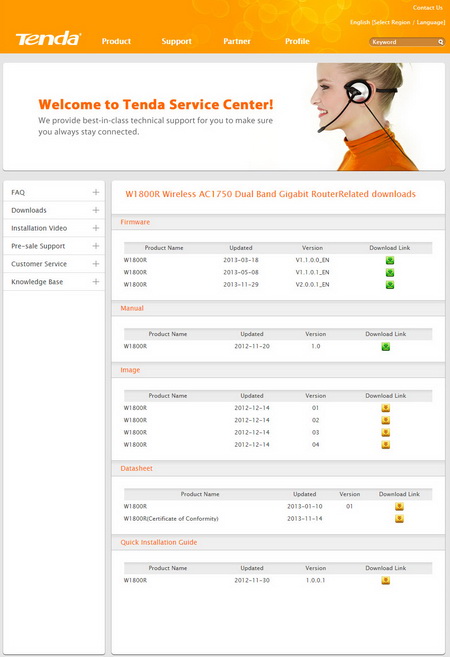
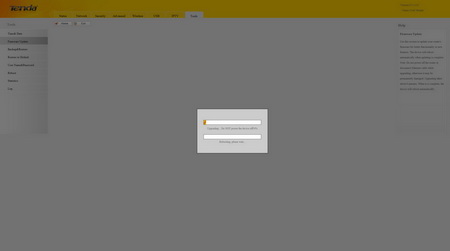
Prior to using the router i strongly recommend heading over to the official Tenda support page to download the latest firmware version. The entire update procedure (through the web interface) takes a couple of minutes to complete.
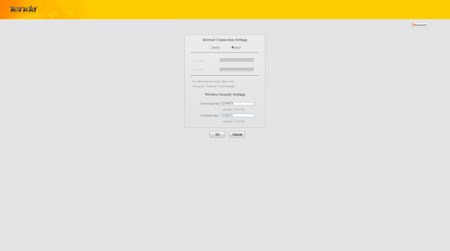
Once you access the web interface via the default IP (192.168.0.1) you will come up to the initial screen asking you to set the internet connection setting (manually PPOE or automatic via DHCP) and the wireless keys. If you want to proceed to the complete interface you will need to click the advanced button on the upper right corner.
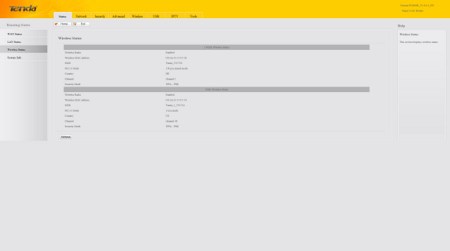
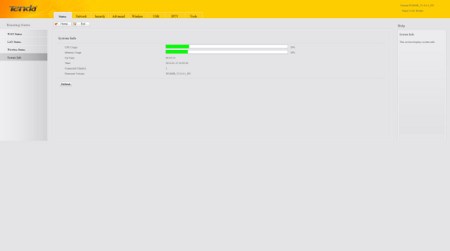
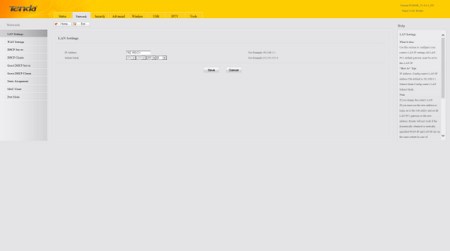
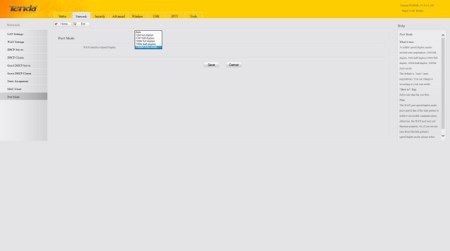
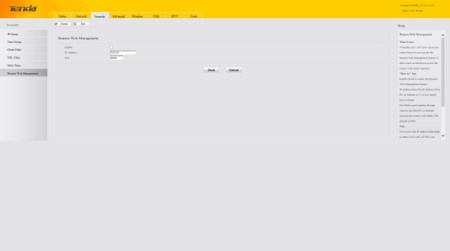
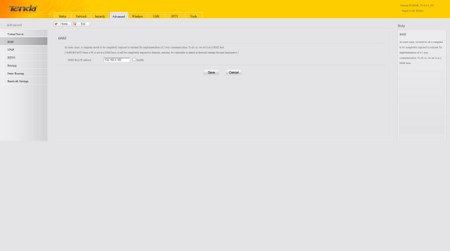
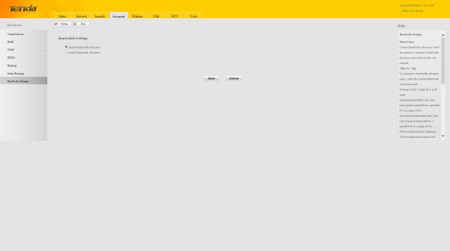
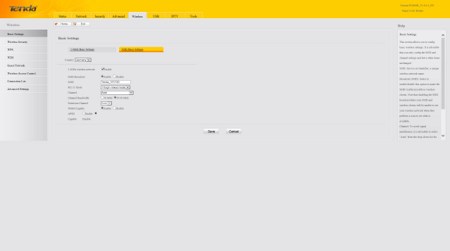
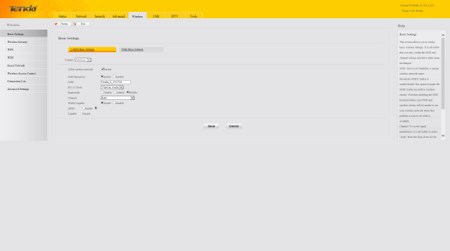
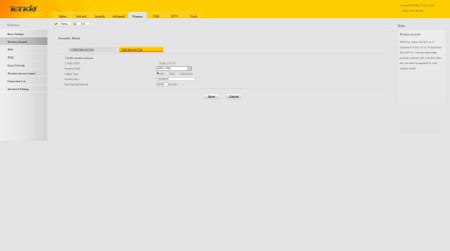
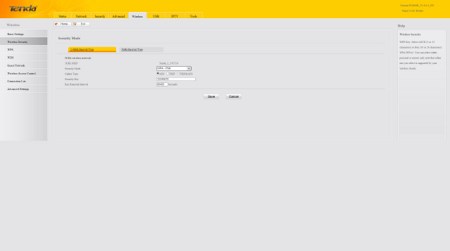
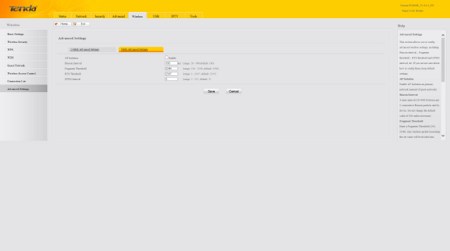
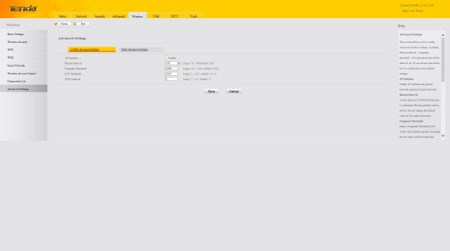
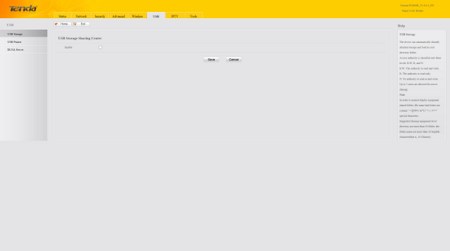
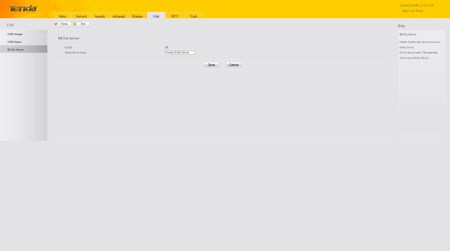
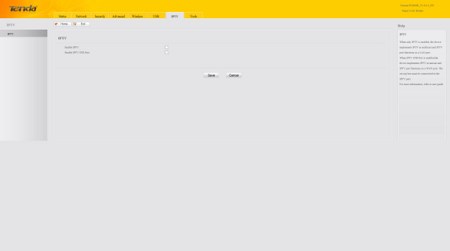
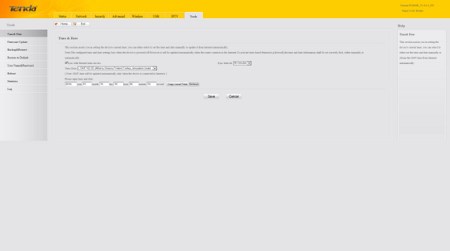
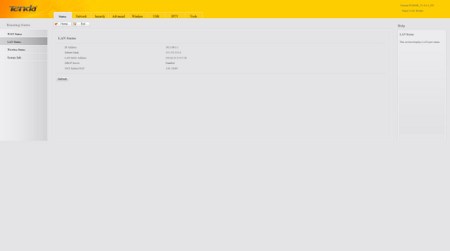
The Web Interface used by Tenda is very simple making it extremely easy to use (although the design seems way too dull). From here you can check the current status of the WAN/Lan connections, adjust the WAN/LAN/DHCP network settings, set the various security policies, enable/disable features like Virtual Server/DHCP/DMZ/UPNP/DDNS, manually control the bandwidth allocation (or leave it at auto), setup the wireless signal properties and security, share USB attached devices and your media library via DLNA, enable/disable IPTV mode and you can also adjust the date/time, perform firmware updates and backup/restore your settings.

 O-Sense




.png)

