SETUP
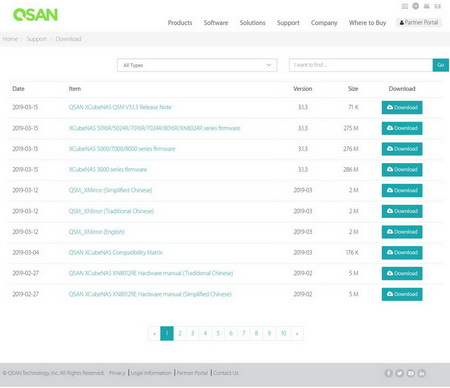

To setup any QSAN NAS you will need to download the XFinder software from their website which in turn will look for any QSAN NAS models on your local network.
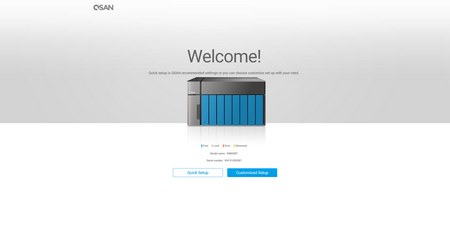
Once you click on the NAS you will launch the setup wizard which has two options quick setup and customized setup (as always we chose the latter - notice how the installed drives are shown as blue in the above picture).
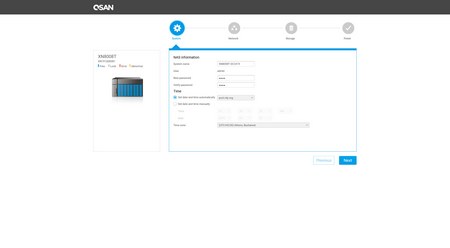

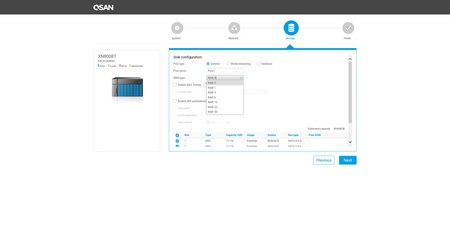
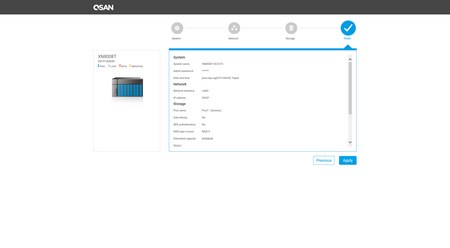
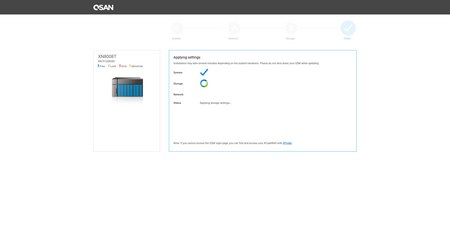 As with other NAS models you will need to enter a password, set the time and date, configure the network settings and choose the desired mode for the installed drives.

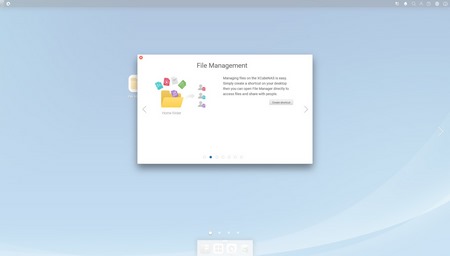
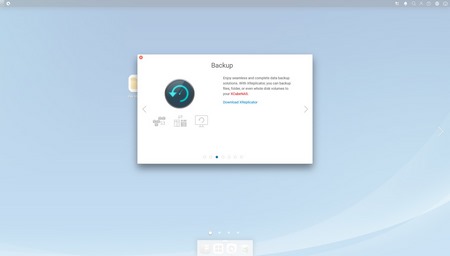
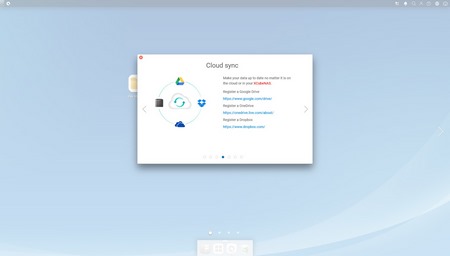

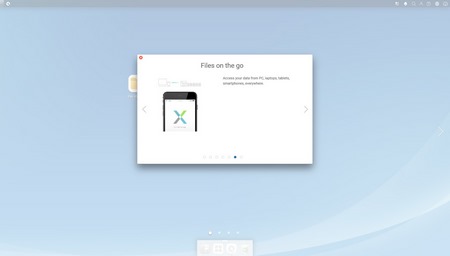
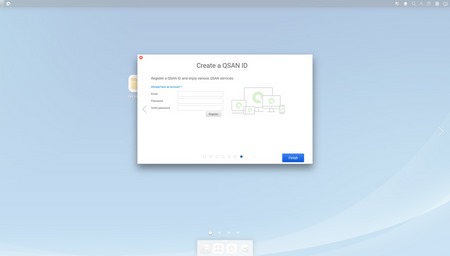
After the initial setup is over you will still need to set a shared folder (and the desired capacity for that folder), choose if you want to create a file manager shortcut on your desktop, download and install the XReplicator app (more on that later on), register a Cloud service for the sync app, enable/disable the media library feature and finally you can either create a QSAN ID or login if you already have one.

 O-Sense




.png)

