O-Sense

.jpg)


GO TO CLOUD APP
There are two ways for users to control the ECW520, either from the Cloud web GUI or the Go To Cloud App (for this review, I chose the latter).
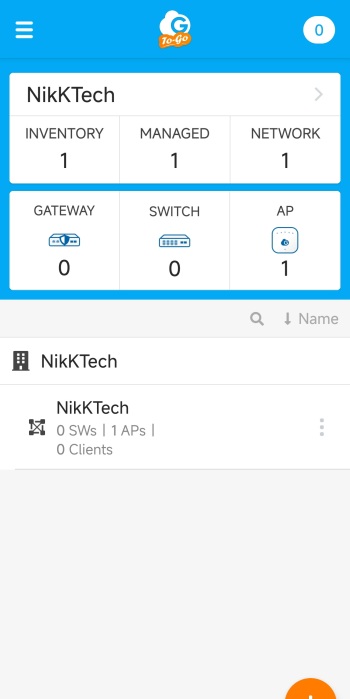
After you add the AP by following the on-screen instructions, you’ll find yourself on the main tab which lists your registered EnGenius devices.
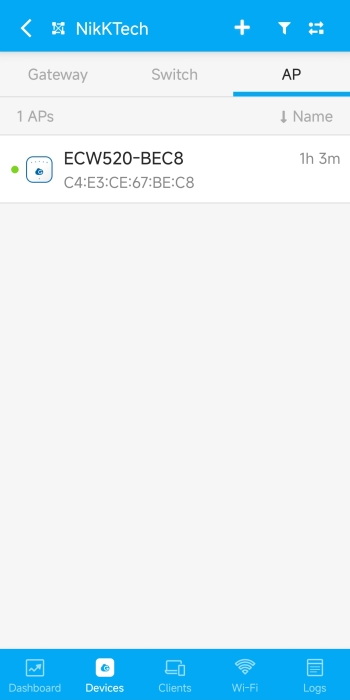
If you go into the bottom organization tab you’ll see the available devices, in this case the AP.
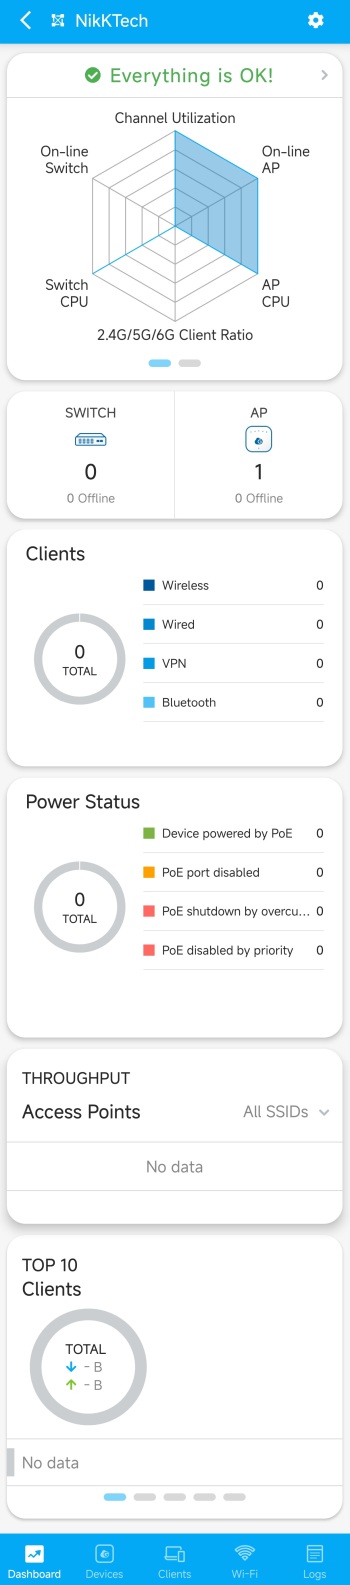
From the dashboard you can see if everything is alright or if there’s something wrong with your registered devices.

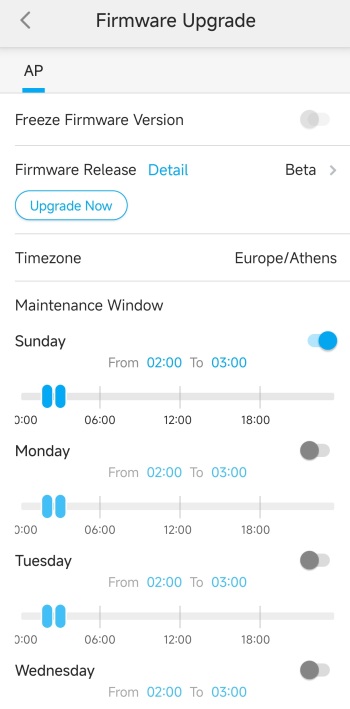
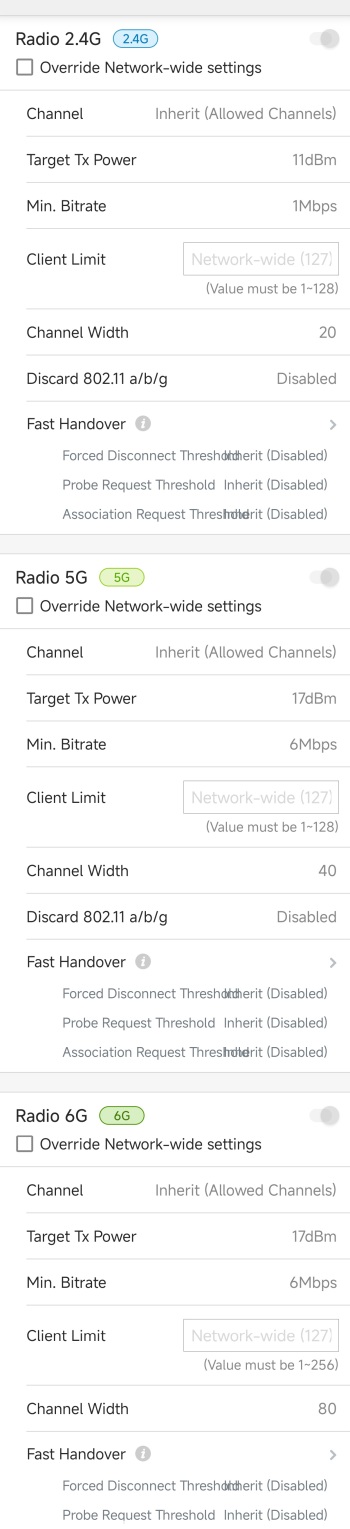
From inside the AP tab you can change the name, check for firmware versions (v1.10.112-13 was used for this review), enable disable radio bands, check the IP addresses, use VLAN management (need to be enabled first), check connected clients, read logs, use diagnostics tools, view statistics, replace the AP with another of the same model, reboot the AP, adjust the LEDs, write a note and post a picture (for device identification/location purposes).
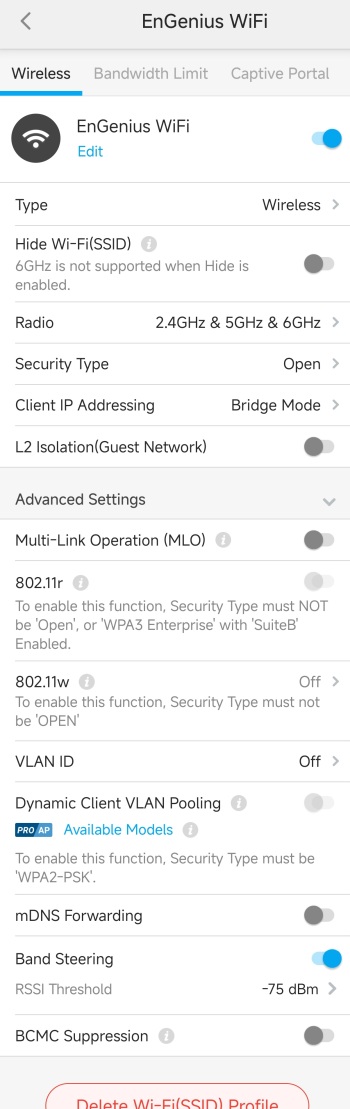
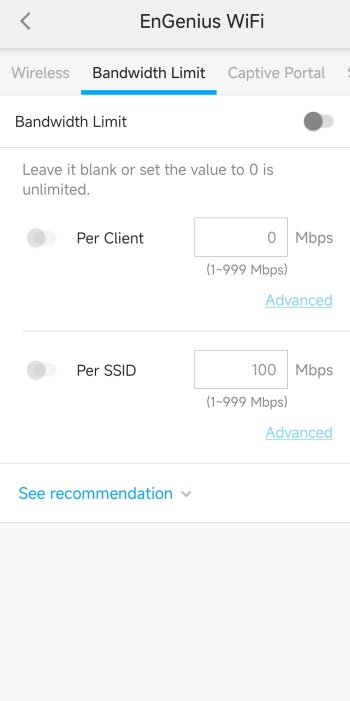
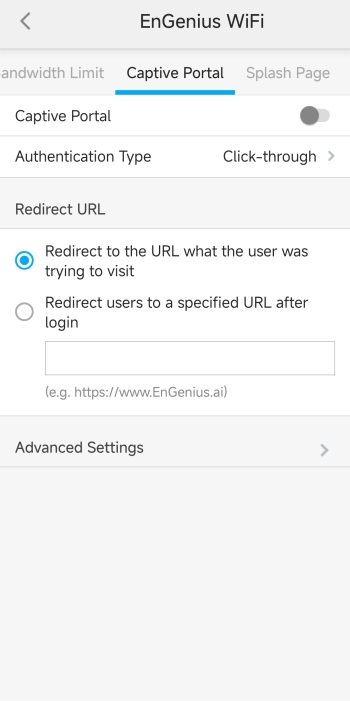
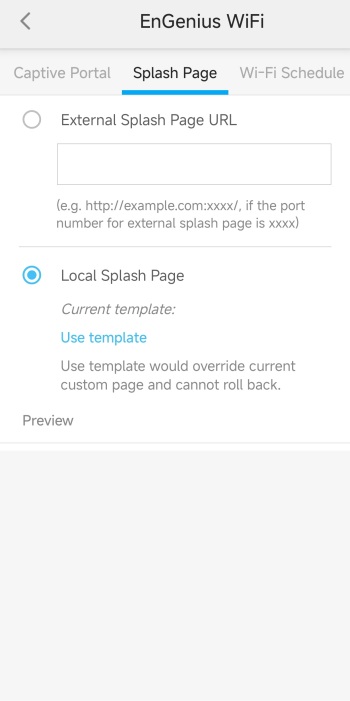
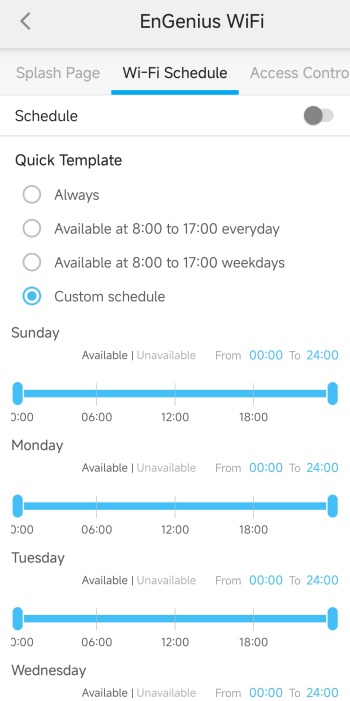

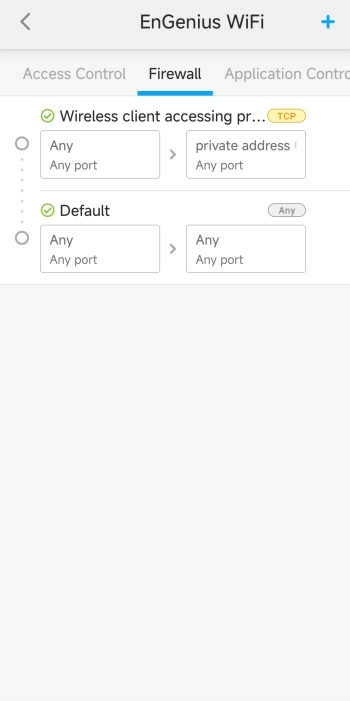
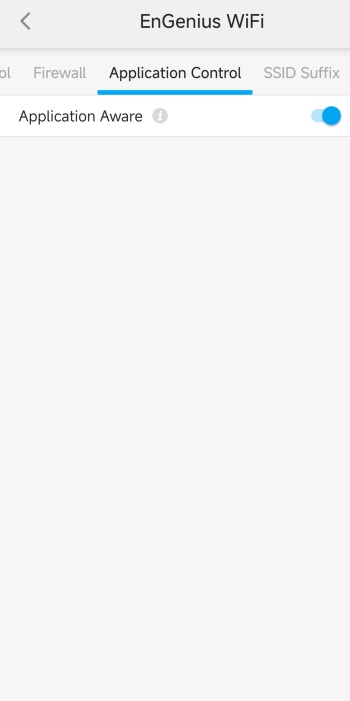
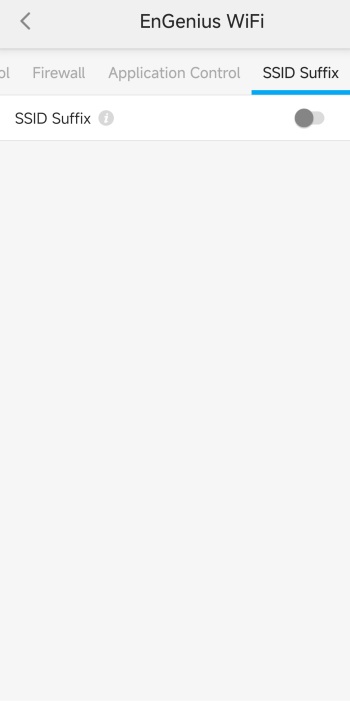 If you head back to the 1st (main) tab and choose the AP device directly (AP graphic) you will see many different tabs regarding bandwidth, portal, splash page, schedule, access control, firewall, application control and SSID suffix.


.png)