SETUP
To setup the Canary you will need to download their iOS/Android app and follow the steps as seen on the screen of your smartphone/tablet.
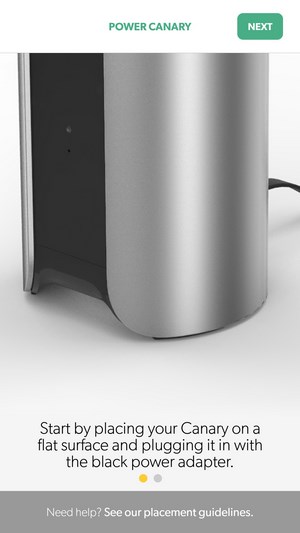
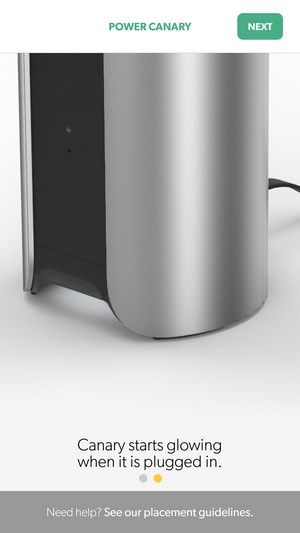
Of course you will first need to position the Canary on a flat surface, plug it into the power socket and wait until the status LED starts blinking.
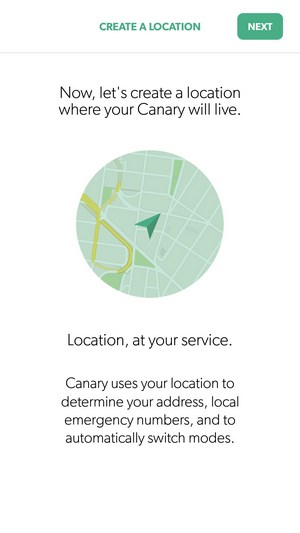
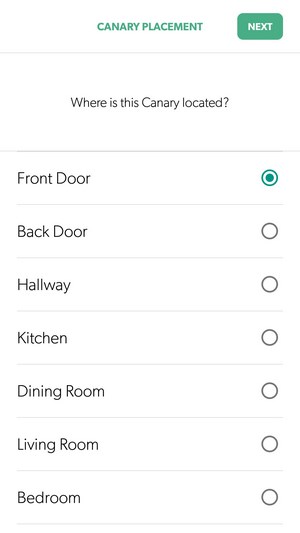
Next on the menu is to tell the Canary where it's located both in terms of place and area (this is due to the geofencing technology which allows the Canary to arm and disarm itself automatically when it detects a registered device within a certain range).
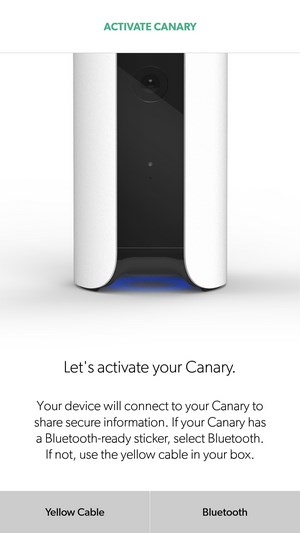
There are two versions of the Canary available currently, one which can be configured wirelessly via Bluetooth and the one we have which can be configured with the bundled 3.5mm yellow cable.
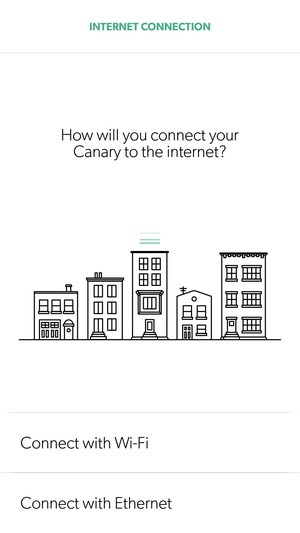
You can also choose to connect the Canary either wirelessly or via Ethernet (our tests were done via Ethernet).
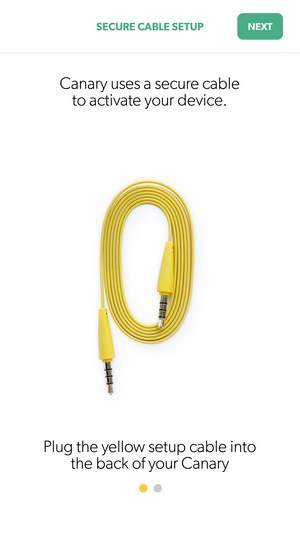
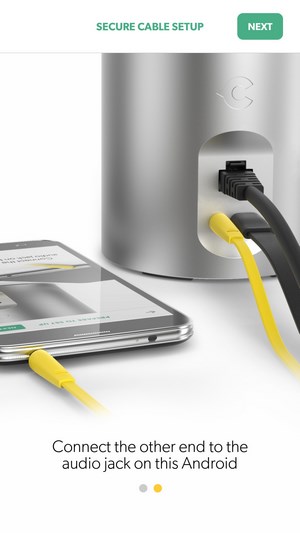
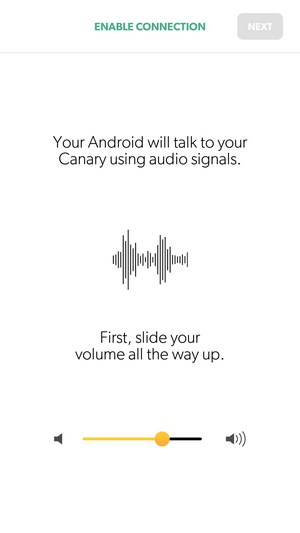 Once you connect your smartphone or tablet with the Canary via the 3.5mm yellow cable it will begin transmitting audio signals (if your device fails to do so use another one).
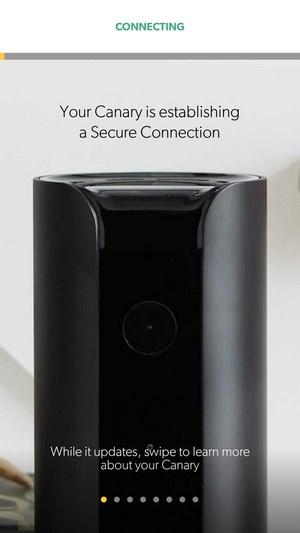
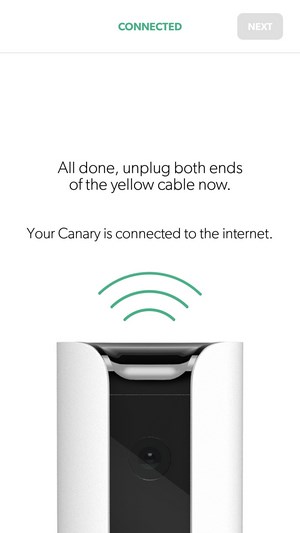
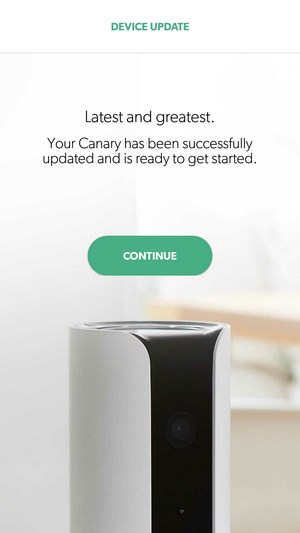
After both devices finish "pairing" and an Internet connection is established the Canary will search for software updates and once that's also done it will start recording to the Cloud.
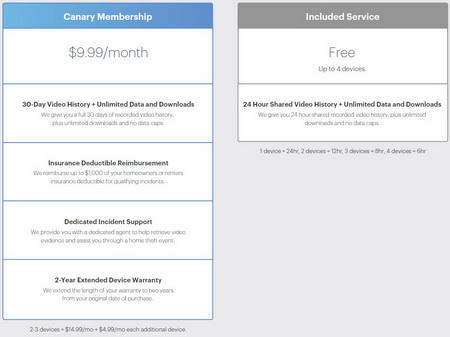
Here you can see a comparison between the free included service and the paid membership.

 O-Sense




.png)

