WEB INTERFACE
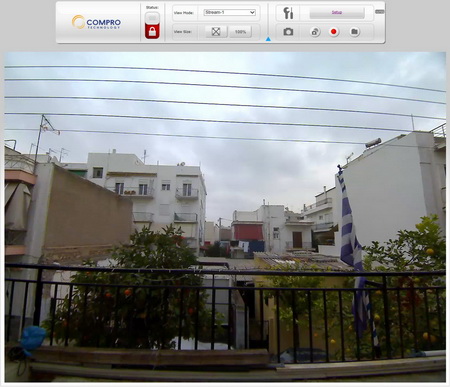
The web interface is identical to that of the TN1600P so once again the main screen is mostly taken by the live feed.
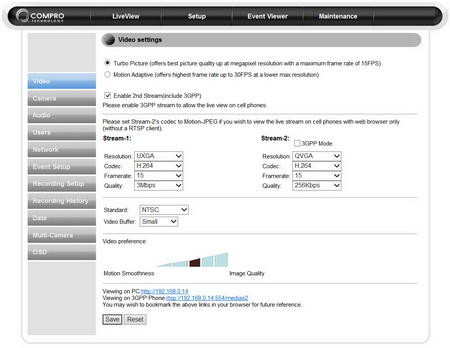
If you wish to use 1600x1200 and get the maximum possible IQ from the video settings tab you should choose the Turbo Picture mode and of course drag the video preference slider all the way to the right.
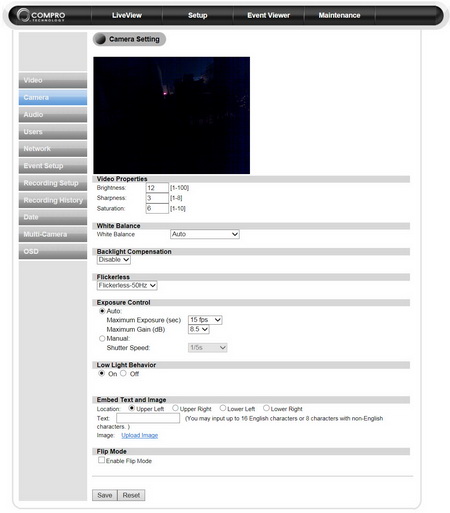
Overall the web interface has a variety of video options you can adjust but i strongly recommend leaving most of them on auto (you might want to play with the brightness levels however).
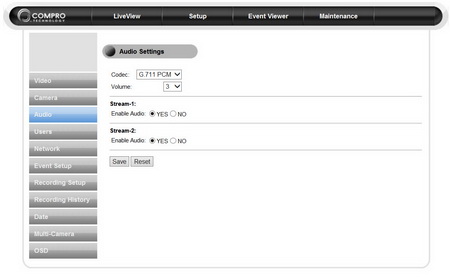
Since the TN2200 features a built-in microphone you should enable audio.
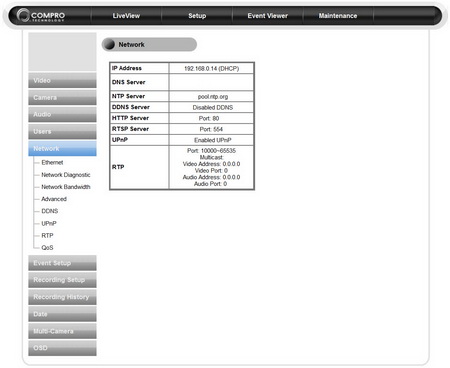
You can setup all network related settings (from IP to UPNP, DDNS and QoS) through the network tab.
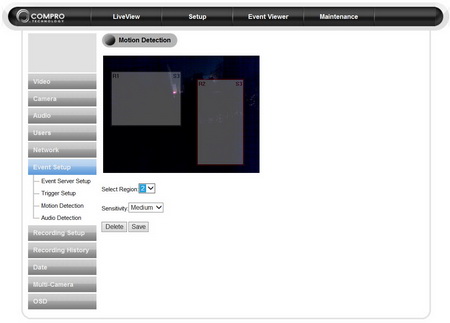
As you can see just like with the TN1600P you can add up to two motion trigger regions on the feed of the TN2200.
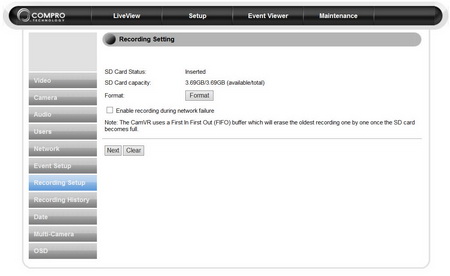
In case of a network failure you can use the 4GB microSD card to record events (you can of course invest on a higher capacity microSD card if you decide this feature is useful).
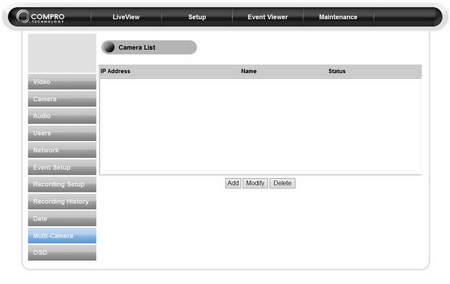
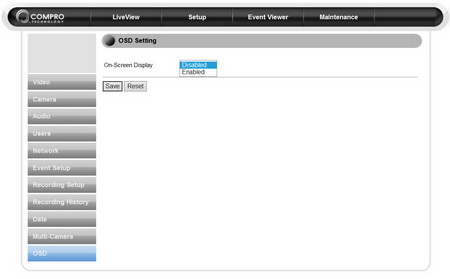
Through the web interface you can also setup the time, configure the OSD (on-screen-display) and add more cameras to the feed (however they need to be by COMPRO).
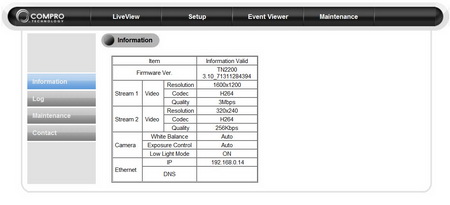
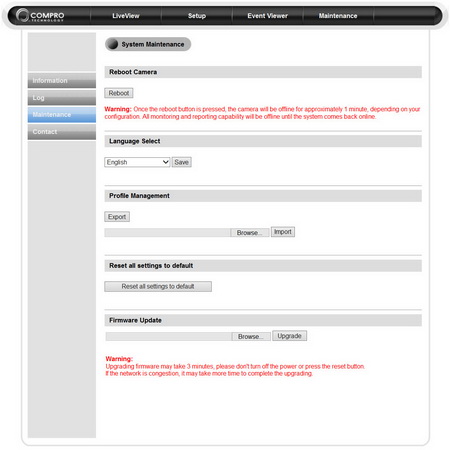
Finally you can also check the information overview table, perform FW updates, save your settings to a file and reboot the camera.
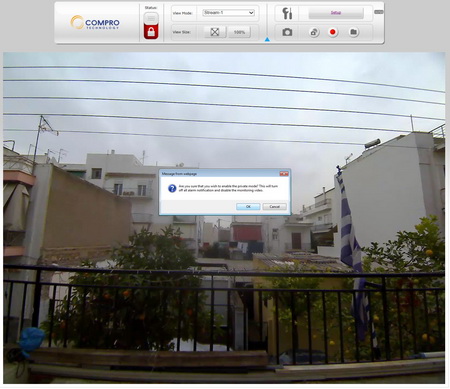
See that lock switch on the upper left corner? If you click on that then you will enable private mode and thus you will disable all alarms and the TN2200 will be inaccessible remotely.

 O-Sense




.png)

