O-Sense

.jpg)


INTRODUCTION
It might seem a bit niche to some consumers but at least to me 3D printing is honestly among the most exciting things to hit the electronics market this past decade (or so). Yes, it might require some time learning how to properly print and even longer if you plan on designing your very own 3D models but the end result is definitely worth the effort. Now even though the 3D printing segment of the industry is not advancing at the same pace as others it's certainly not staying still and with newer models hitting the market it's hard to know what to expect from them, not just in terms of printing speed and quality but also features. QIDI recently updated their 3D printer line to include the 3rd version of their main models and well today I’ll be testing the best-selling model of that line, the X-Plus 3.
QIDI Technology, founded in 2014, is an advanced 3D printer company that is able to manufacture a full series of high-quality FDM printers. We have our own R&D center and laboratory. The company has 15,000 square meters of production workshop, 1,000 square meters of R&D center, and annual production of 50,000 sets of 3D printers. We also have own a number of patents, software copyrights. All of our products have passed the MET safety quality certification, CE, FCC, ROHS certification. We have rich experience of OEM, ODM. QIDI Technology has very professional international cooperation experience. We have established long-term strategic partnerships with Amazon, WalMart, etc. We are the first Chinese 3D printer supplier who working with Amazon directly. Our products and services are well received by users from all over the world. We have a good reputation as well as in United States, Britain, Germany, Japan and Canada. It's been 8 years since our company was founded. We have the most professional R&D team and the quickest after-sales service team. If you have any questions or problems, we will offer exclusive and fast support services. We will work hard to help customers solve any problem.
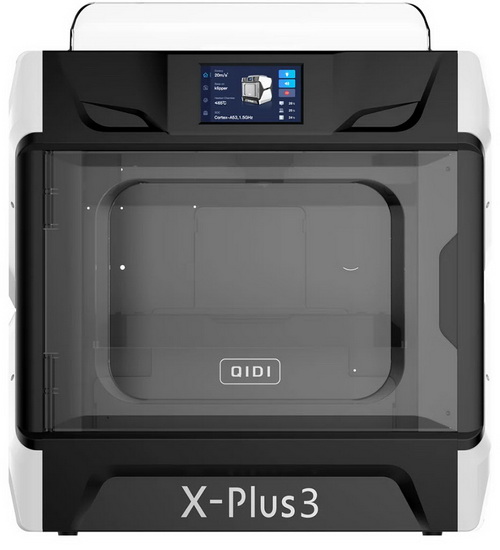
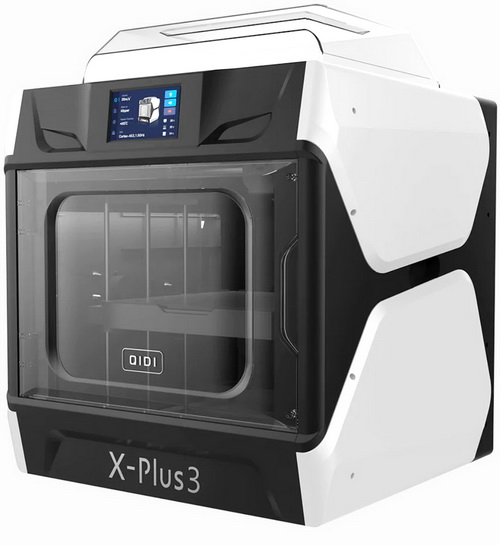
The X-Plus 3 3D printer by QIDI is a large, enclosed chamber (metal frame with plastic covers and integrated LEDs) model which offers a rather medium sized printing surface of 280x280x270mmm. Thanks to its CoreXY structure, lightweight direct drive extruder, steel rods on the X-axis and of course the Klipper firmware (runs on a Cortex A53 1.5GHz SoC paired with 1GB DDR3 RAM and 8GB eMMC flash) with its resonance compensation feature the X-Plus 3 is actually one of the fastest models I’ve seen to date with speeds going up to 600mm/s with up to 20000mm/s² acceleration. The direct drive extruder can reach temperatures of up to 350 degrees Celsius and features a 9.5:1 gear ratio, maximum flow rate of 35mm³/s and consistent extrusion. QIDI also packs two 0.4mm nozzles with their X-Plus 3 model, a copper alloy one (default) which can be used to process most common filaments and a hardened steel nozzle for abrasive materials (needless to say you can replace these 0.4 nozzles with 0.2/0.6/0.8mm ones). There's more however and so aside the 5-inch color touchscreen, filament dryer box, 2.4G Wi-Fi and the flexible HF print plate with its bed which heats up to 120 degrees Celsius QIDI has also made the chamber temperature controlled thanks to an independent heater which can set interior temperature to 65 degrees Celsius in order to help reduce warping and delamination with high-temperature filaments. On paper the X-Plus 3 3D printer by QIDI certainly looks impressive so let's not waste any more time in the introduction page.
SPECIFICATIONS AND FEATURES

PACKAGING AND CONTENTS
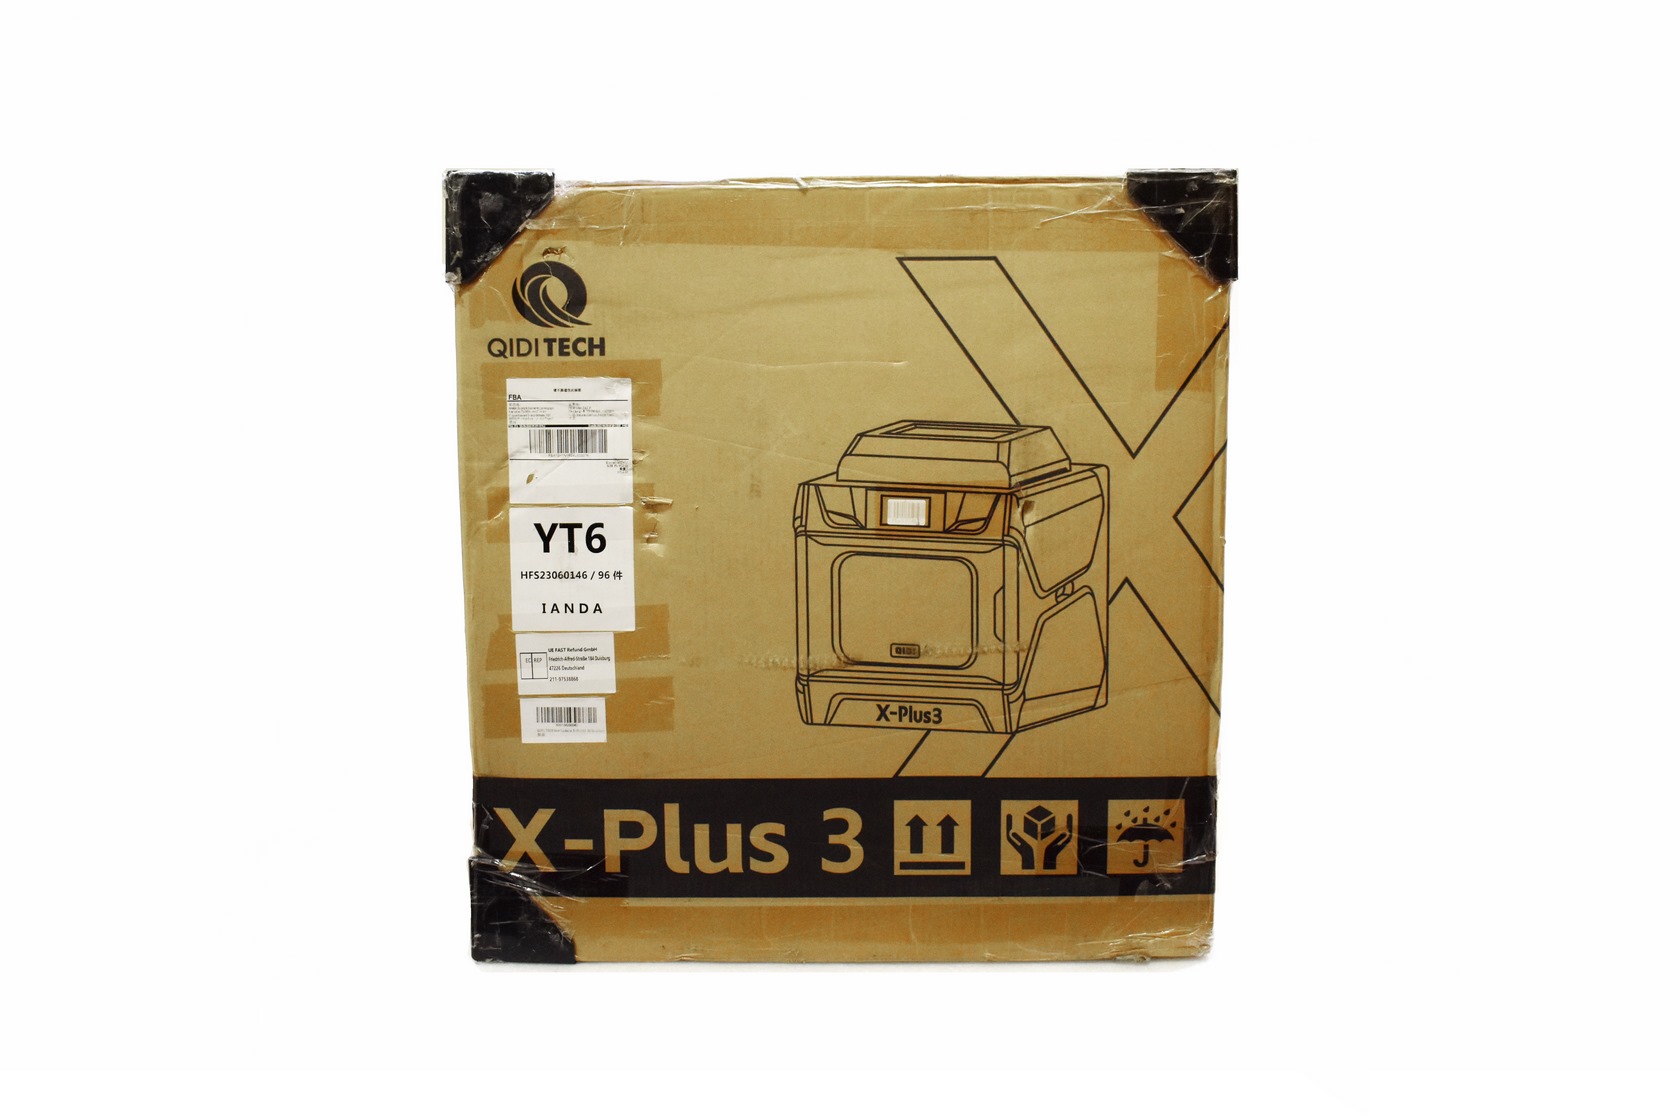
The X-Plus 3 is packed inside a very large cardboard box that has a product picture and the company name and logo at the front and rear.

QIDI has printed the package size and weight on both sides of the box.
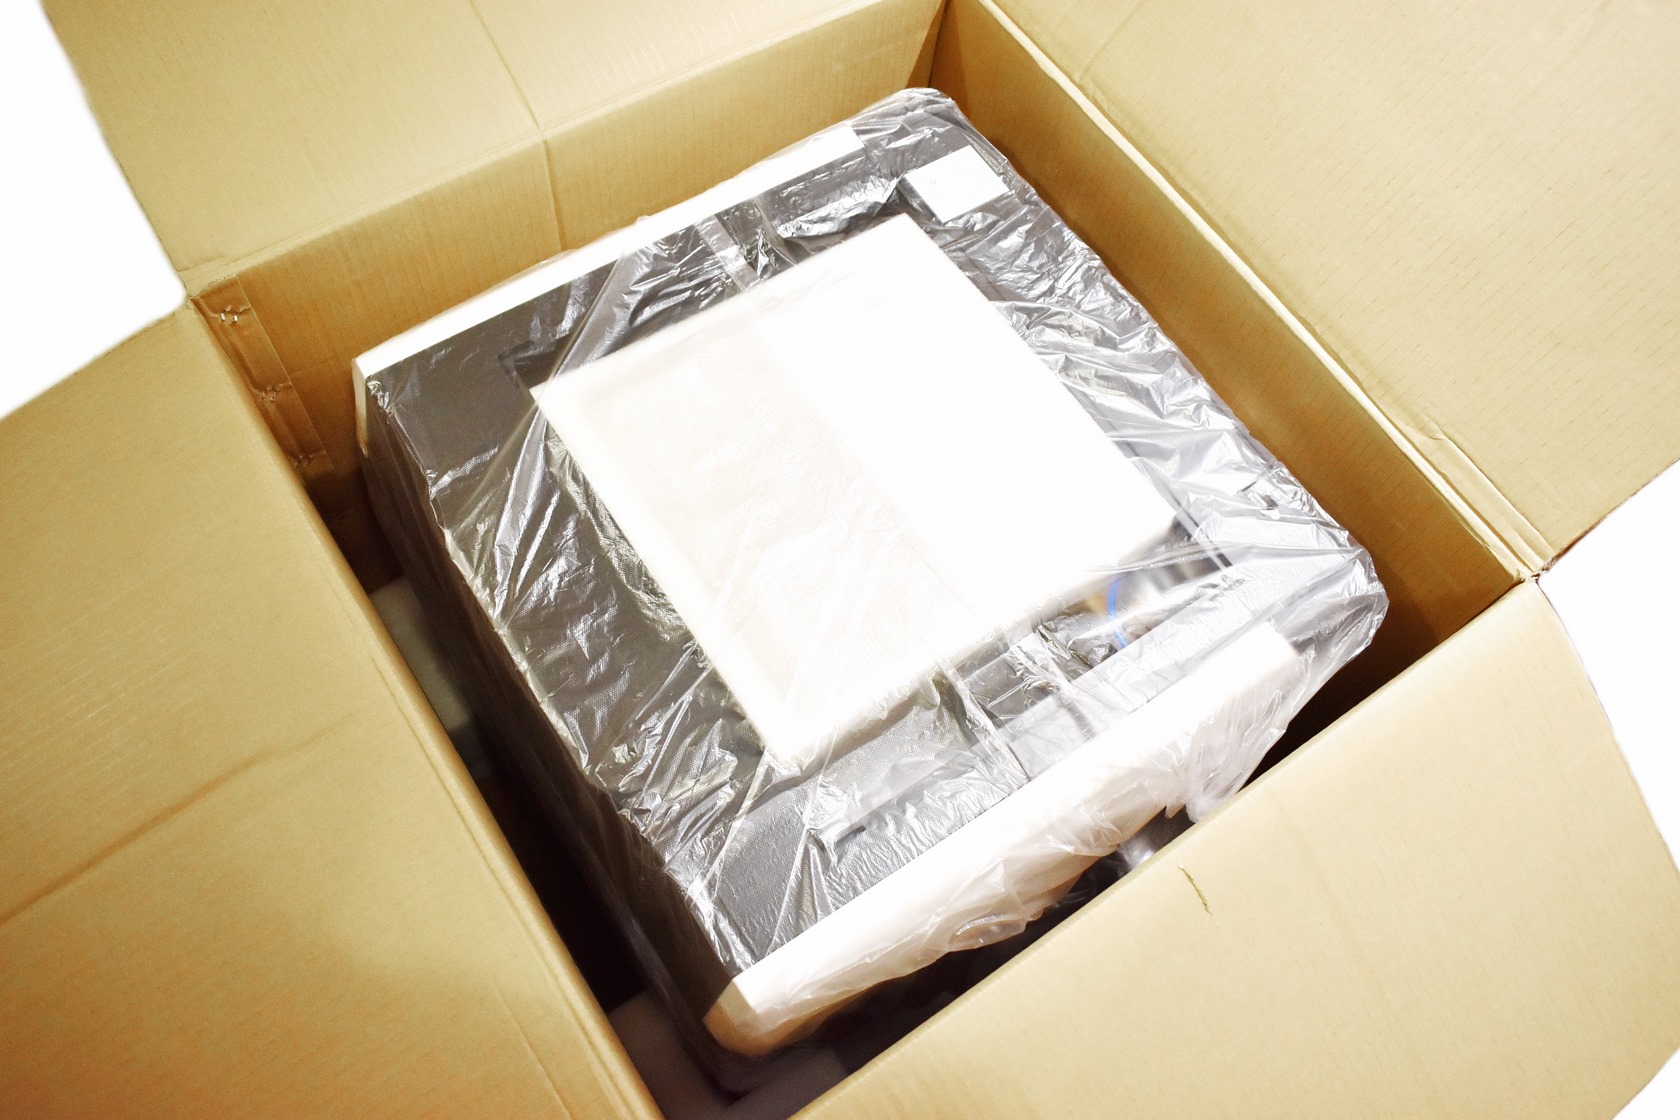
As expected, the printer is wrapped inside a piece of plastic and placed between numerous foam spacers.
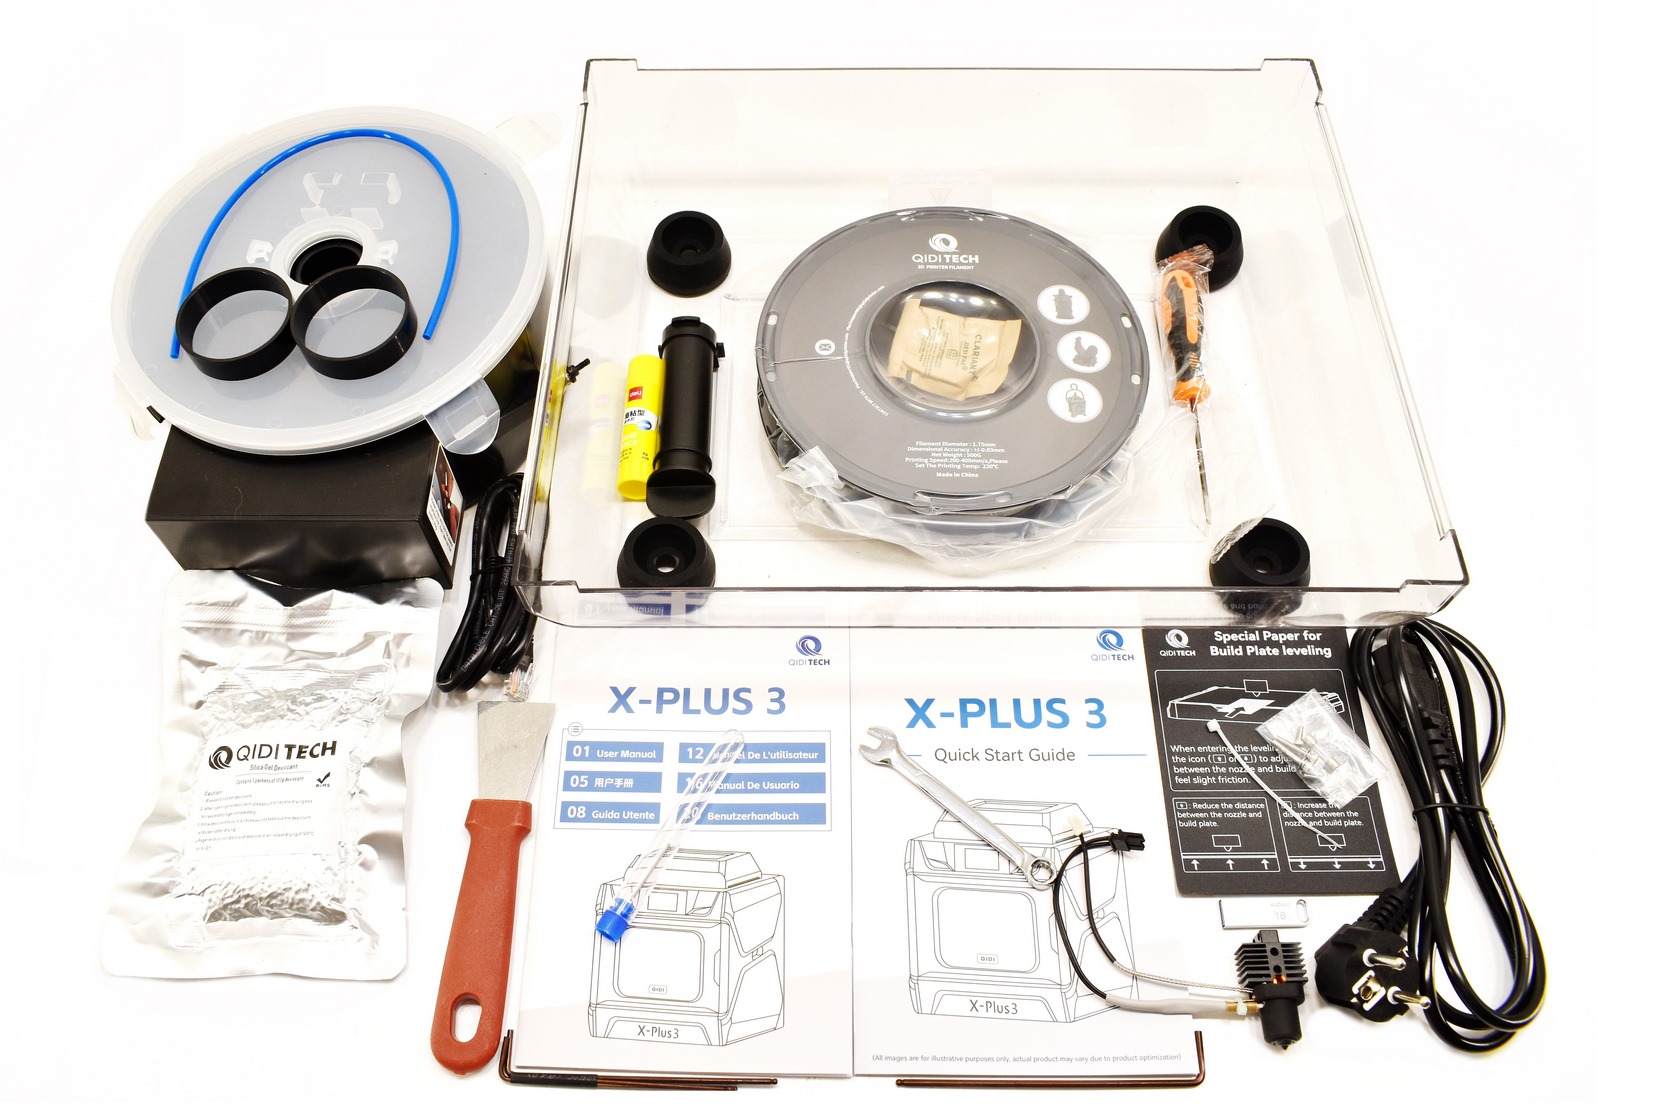
Inside the X-PLUS 3 printer QIDI has placed a 500g filament, filament dryer box, desiccant, clear top cover, filament spool holder, hardened steel nozzle, 0.4 mm nozzle cleaning tool, tool set, 4 rubber feet, single cable tie, power cord, ethernet cable, scraper, glue stick, USB 2.0 stick and a spare parts kit.
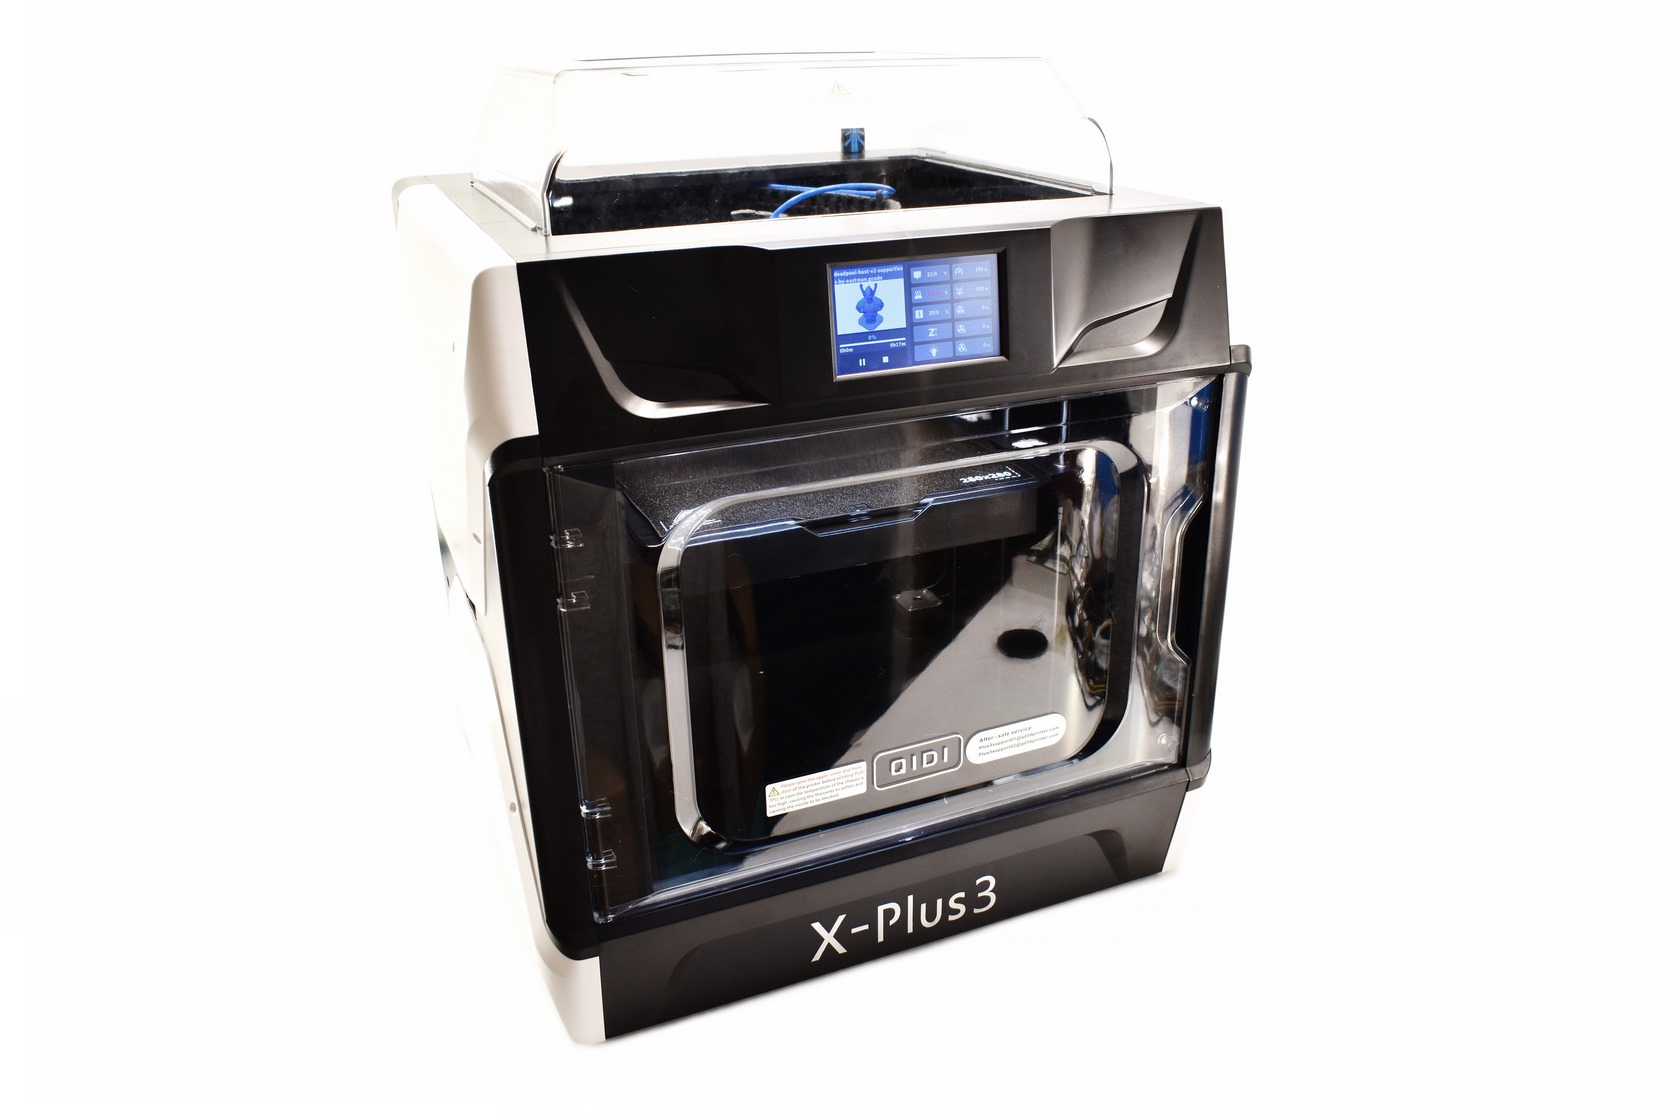
THE X-PLUS 3

The X-Plus 3 enclosure/chamber weighs 24.3Kg and measures 529mm in height, 511mm in width and 527mm in length.
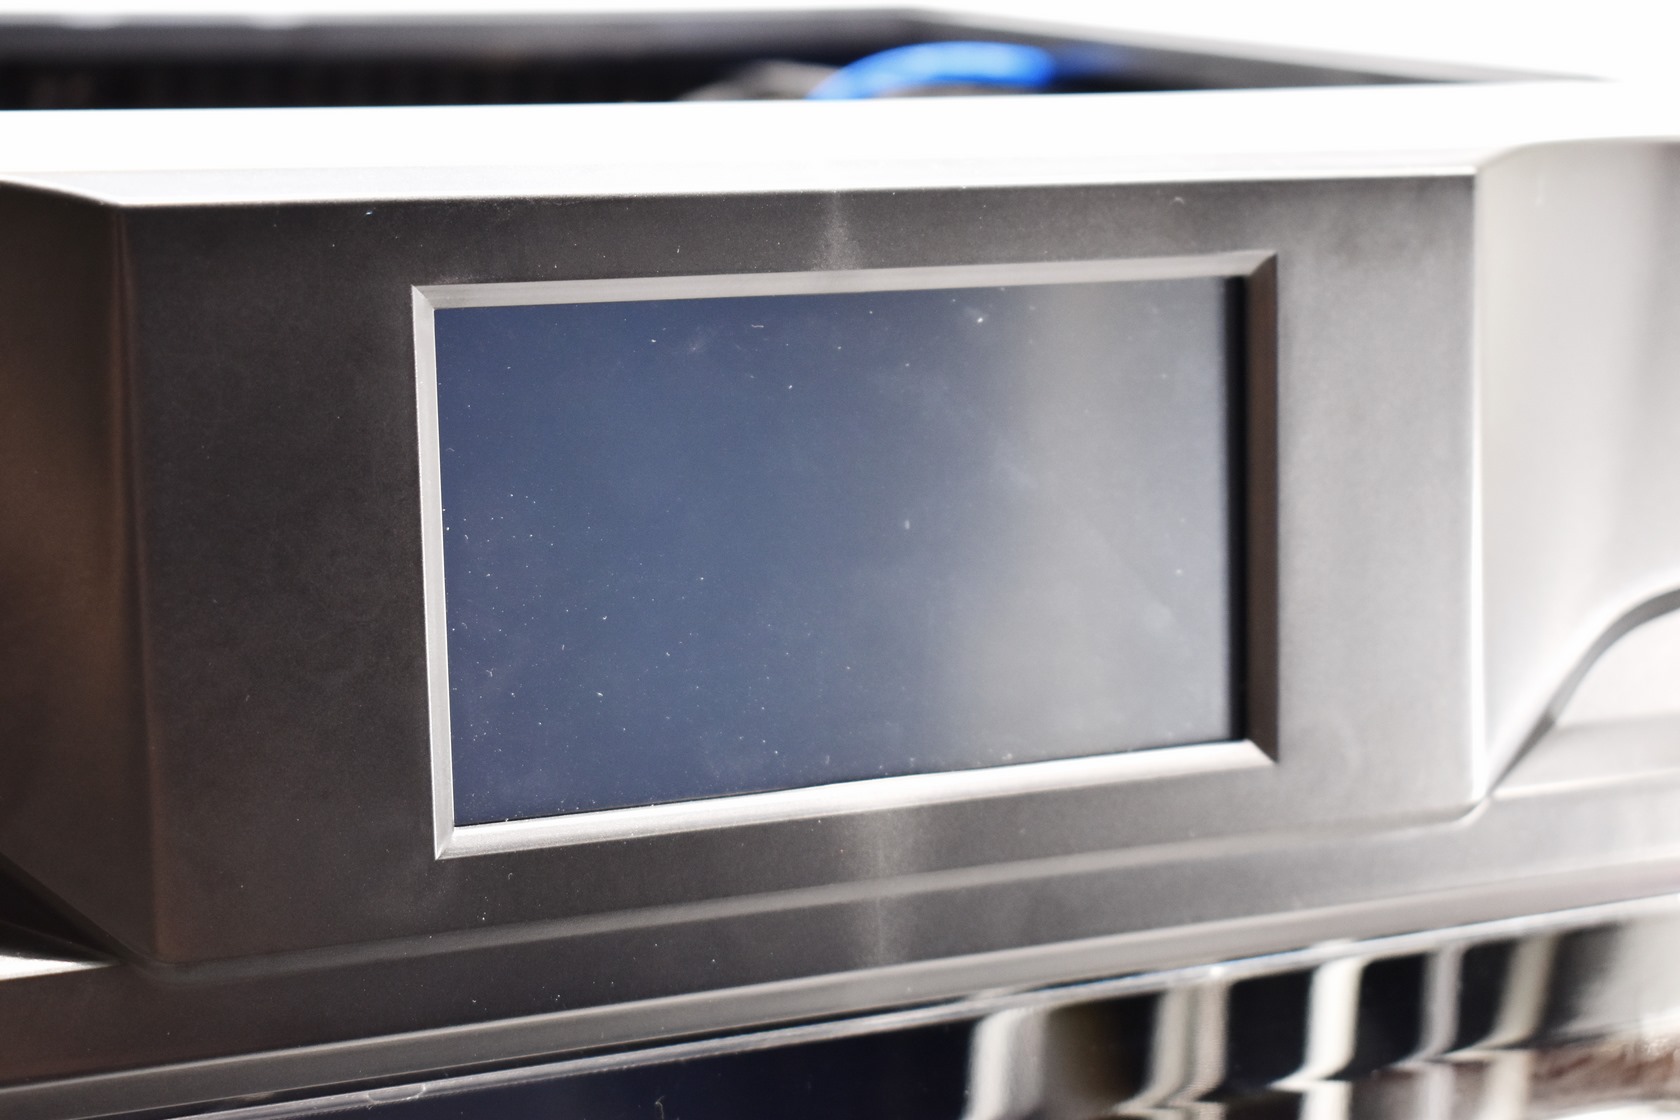
Everything in regards to the X-Plus 3 is controlled by this 5-inch touchscreen (800x480p) located just over the chamber door.
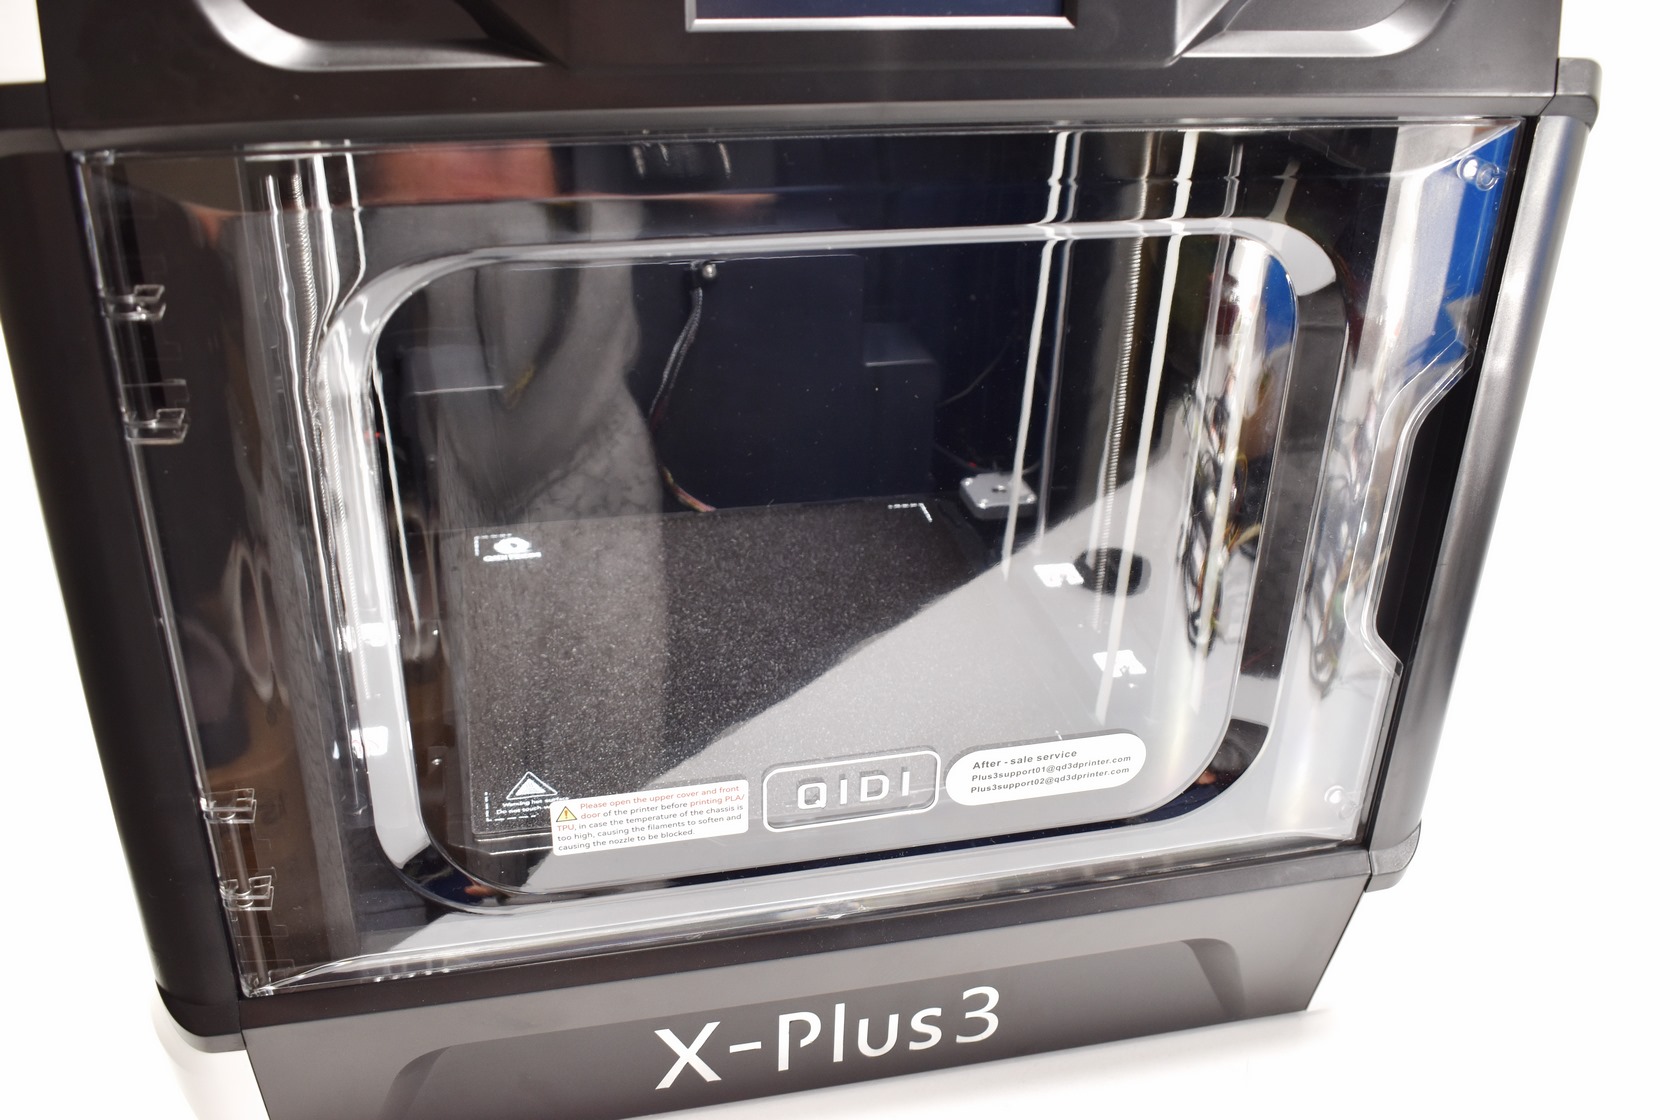
The door is made out of clear plastic and allows for easy access to the interior.

Such a large and heavy enclosure is not easy to move around for a single person and so QIDI has placed handles on both sides.
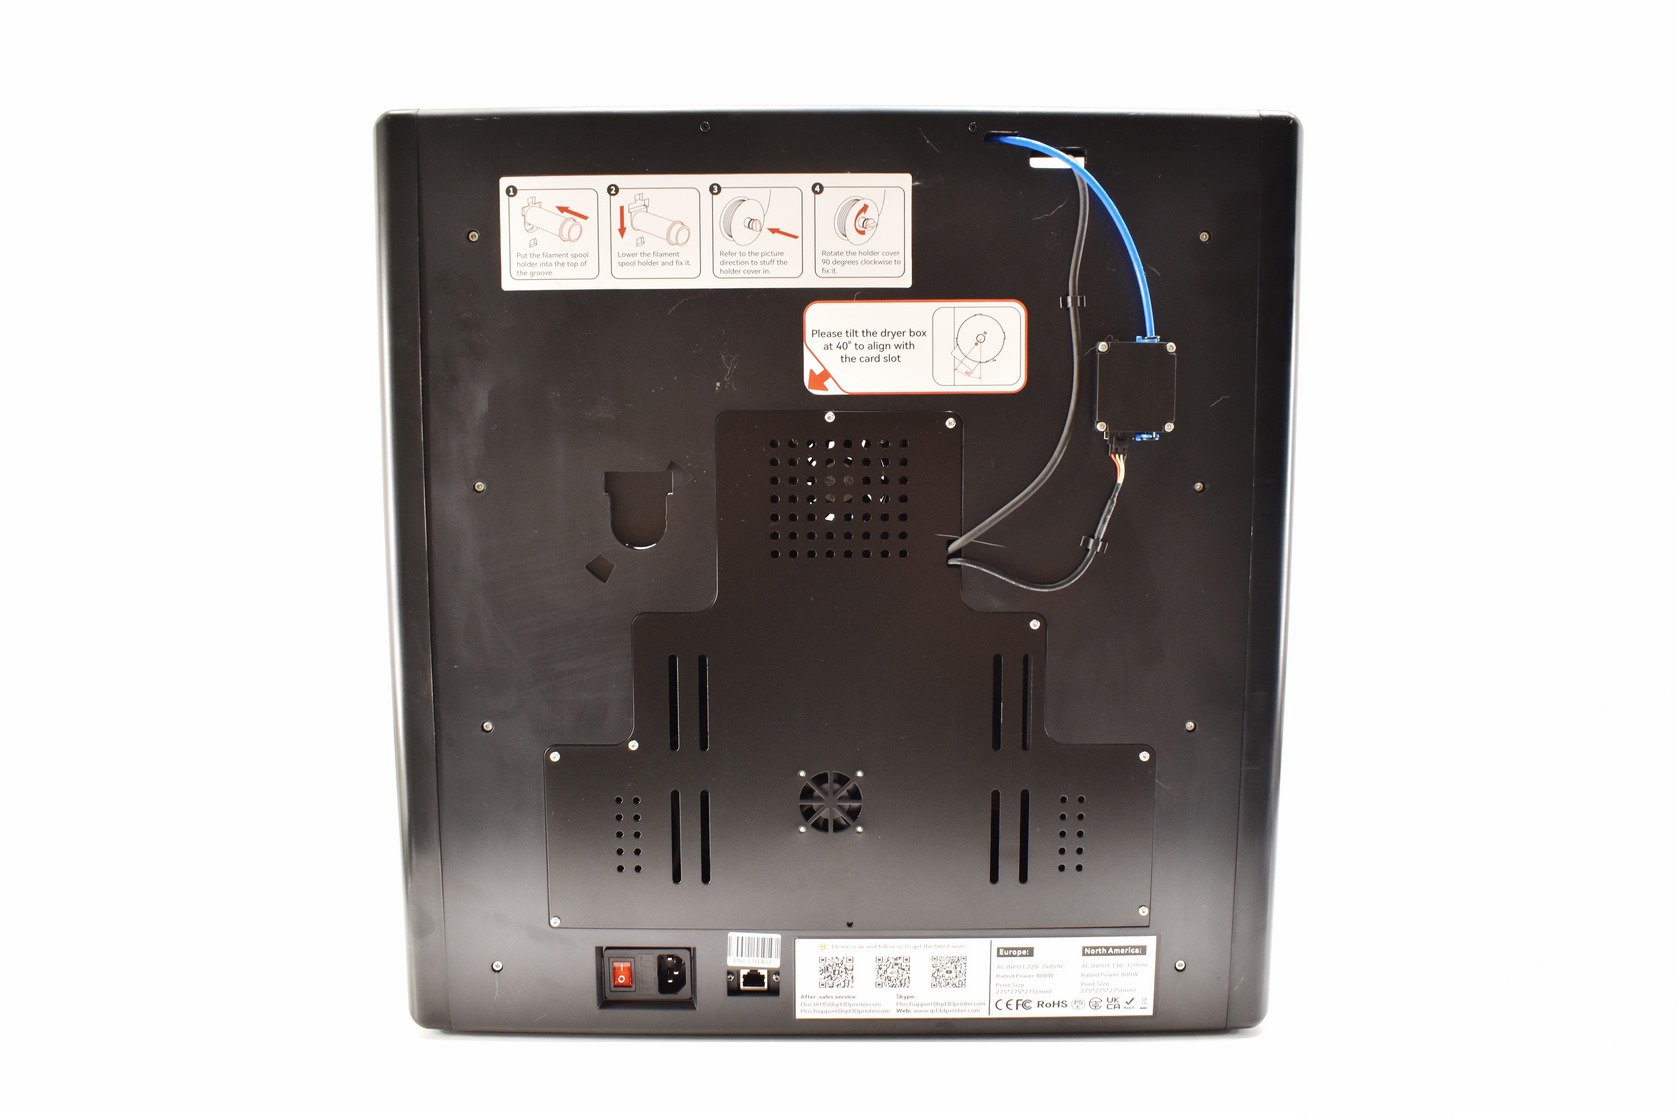
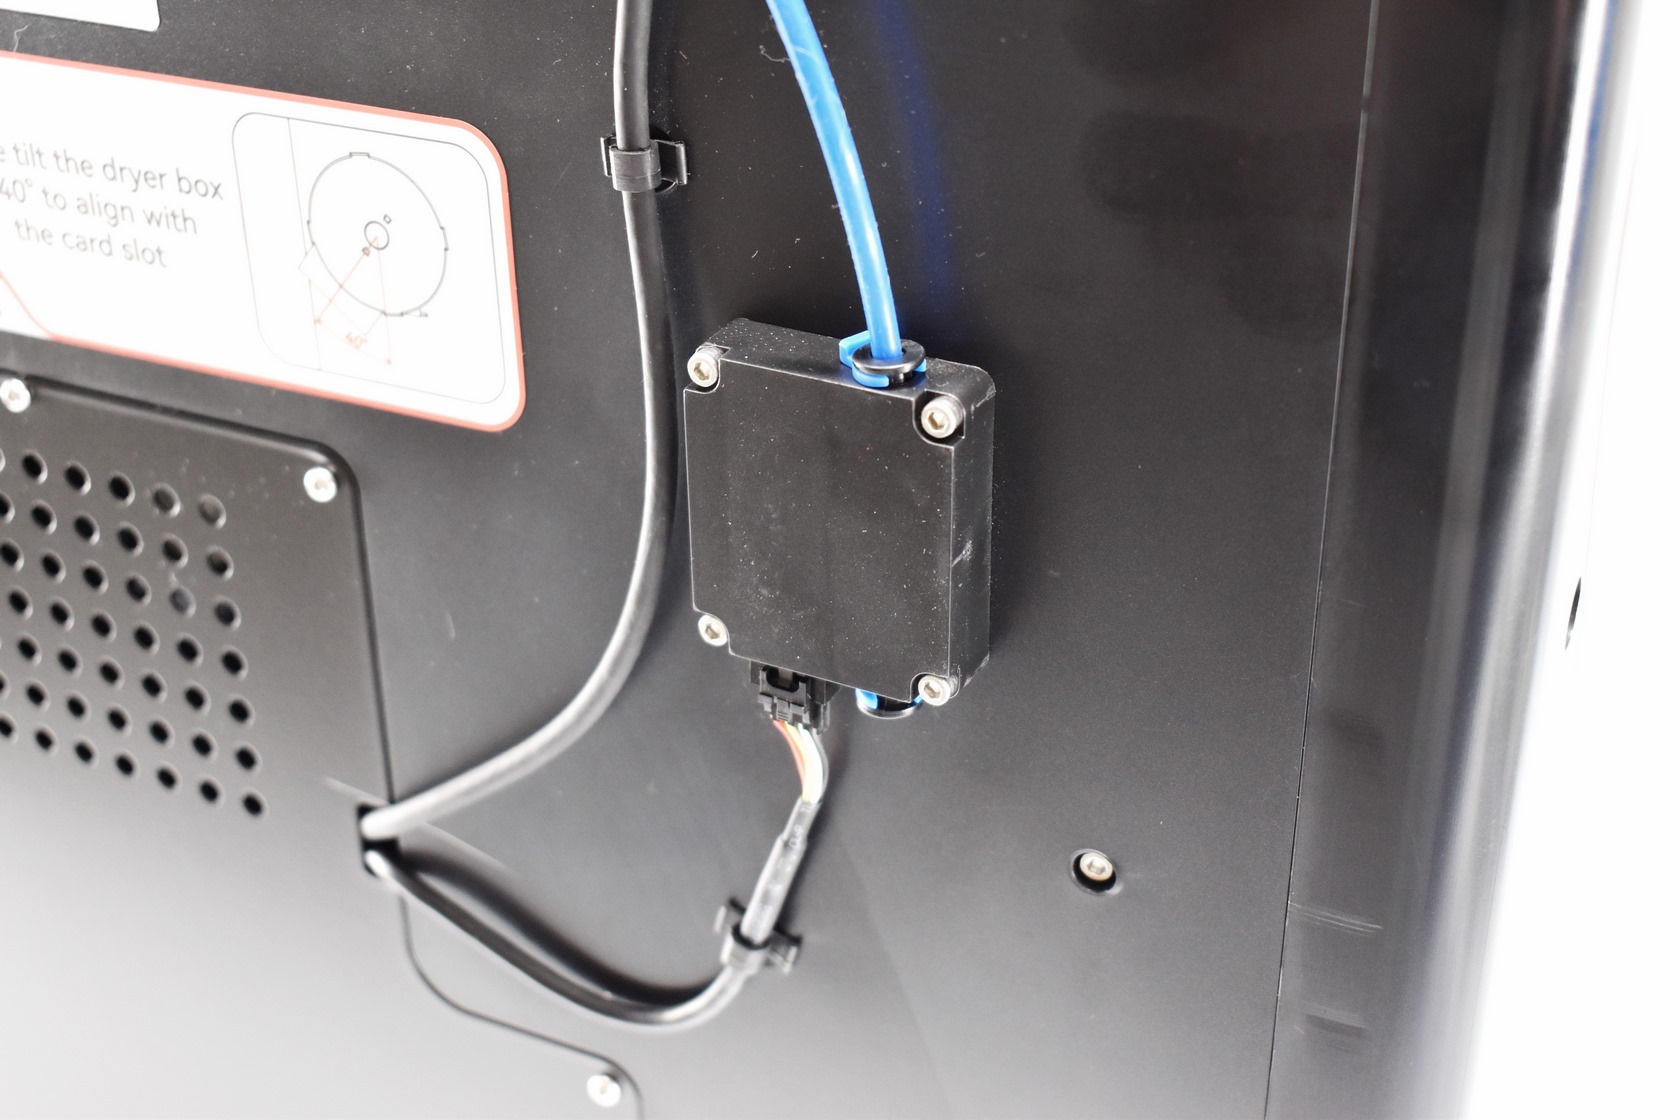
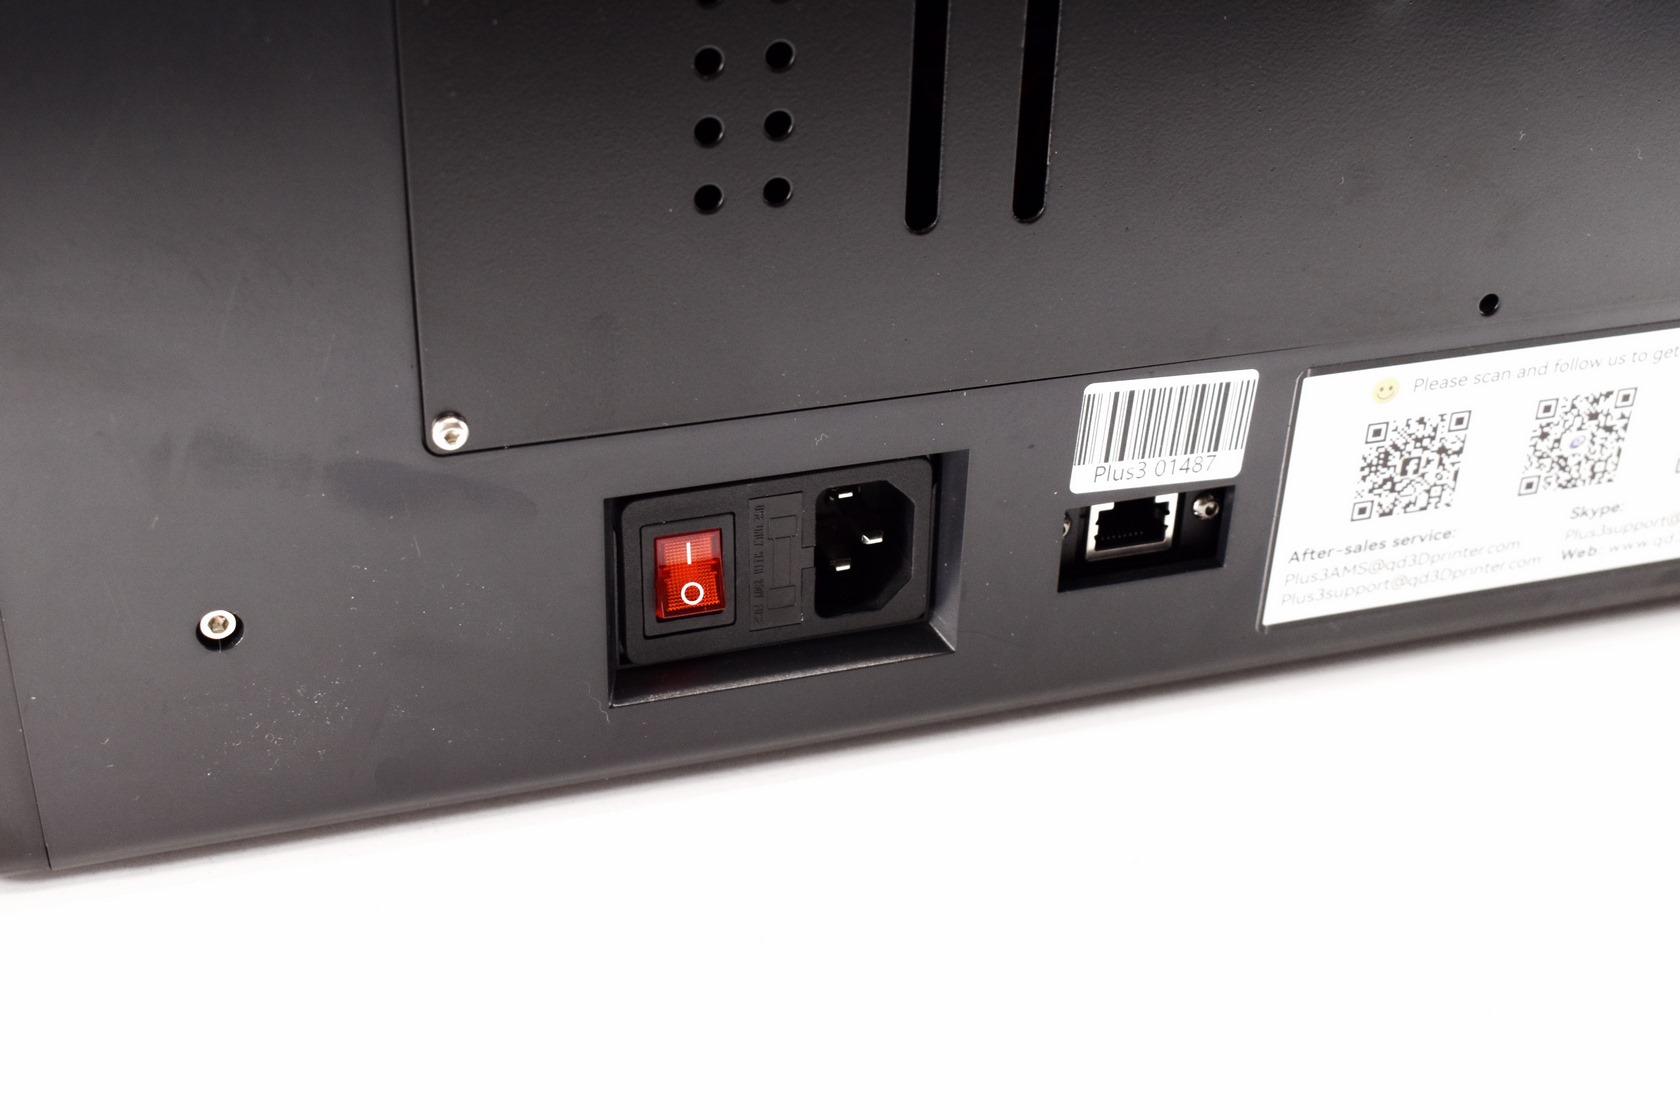 Moving at the rear we find the filament spool holder area, filament sensor, on/off power switch, power port, fuse compartment and an RJ45 Ethernet port.
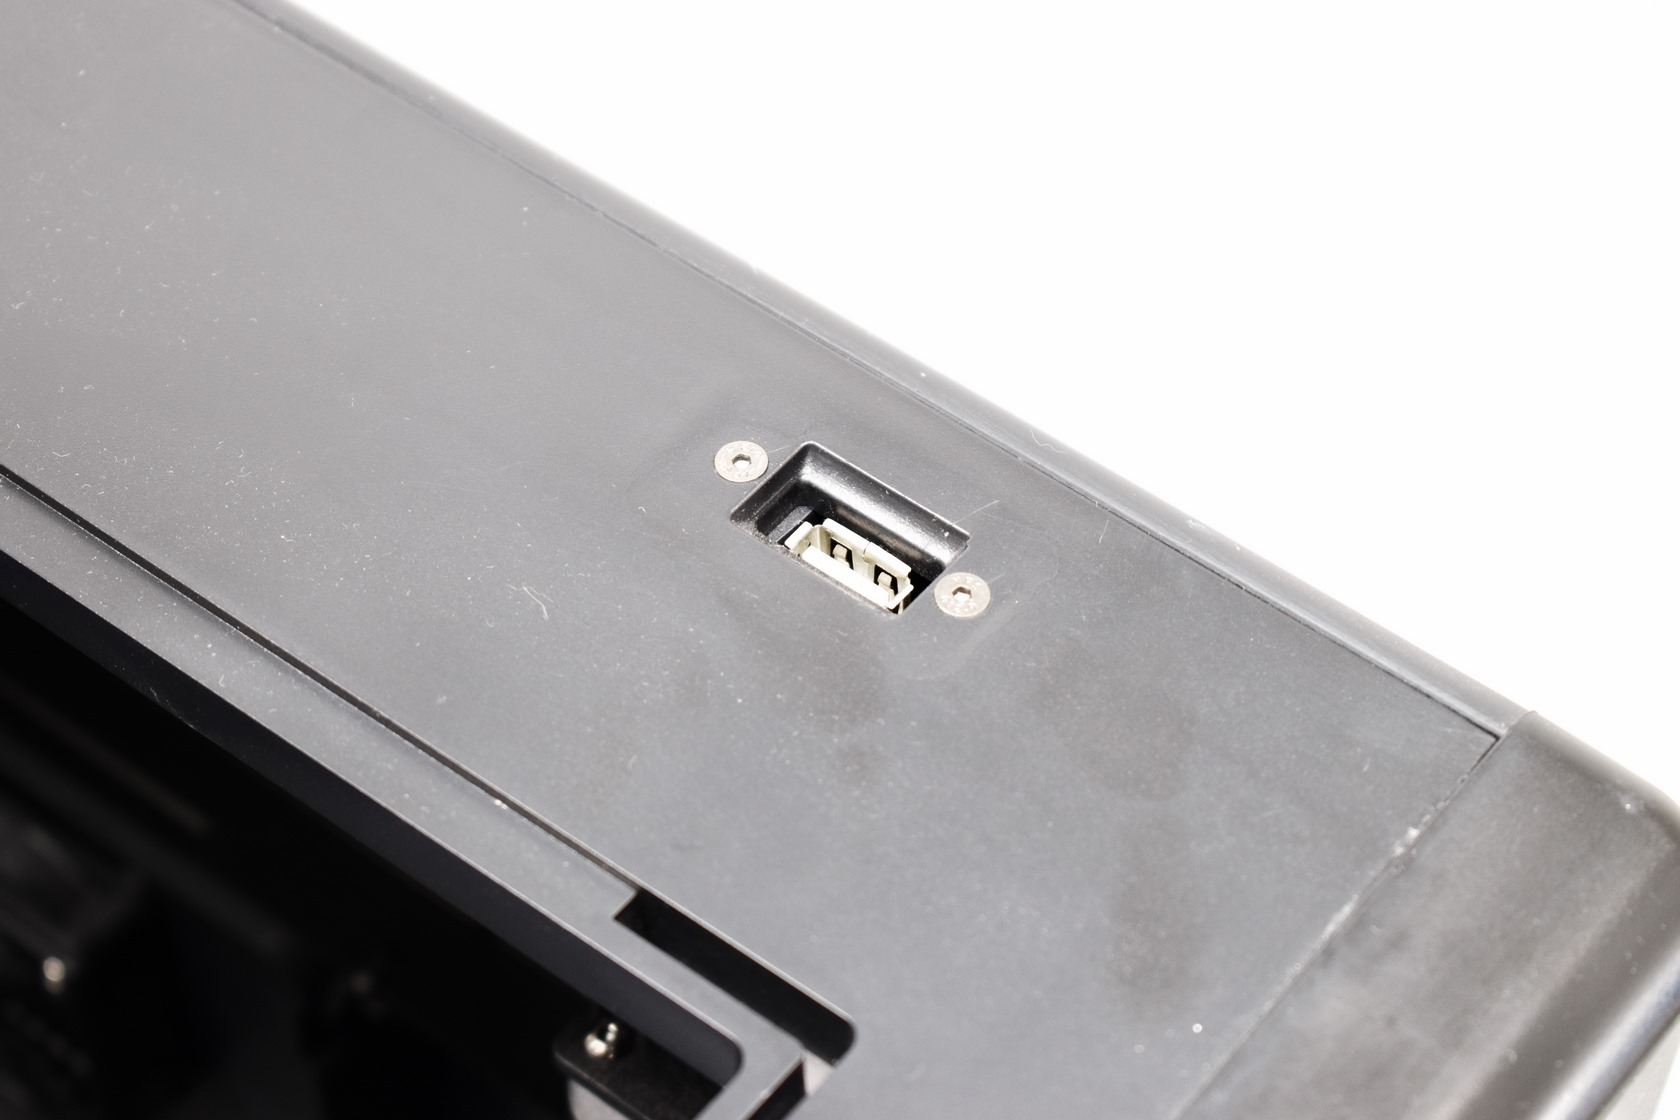
A USB 2.0 port is located at the top rear of the enclosure.
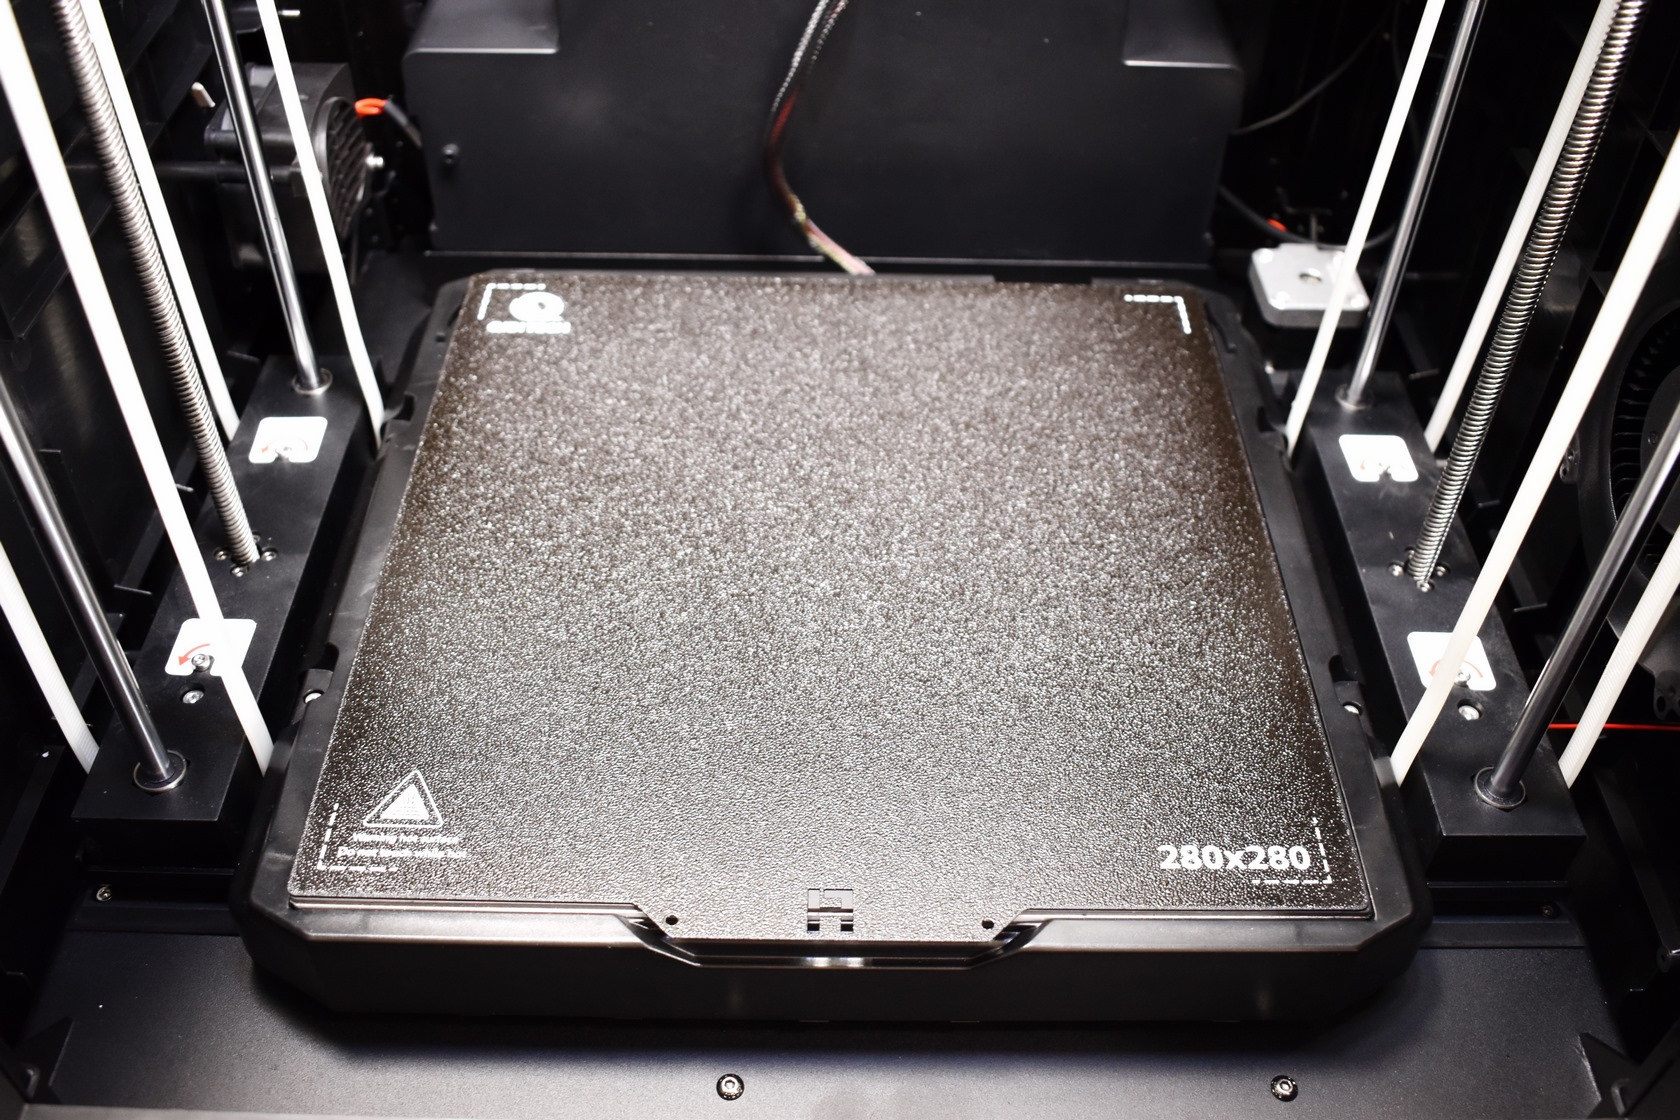
As mentioned earlier the printing bed heats up to 120 degrees Celsius and on top QIDI has placed a flexible HF plate.
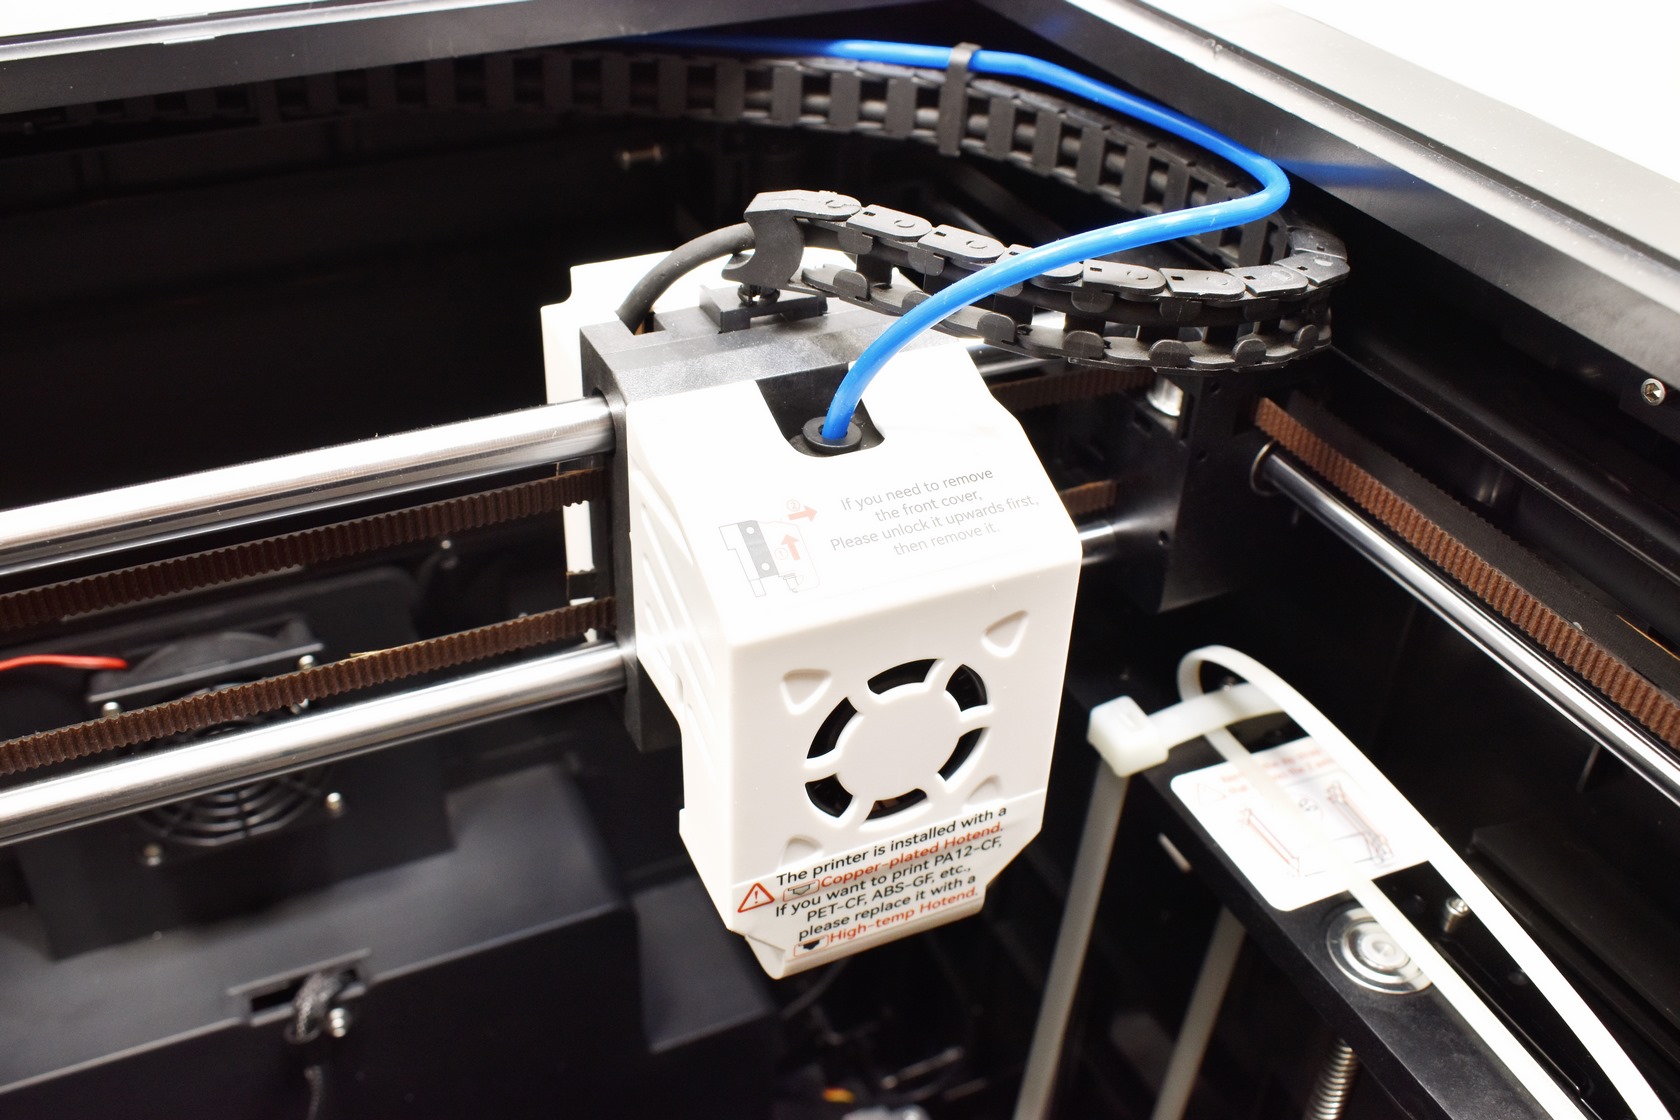
By default, the 0.4mm copper alloy nozzle is installed which you can easily swap with the bundled hardened steel one.

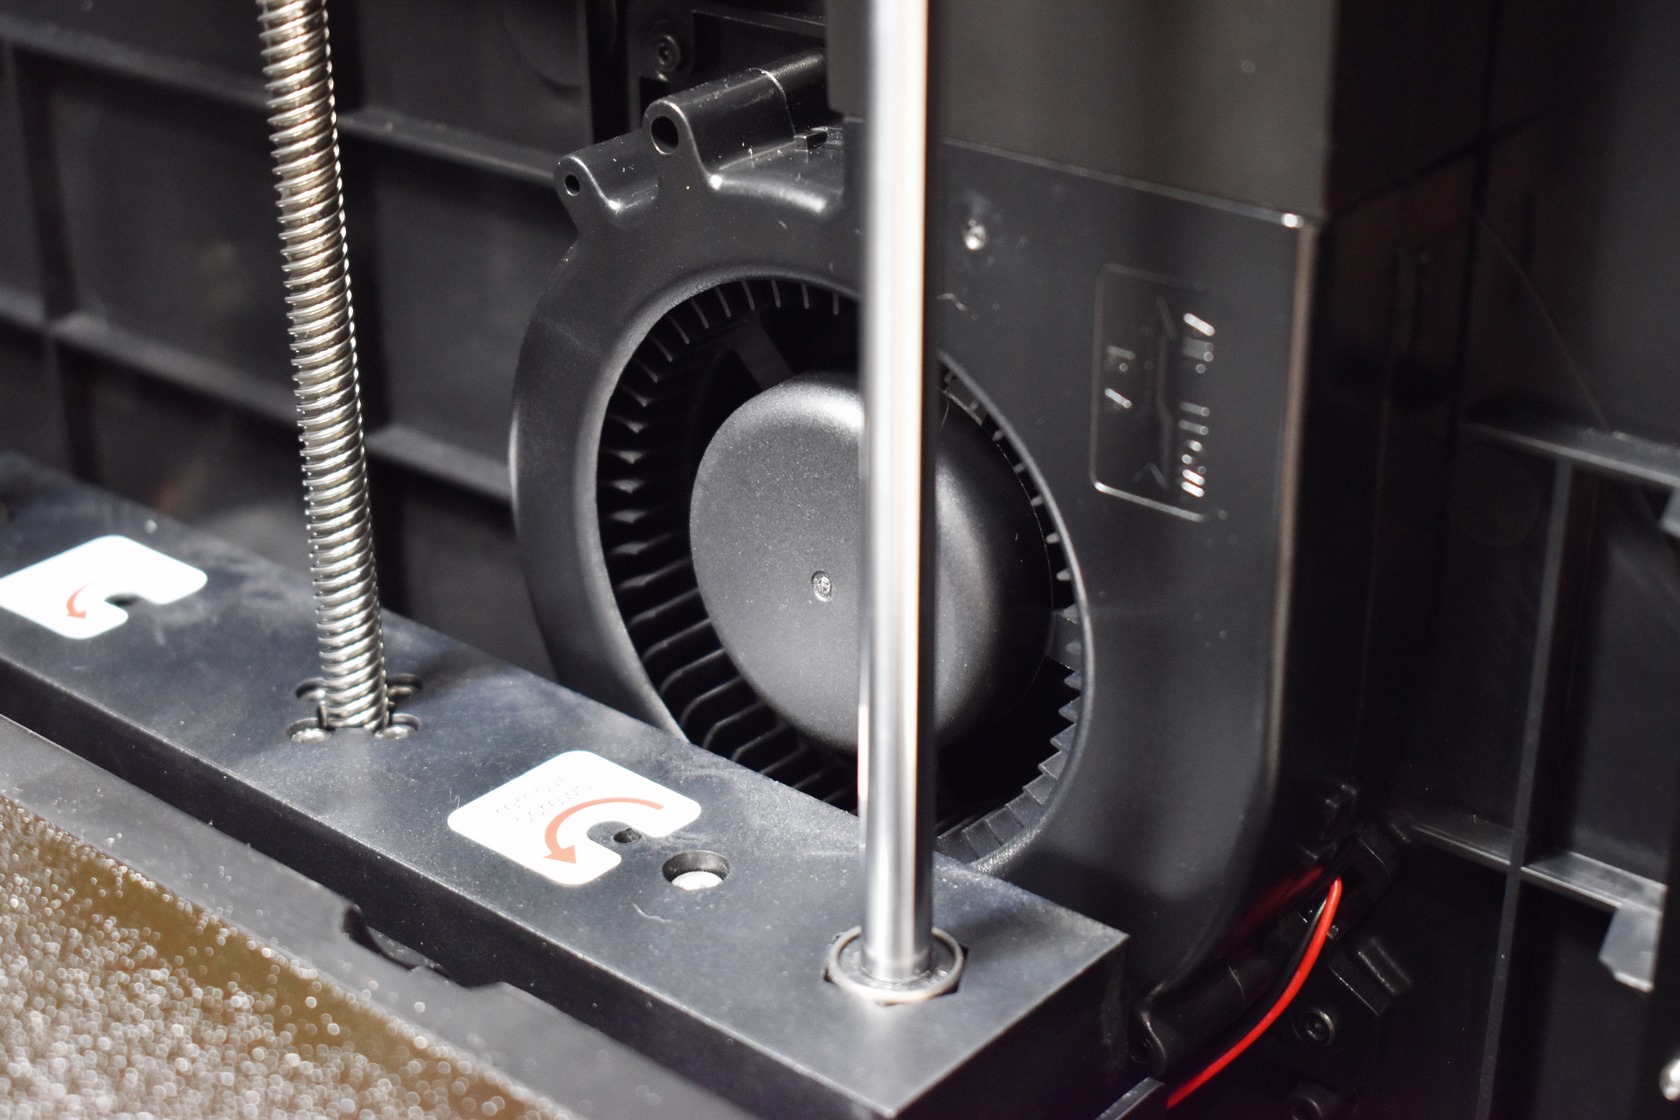
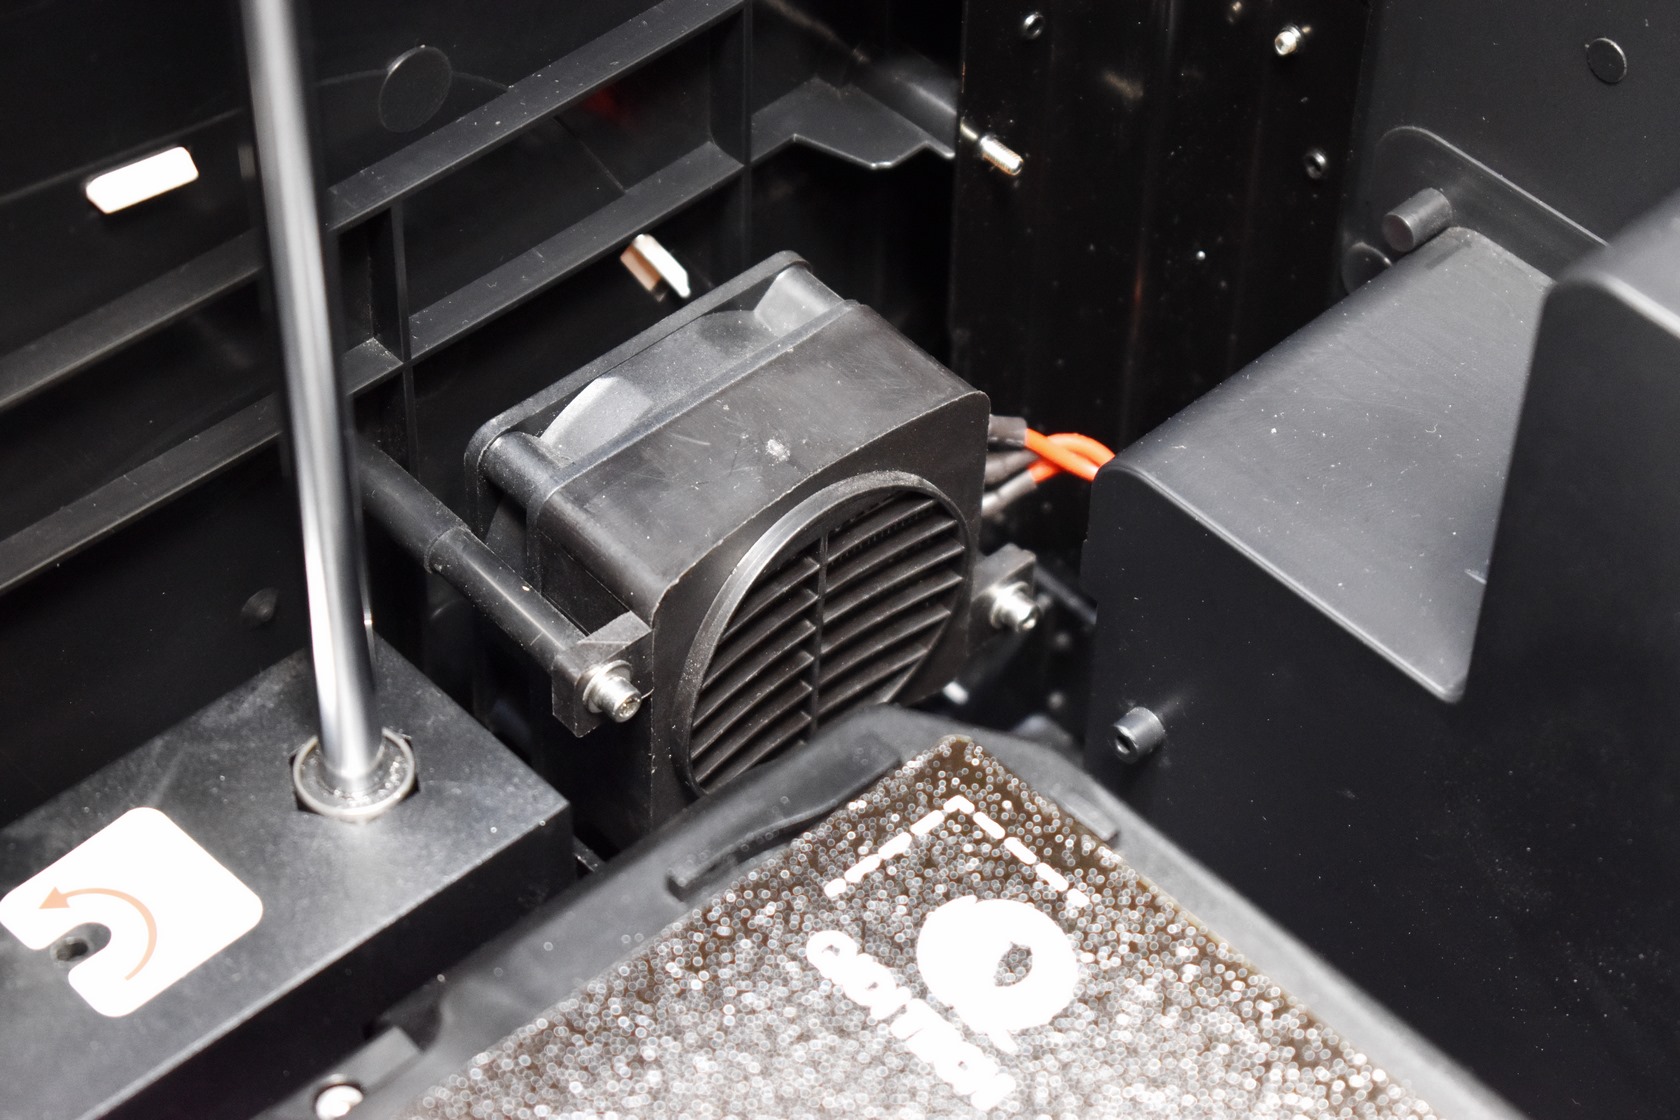
Inside the chamber we also see one rear one, one side blower type fan (air circulation fan?) and the independent heater on the lower left corner (at least i think that's the one of the three).
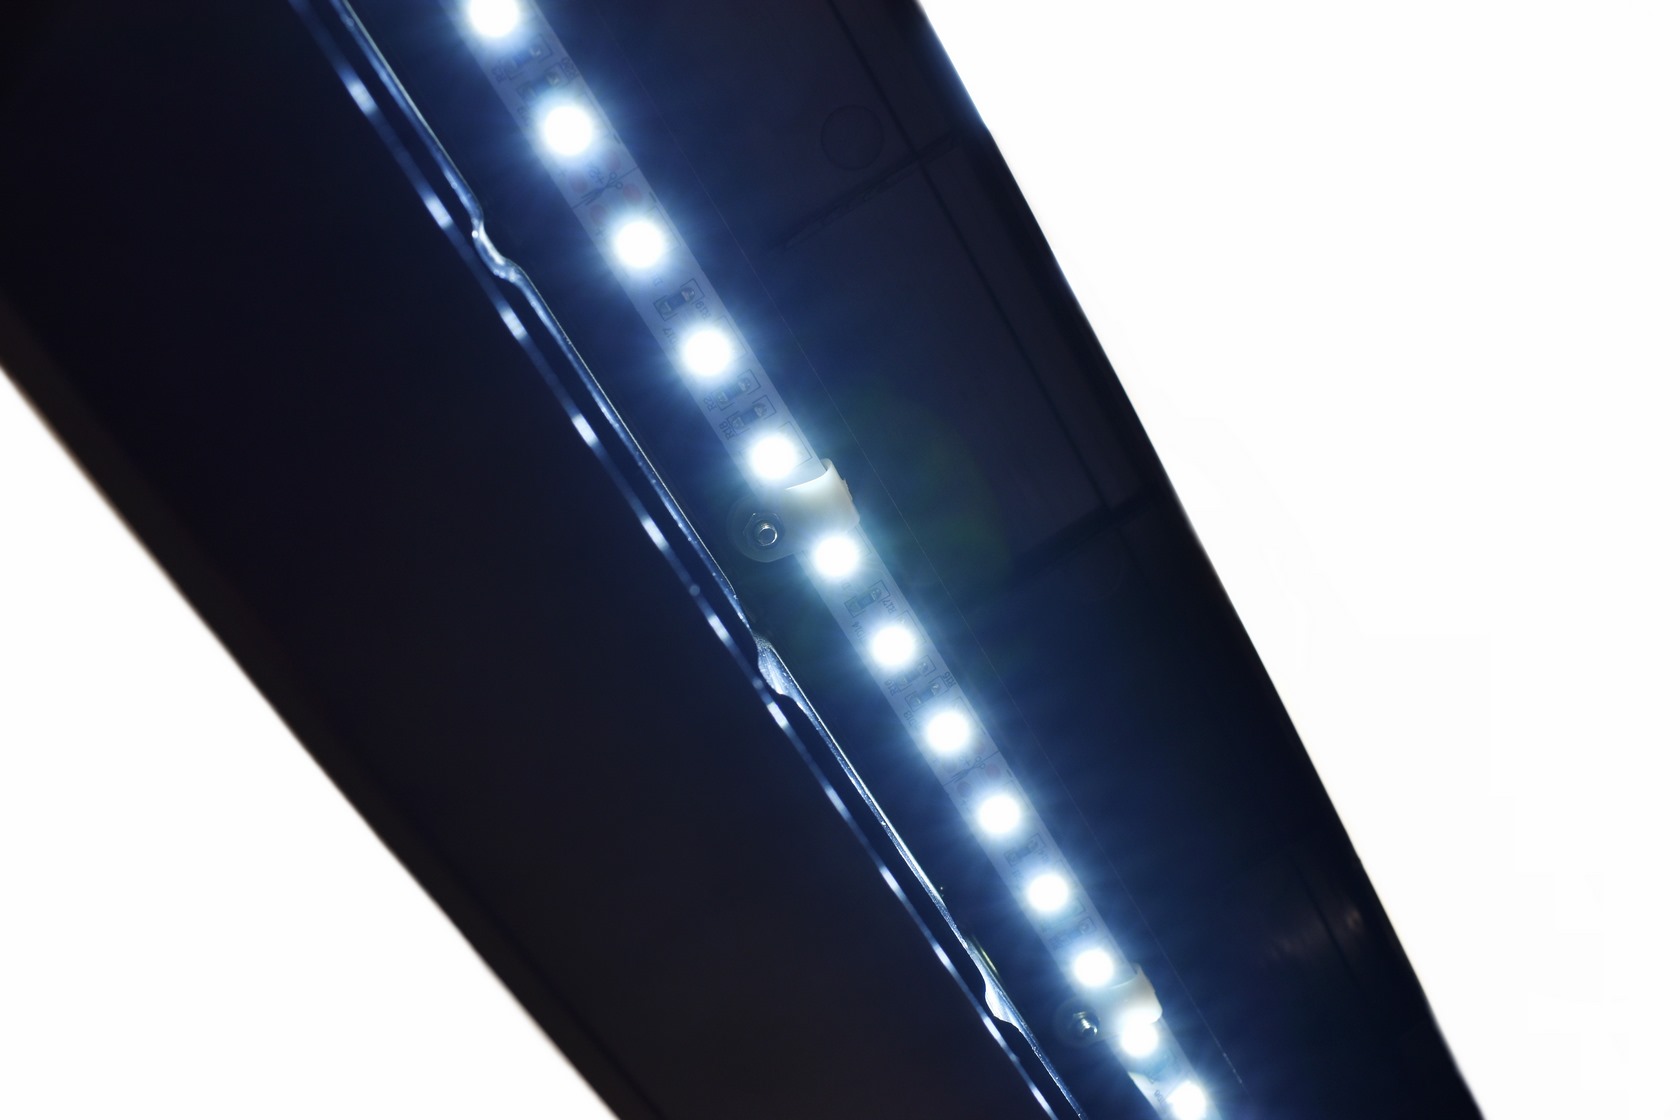
QIDI has also placed a LED strip just over the plastic door which you can turn on/off from the 5-inch touchscreen.
ASSEMBLY
The X-Plus 3 is almost fully assembled from the factory, still you need to attach some things (following the on-screen instructions will do).

Starting from the rear you will need to mount the spool holder as seen above.
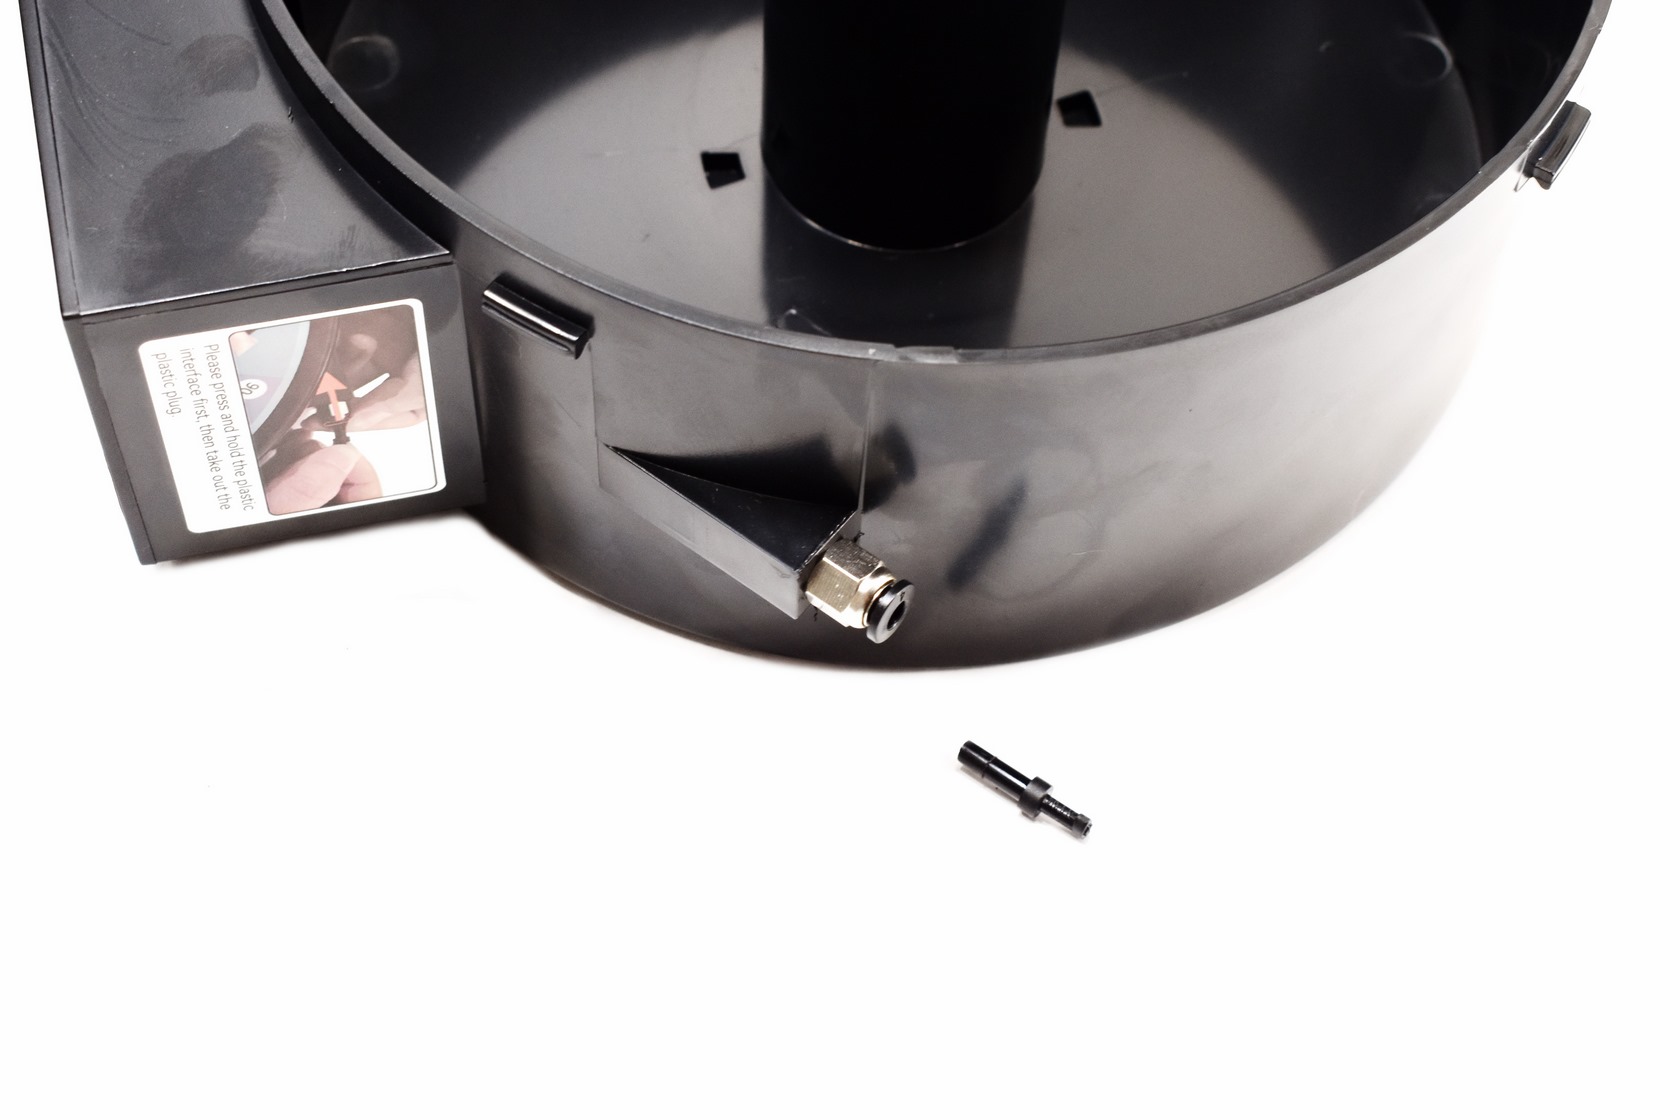

Then you will need to prepare the filament dryer box by removing the cap seen above and placing the desiccant pouch in the special compartment.
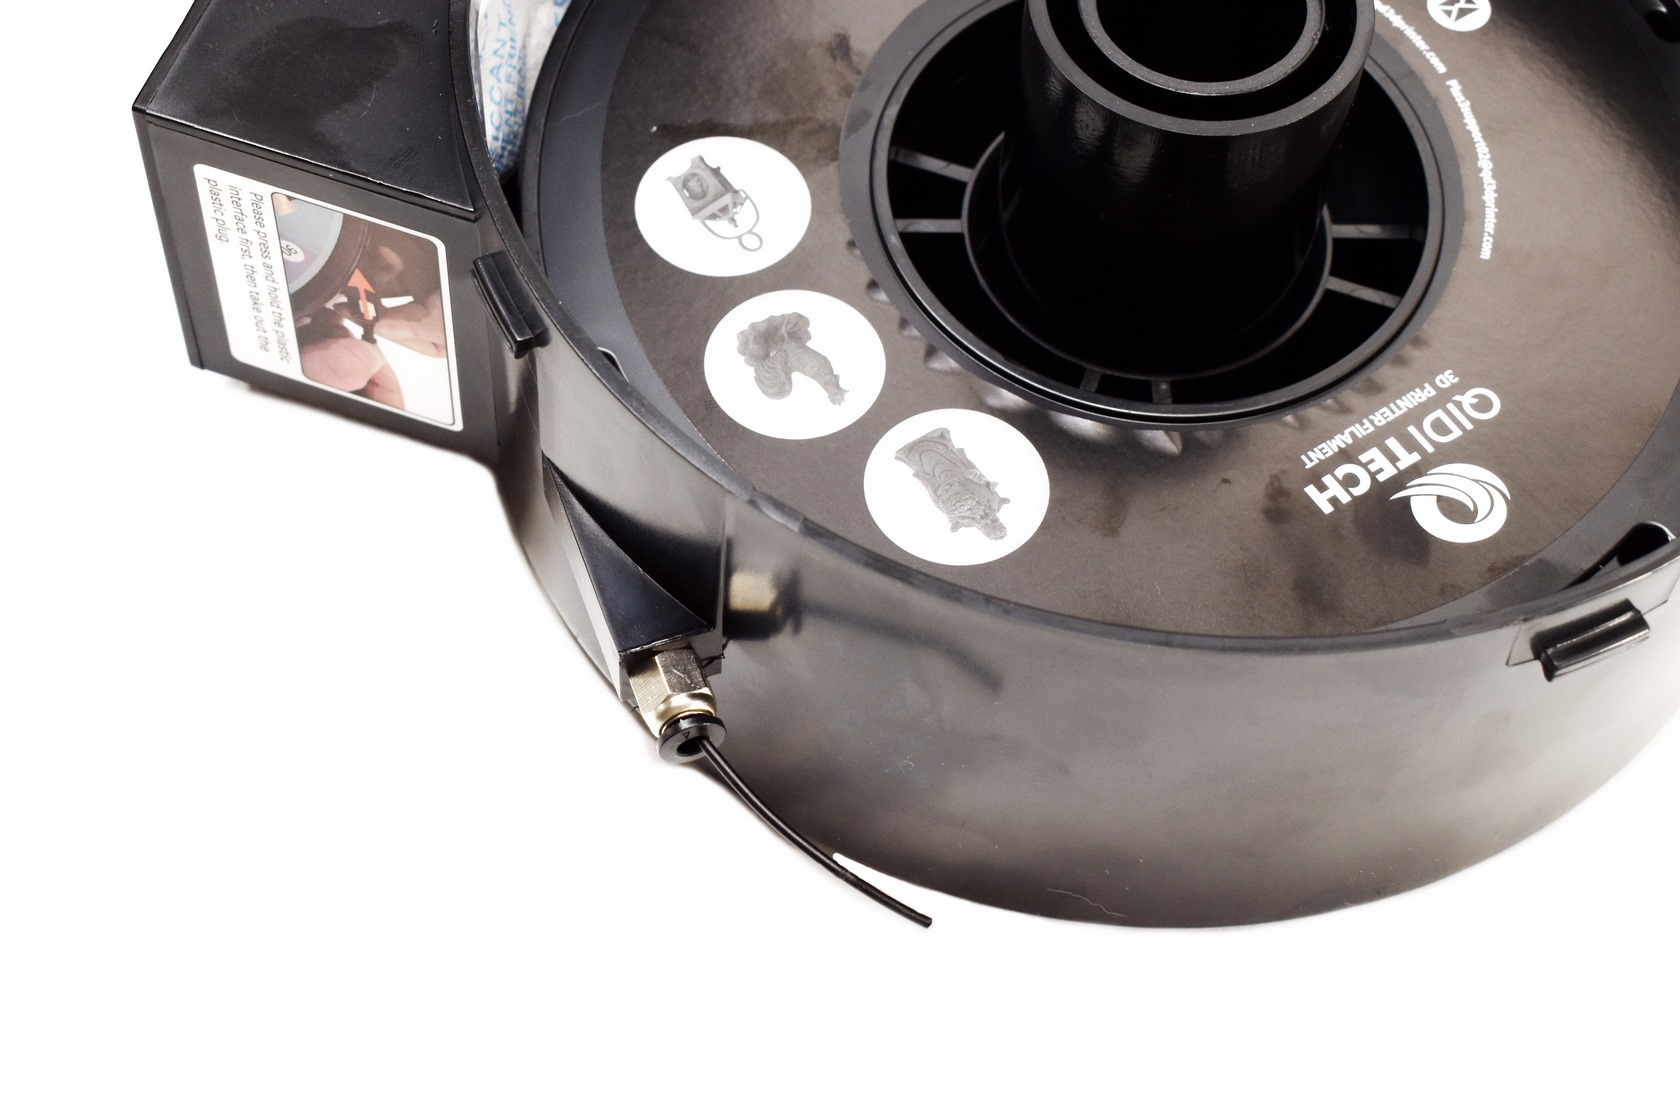
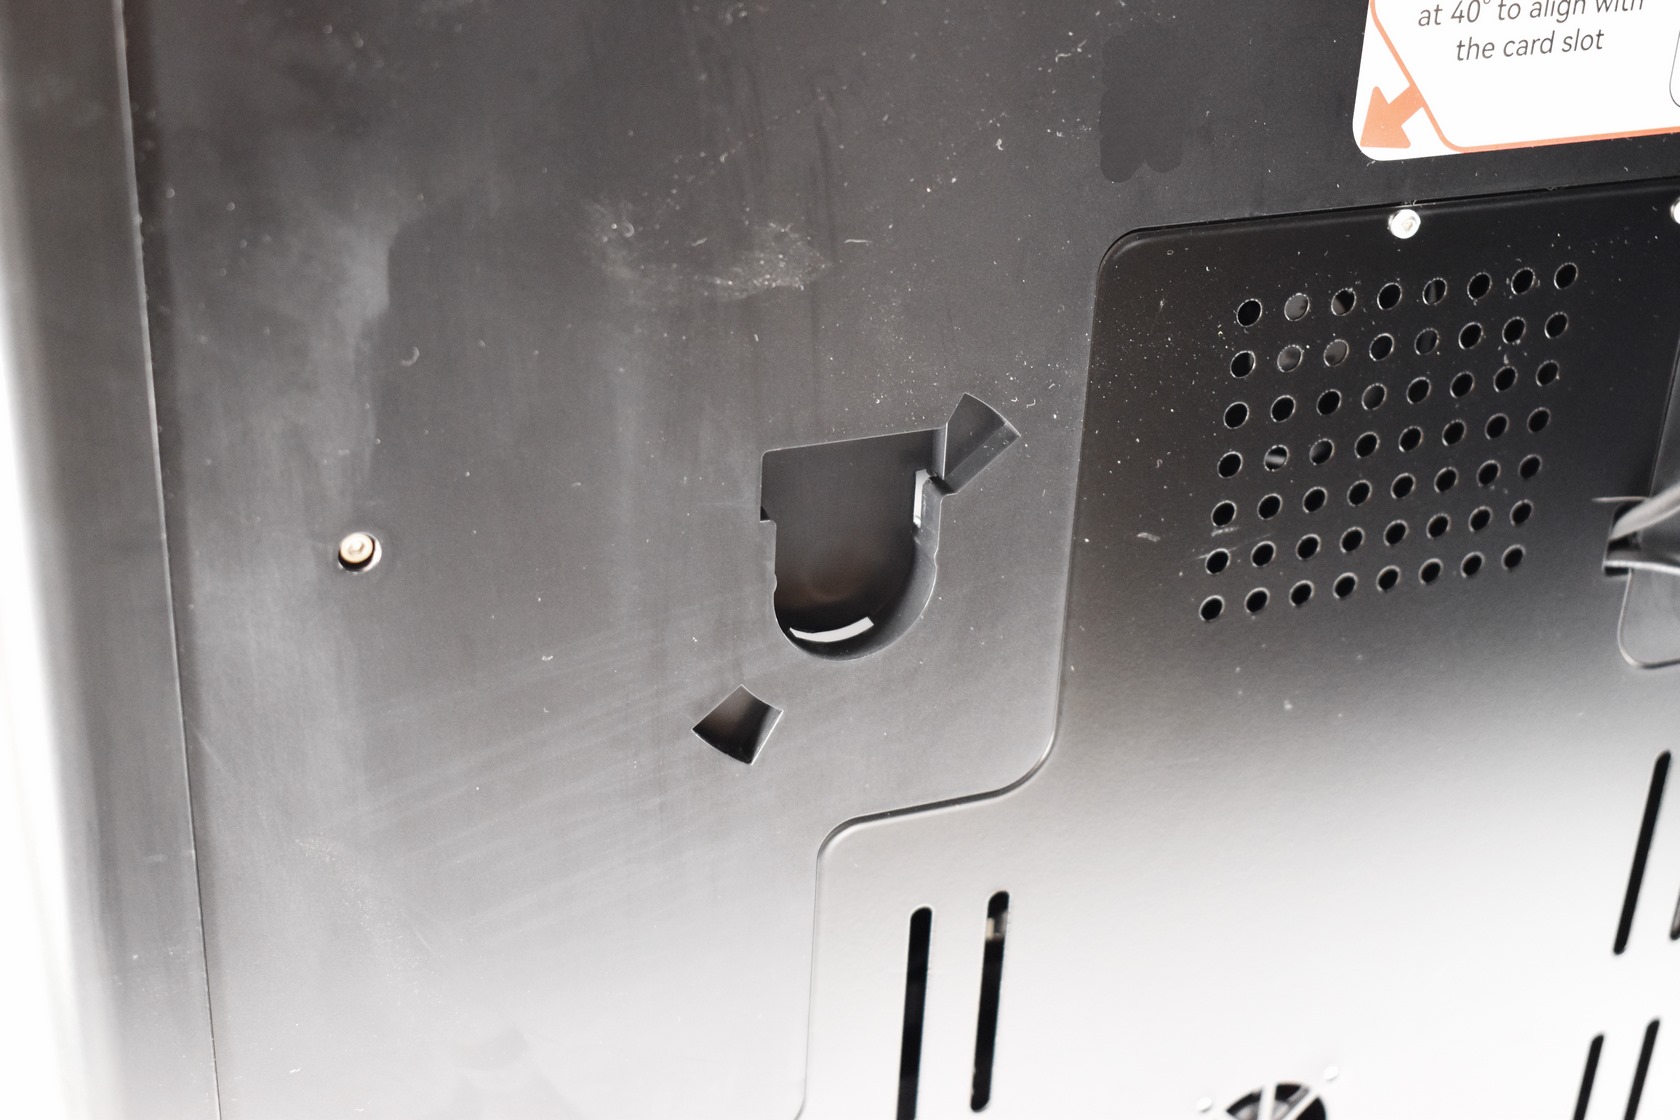
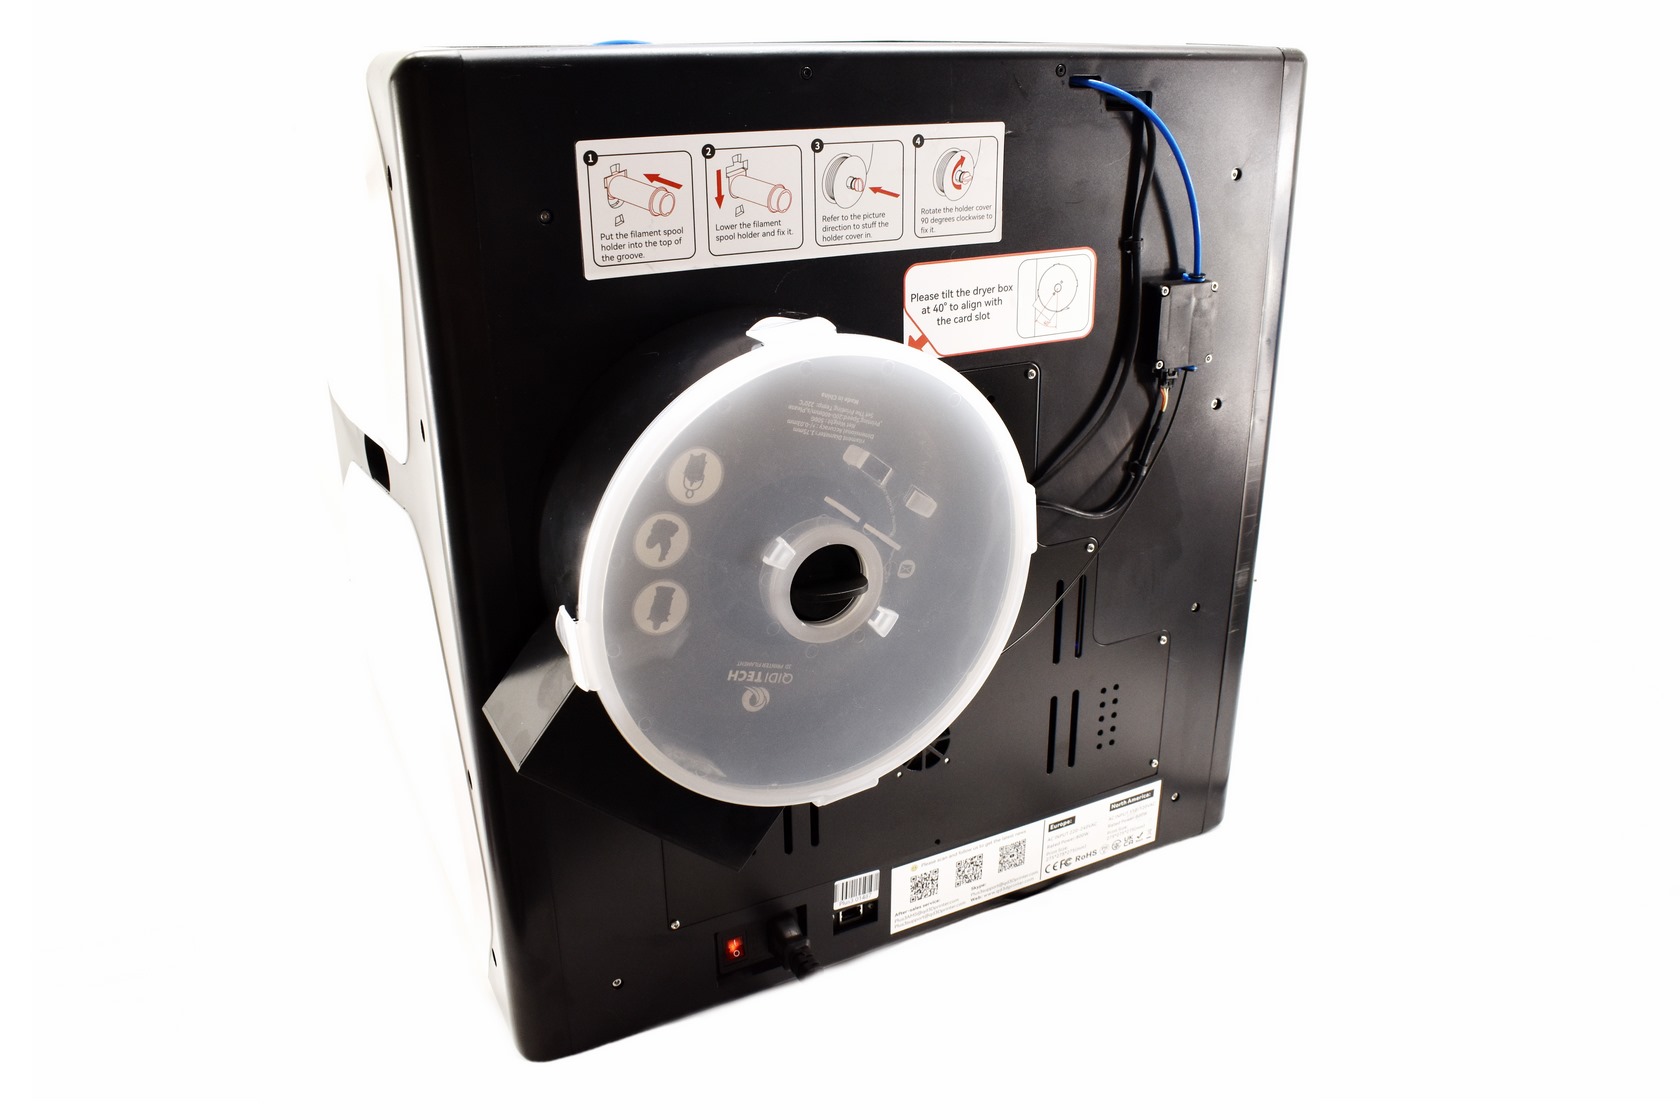 Afterwards just place the filament inside the dryer box, pass the end from the tip and mount the box with a 40 degree angle as seen above.
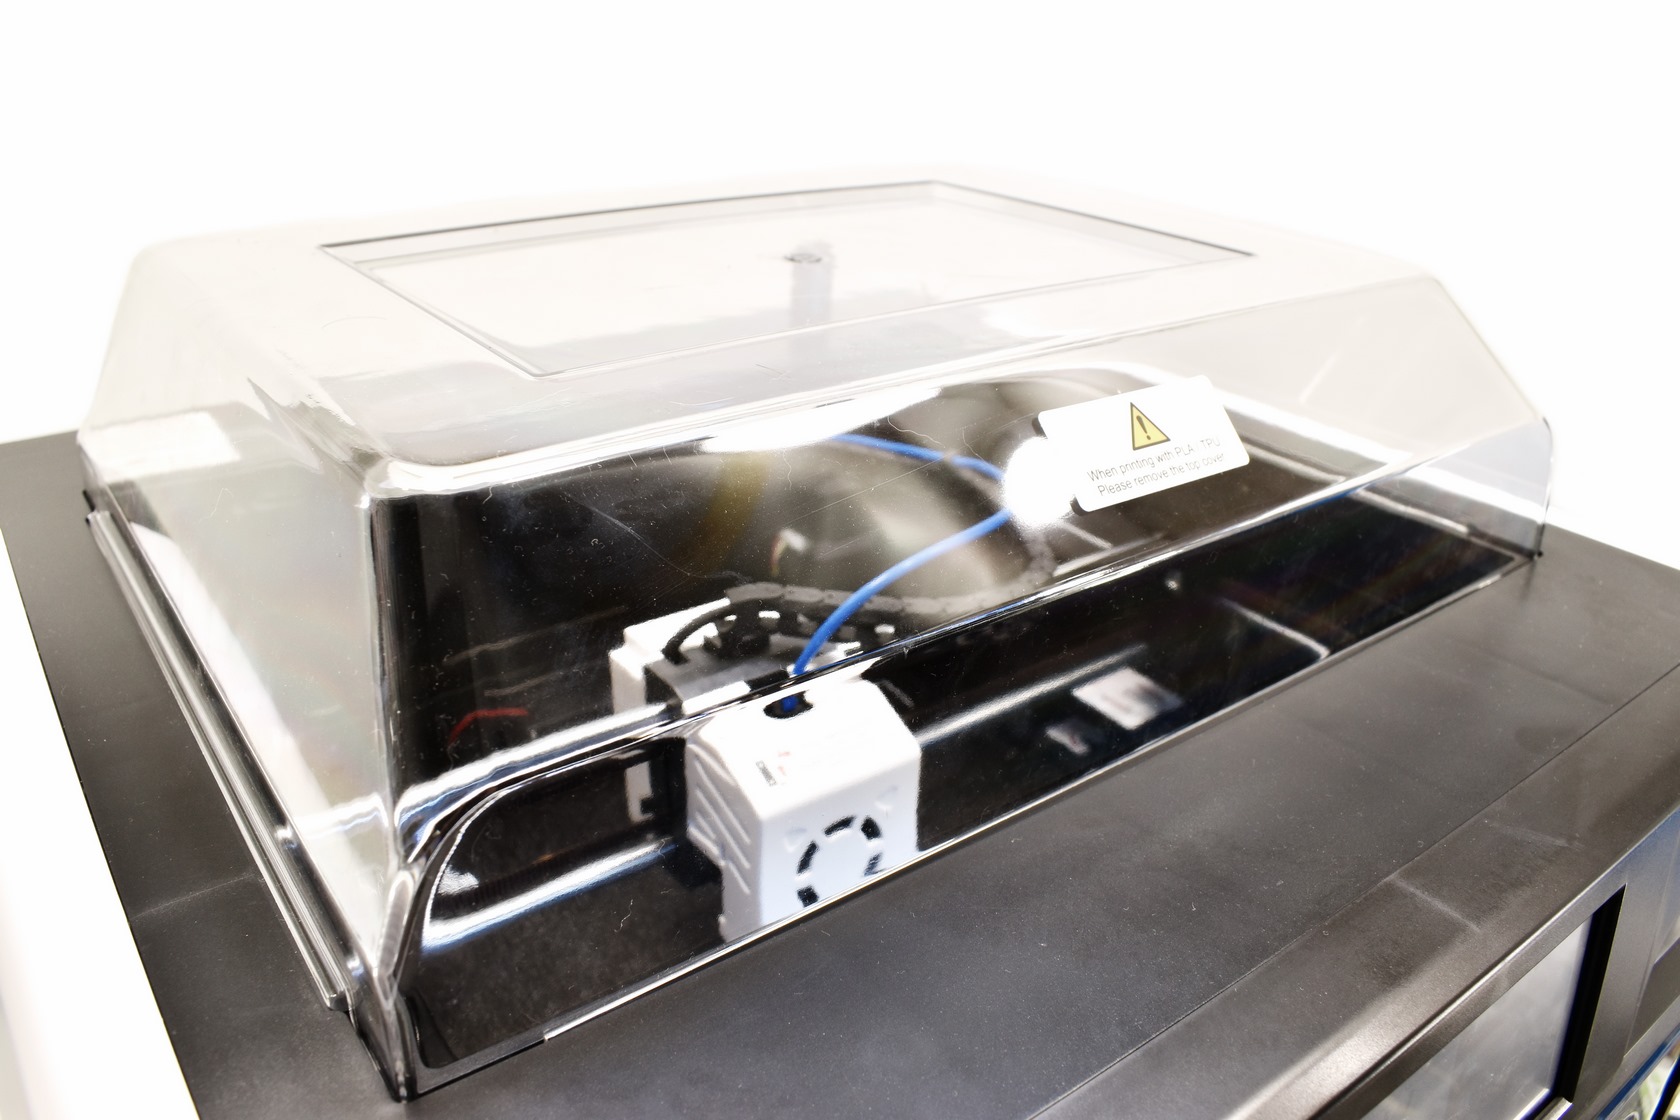
With that done you are ready to print, just remember to place the clear plastic top on the enclosure if you plan on printing with materials which require high temperatures in the chamber (not for PLA for example).
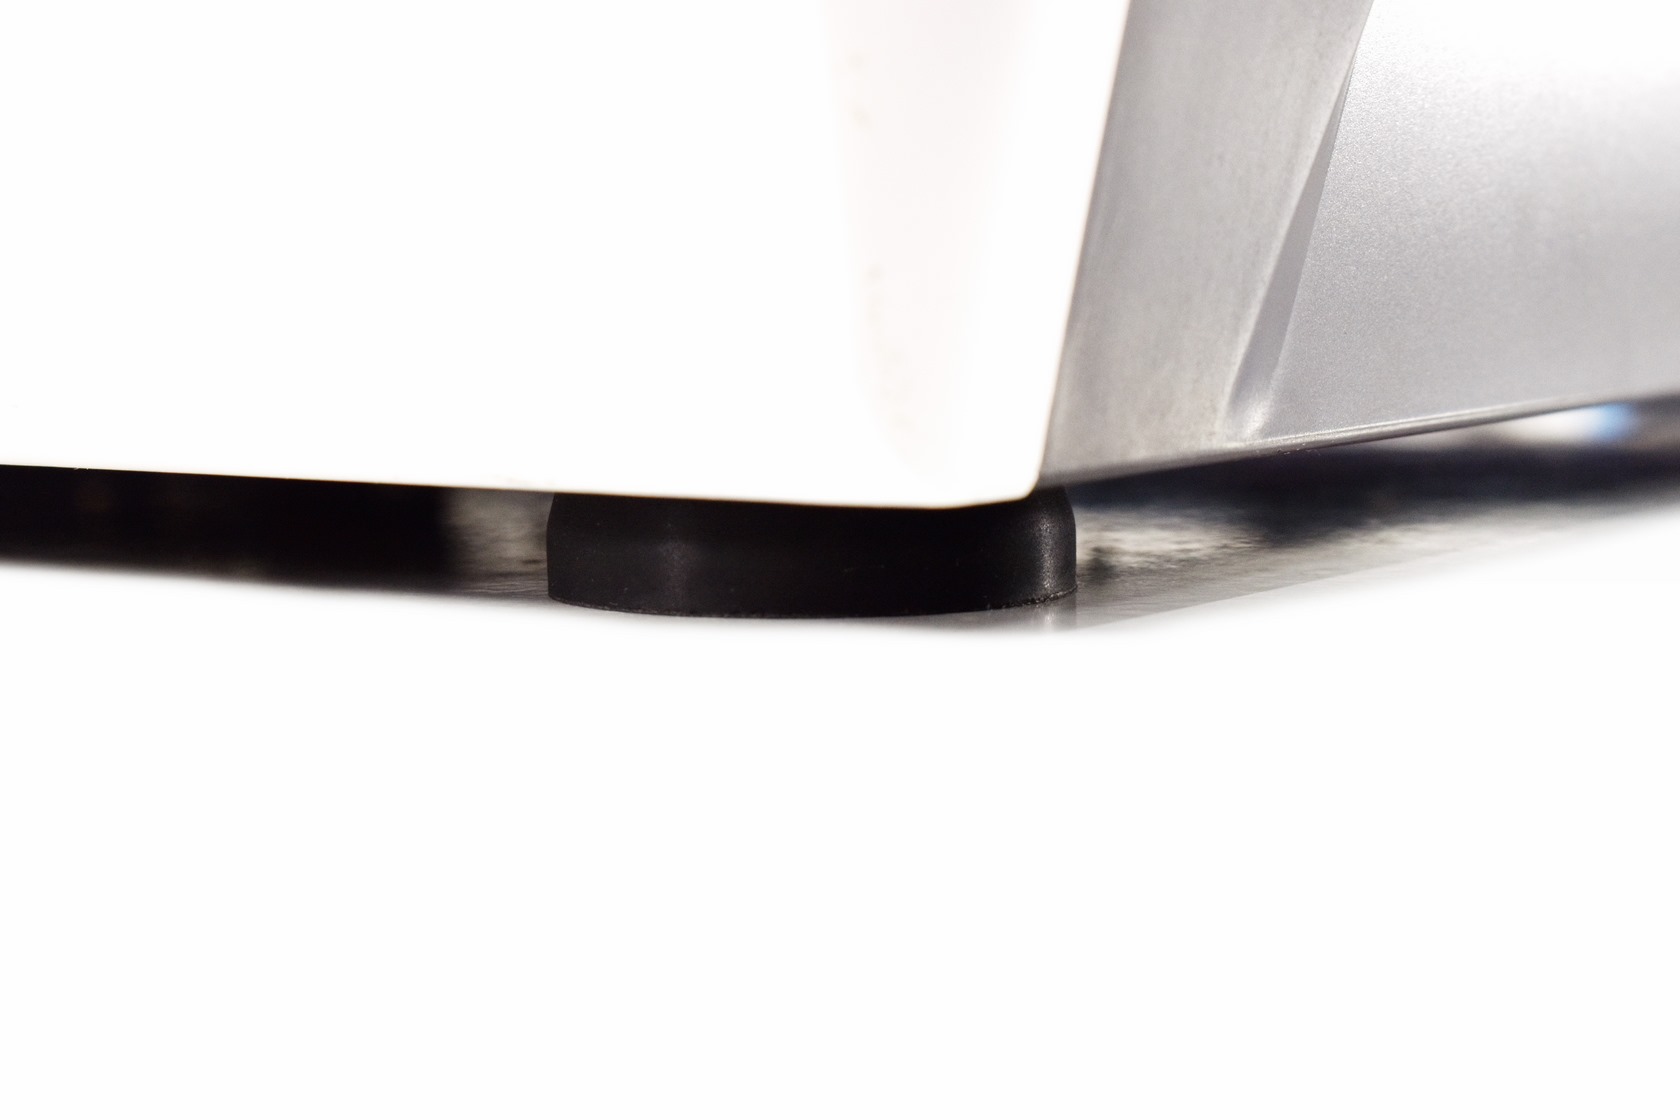
Ah, you shouldn’t forget placing the rubber feet beneath the enclosure, trust me, they are needed.
LCD MENUS
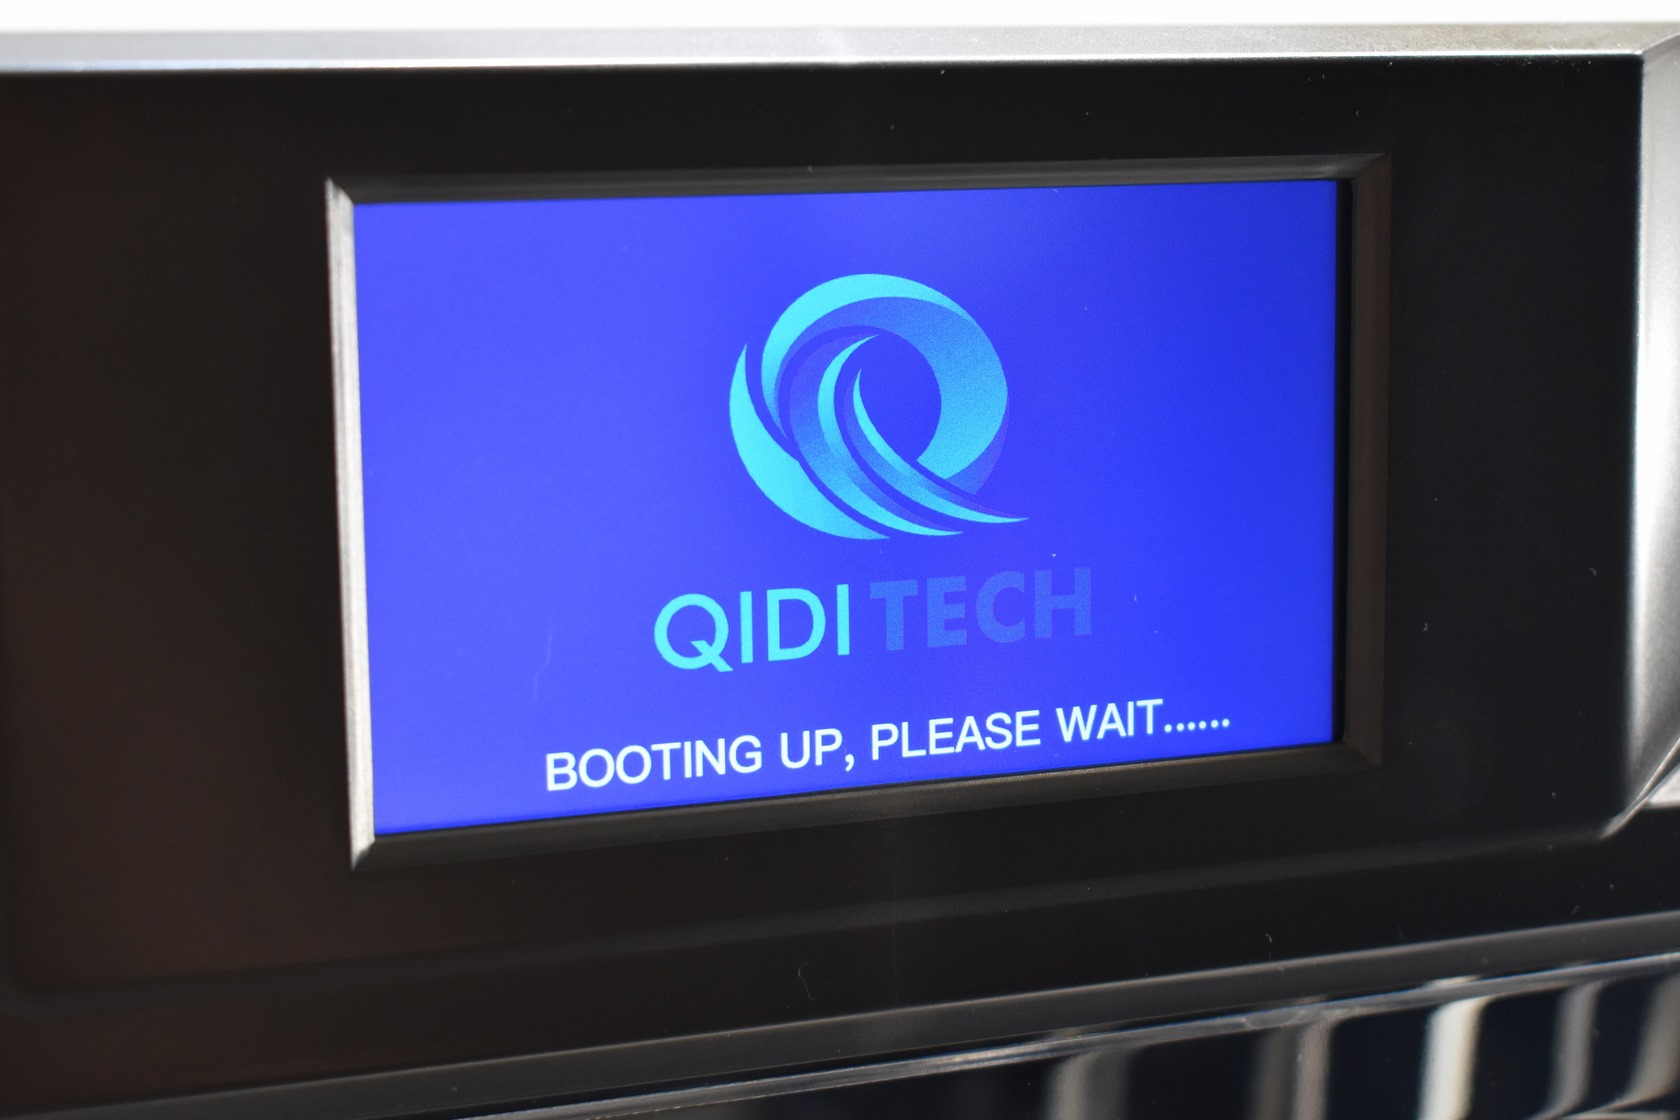
Just like with most mid/high-end 3D printers the X-Plus 3 requires roughly 15 seconds to fully boot.


The very first things you are required to do is choose the language, remove the various pieces of foam and cable ties inside the chamber and of course attach the dryer box and the filament.

Once you finish, you'll see the main screen which has a product picture, the hardware specs, current temperatures and buttons for the LEDs, enable audio feedback and stop all jobs.
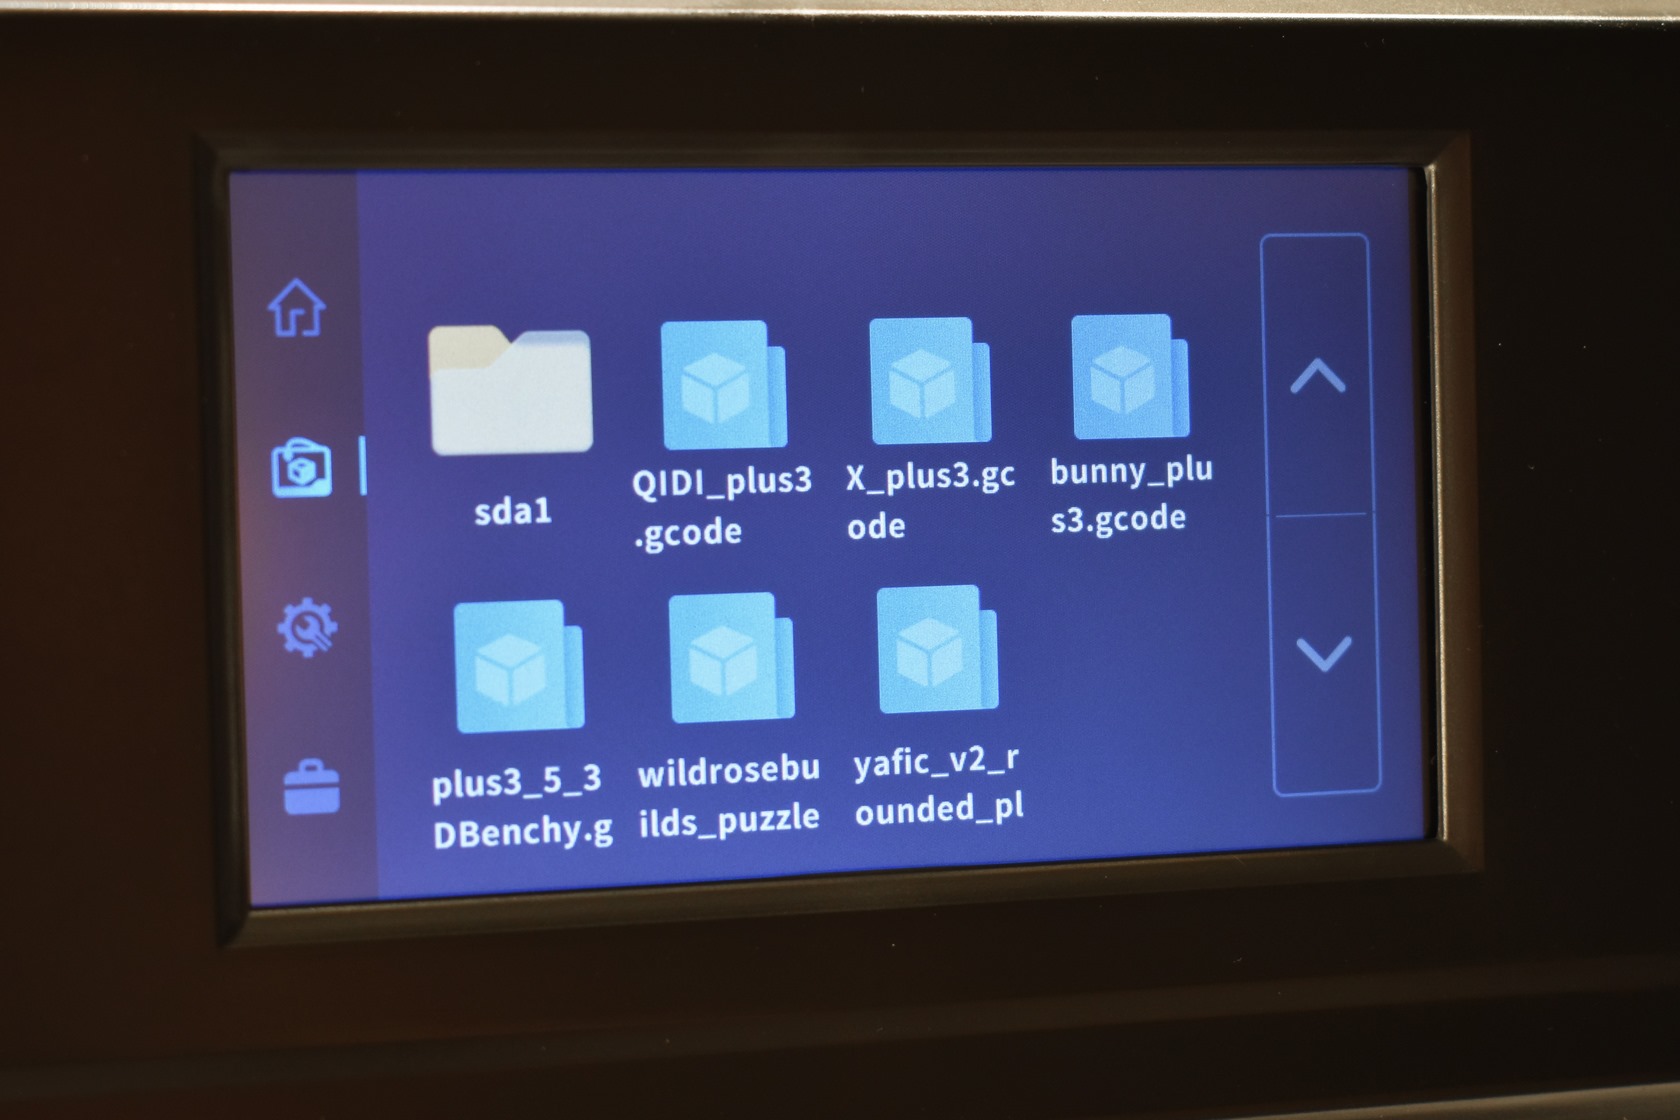
From the left you can change screens and so the 2nd screen is the file browser (sda1 is the USB drive).

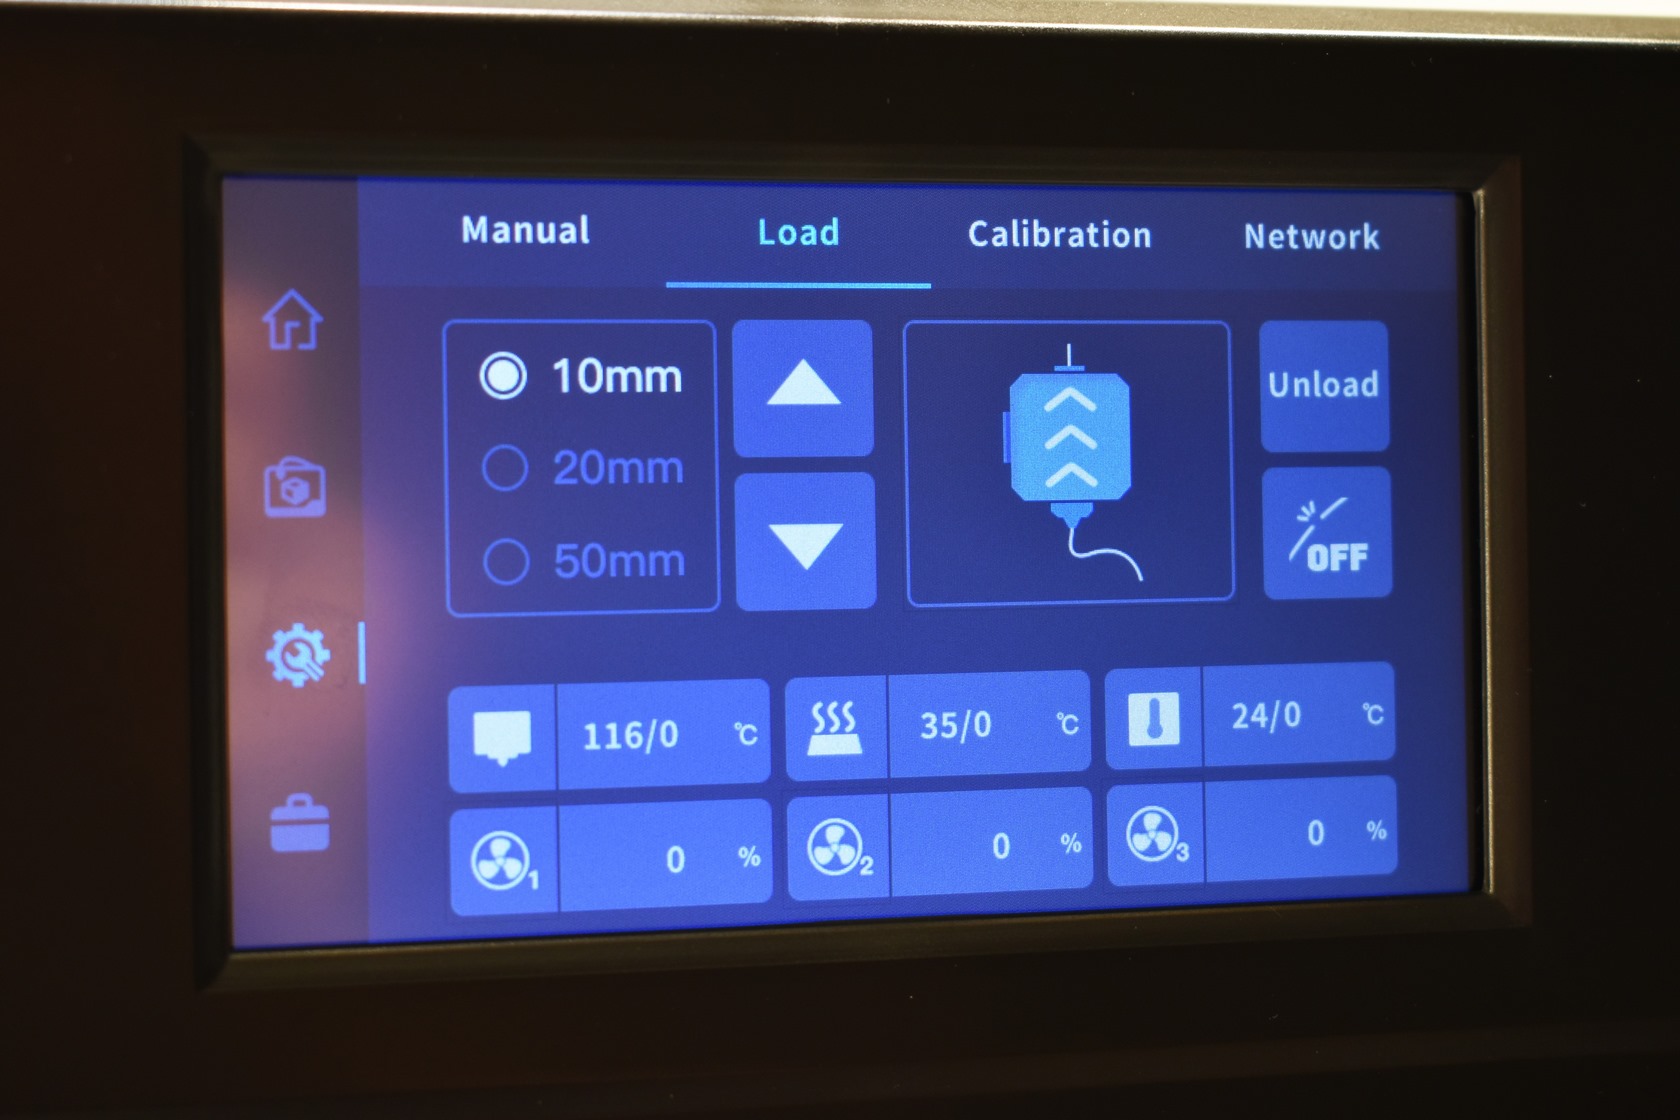
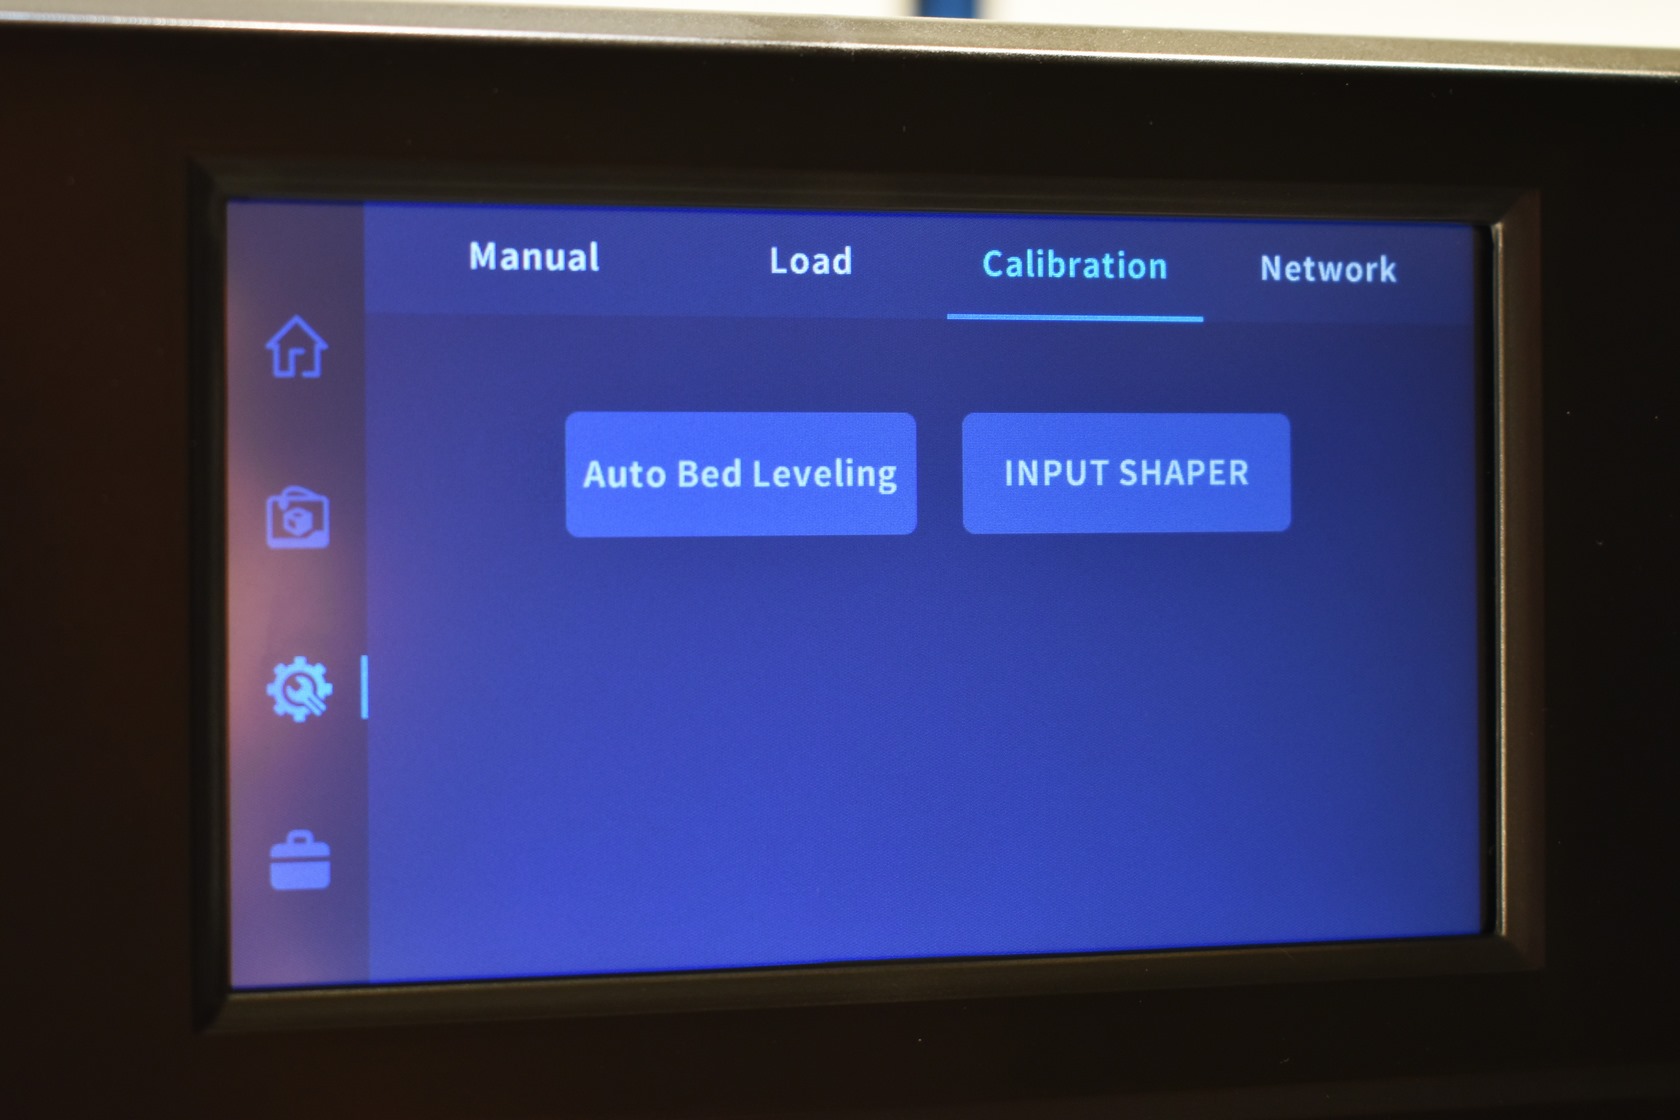
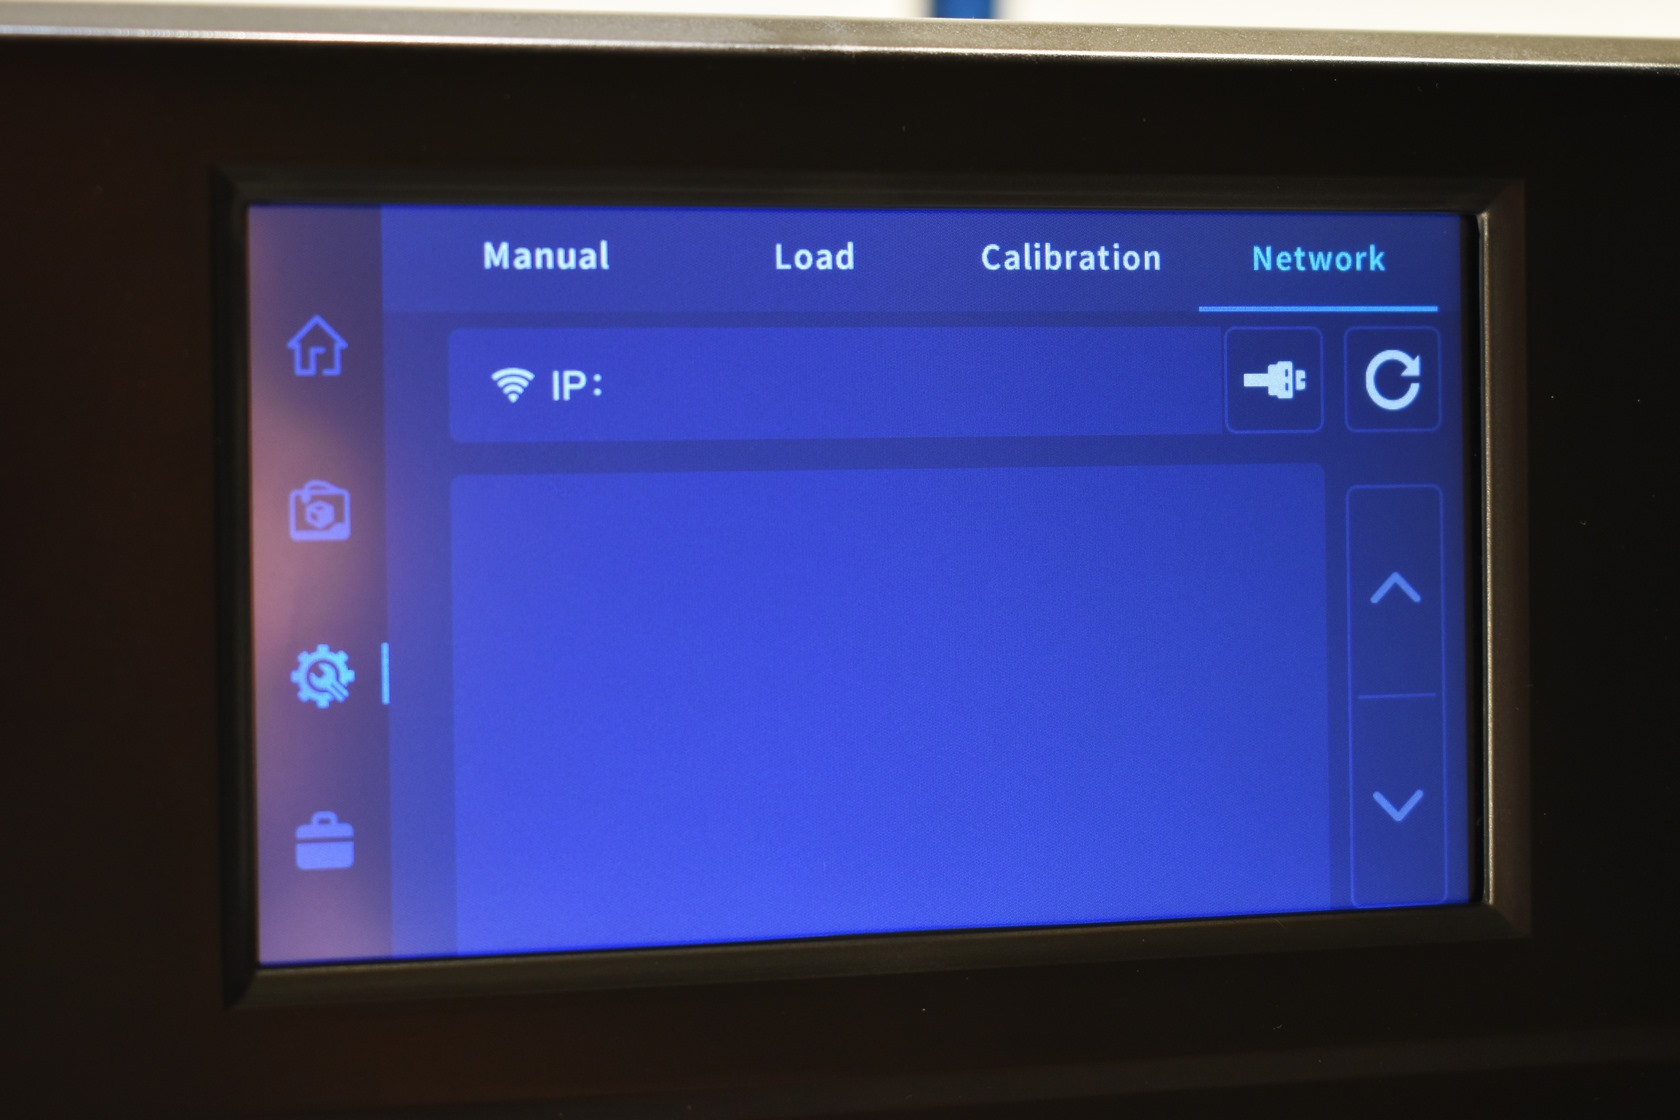
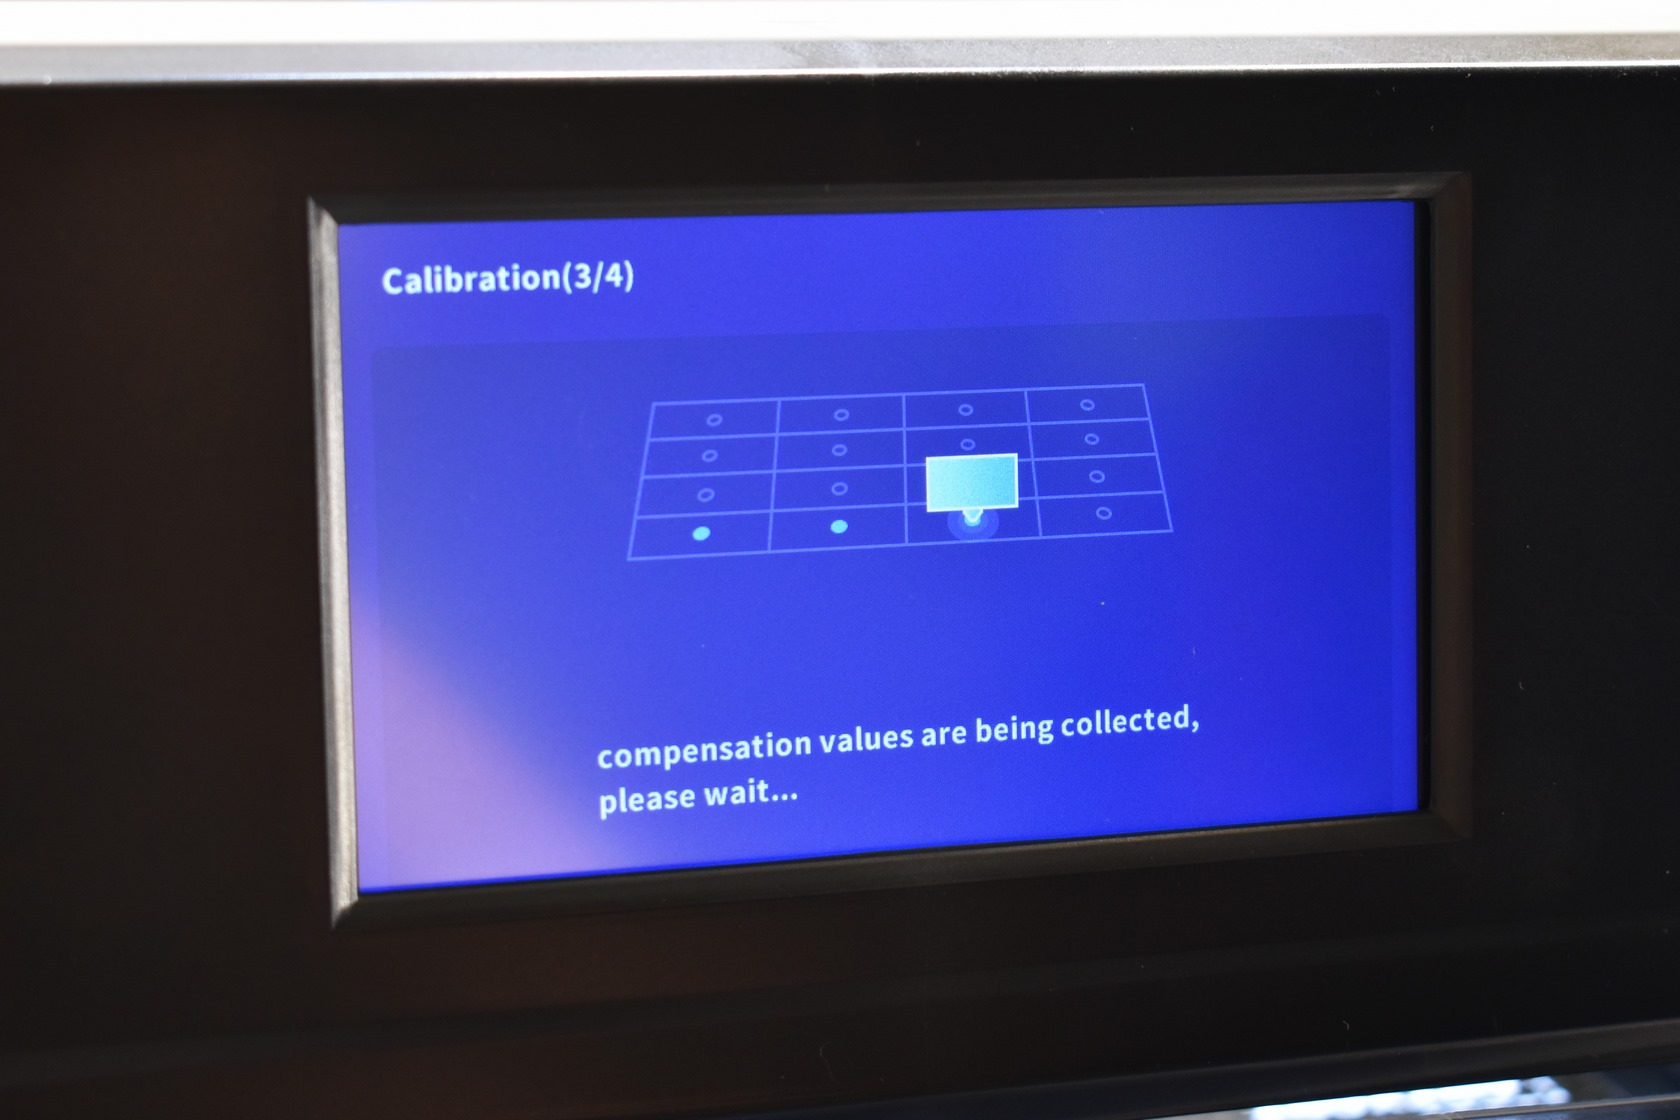
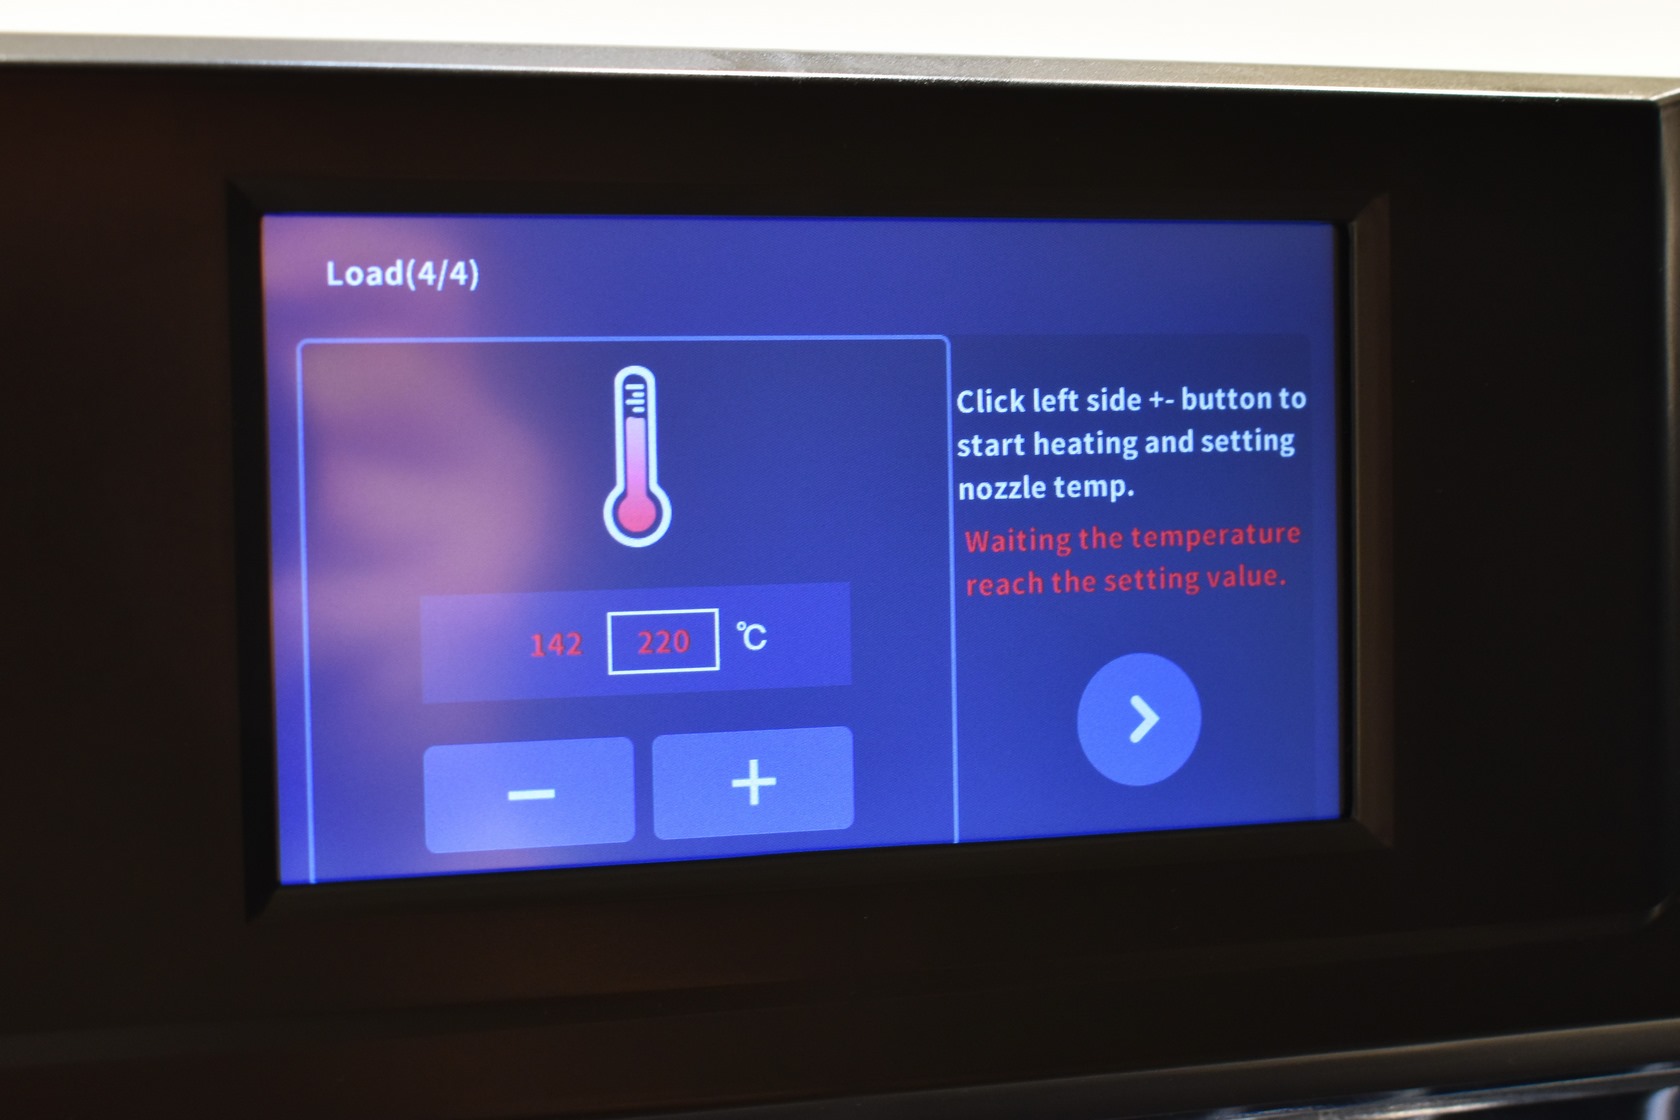
Further down we find the settings screen and so from here you can move the bed, load/unload filament, set temperatures, enable/disable the fans, use the auto bed leveling and input shader calibration commands and check the network settings (wired and wireless).
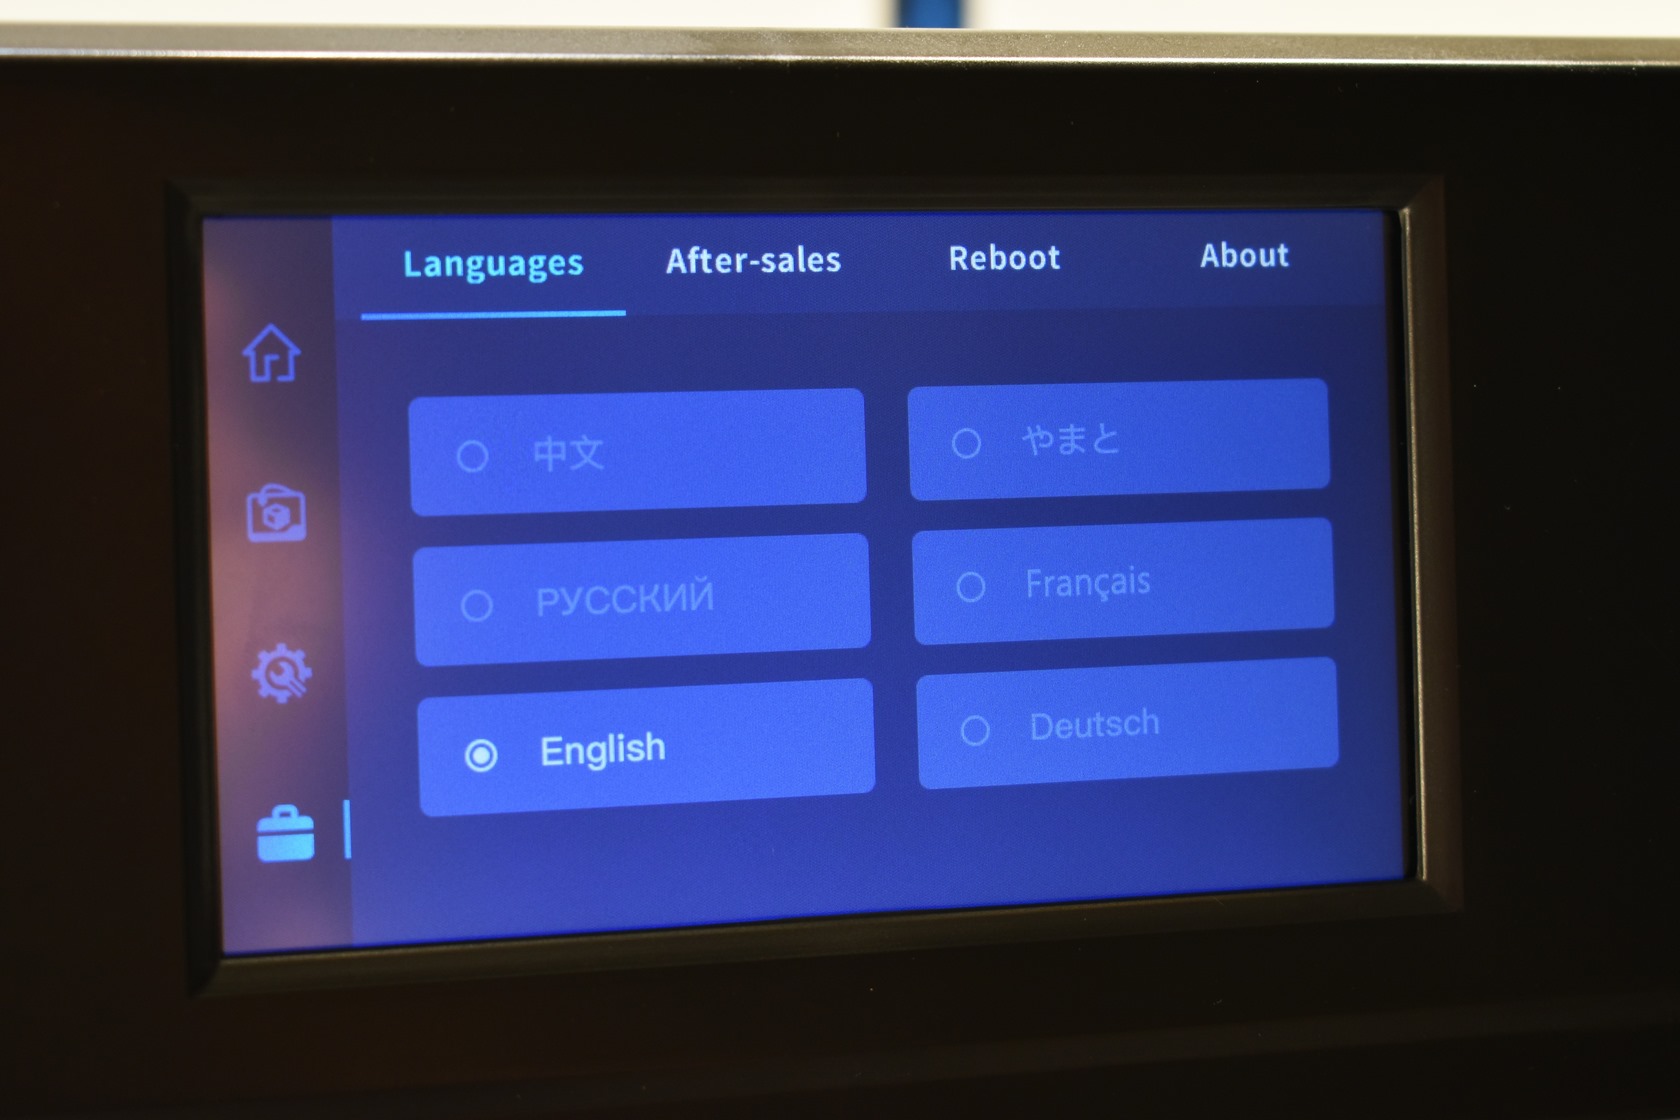
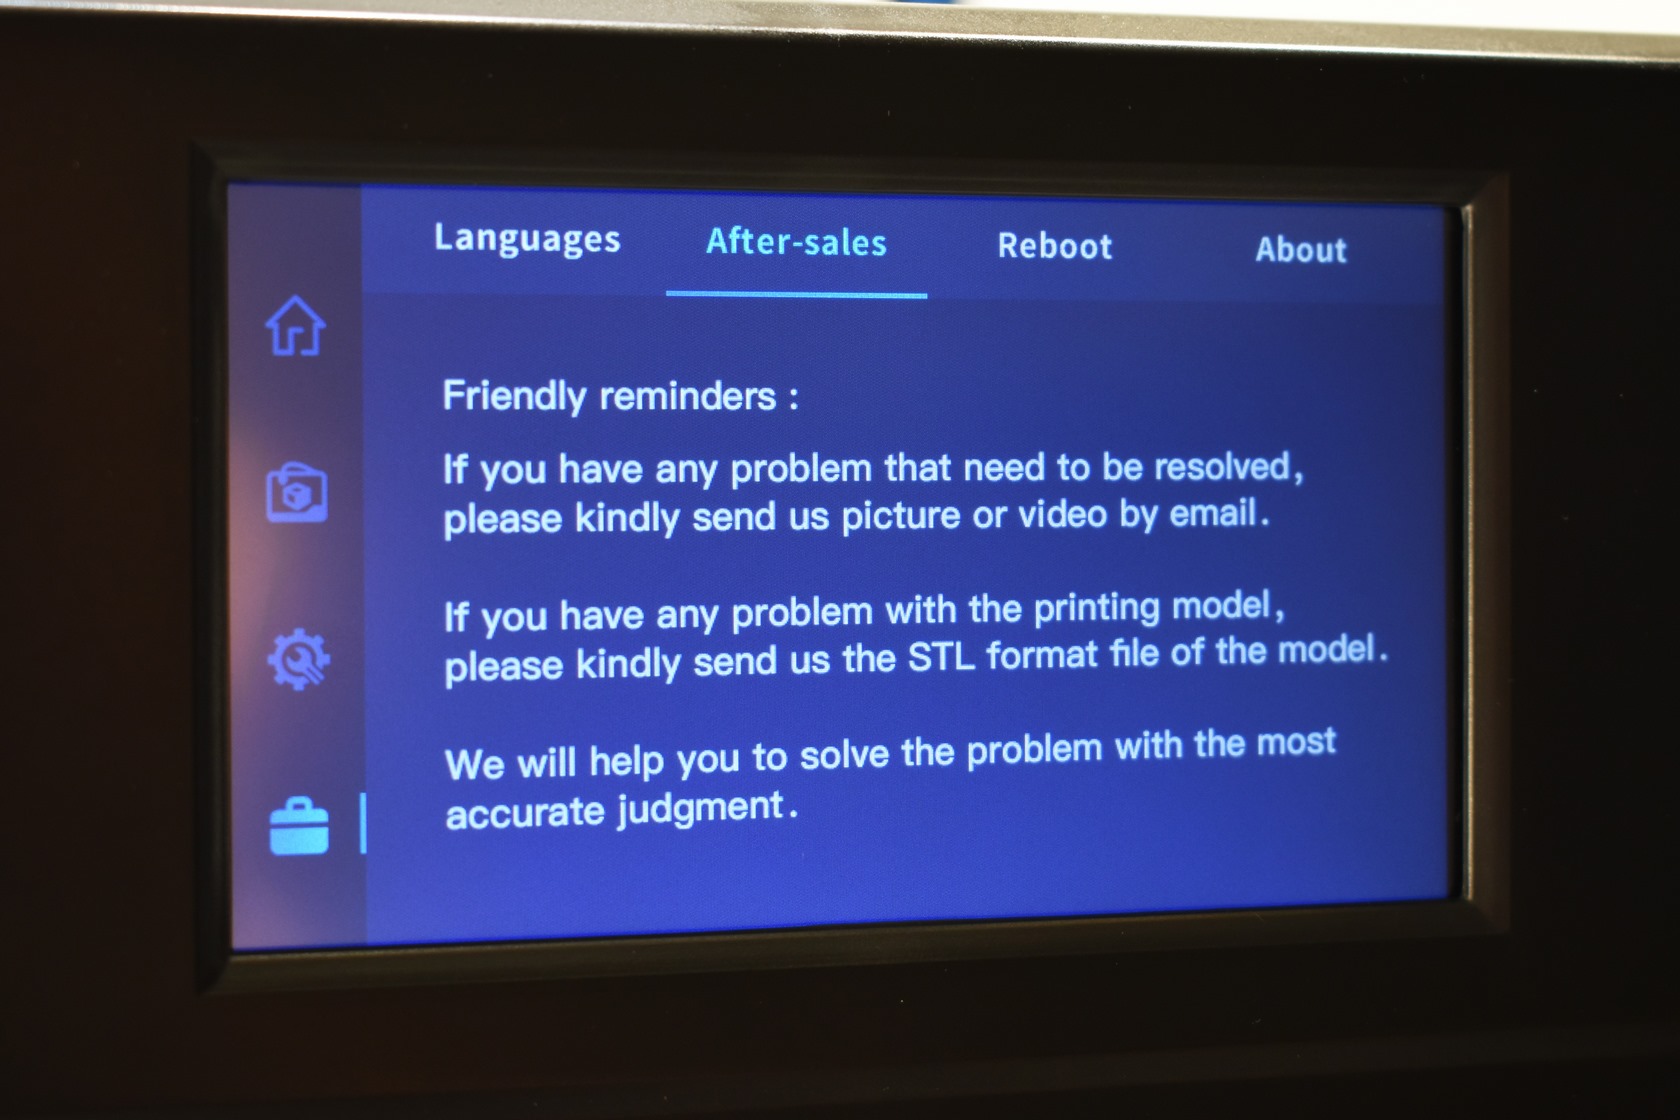
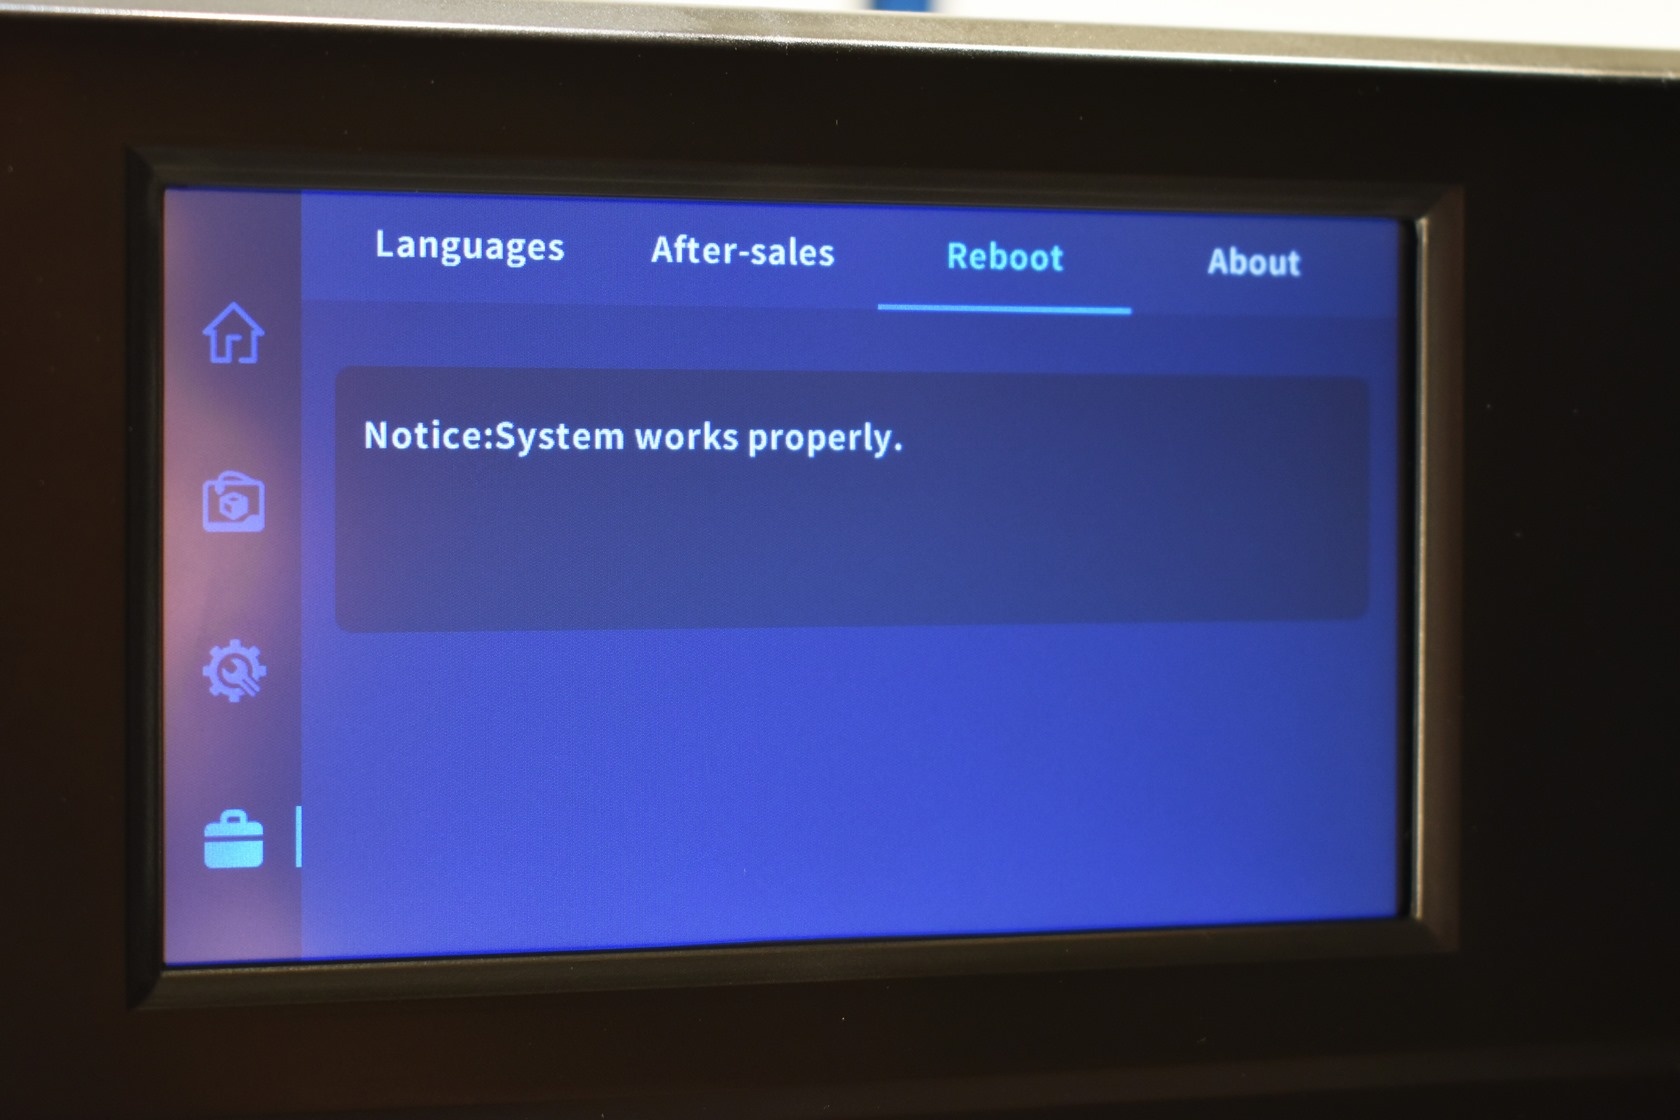
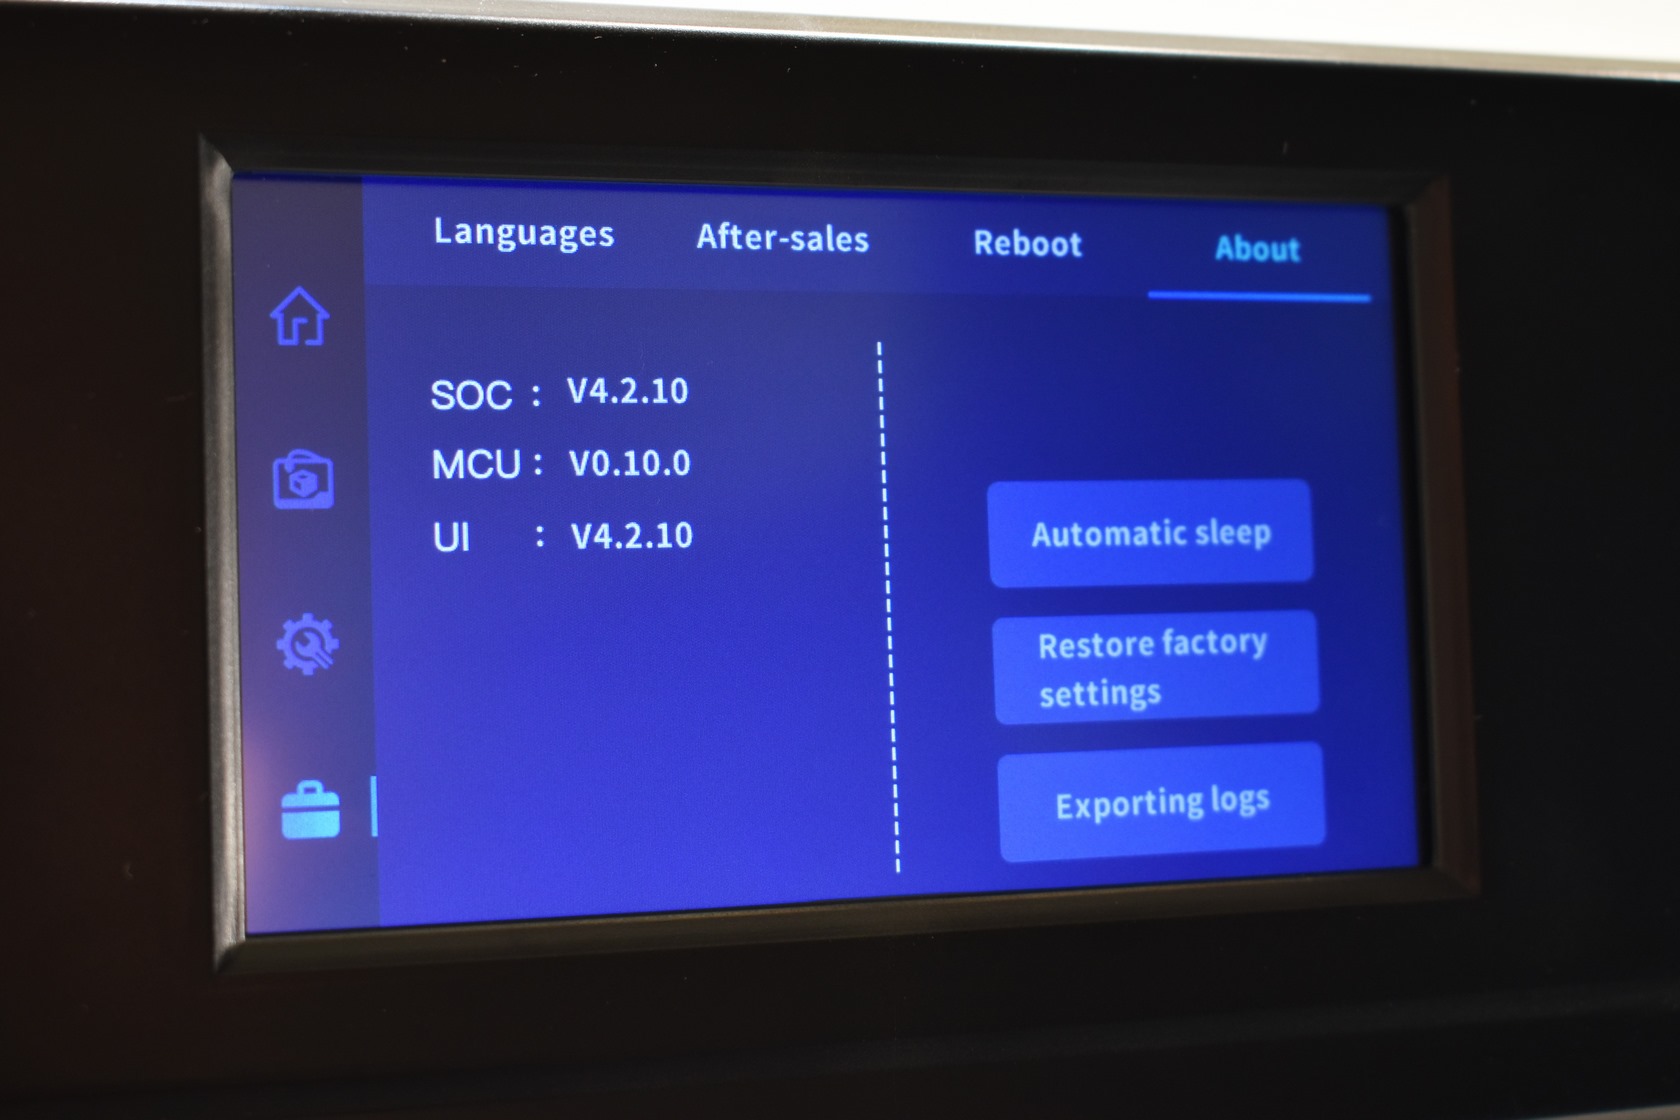
Finally, the system tab allows you to change menu language, display the after sales message by QIDI, check the status of the system (the tab says reboot but i couldn't actually reboot the printer from here), check the installed firmware version, adjust the automatic sleep function, restore the printer to its factory settings and export logs (at the time of this review firmware 4.2.10 was available - i did read somewhere that firmware 4.3 had been released but i couldn't find it on the QIDI support page).


Worth pointing out is that unlike other printers which have a regular timer when printing the X-Plus 3 has a countdown timer (and a very accurate at that - printing job finished just 7 minutes faster).
TESTING METHODOLOGY
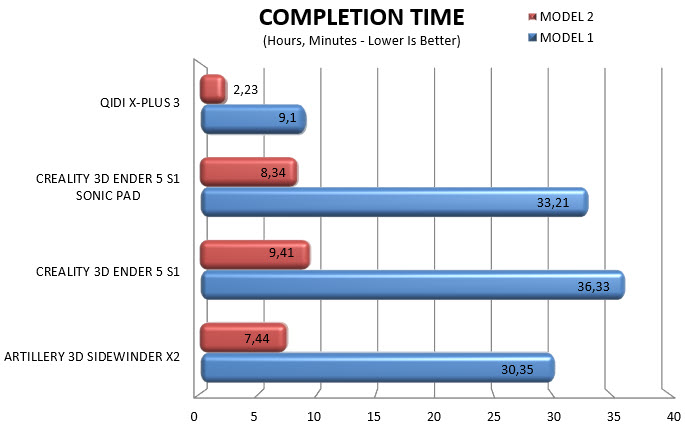
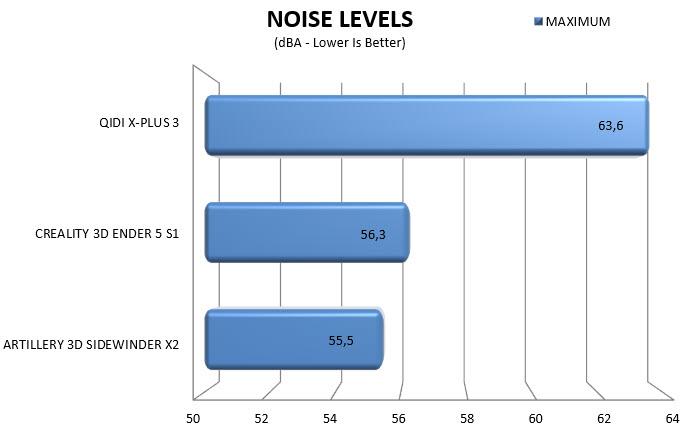
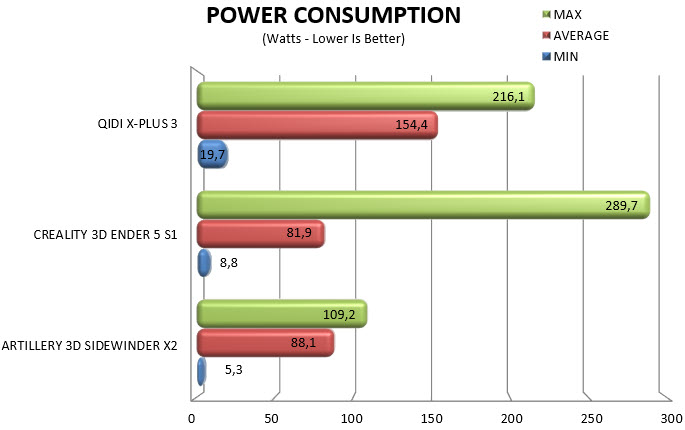
As many of you are already aware i wanted to use Cura as the preferred slicer for all my 3D printer tests (to be as fair as possible). However, since QIDI insisted that Cura was not compatible with the X-Plus 3 i decided to use their very own QIDIslicer instead for when testing their own models. Now i was reluctant at first since again i want to be 100% certain for my results but since in the end i was able to manually input the same settings with their software as well (quality of 0.16mm, 20% infill density and cubic infill pattern) i decided to move forward with it instead (again, different slicing software so results might not be 100% on the spot, do keep that in mind). Nothing else changes of course so again I’ll be using 2 different sized models (downloaded from Cults3D / member Eastman) to record completion time at 100% speed. Second thing to test are noise levels and so once again I’ll be using my ExTech HD600 decibel meter placed roughly 30cm away to record the maximum noise coming from the 3D printer while printing. As for the 3rd test with the help of an UPS and two power meters I decided to also record not only the lowest and highest but also the average instant power consumption of the 3D printer in my hands.

I do like doing side by side comparisons and well the QIDI produced what is probably the smoothest model of the 3 with the Sidewinder X2 by Artillery 3D producing the most detailed one (Creality with their Ender-5 S1 comes last with this filament but with others it's actually almost identical to the Sidewinder X2 model).
TEST RESULTS
CONCLUSION
Lightning fast, this is the only way I can describe the X-Plus 3 3D printer by QIDI. Yes, 600m/s is worlds apart from what the Creality Ender-5 S1 and the Artillery 3D Sidewinder X2 are able to do but still completing the same models in 25-30% of the time is truly not something I was expecting. Of course, all that speed (both in terms of printing and acceleration) does come with some drawbacks, namely noise levels, serious vibration and power consumption (note, numbers were recorded without the chamber being heated). Do these really matter than much however? Not really, I just don’t see anyone placing the X-Plus 3 in their living room, home office or bedroom so noise and even vibrations shouldn’t be an issue (well, for most people - short video of the X-Plus 3 while printing is available on both YouTube and TikTok). Average power consumption is like 80% higher compared to the Creality Ender-5 S1 for example but if you take into account that the X-Plus 3 prints the same model 3-4 times faster, again, it doesn’t really matter (you’re actually saving money). What I can’t comment on however is endurance/durability and with such speed (and vibrations) I really don’t know how long the X-Plus 3 can keep going without issues. Unfortunately, I don’t have the space or the time (not to mention the extra cost) to have every 3D printer to arrive in the lab printing models for months and months on end to test that but I do expect such issues (if they do occur) will be widely talked about in Reddit and support forums.
Currently the X-Plus 3 3D printer by QIDI is on sale directly from their website (QIDI) for just USD619/619Euros a price tag which should be extremely tempting for anyone looking to get a high-speed model. Bottom line I don’t think there’s anything more I can say about the X-Plus 3 other than it’s currently my favourite 3D printer and although not perfect the Golden Award is in order.

PROS
- Good Build Quality
- Very Fast (600m/s)
- Print Quality
- Temperature Controlled Chamber (65 Degrees)
- Heated Bed & Flexible HF Plate
- Direct Drive Extruder
- Maximum Nozzle Temperature (350 Degrees)
- Manual & Automatic Leveling
- 5 Inch Color LCD Touch Screen
- Ethernet, WiFi 2.4G & USB 2.0 Port
- Dryer Box
- Current Price (For Some)
CONS
- Noise Levels
- Vibrations
- Power Consumption


.png)