O-Sense

.jpg)


LCD MENUS
Just like with most mid/high-end 3D printers the X-Plus 3 requires roughly 15 seconds to fully boot.


The very first things you are required to do is choose the language, remove the various pieces of foam and cable ties inside the chamber and of course attach the dryer box and the filament.

Once you finish, you'll see the main screen which has a product picture, the hardware specs, current temperatures and buttons for the LEDs, enable audio feedback and stop all jobs.
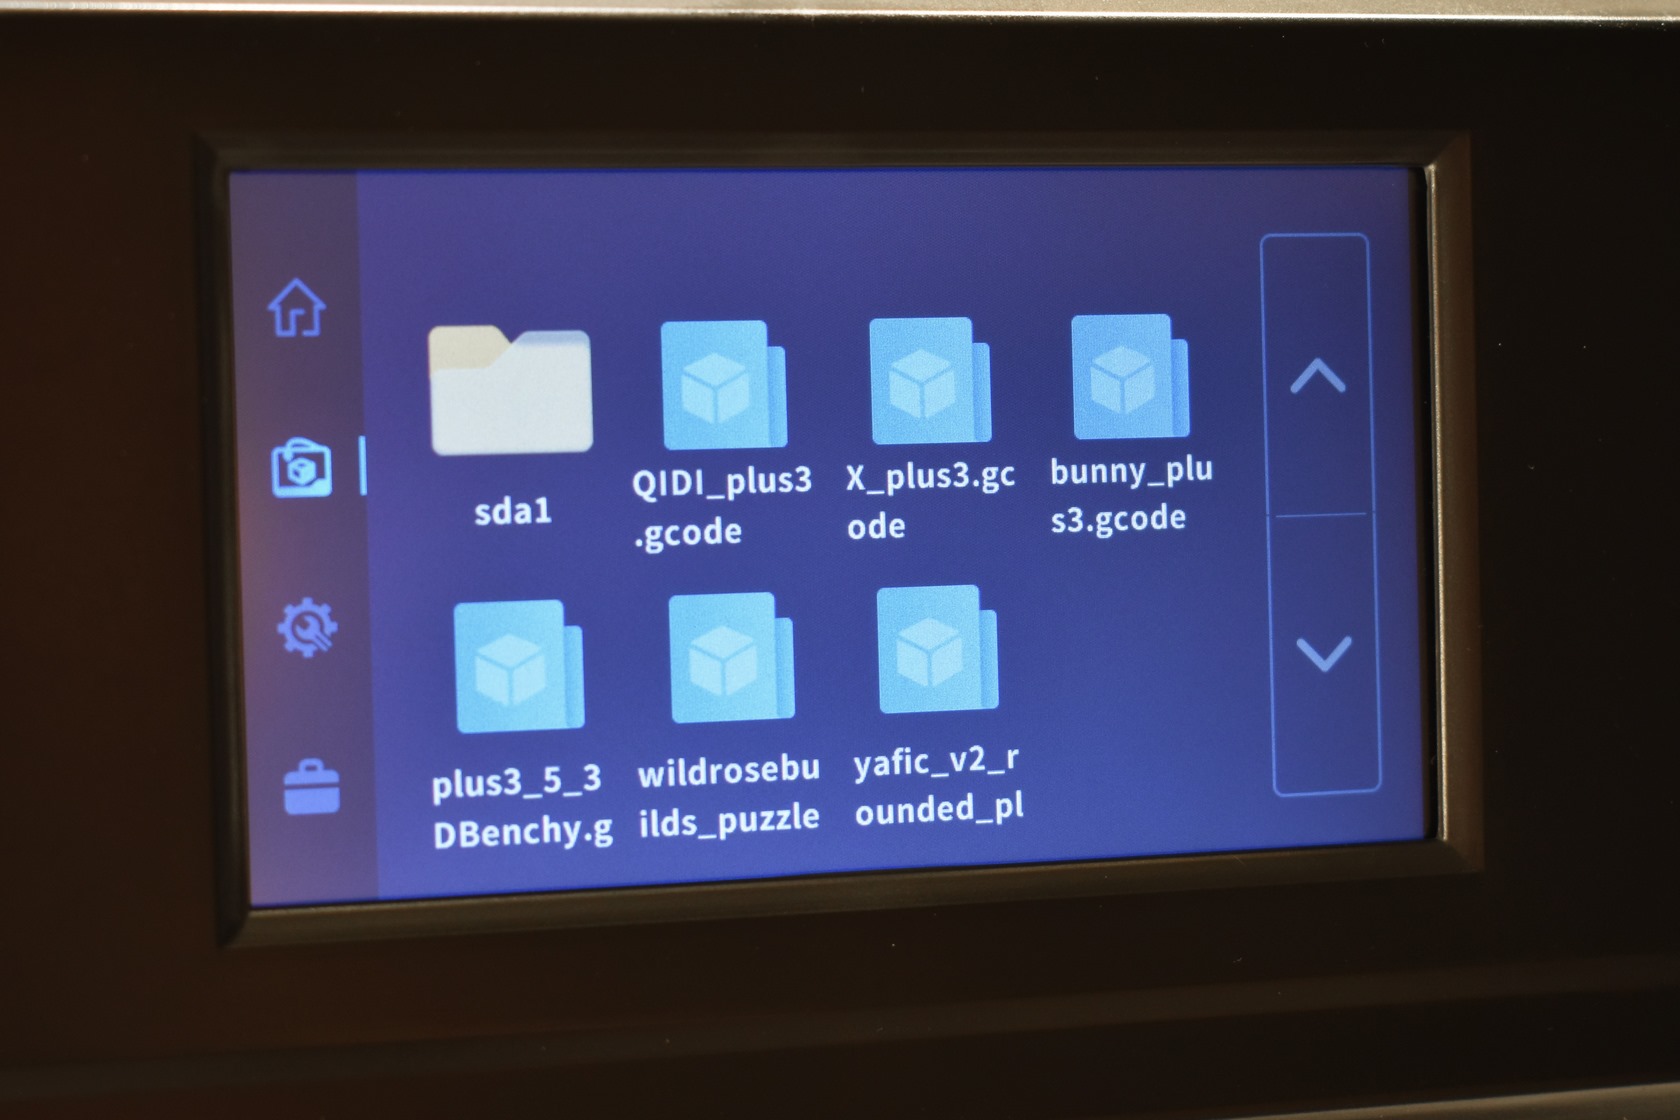
From the left you can change screens and so the 2nd screen is the file browser (sda1 is the USB drive).

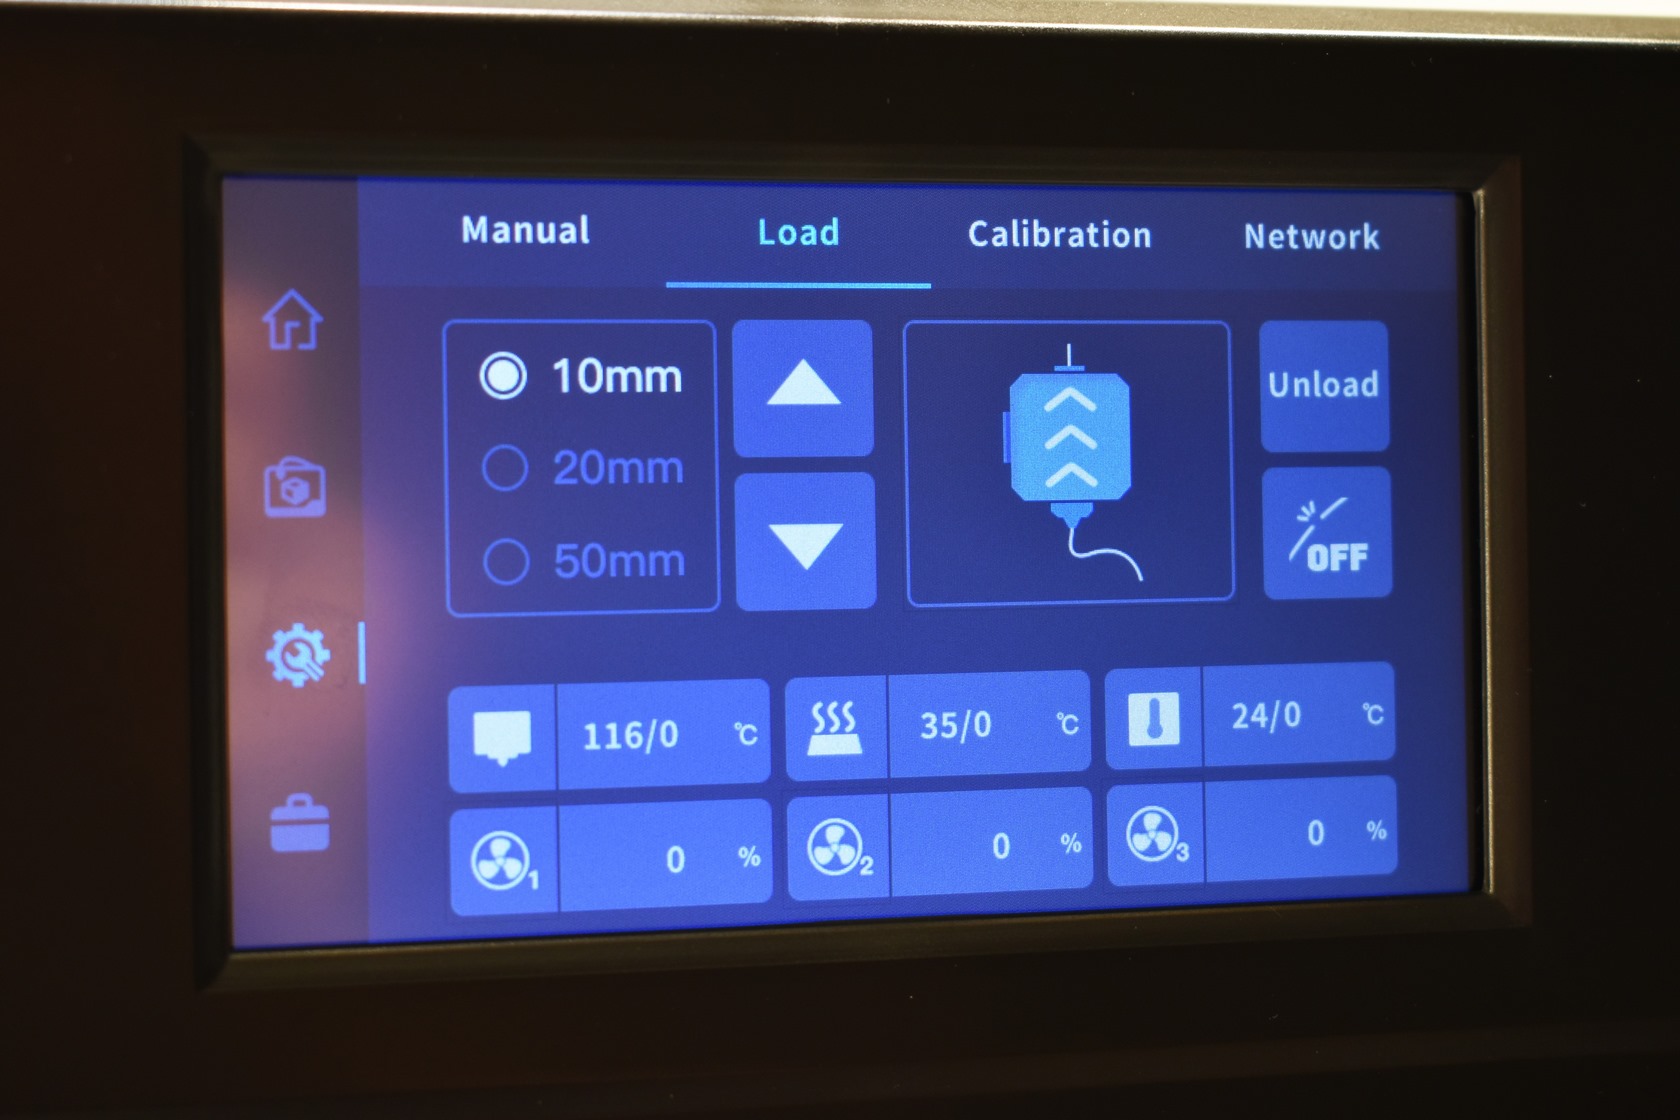
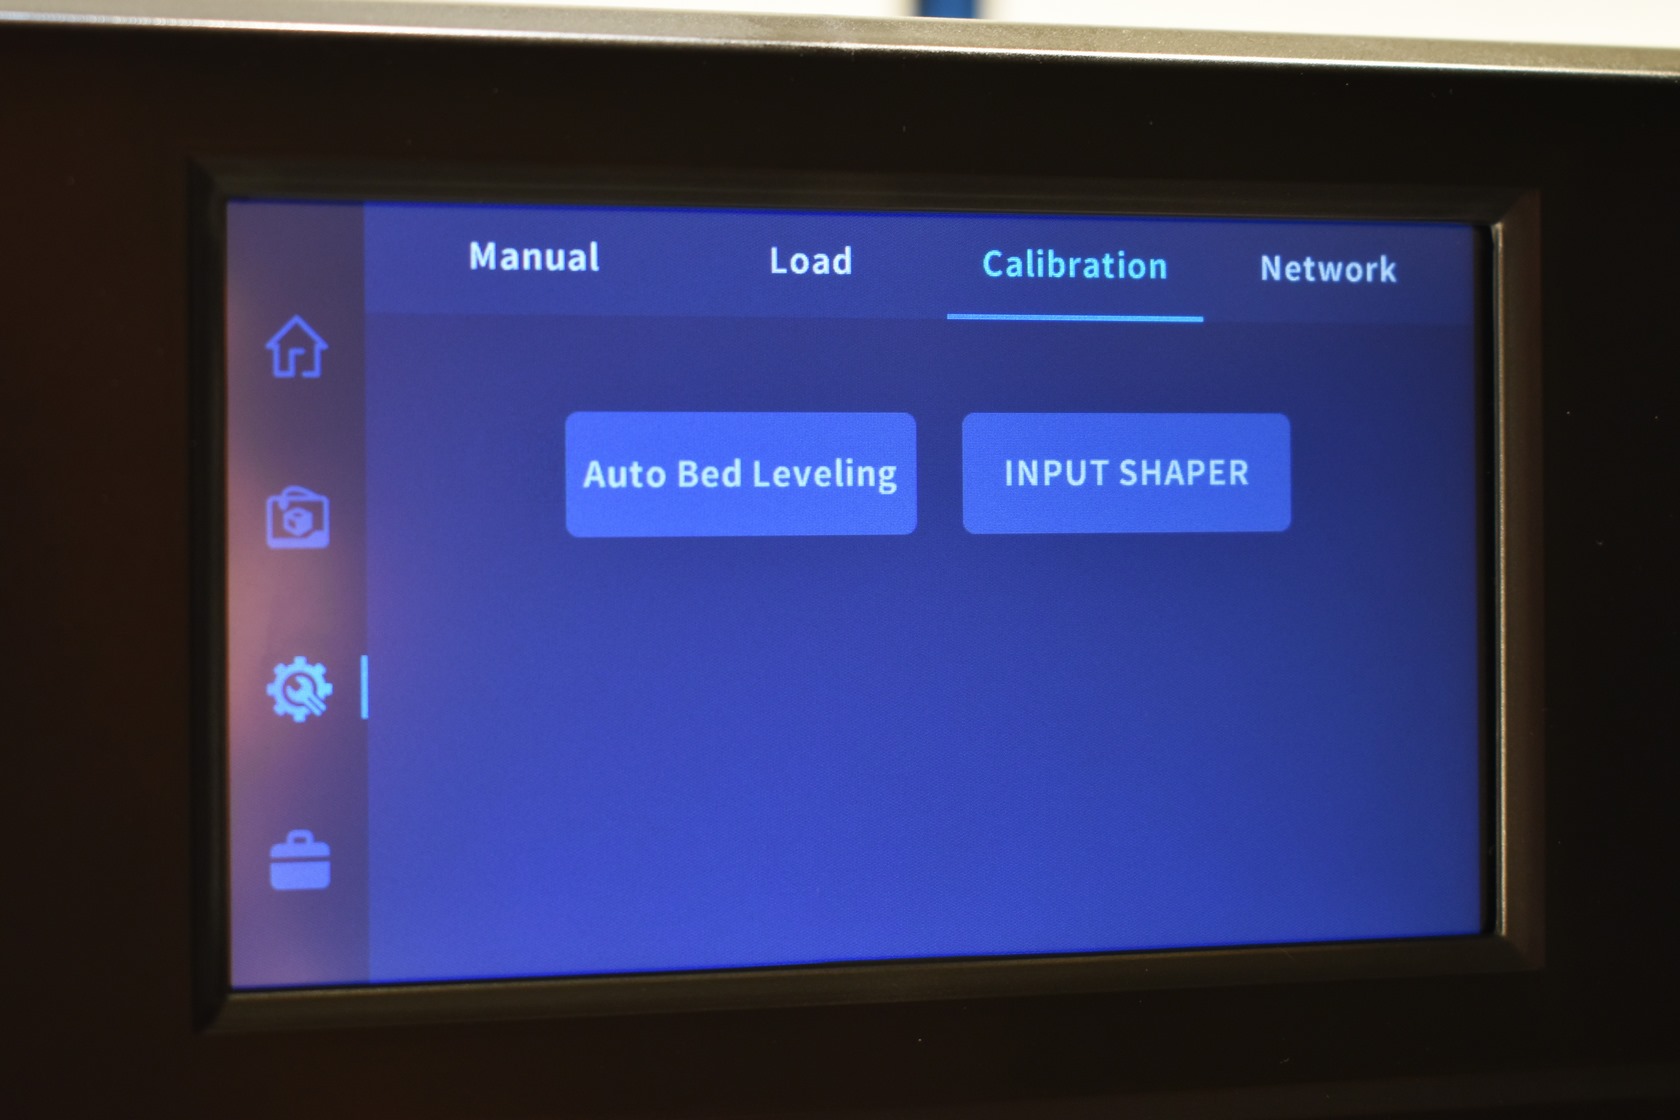
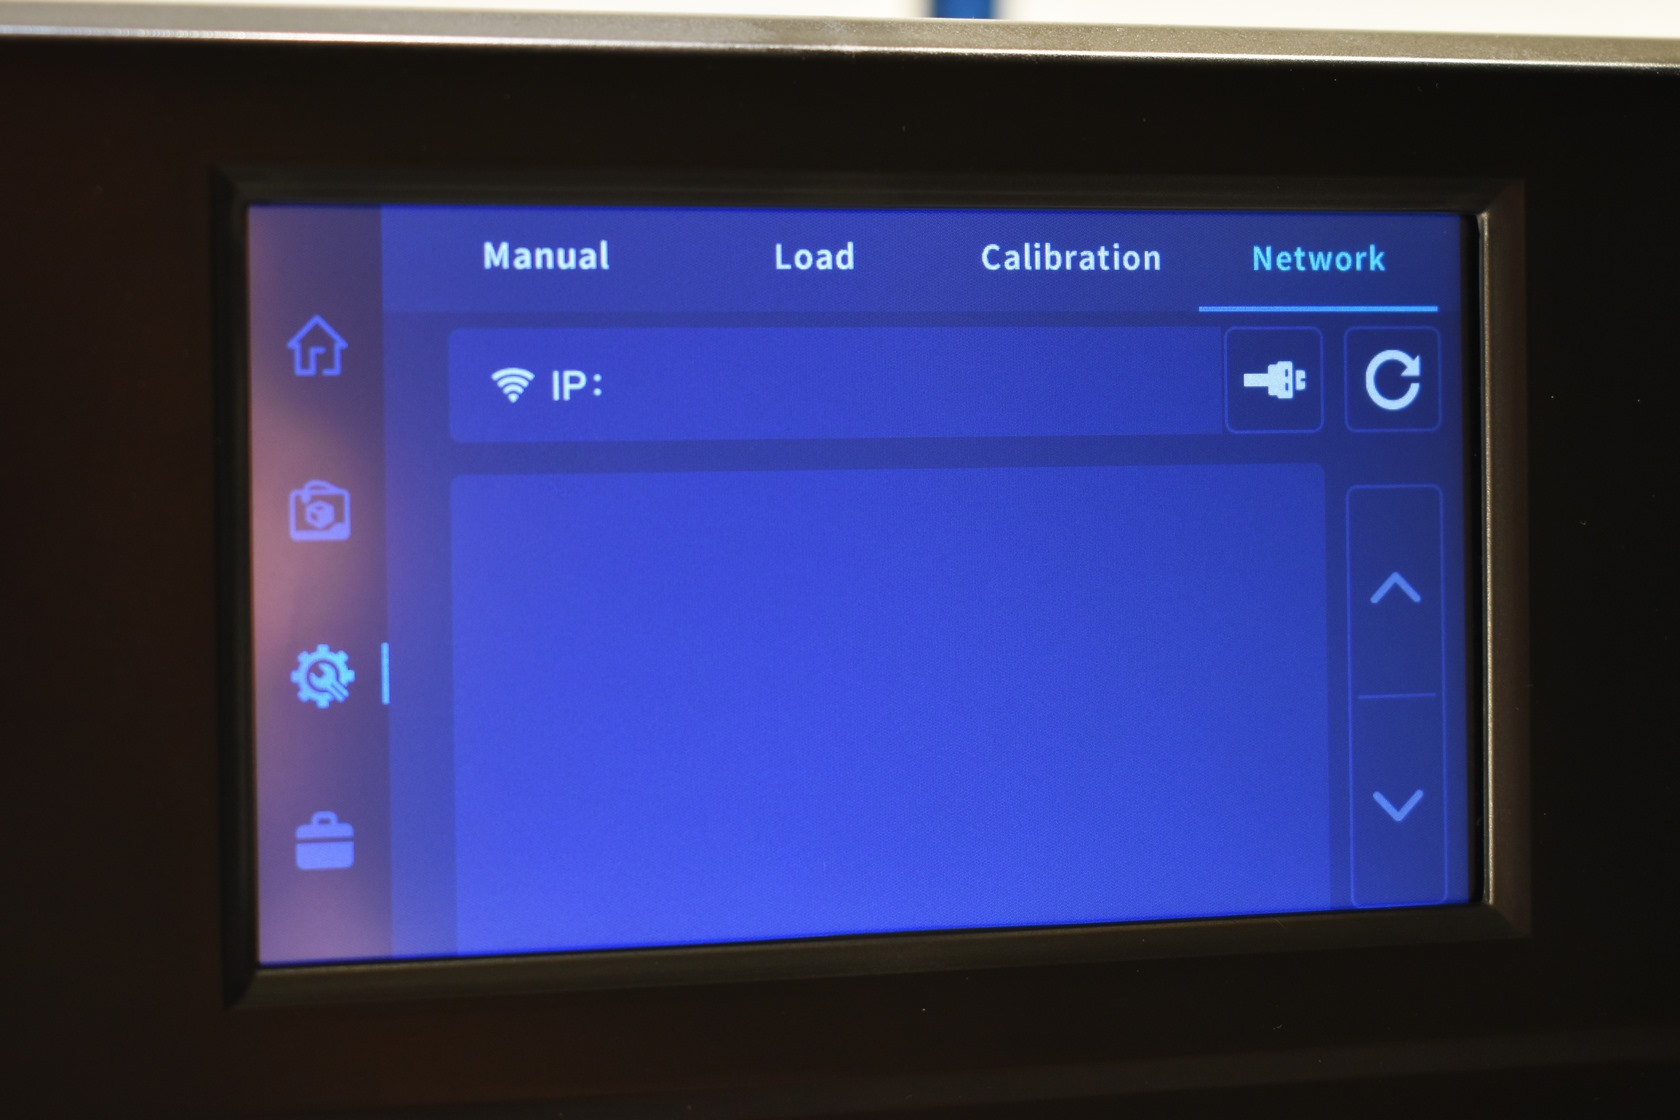
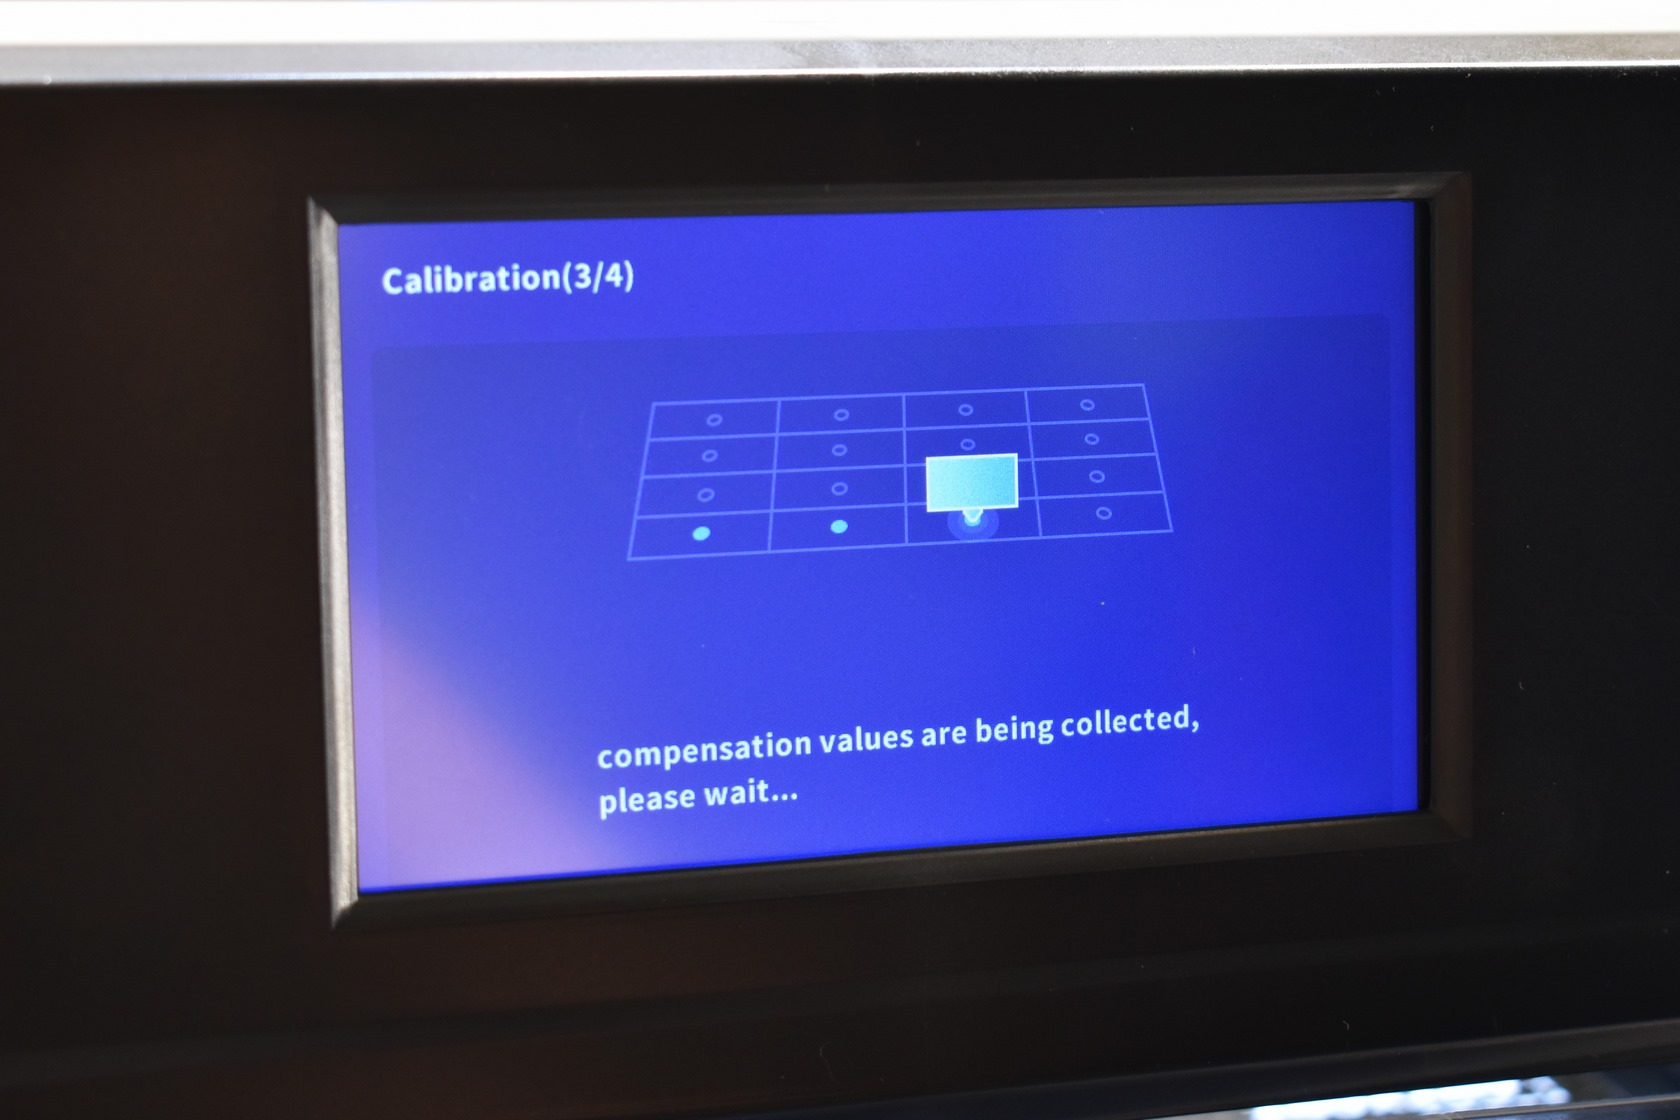
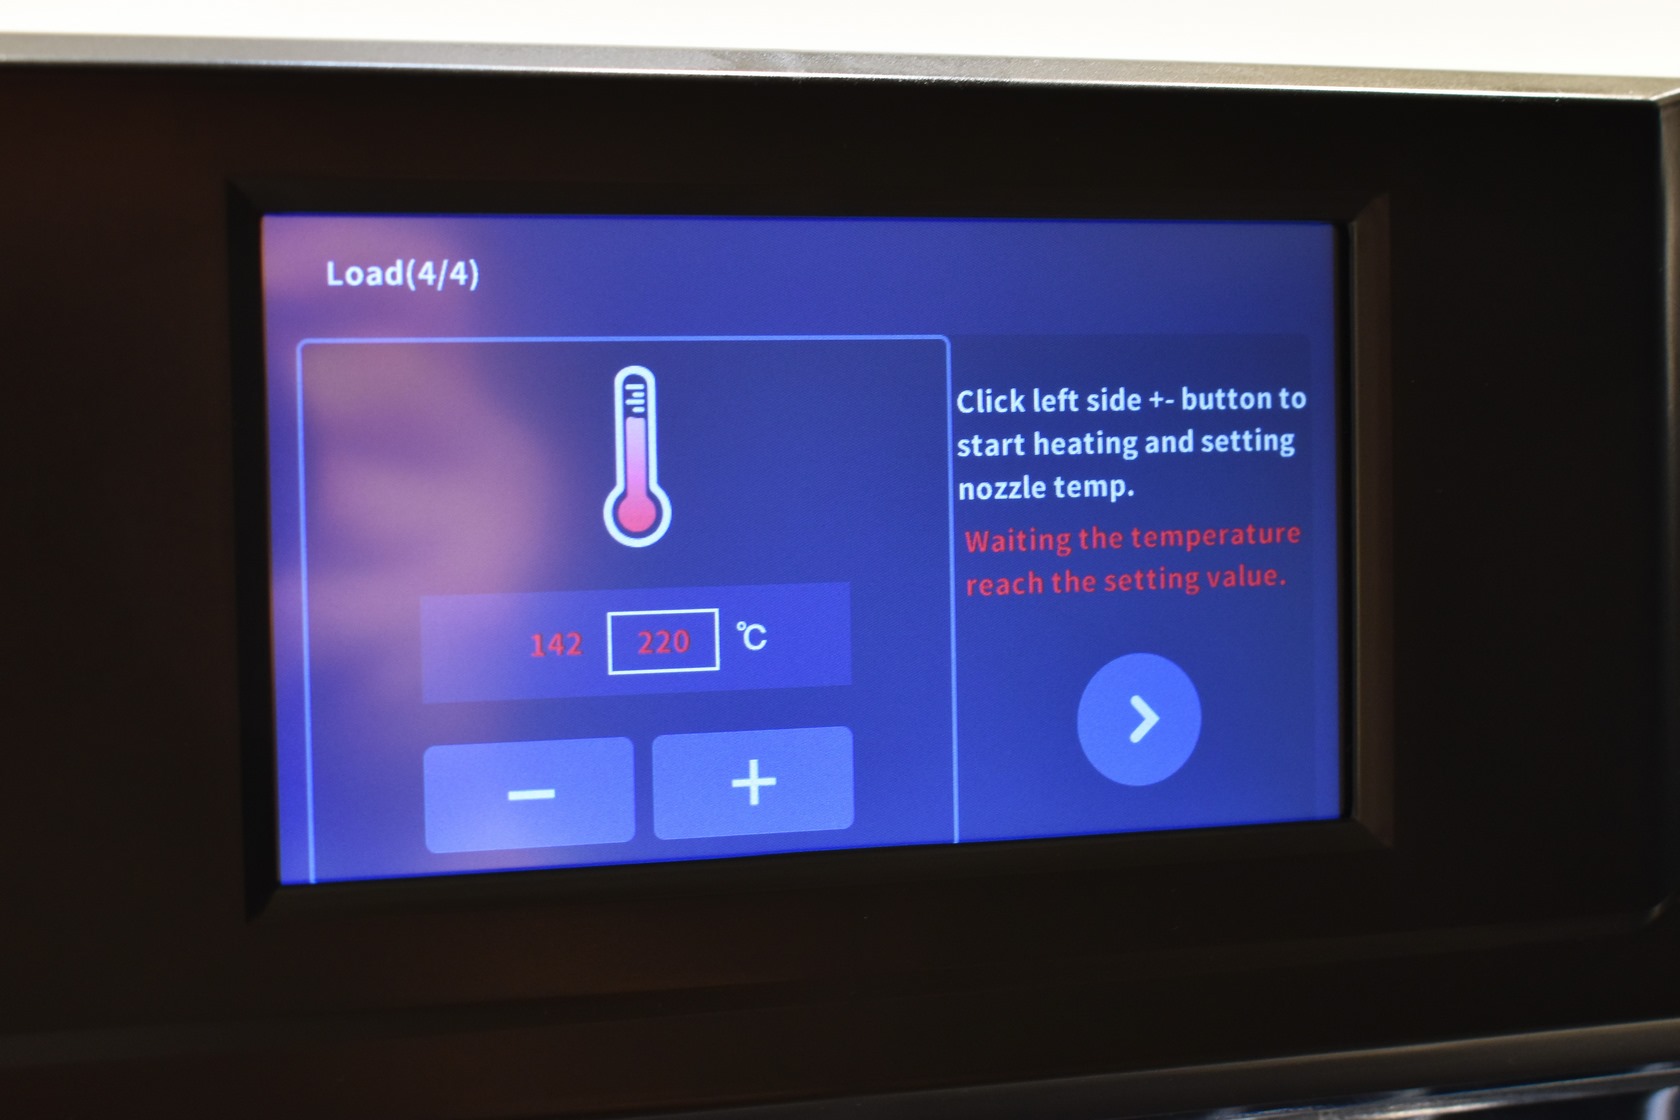
Further down we find the settings screen and so from here you can move the bed, load/unload filament, set temperatures, enable/disable the fans, use the auto bed leveling and input shader calibration commands and check the network settings (wired and wireless).
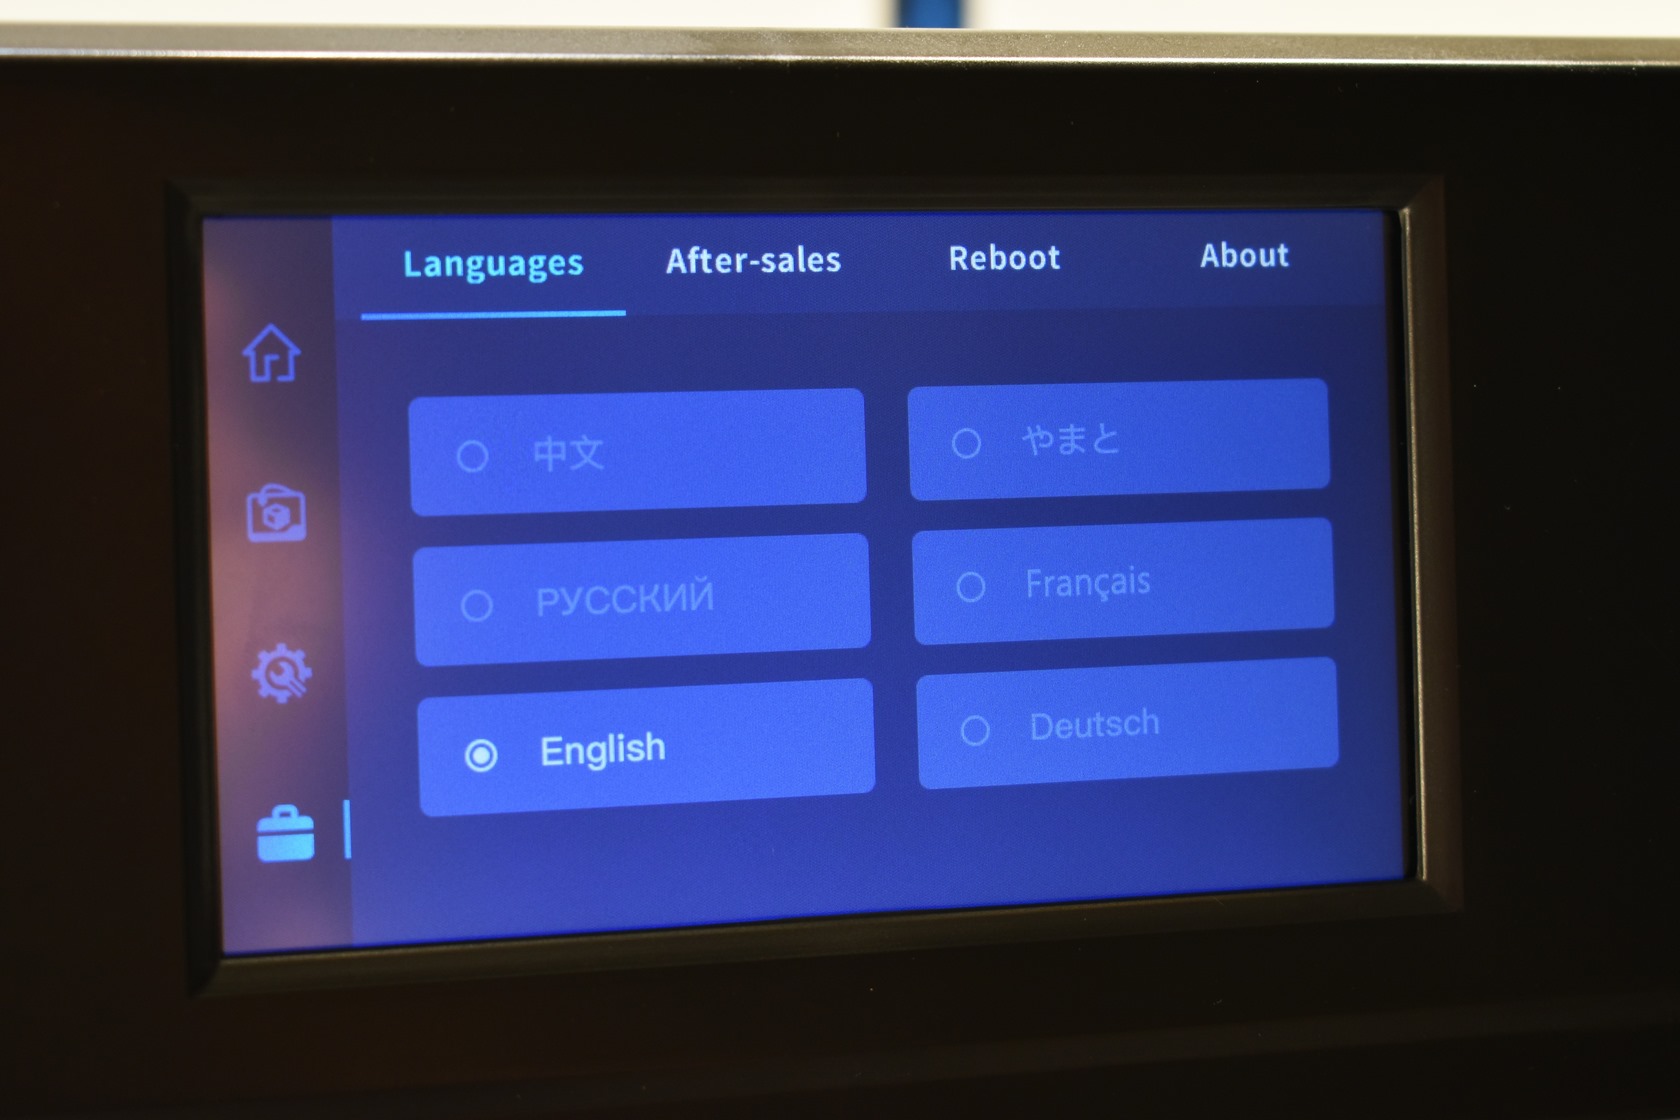
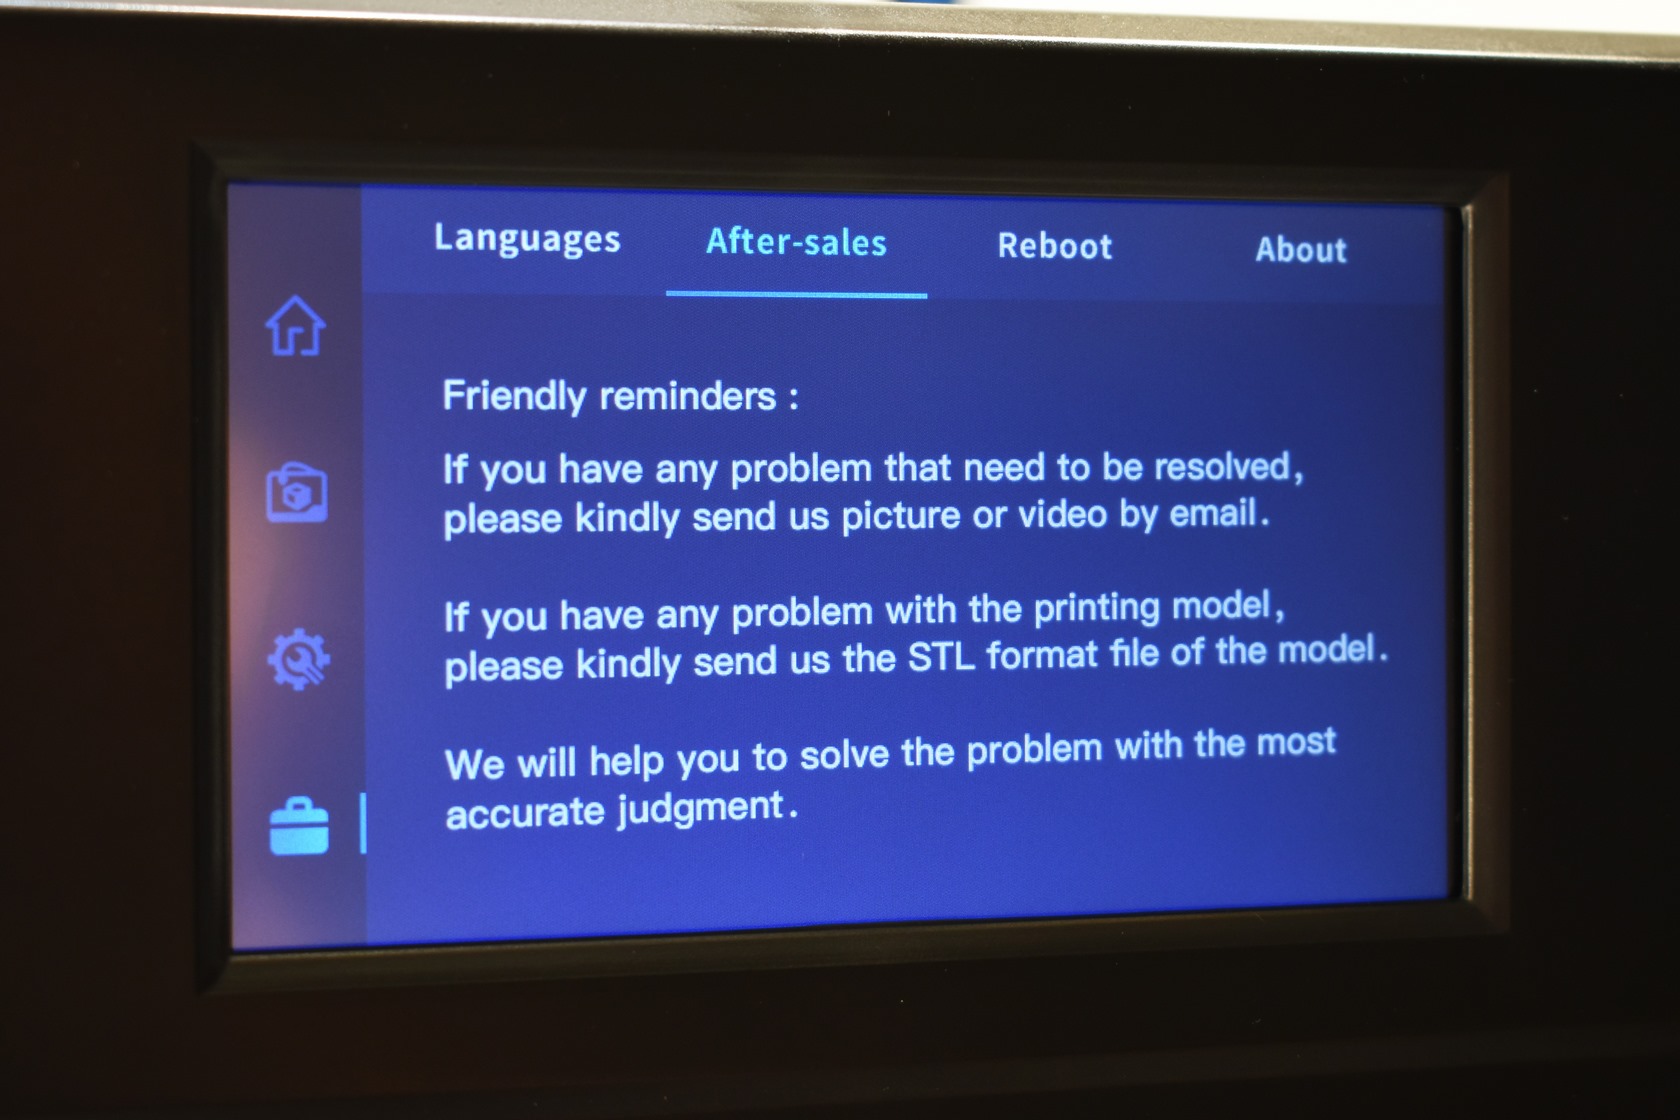
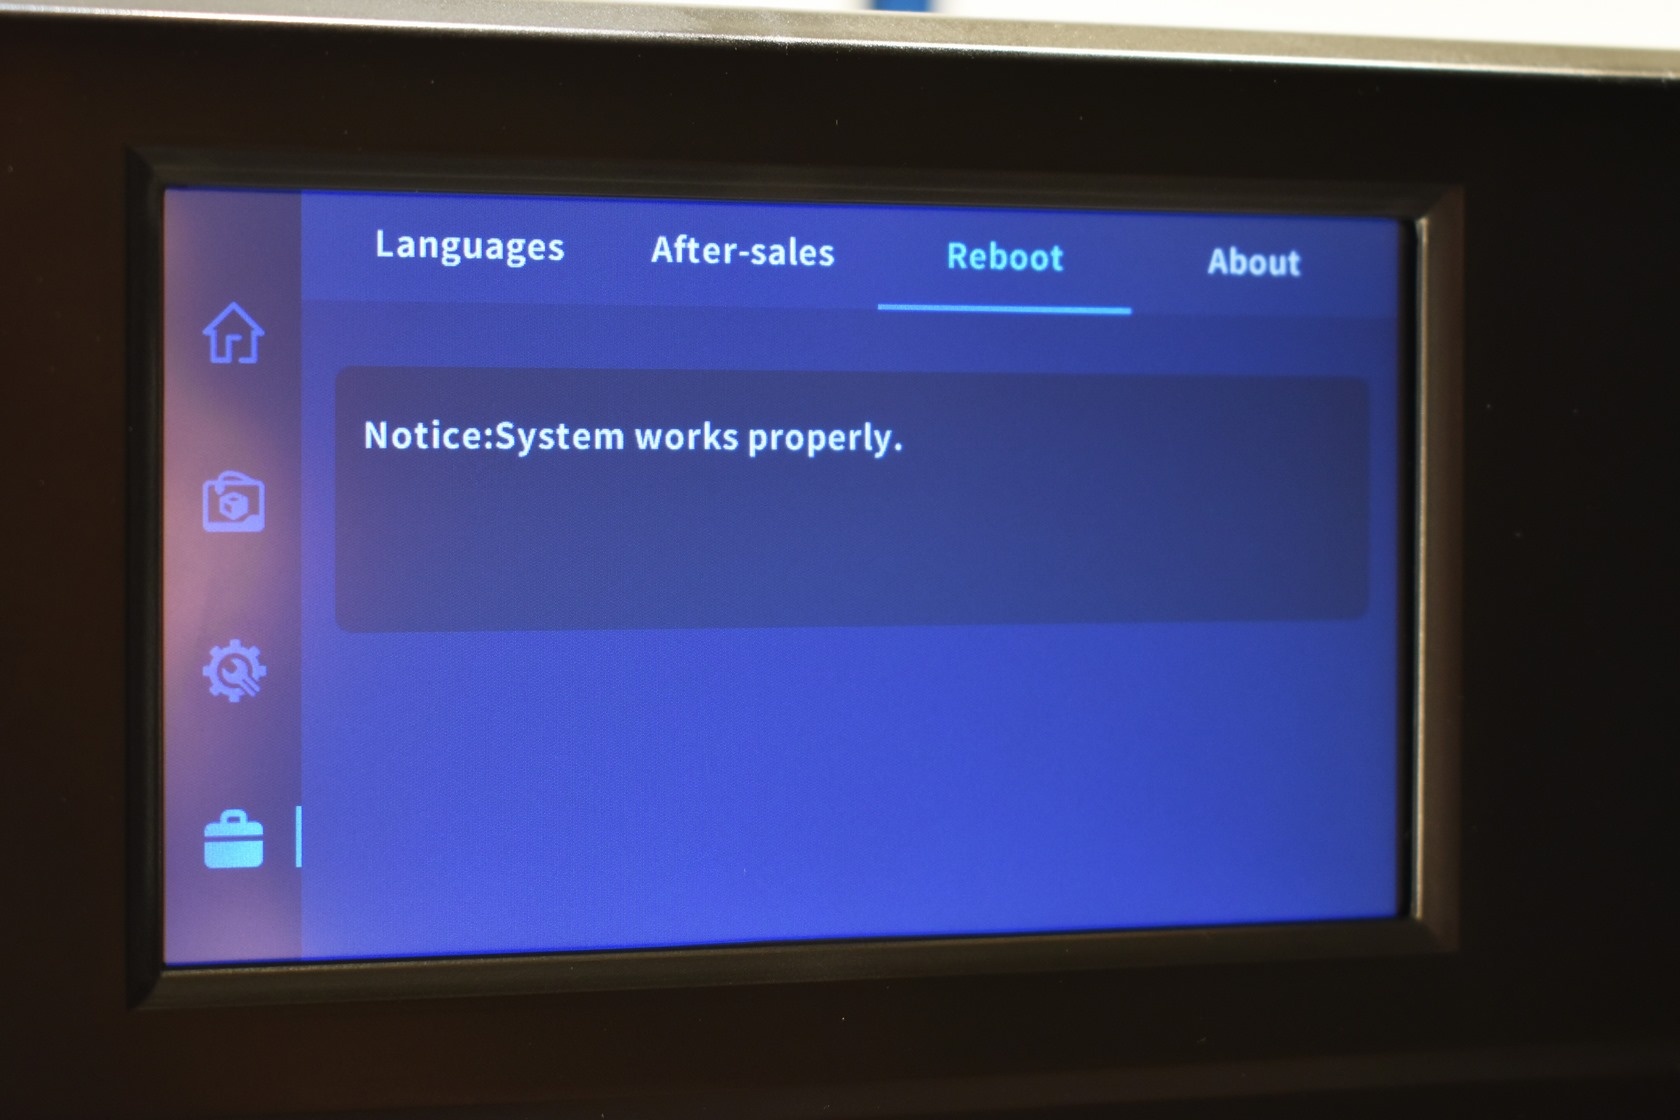
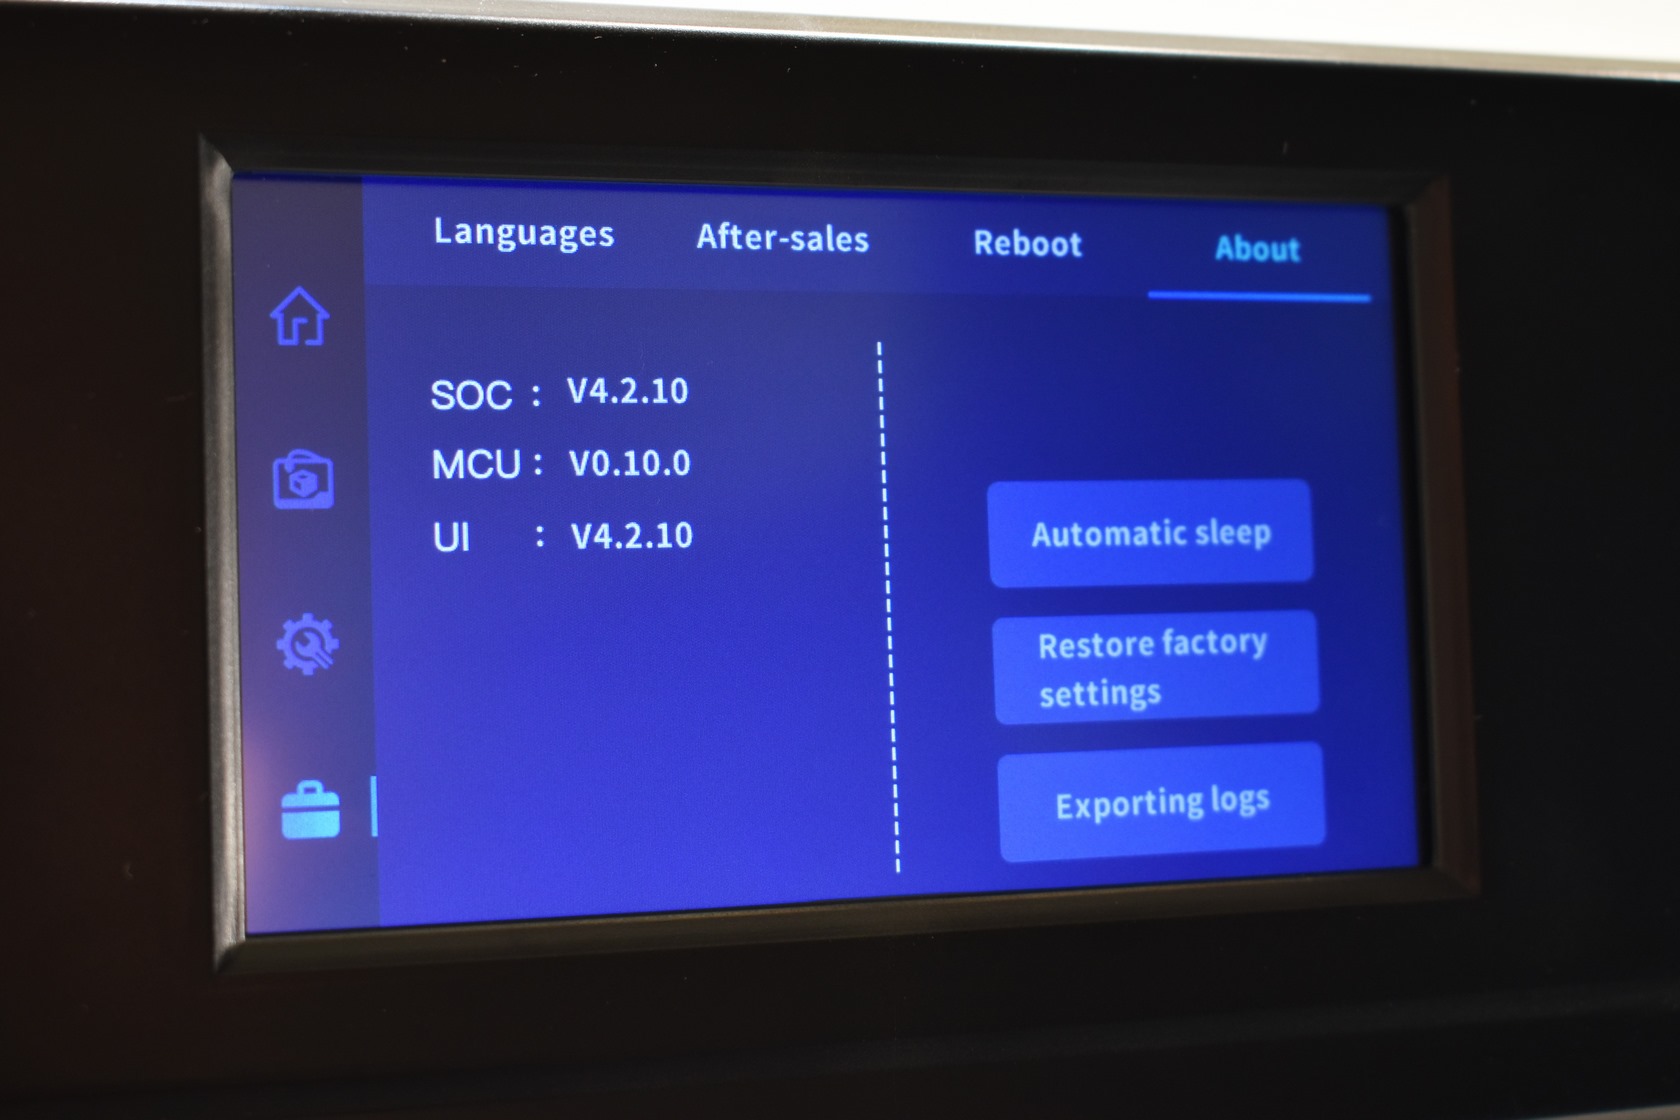
Finally, the system tab allows you to change menu language, display the after sales message by QIDI, check the status of the system (the tab says reboot but i couldn't actually reboot the printer from here), check the installed firmware version, adjust the automatic sleep function, restore the printer to its factory settings and export logs (at the time of this review firmware 4.2.10 was available - i did read somewhere that firmware 4.3 had been released but i couldn't find it on the QIDI support page).


Worth pointing out is that unlike other printers which have a regular timer when printing the X-Plus 3 has a countdown timer (and a very accurate at that - printing job finished just 7 minutes faster).


.png)