O-Sense

.jpg)


INTRODUCTION
3D printing and even laser engraving are two hobbies I wish I had enough free time to follow but sadly I don't. So, to at least follow one of the two, I had to drop the other and well, I decided to drop laser engraving (not nearly as interesting after all). 3D printing for me always had but a single drawback, single color printing which users overcame by painting over their models themselves. Not only did this require lots of time but also increased cost and so I never was particularly interested in doing so. Newer models allowed the end user to pause printing, replace the filament and continue thus adding more colors. This wasn't such a bad implementation, it was however limited in usages and so again, far from ideal. Latest 3D printers however have taken things to a whole new level by allowing multiple filaments to be used and the Hi-Combo by Creality is such a model.
Shenzhen Creality 3D Technology Co., Ltd., known as Creality, is a world-leading brand of consumer 3D printers. Since our establishment in 2014, we have embraced our role as an "3D Printing Evangelist" committed to the innovation, application, and popularization of 3D printing technology worldwide. Our forward-looking business strategy, termed "One Core with Two Wings," has propelled our rapid growth. Specifically, 3D printer products are at the “Core” of our business, which is assisted by the first “Wing” of ecosystem products like 3D scanners, laser engravers, filaments, and accessories. A second “Wing” of our business is Creality Cloud, an all-in-one 3D printing platform that gathers 3D models and enables a cloud printing experience.
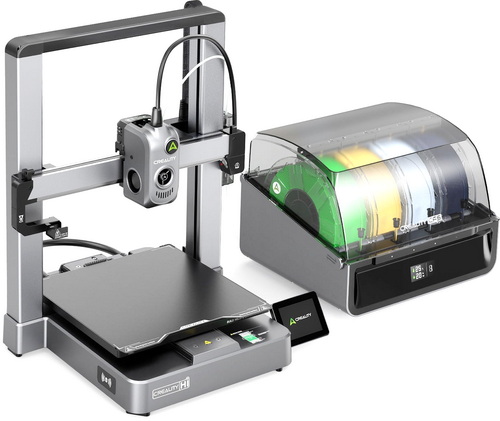
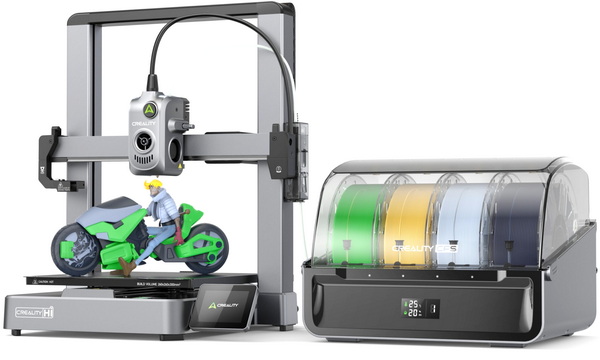
The Hi-Combo consists of the Hi 3D Printer and the CFS (Creality Filament System) moisture-proof addon which allows for use of up to 4 different filaments (colors). The CFS can automatically identify inserted filaments and thanks to the bundled buffer the Hi 3D printer can connect with up to 4 CFS for use with up to 16 different filaments (additional power adapter is recommended for use with 4 CFS devices). As for the Hi 3D Printer itself it has a maximum speed of up to 500mm/s, 12000mm/s2 acceleration, aluminum alloy frame, direct-drive extruder with steel gears, step-servo motors with FOC algorithms, tri-metal nozzle with 300 degrees maximum temperature, flexible epoxy print plate (up to 100 degrees temperature), 3.2" fold away color touch screen, built-in 720p camera with LED light and privacy cap (1280x720p), RFID sensor (for easier identification of filaments), filament runout detector, automated filament cutter, USB port, Creality Cloud support, auto bed leveling, and fully supports Hyper-PLA, PLA, PETG, ABS and PLA-CF filaments.
SPECIFICATIONS AND FEATURES

PACKAGING AND CONTENTS
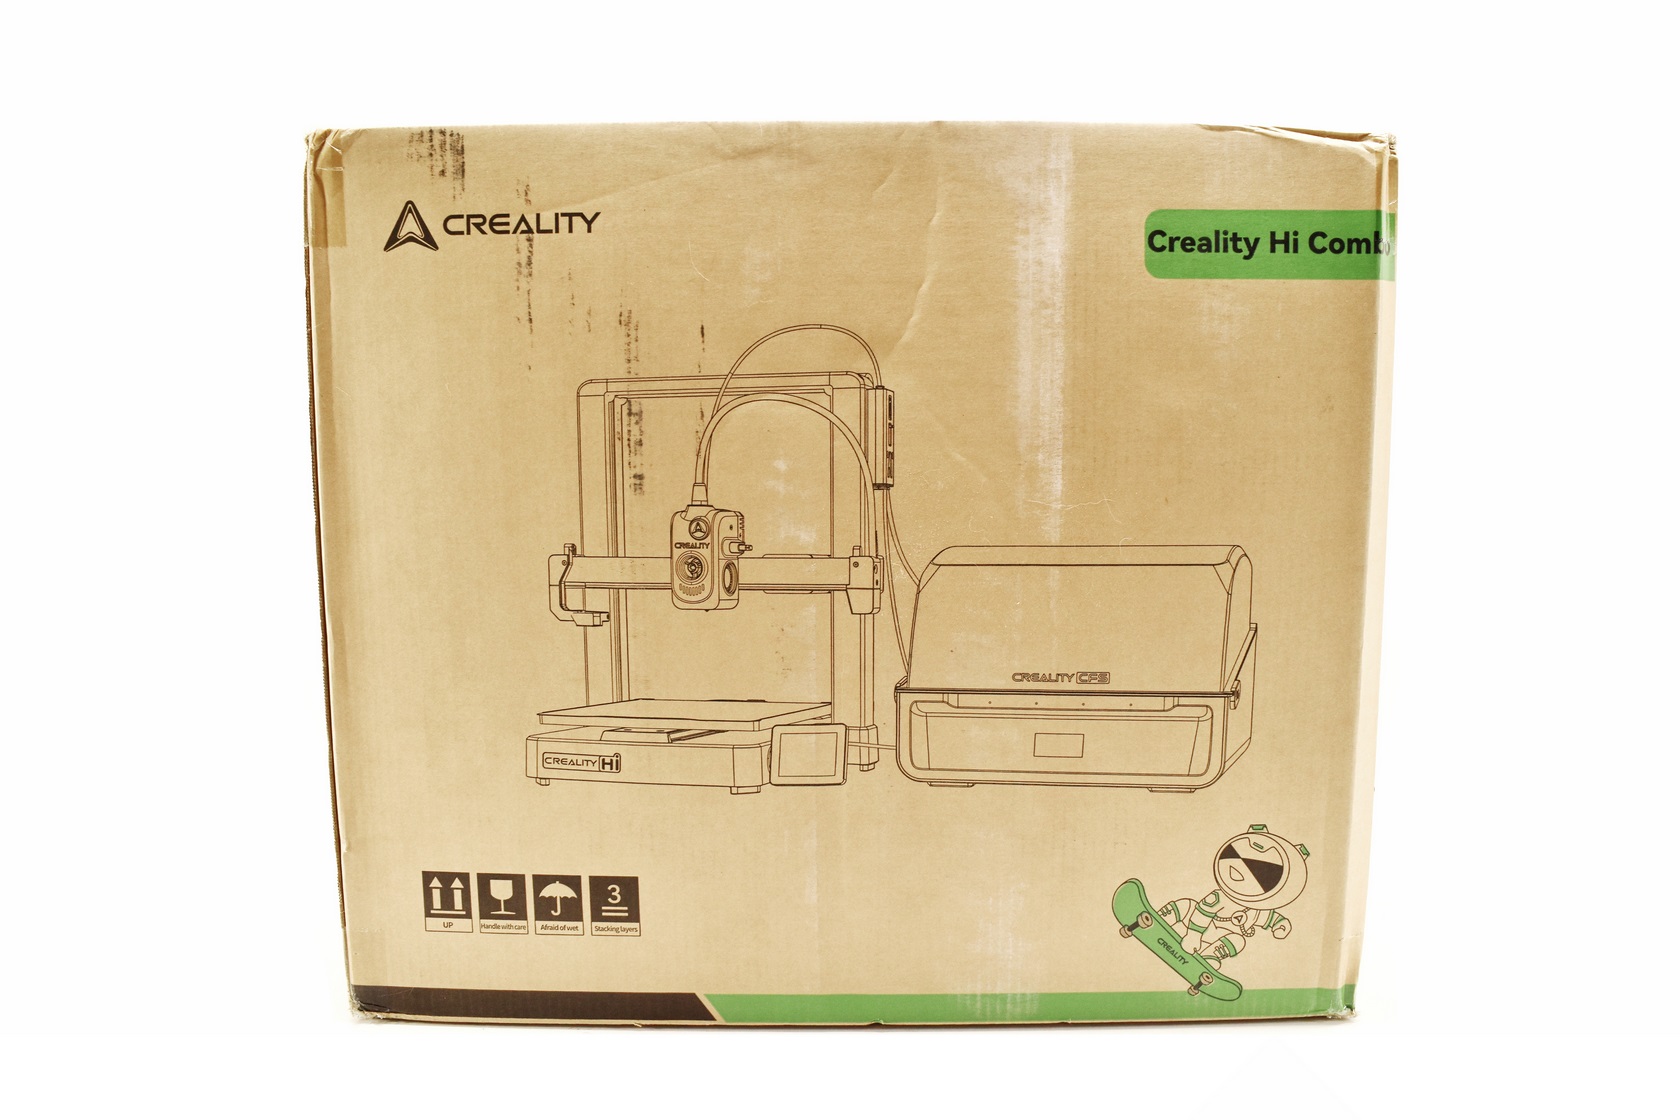
Creality uses a plain cardboard box for the Hi-Combo which has their logo and a product drawing at the front.
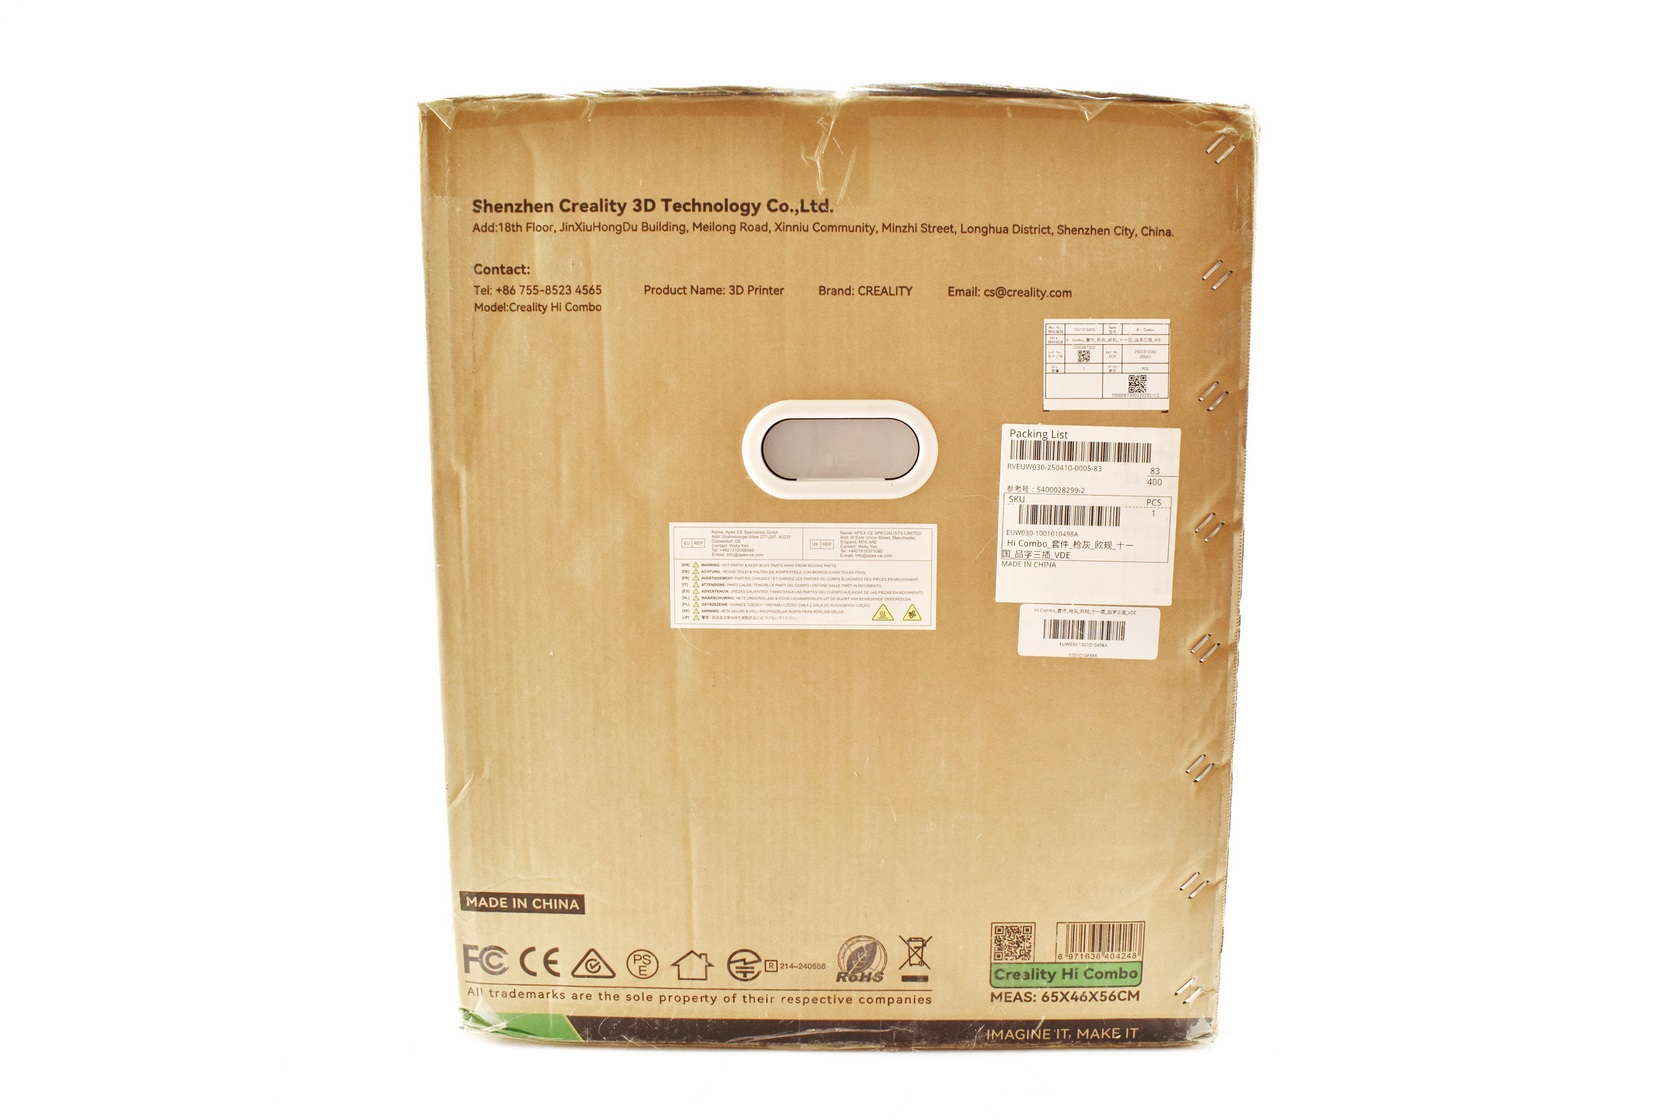
Contact information for Creality and a sticker with the serial number and barcode of the unit are available on the right side.
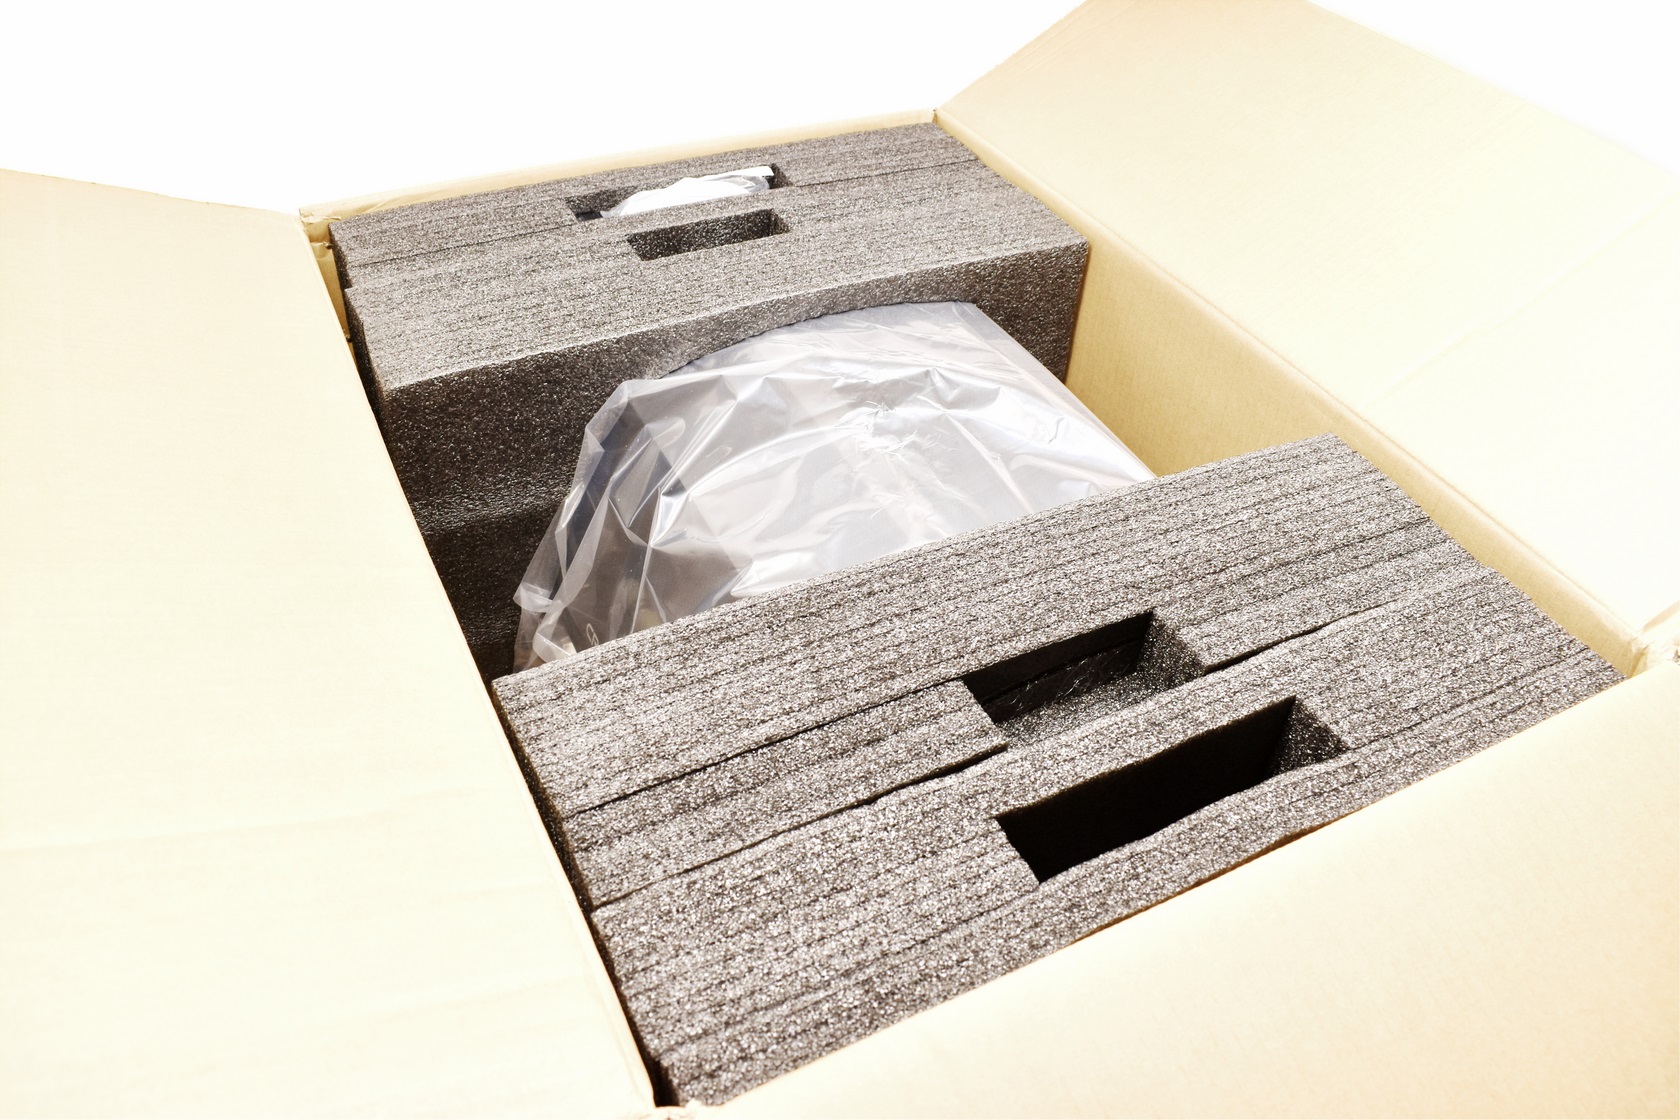
The entire bundle is placed in several thick pieces of foam as seen above.
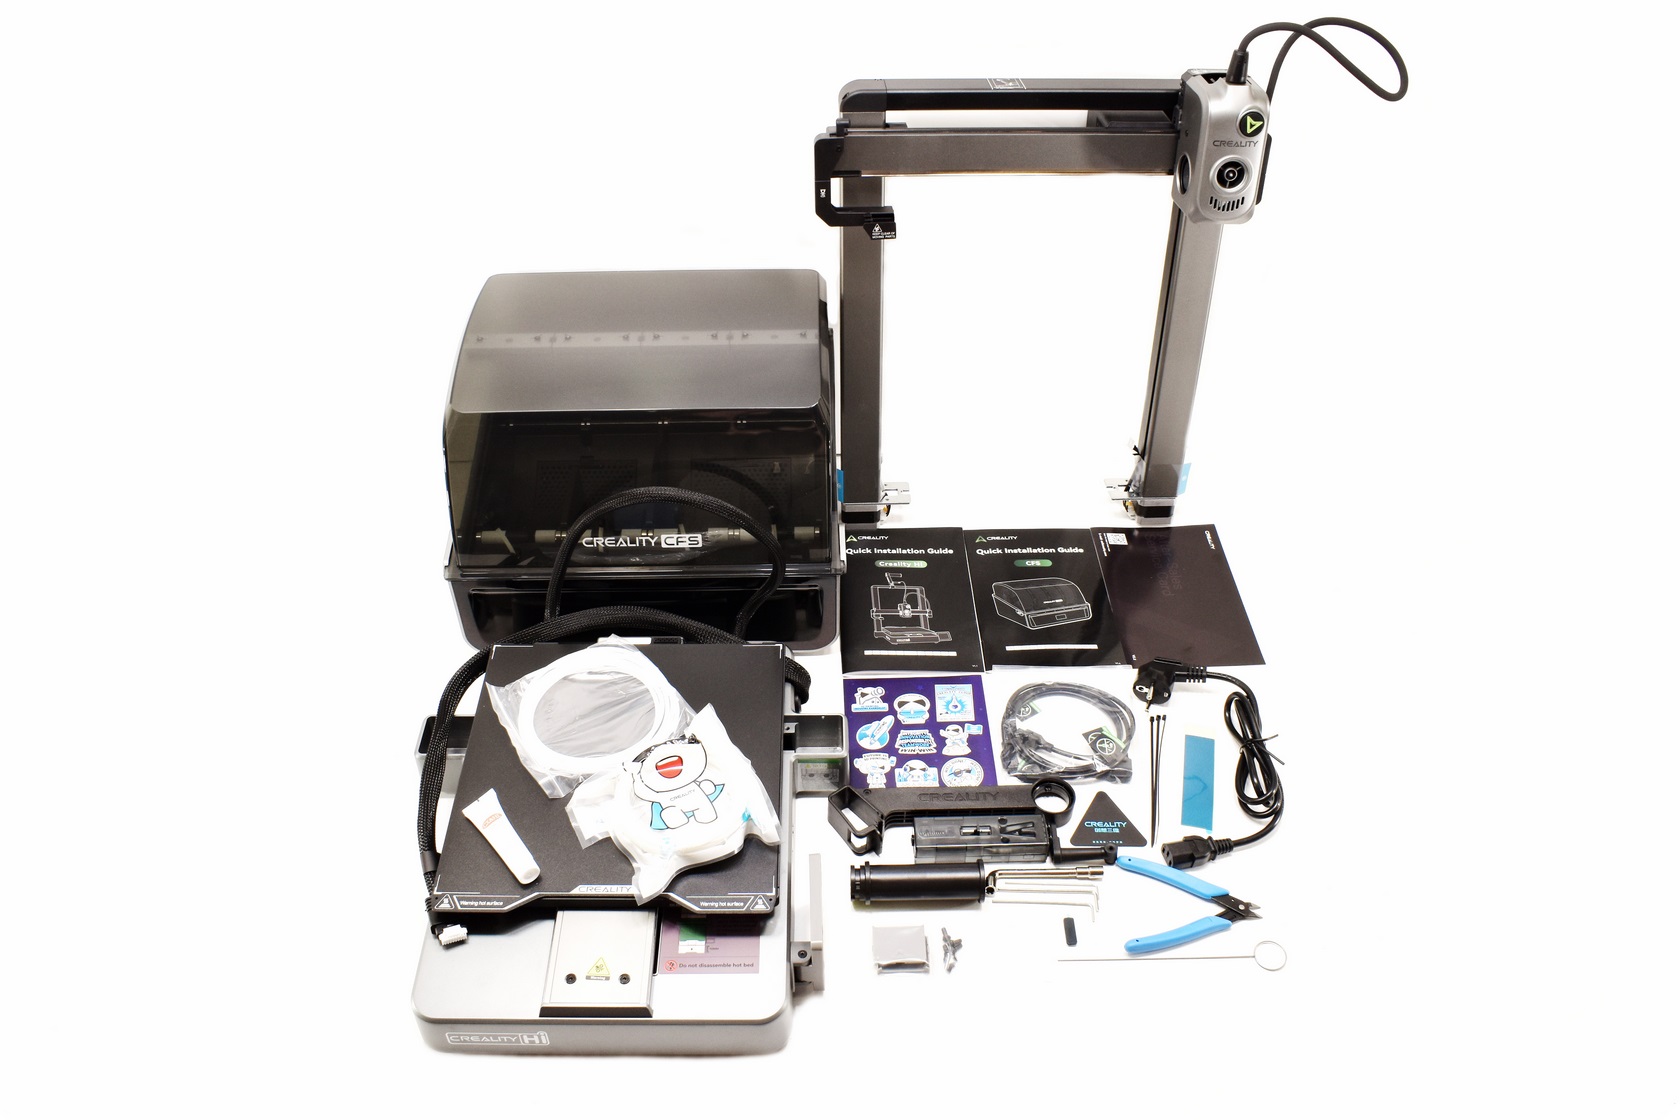
Along with the 2 parts of the Hi 3D printer, its power cord and the CFS device inside the box you'll also find a three piece filament holder, buffer, small filament for testing purposes, two plastic Z-axis motor covers, 3 cable ties, bag with 6 screws, glue, 3 Allen keys, cutter, cleaning tool, bag with CFS connection cables, double sided tape, stickers, Teflon tube bag, after sales service card and two quick installation guides.
THE HI-COMBO
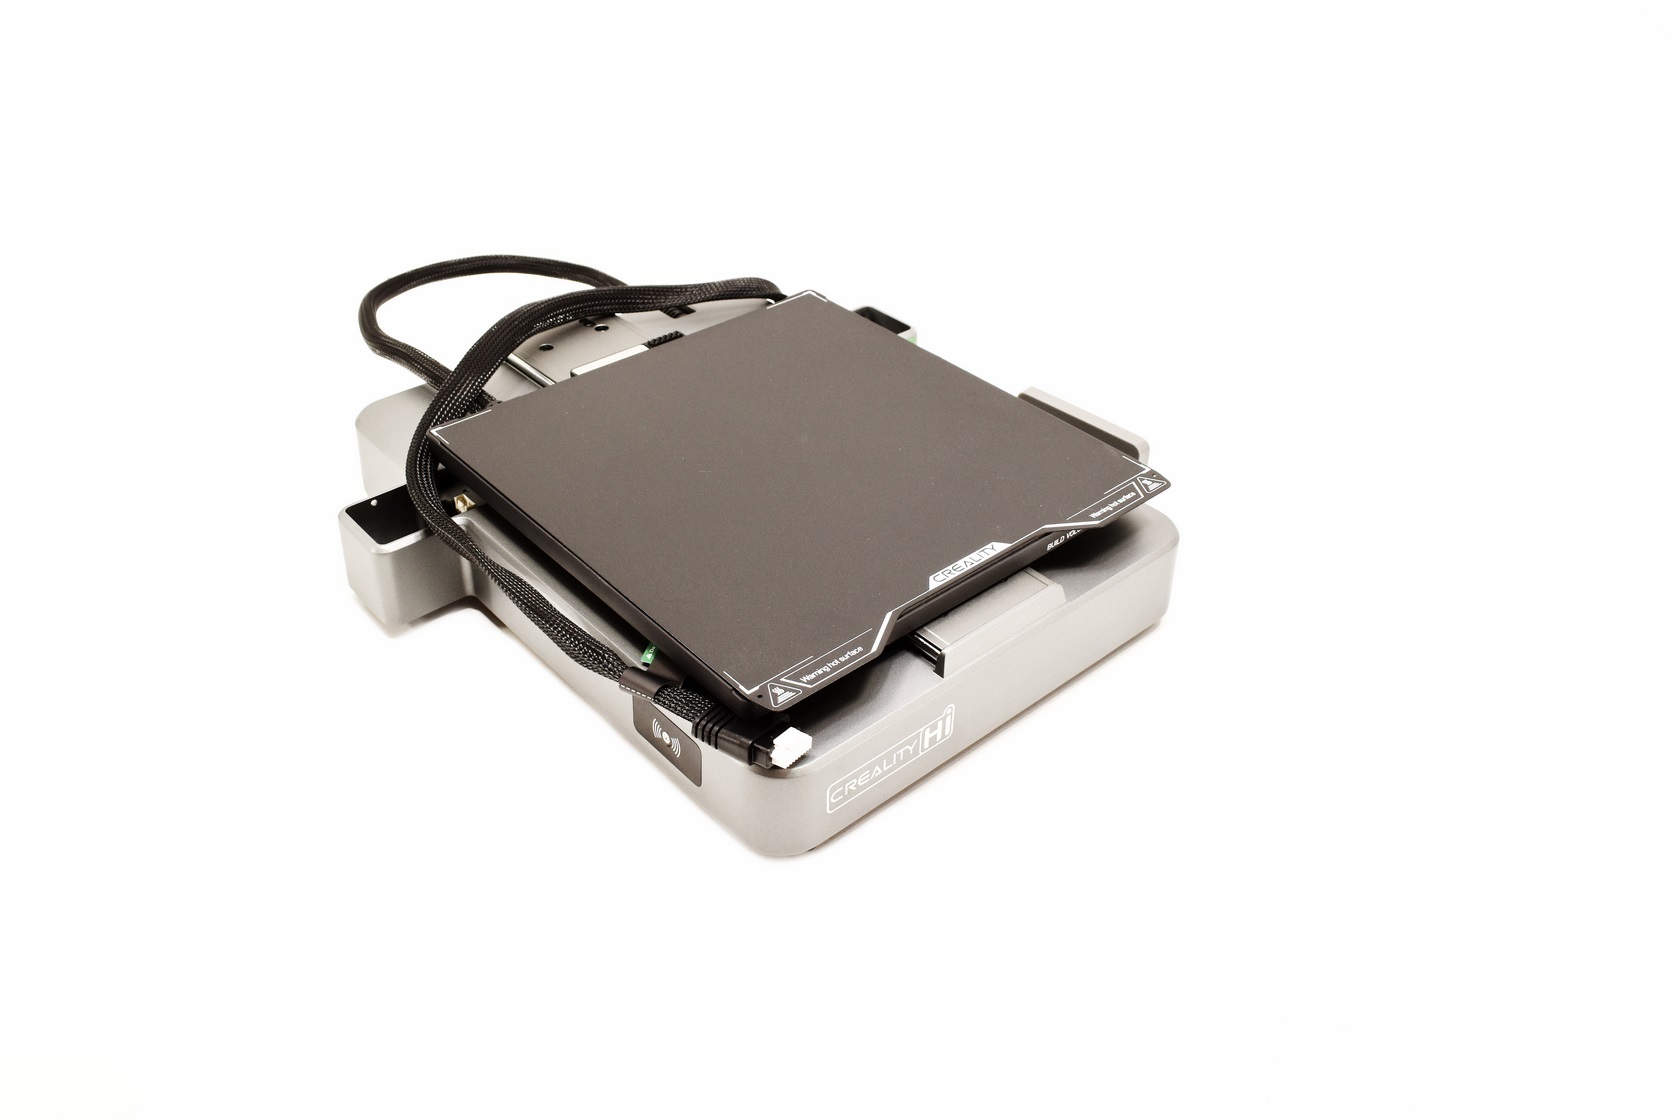
The lower end of the Hi 3D printer measures 285mm in length (roughly 370mm with the 3.2" display fully extended), 400mm in width (when the printing platform is all the way at the rear this increases to 700mm due to its cable) and 85mm in height.

Creality bundles a magnetically attached epoxy print plate with a print volume of 260x260x300mm.
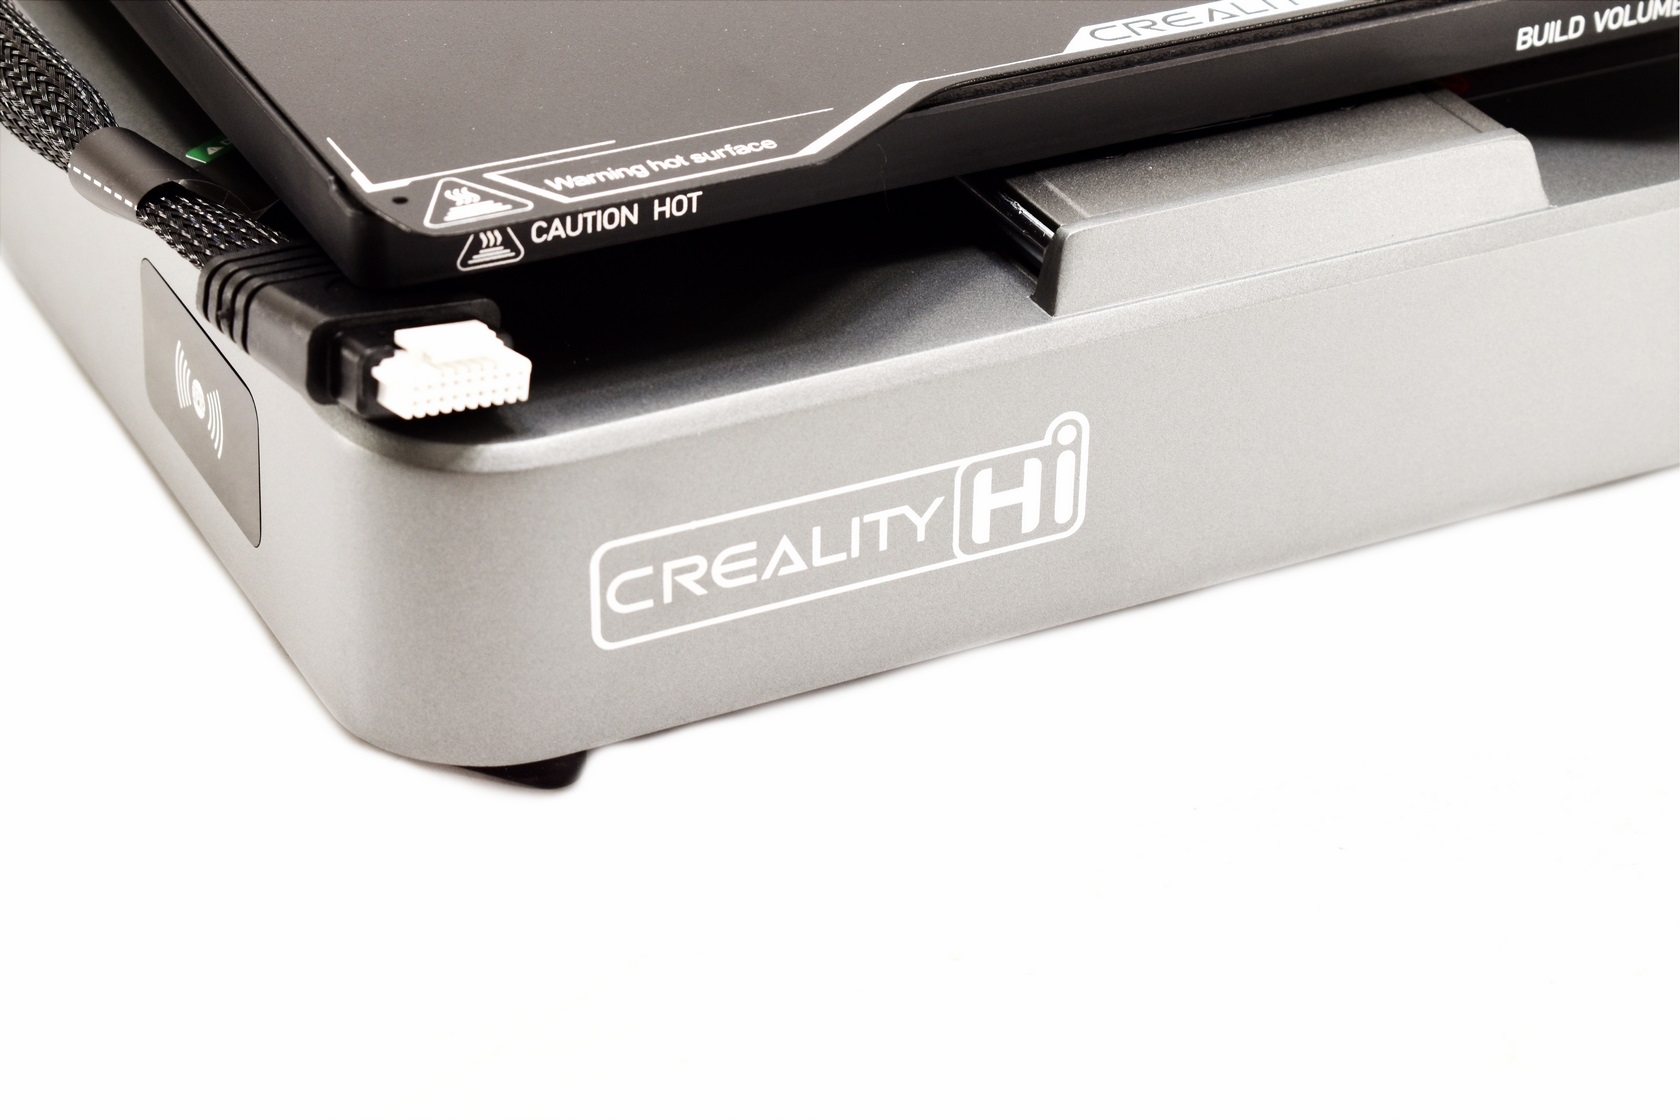
The model name is printed at the front left while the RFID sensor is placed right next to it on the left side.
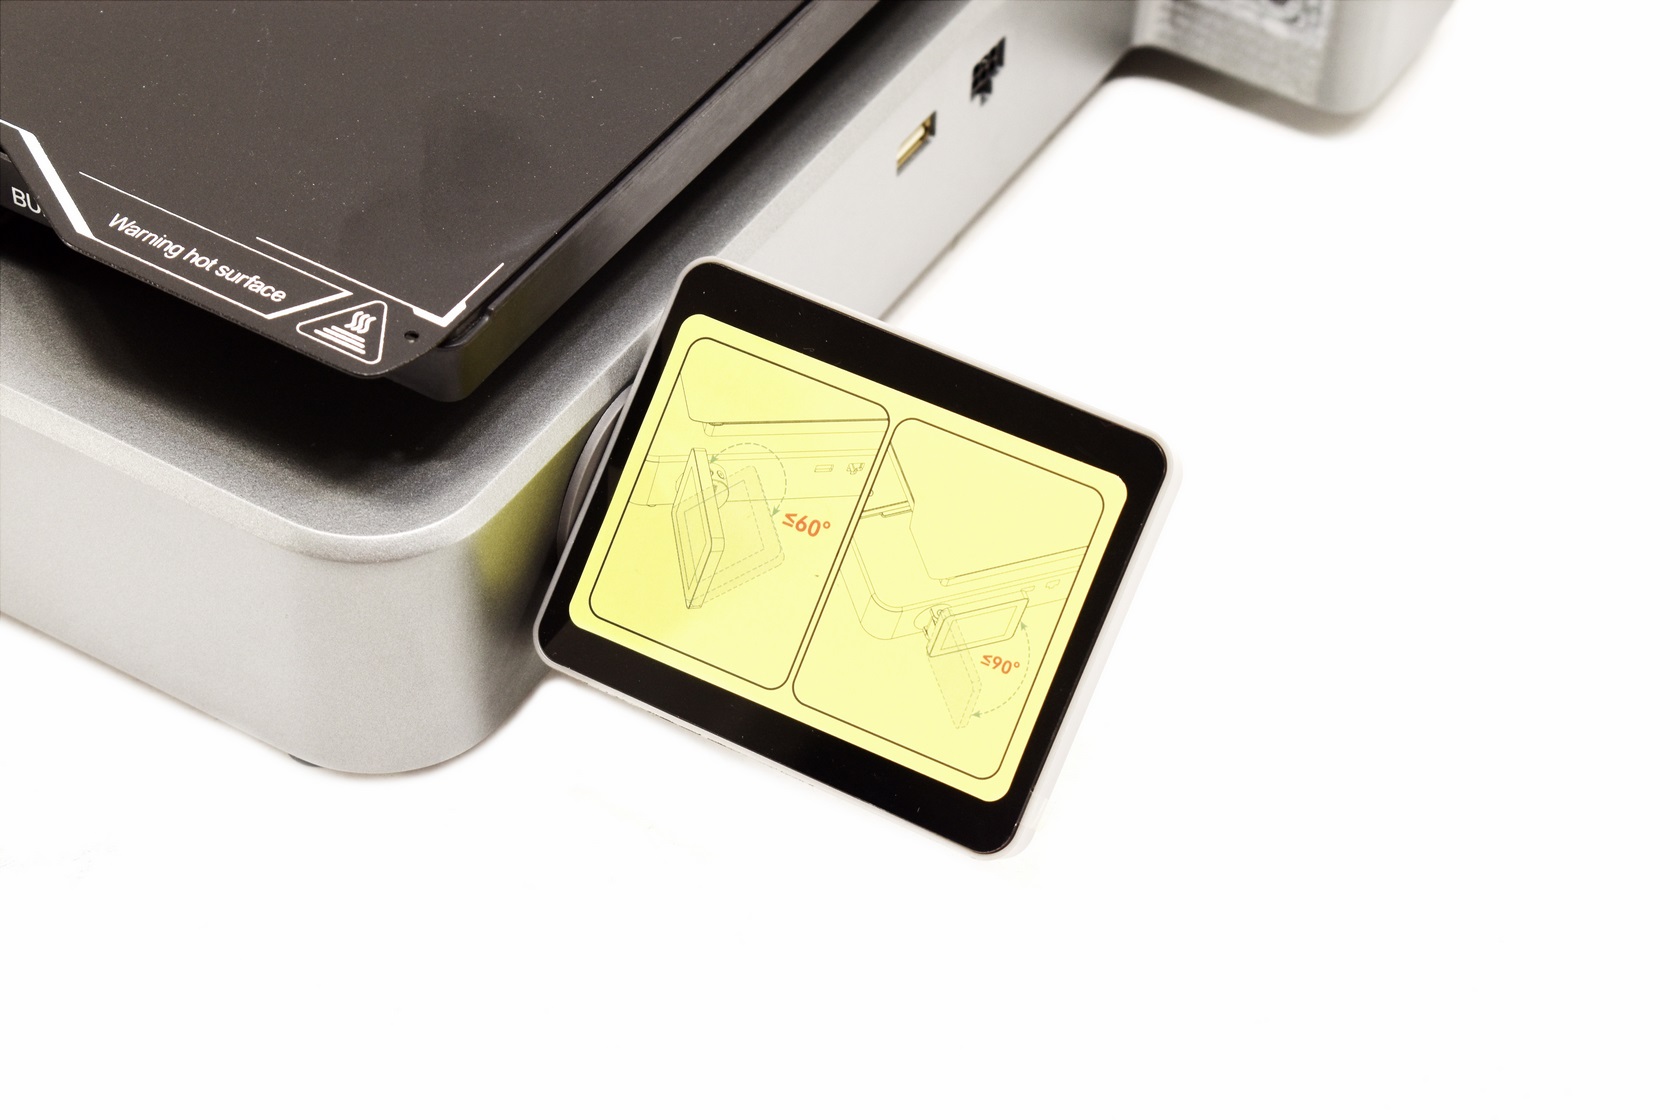
A sticker placed on the 3.2" display informs you that it can be extended up to 90 degrees horizontally and have a vertical angle of up to 60 degrees (the USB port is located behind it).
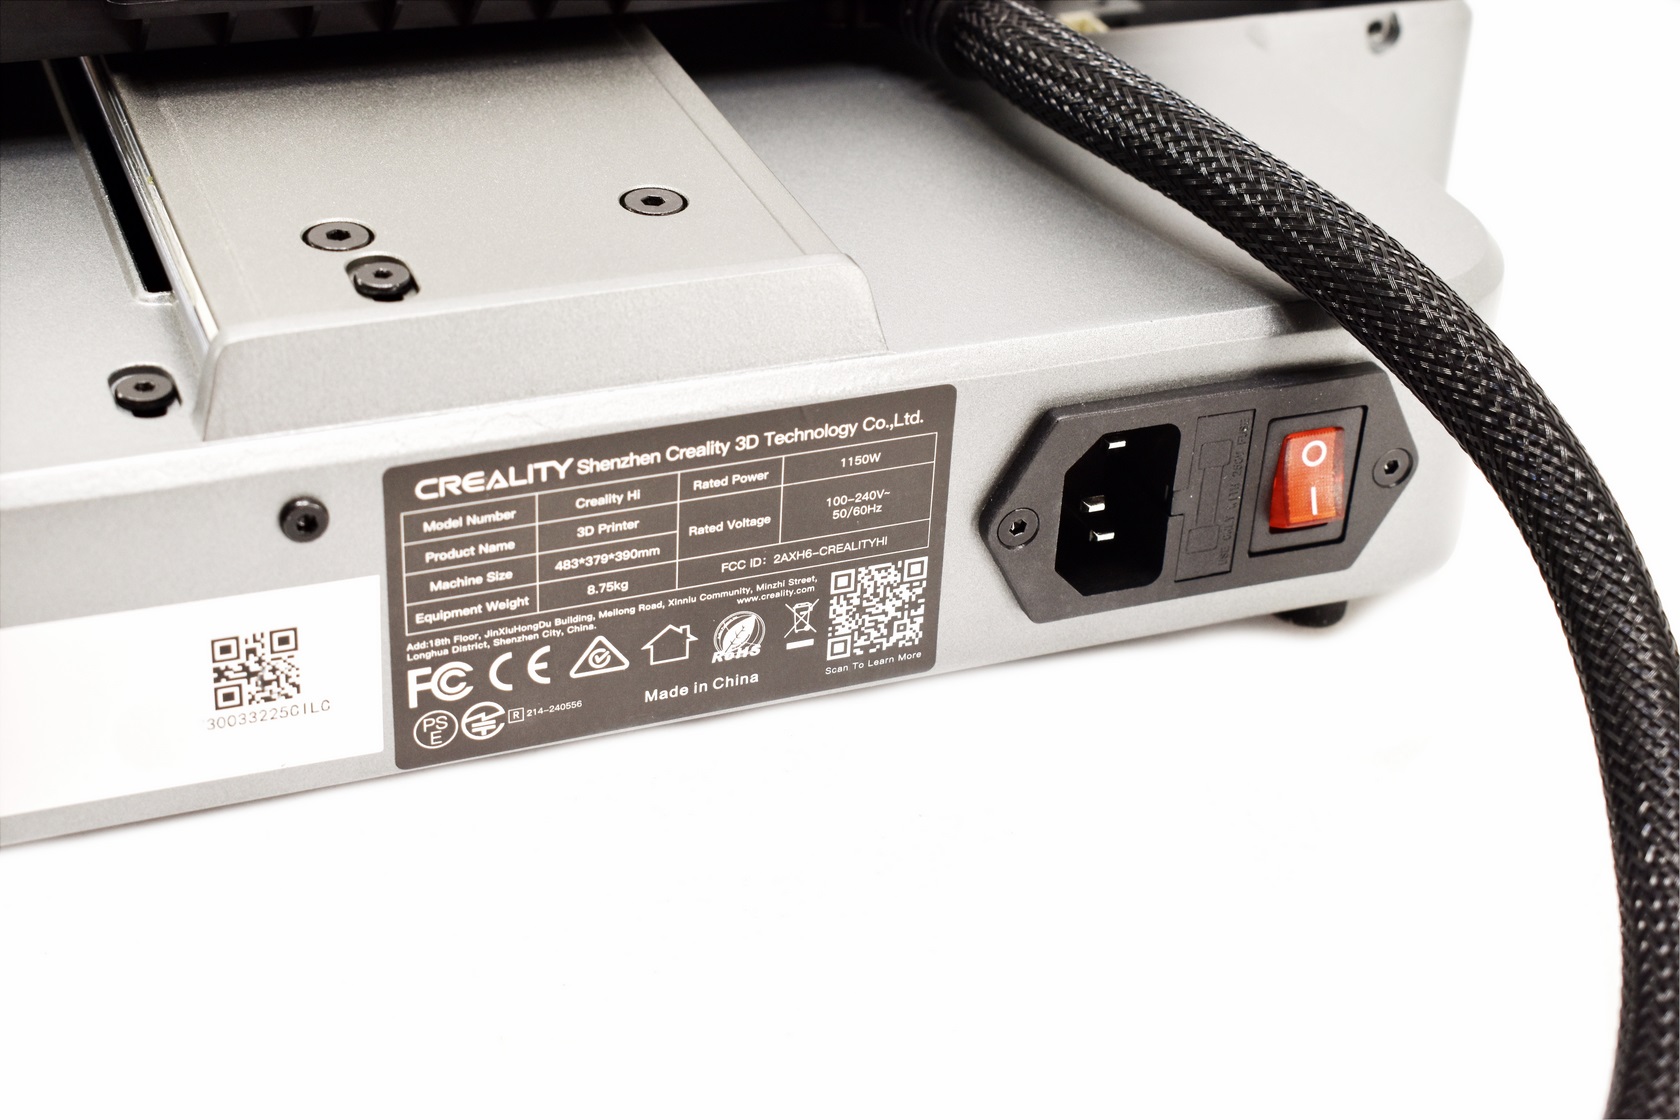
Turning the base around we find the power port, fuse and the on/off switch.
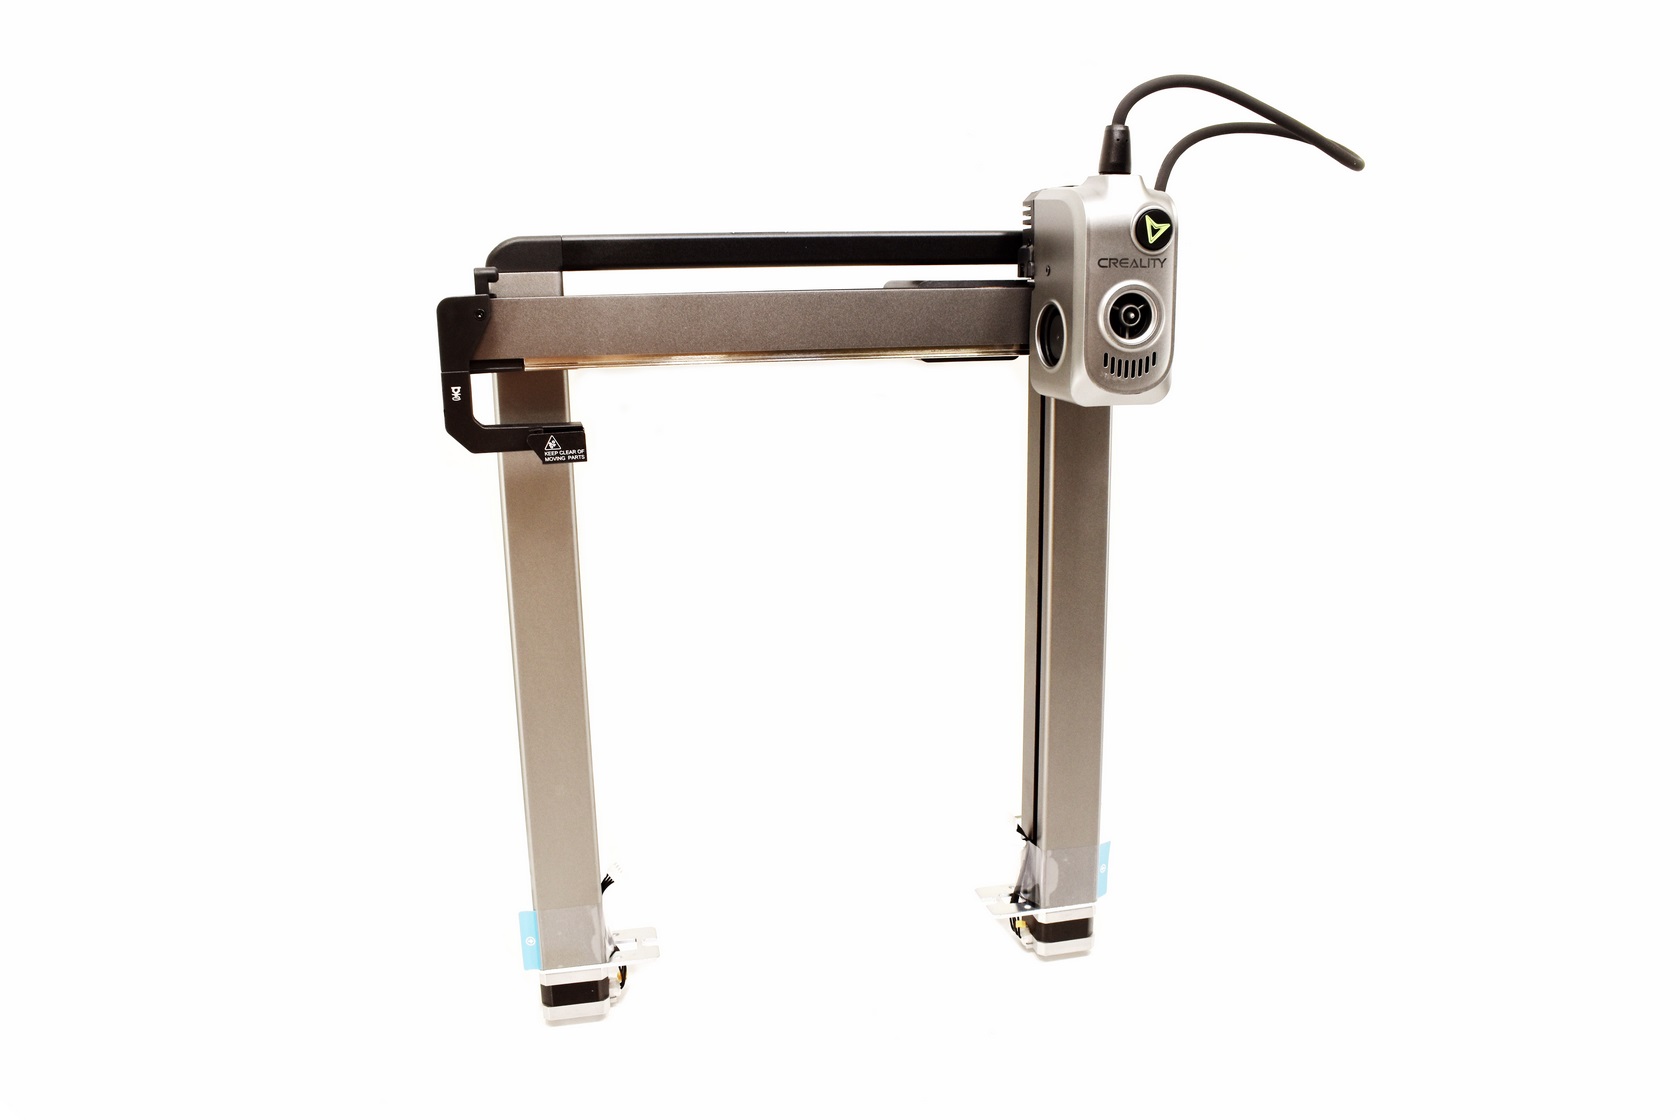
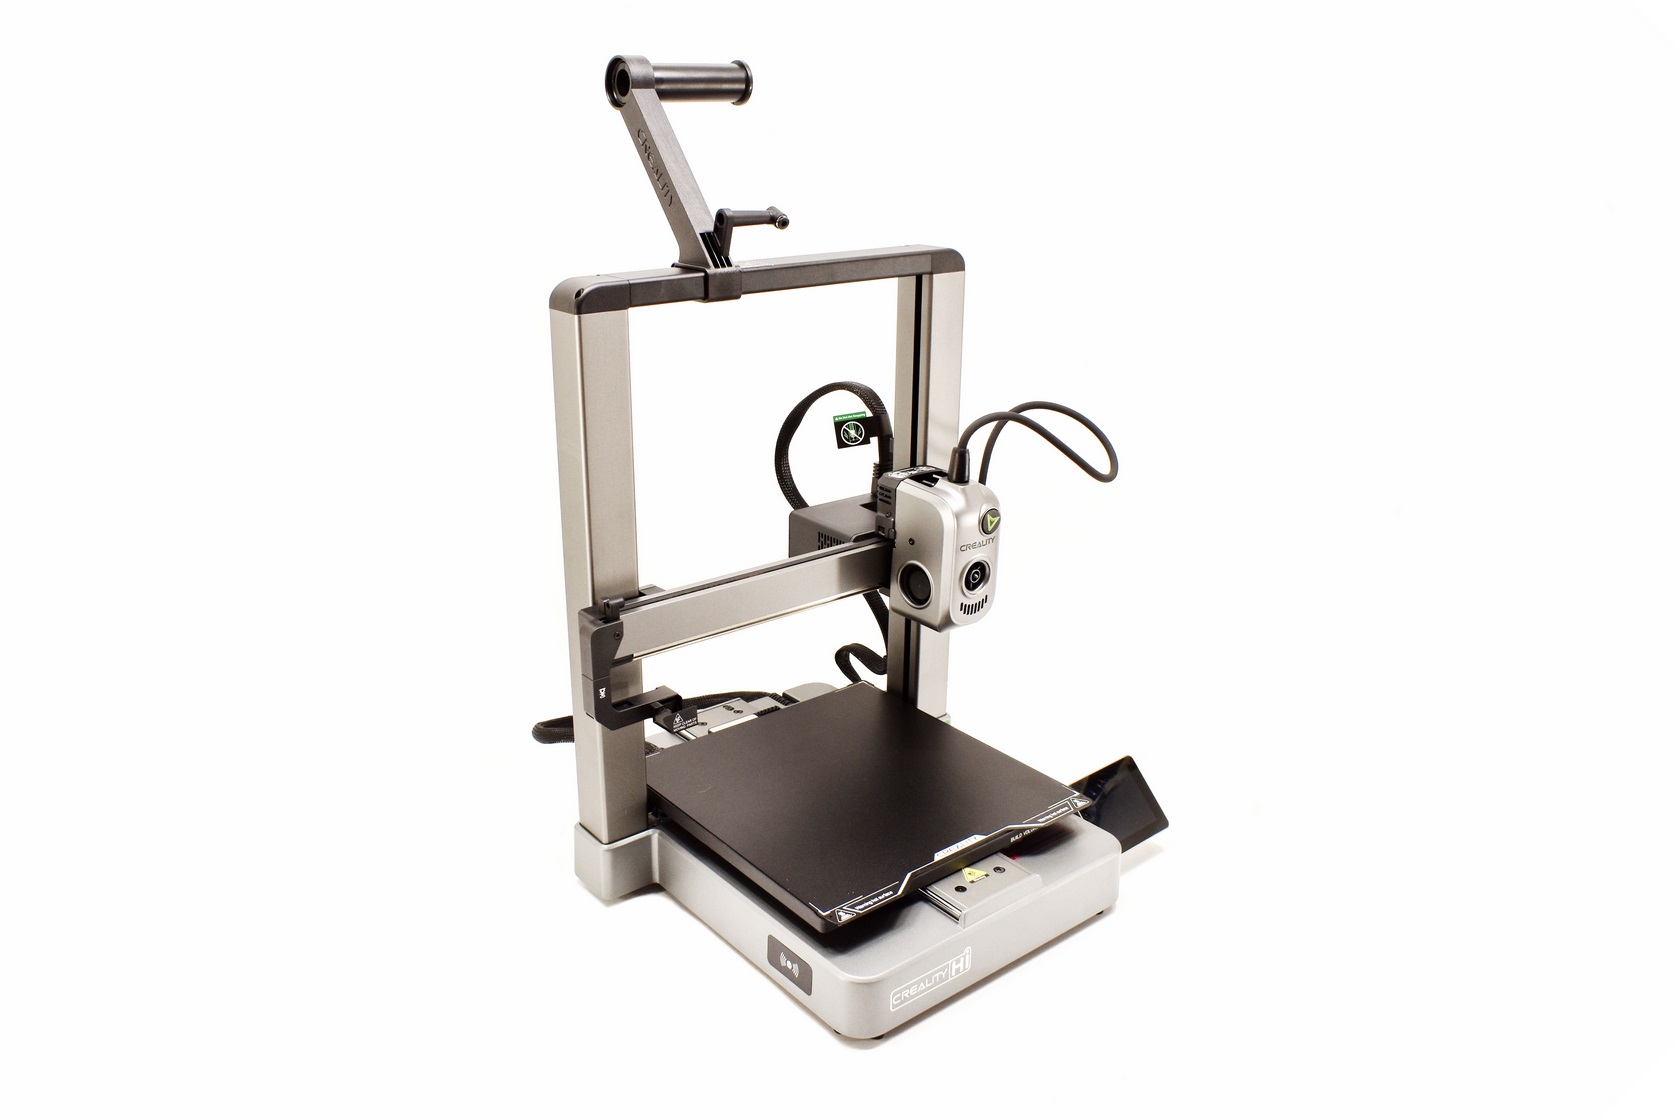
The top half of the Hi 3D printer measures 480mm in height.
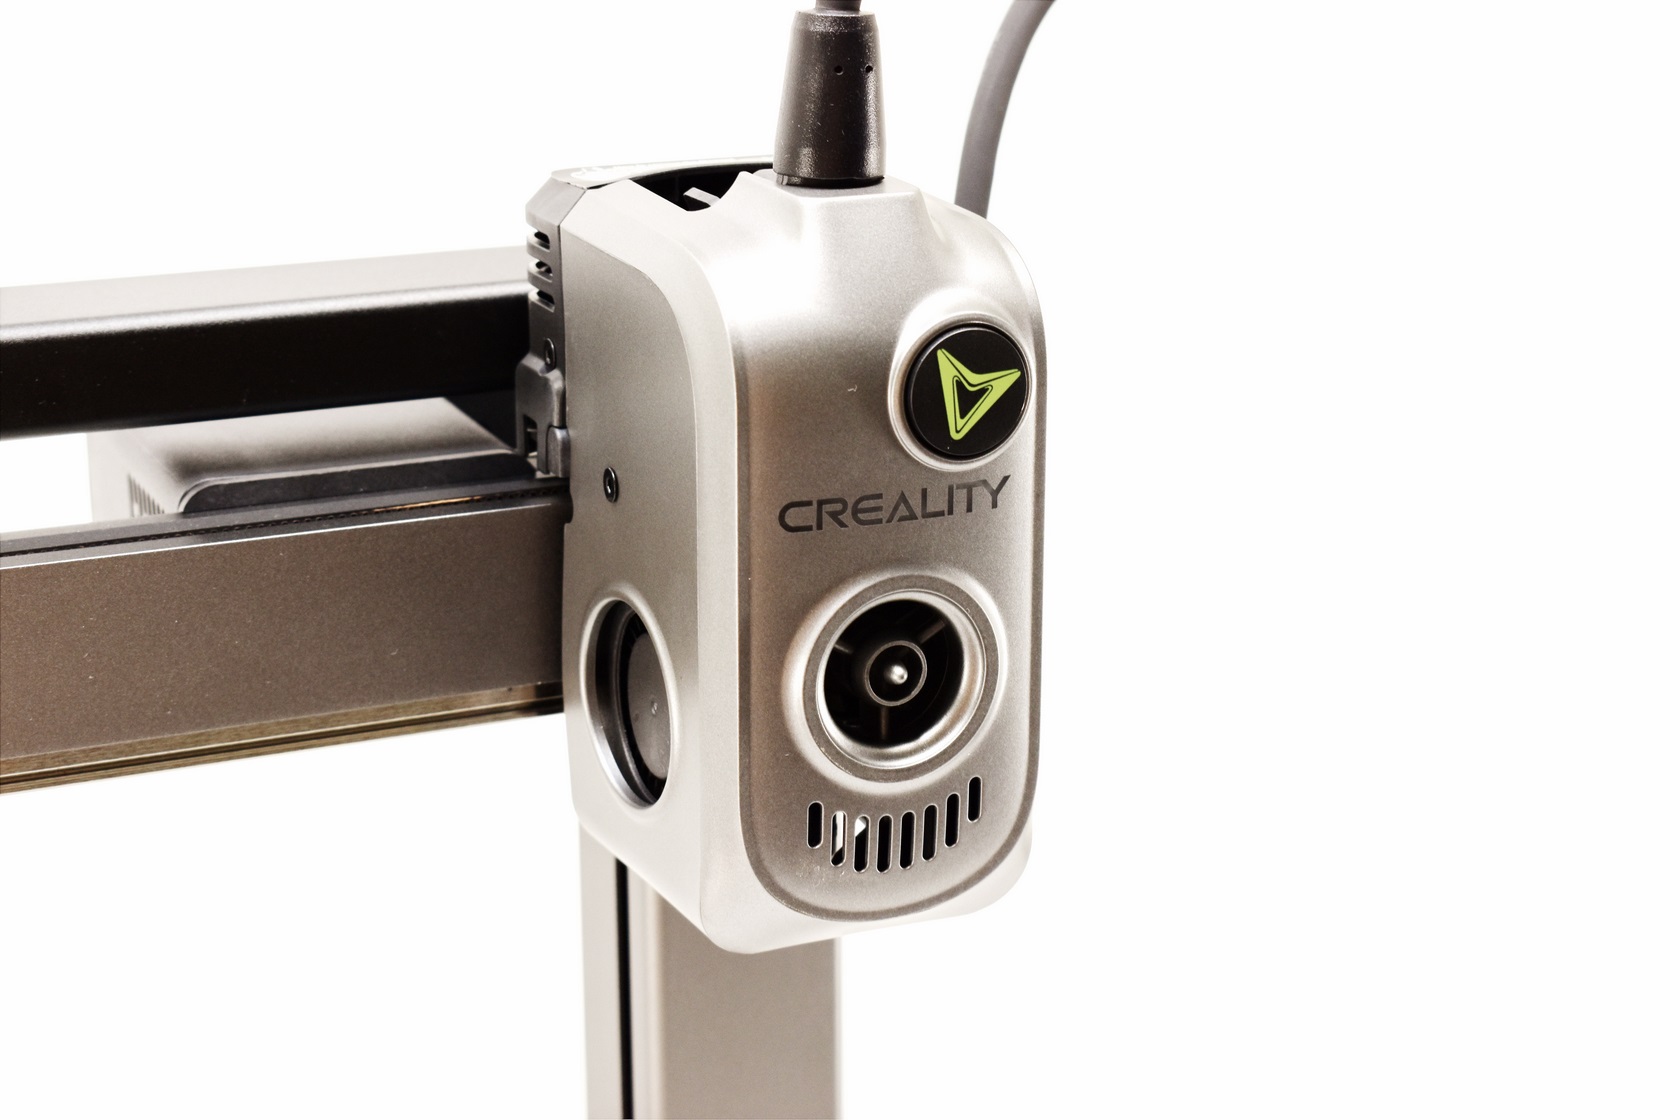
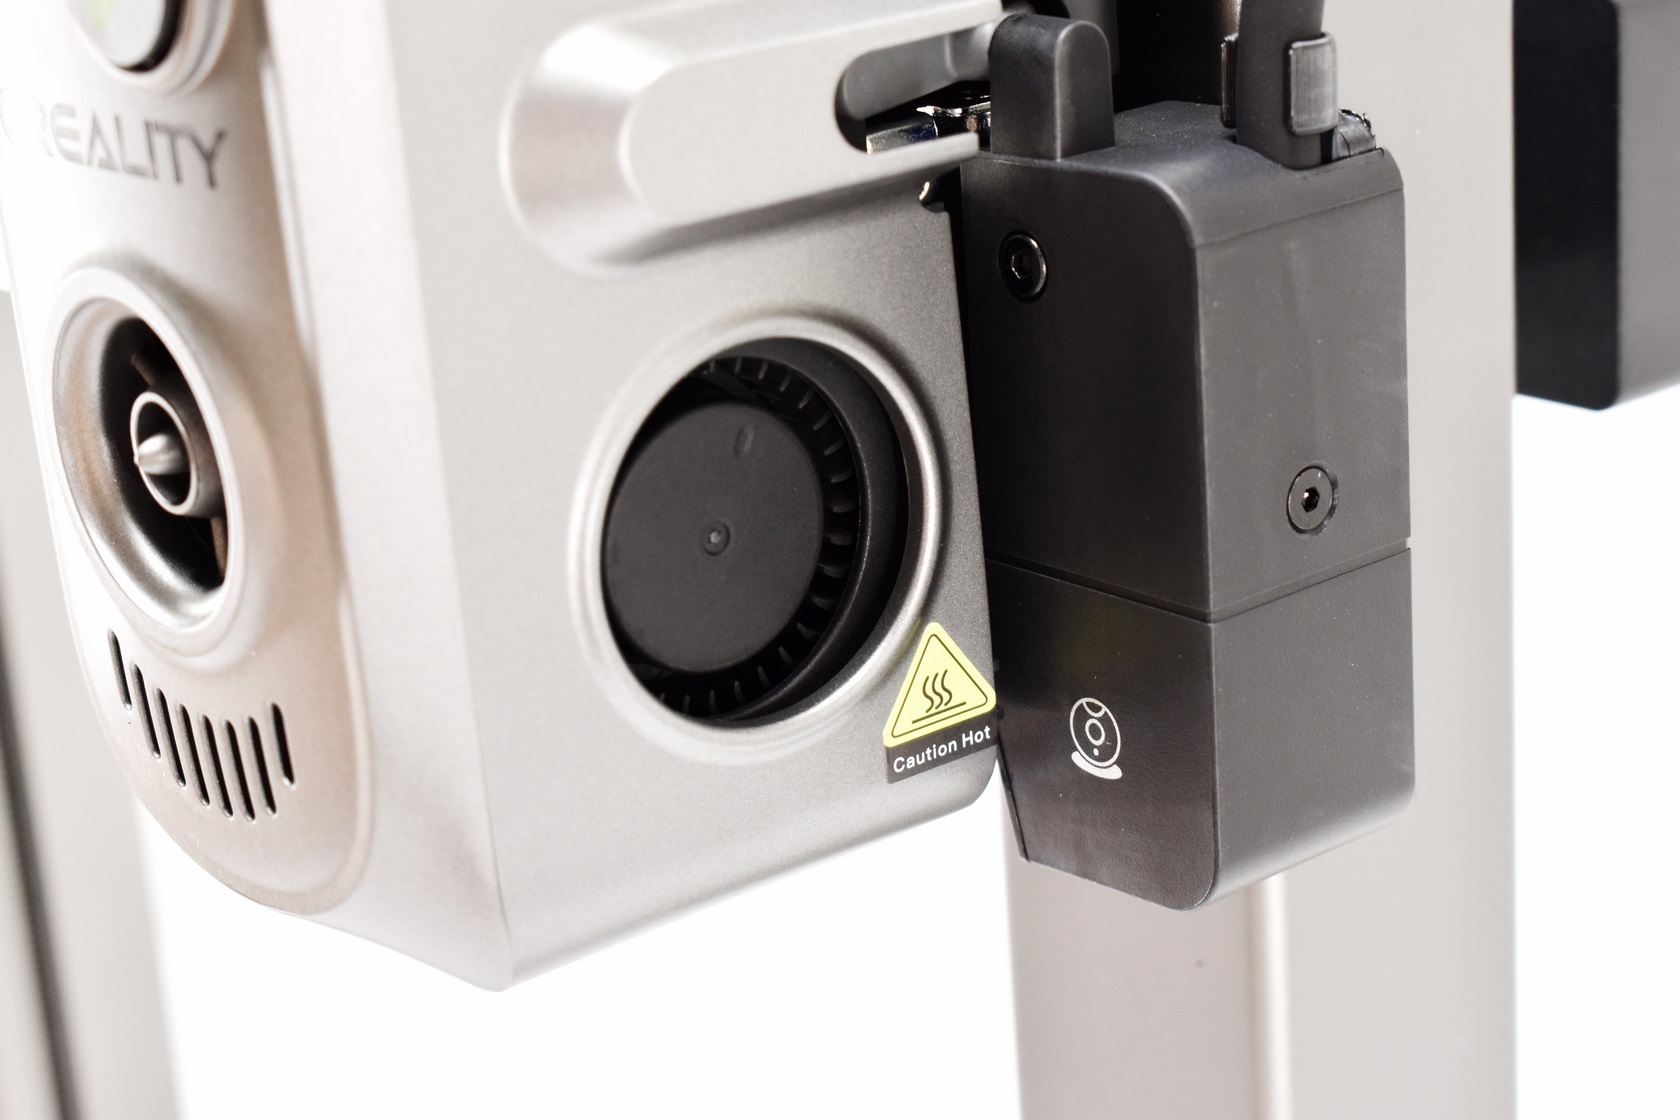
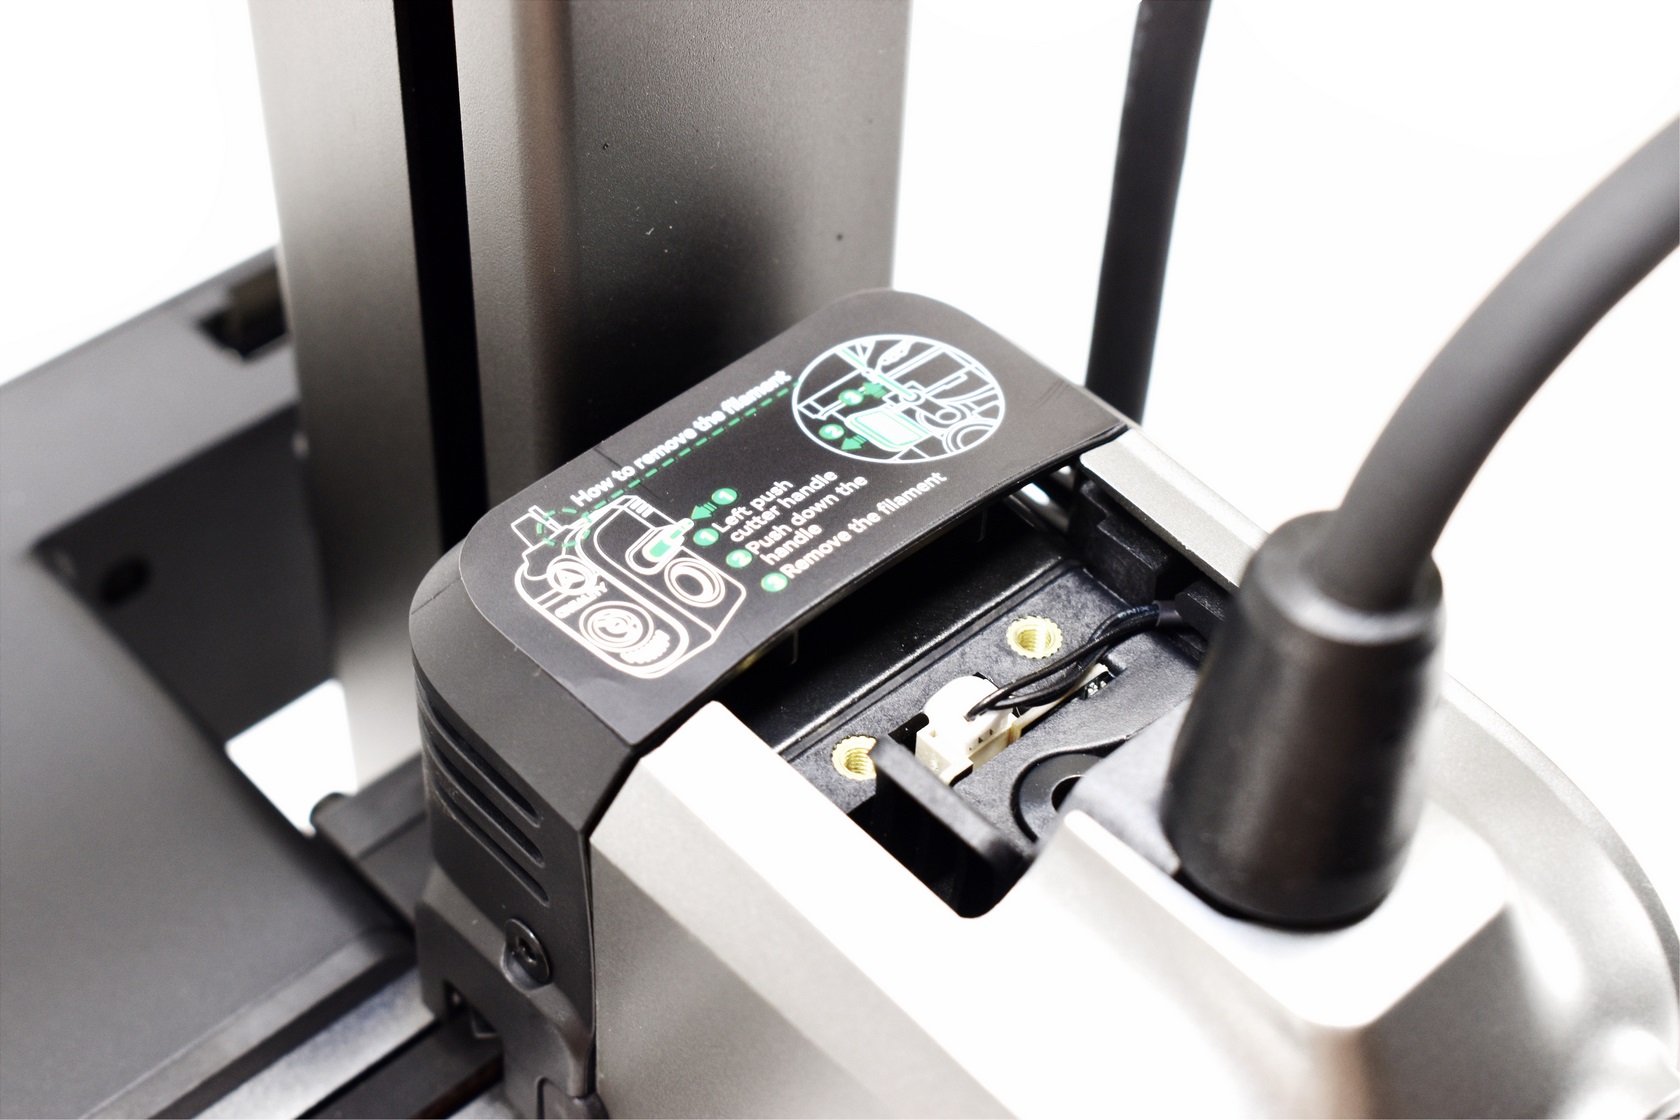
The extruder assembly has an illuminated Creality logo at the front, left and right fans and the typical filament entry from the top.
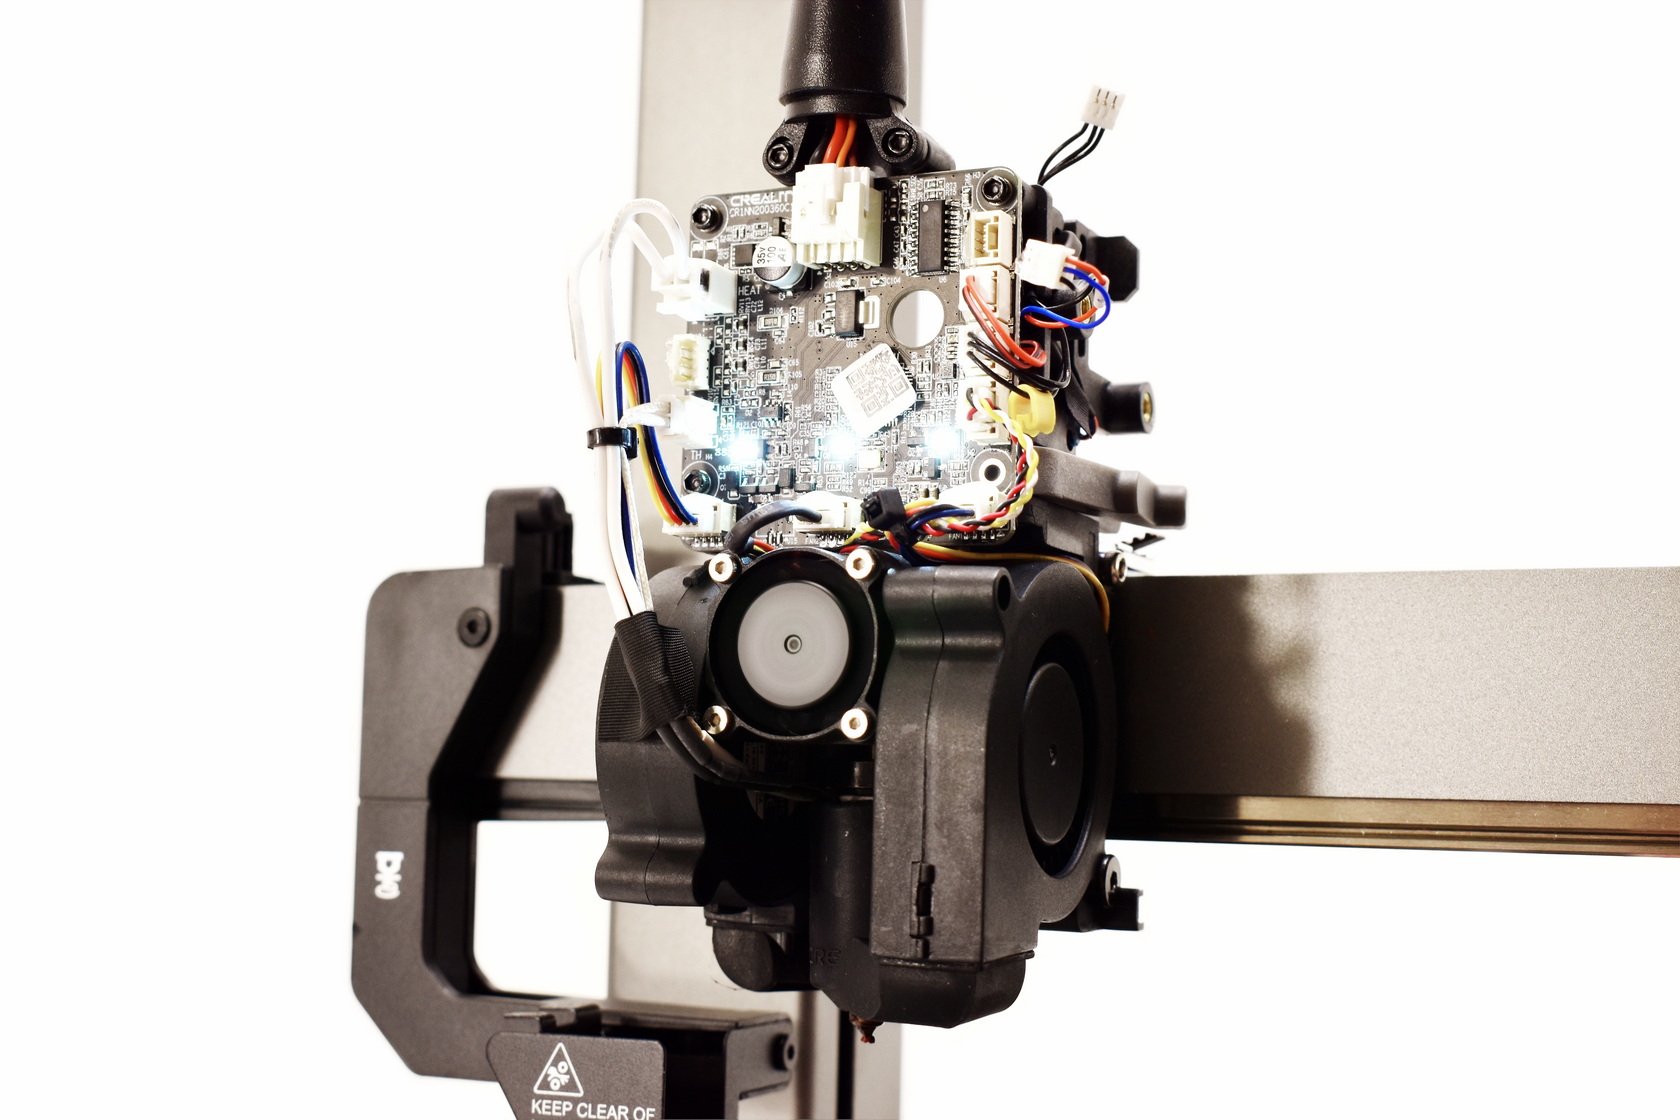
If you get filament stuck in the extruder you will need to remove the two plastic covers (front-rear) and the feeder itself as seen above (total of 5 screws).
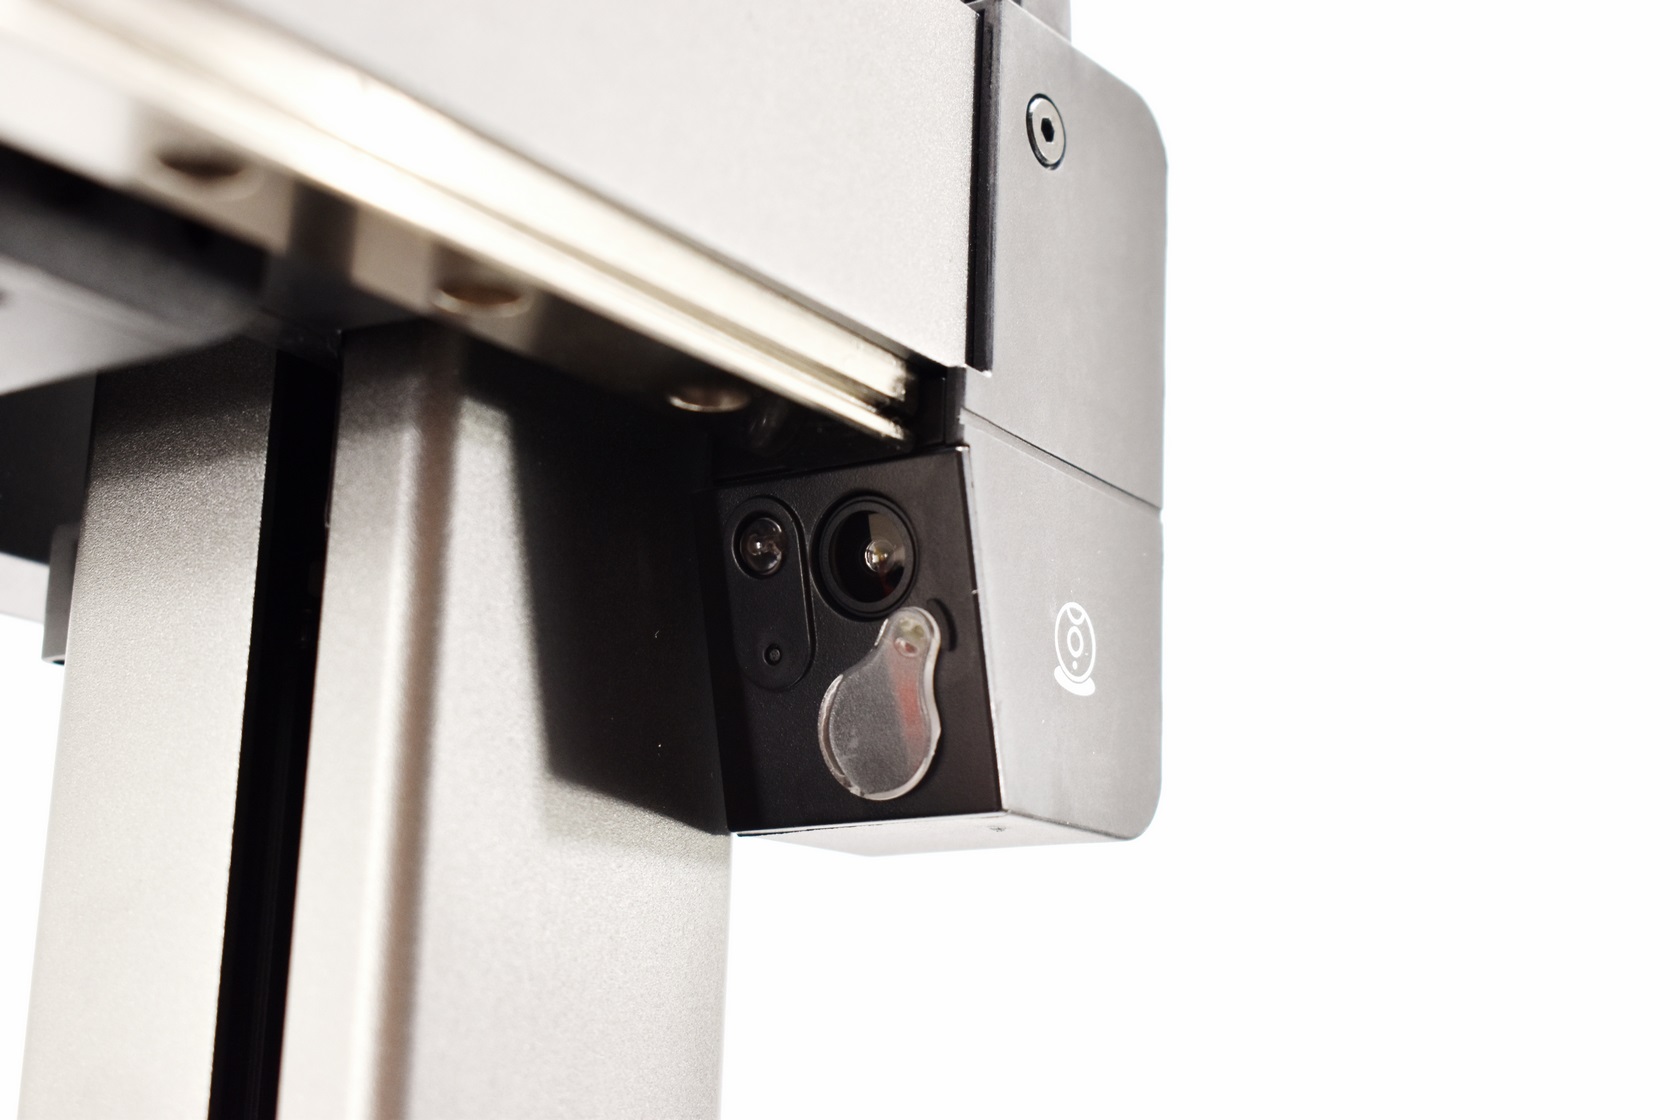
On the far right Creality has also placed an 720P camera with a privacy cap and an LED light.
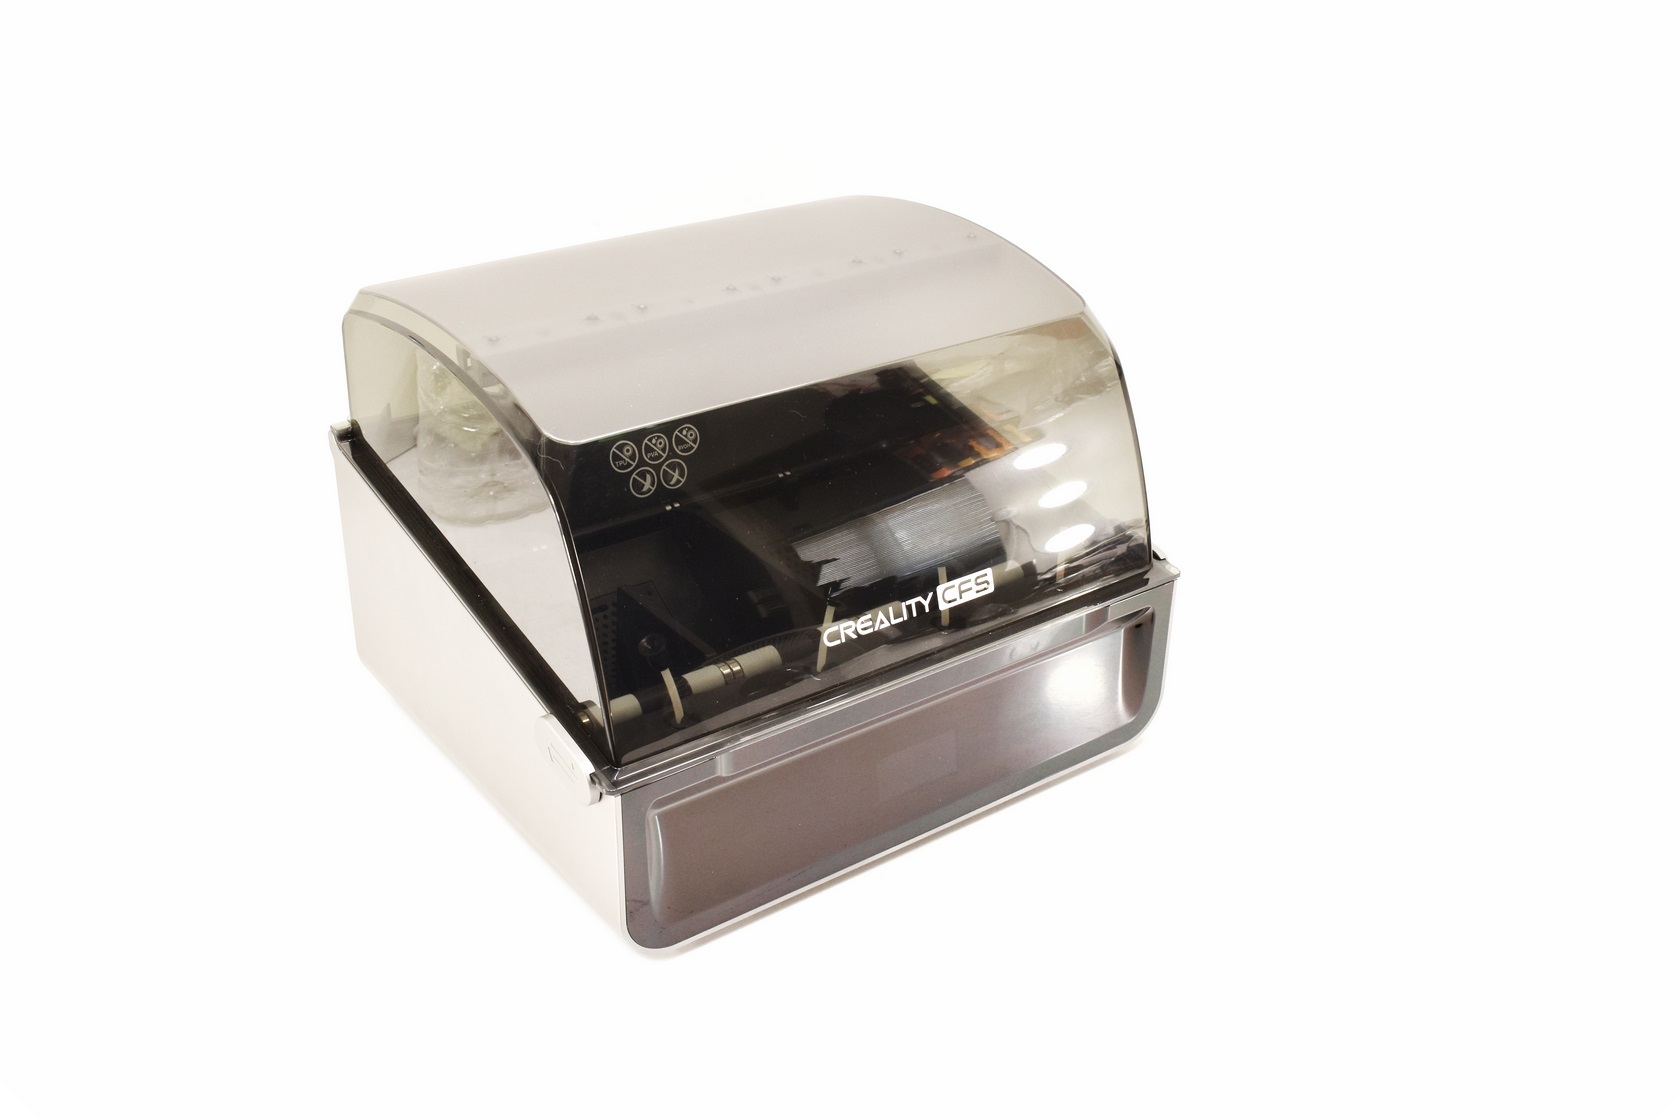
The CFS is almost entirely made out of plastic and measures 379 in length, 314 in width and 276mm in height.
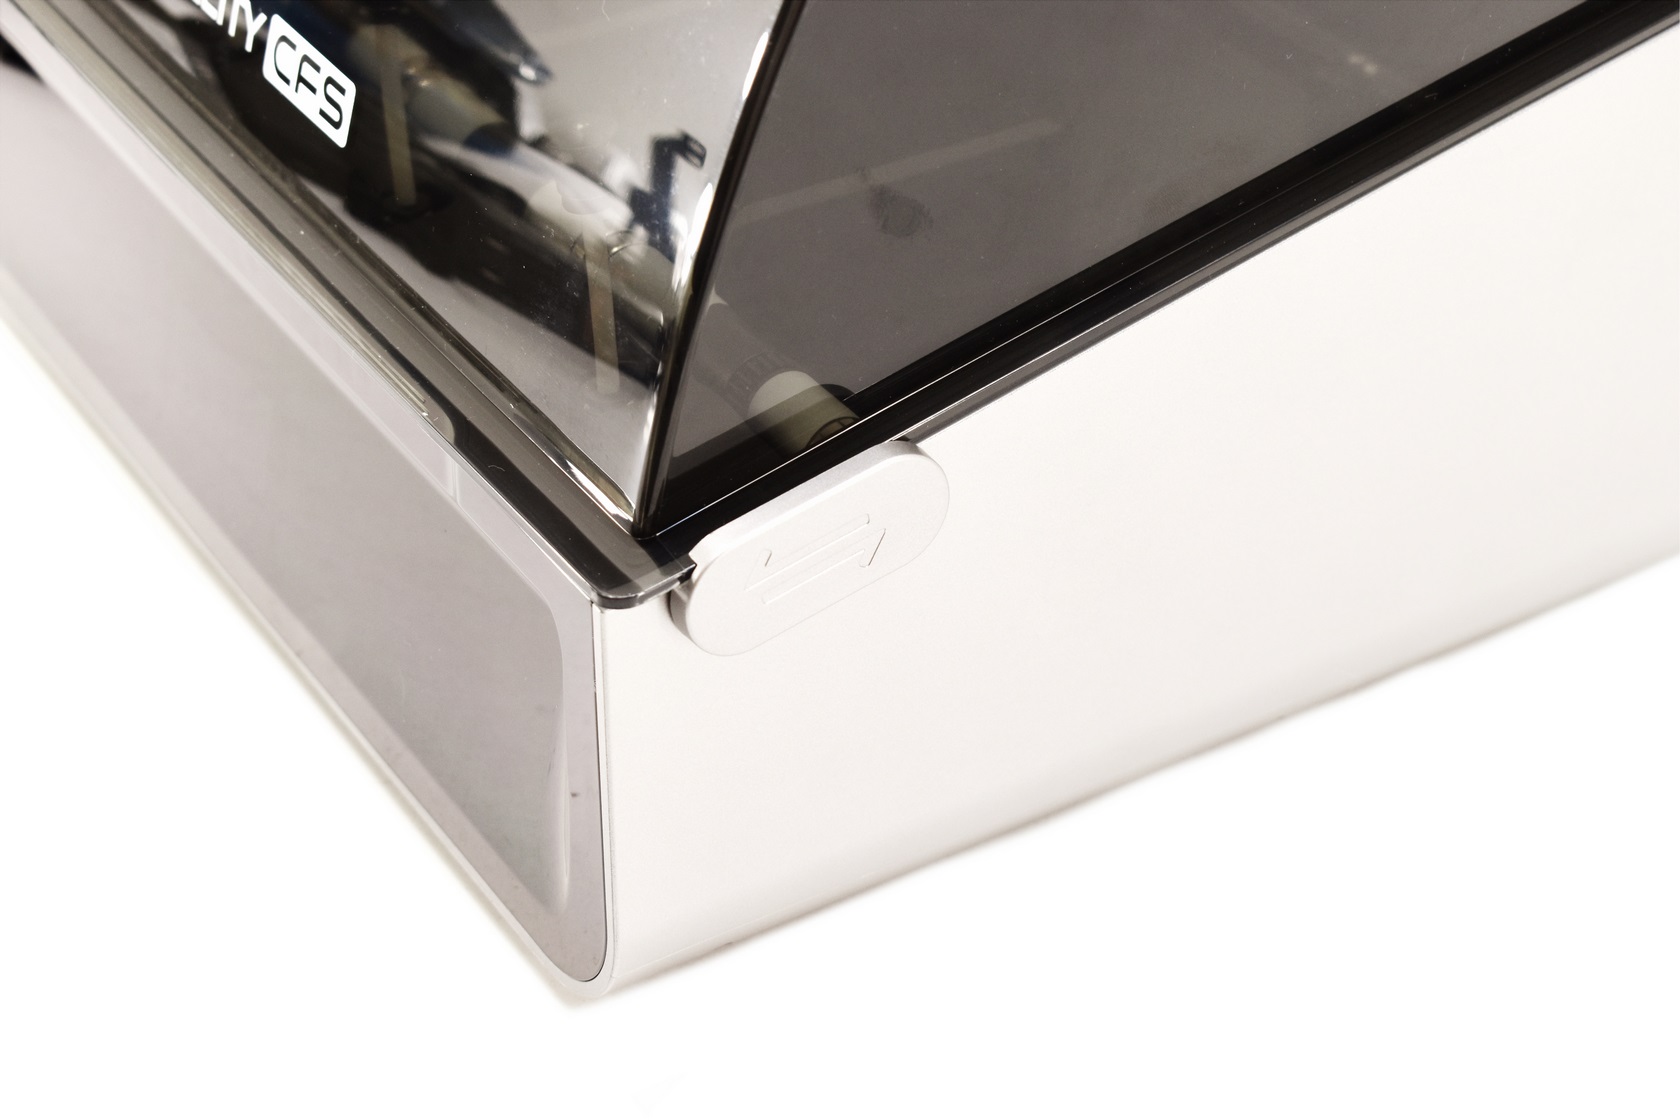
There are two plastic sliders (one on each side) that hold the top cover so slide them backwards to release it.
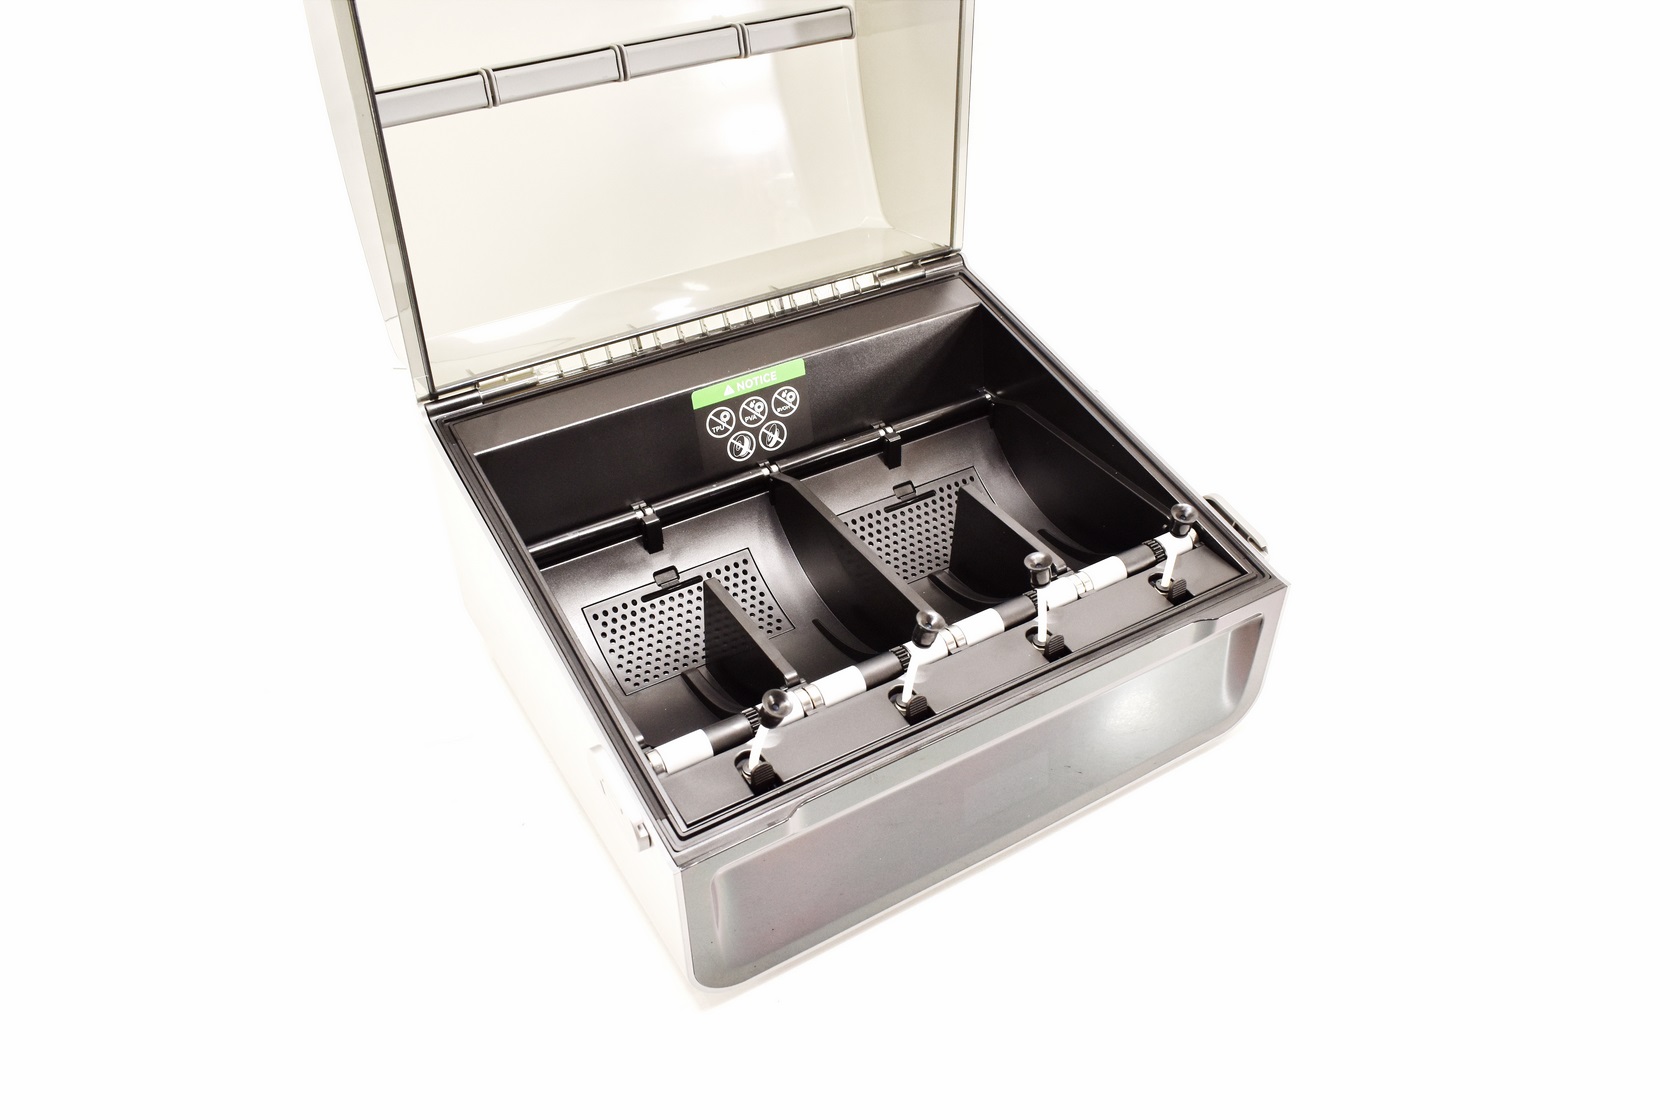
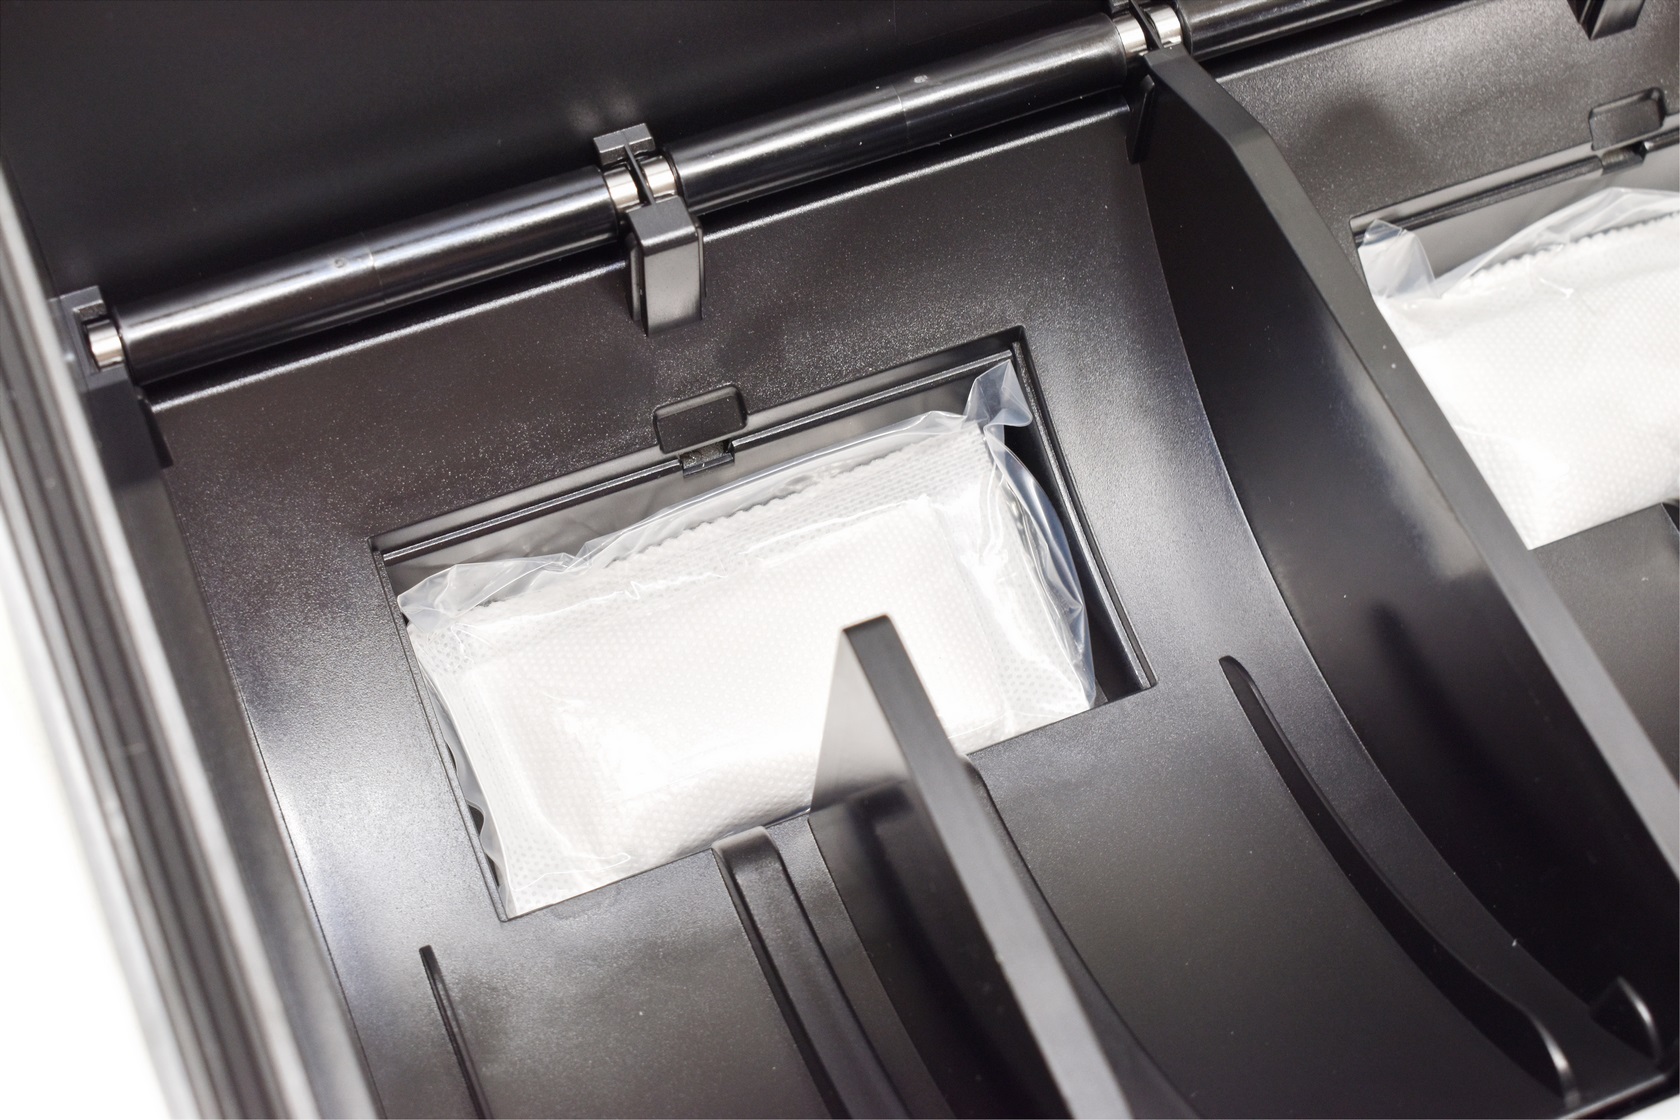
Once the top is open you can place your filaments and as for the anti-moisture feature Creality has placed large silica gel packs underneath the filament positions (two in total).
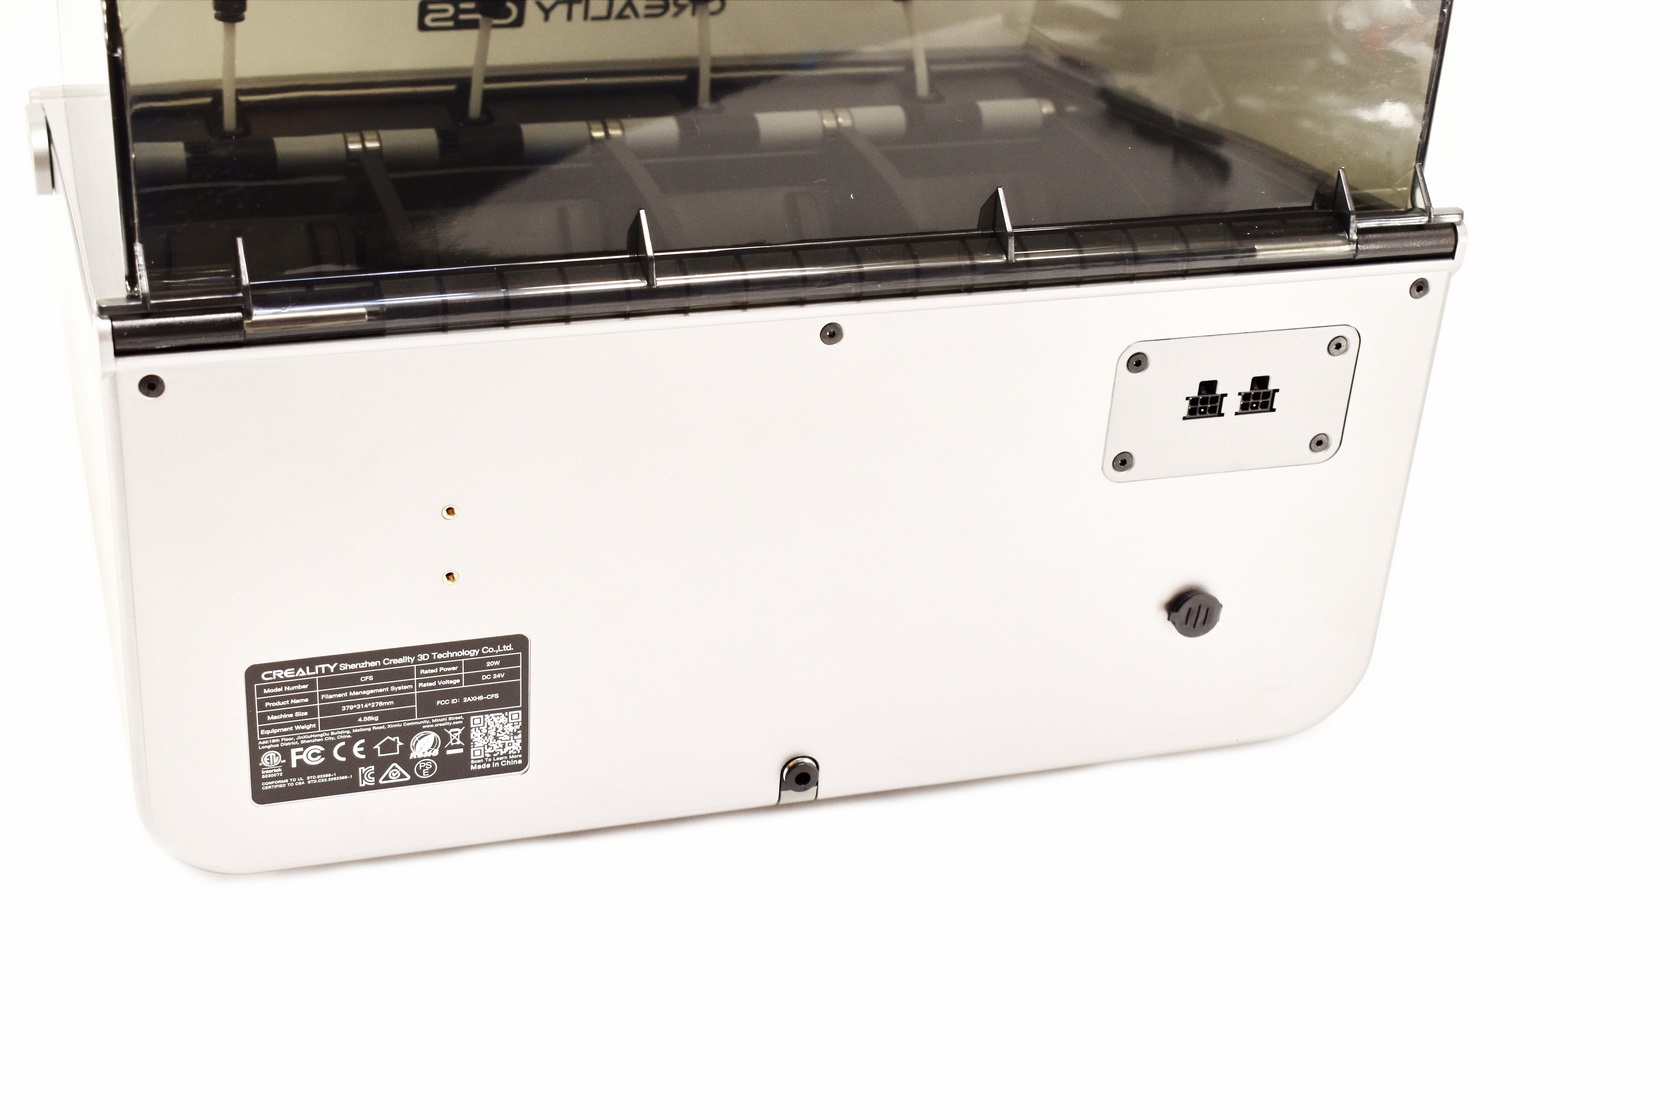
At the rear of the CFS there are two filament holes (one is covered - for use with another CFS) and 2 ports (one connects to the Hi 3D printer and one with the buffer).
ASSEMBLY
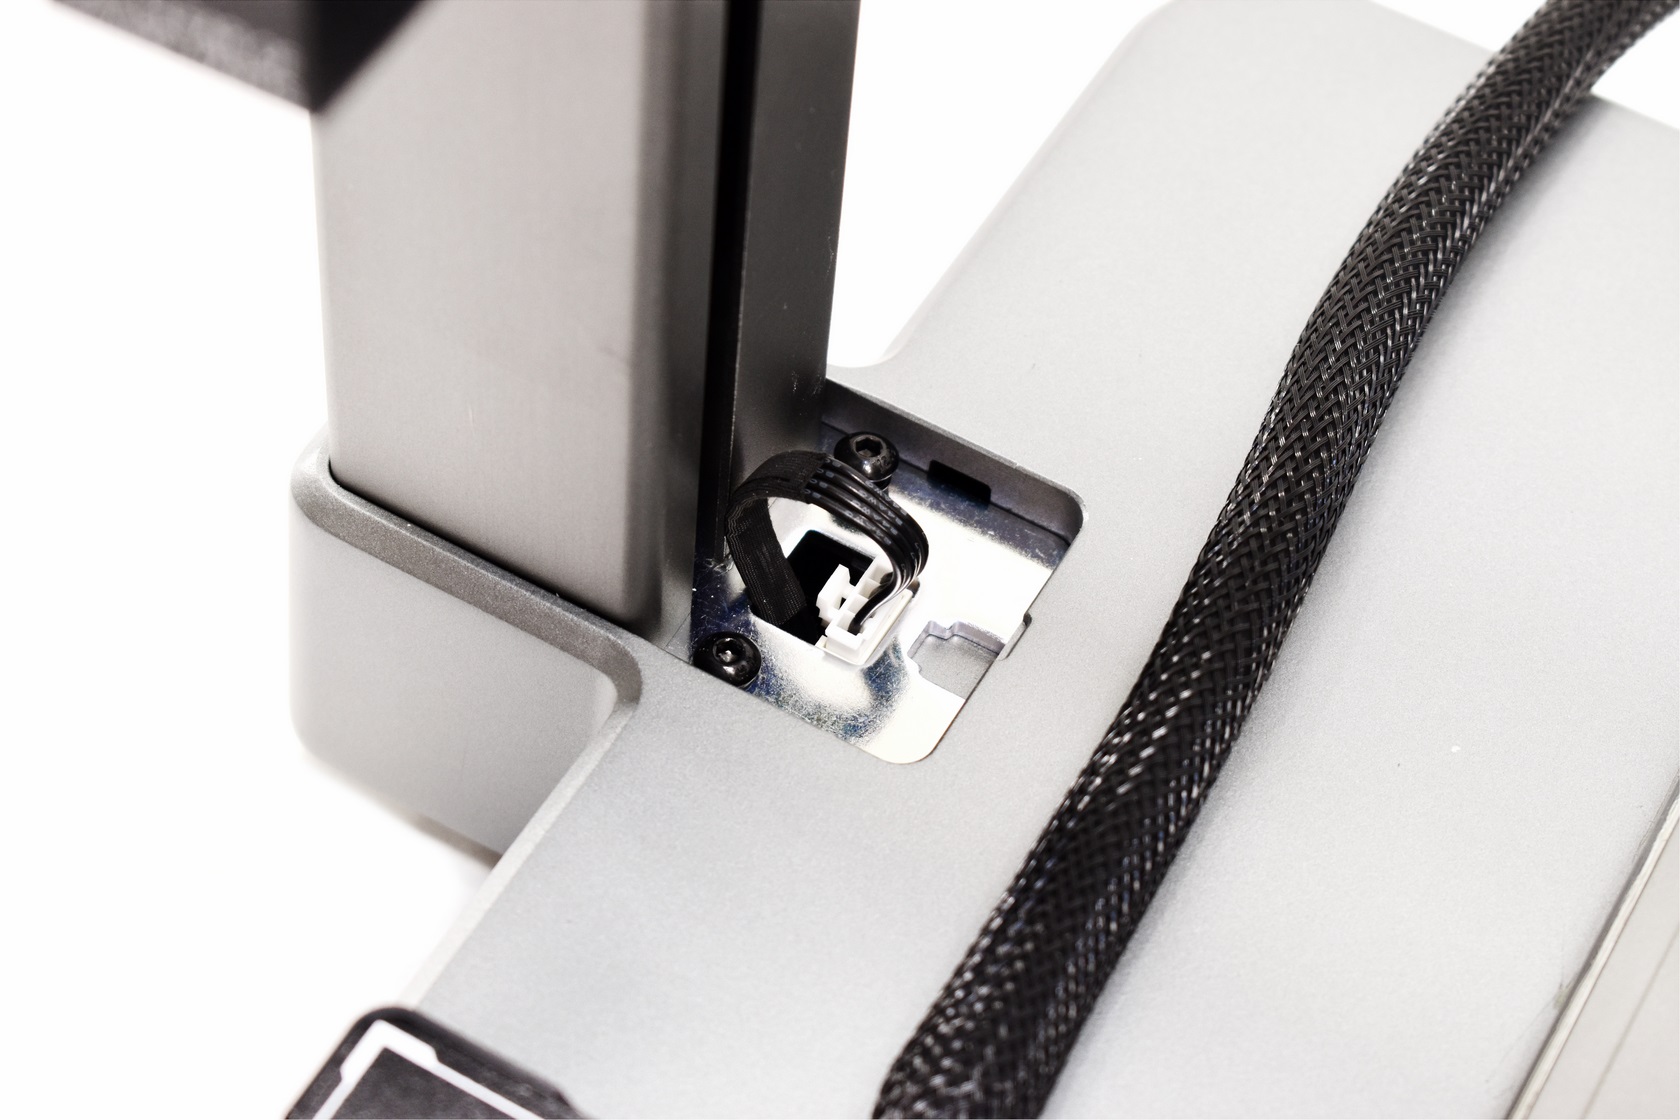
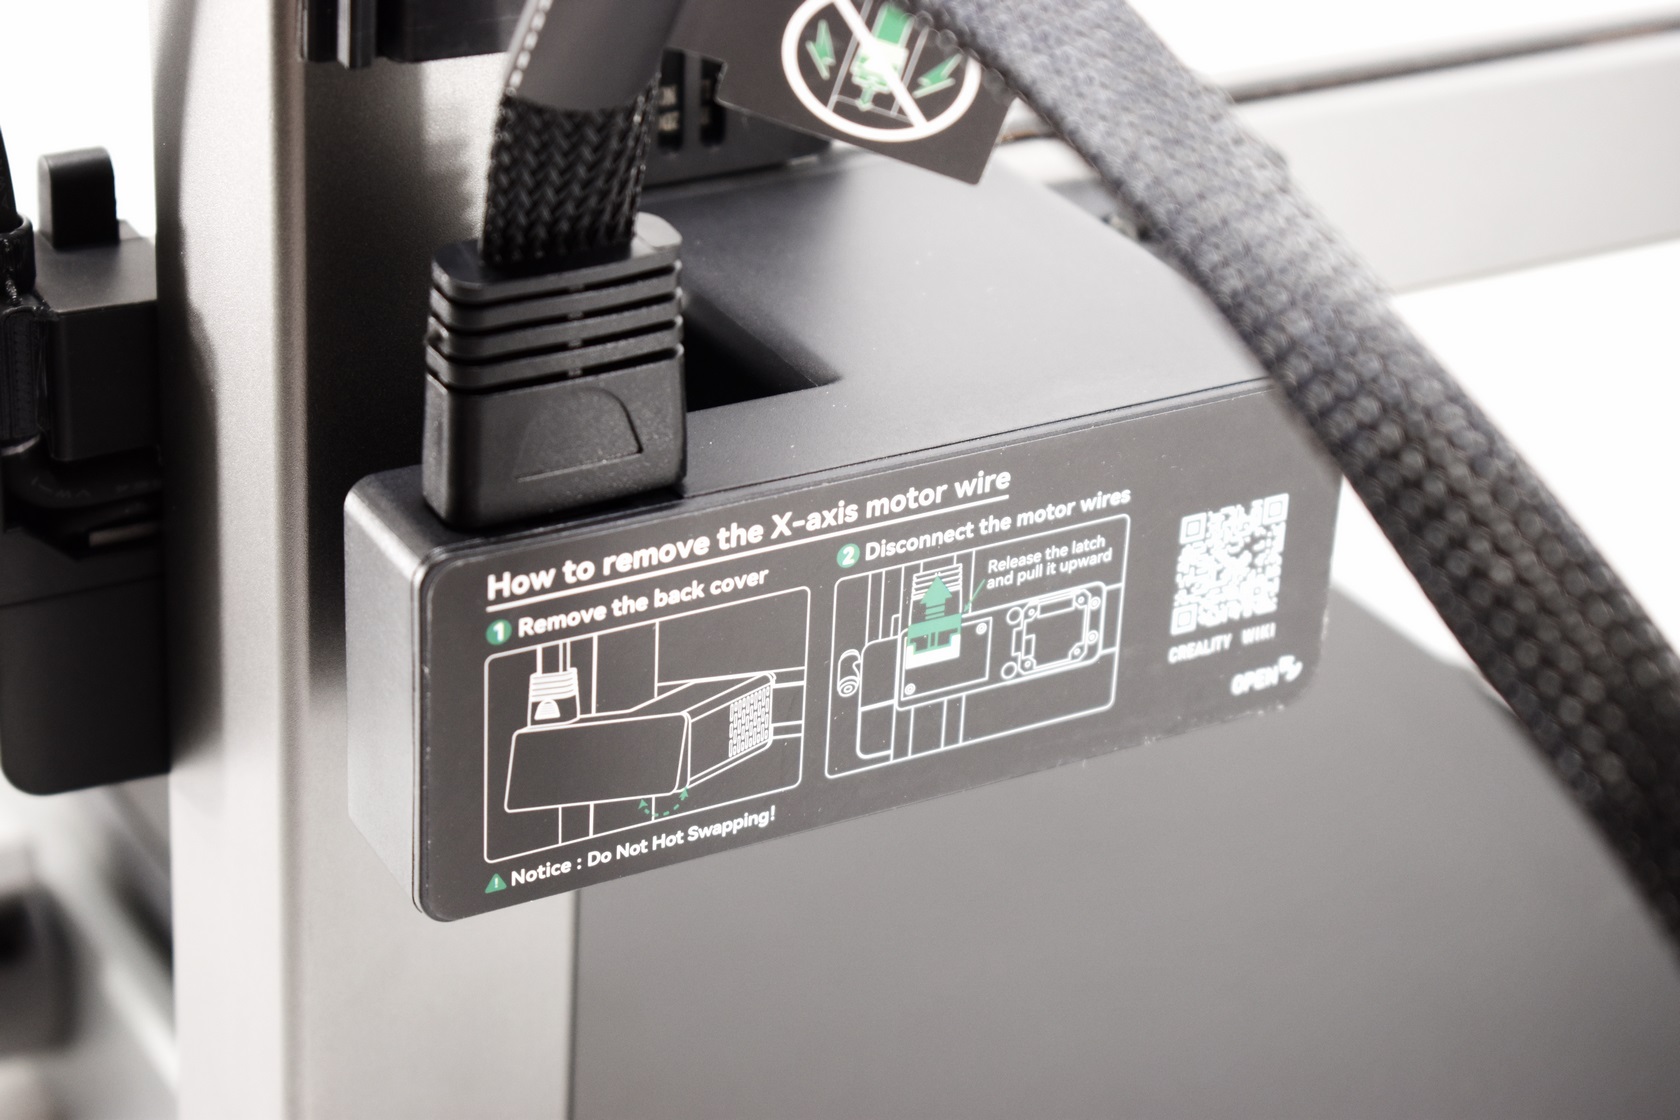
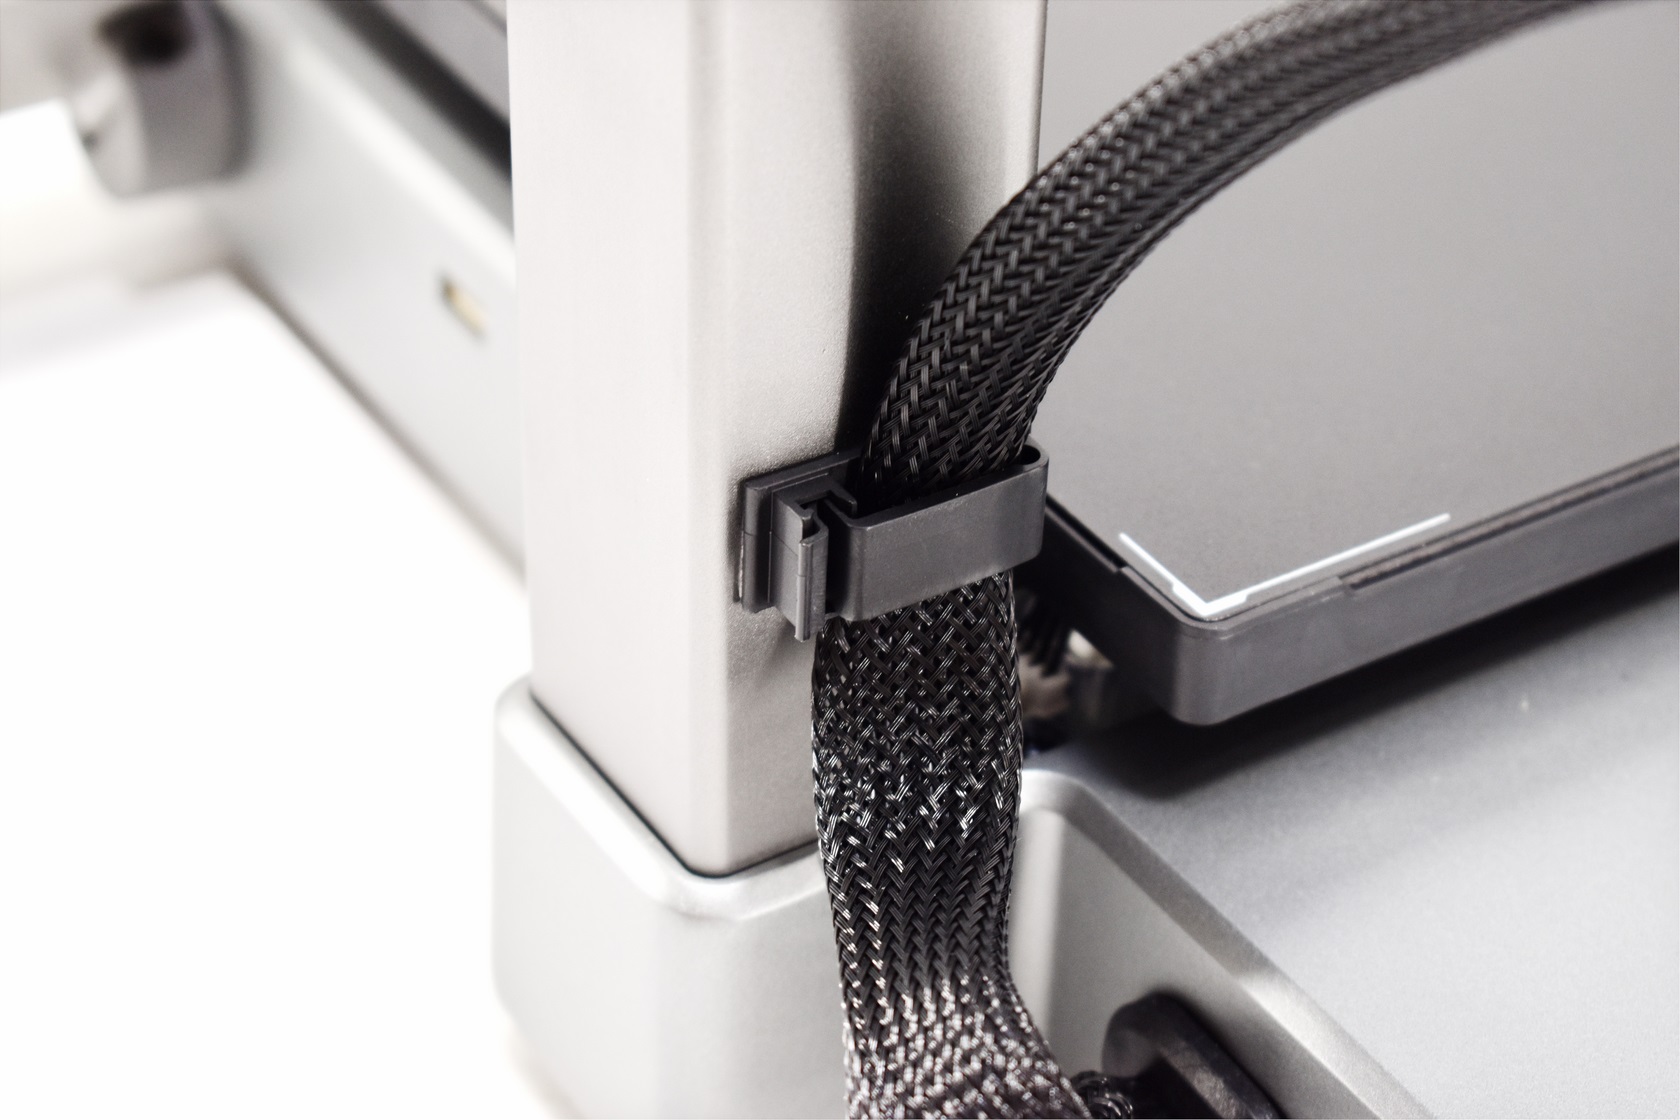
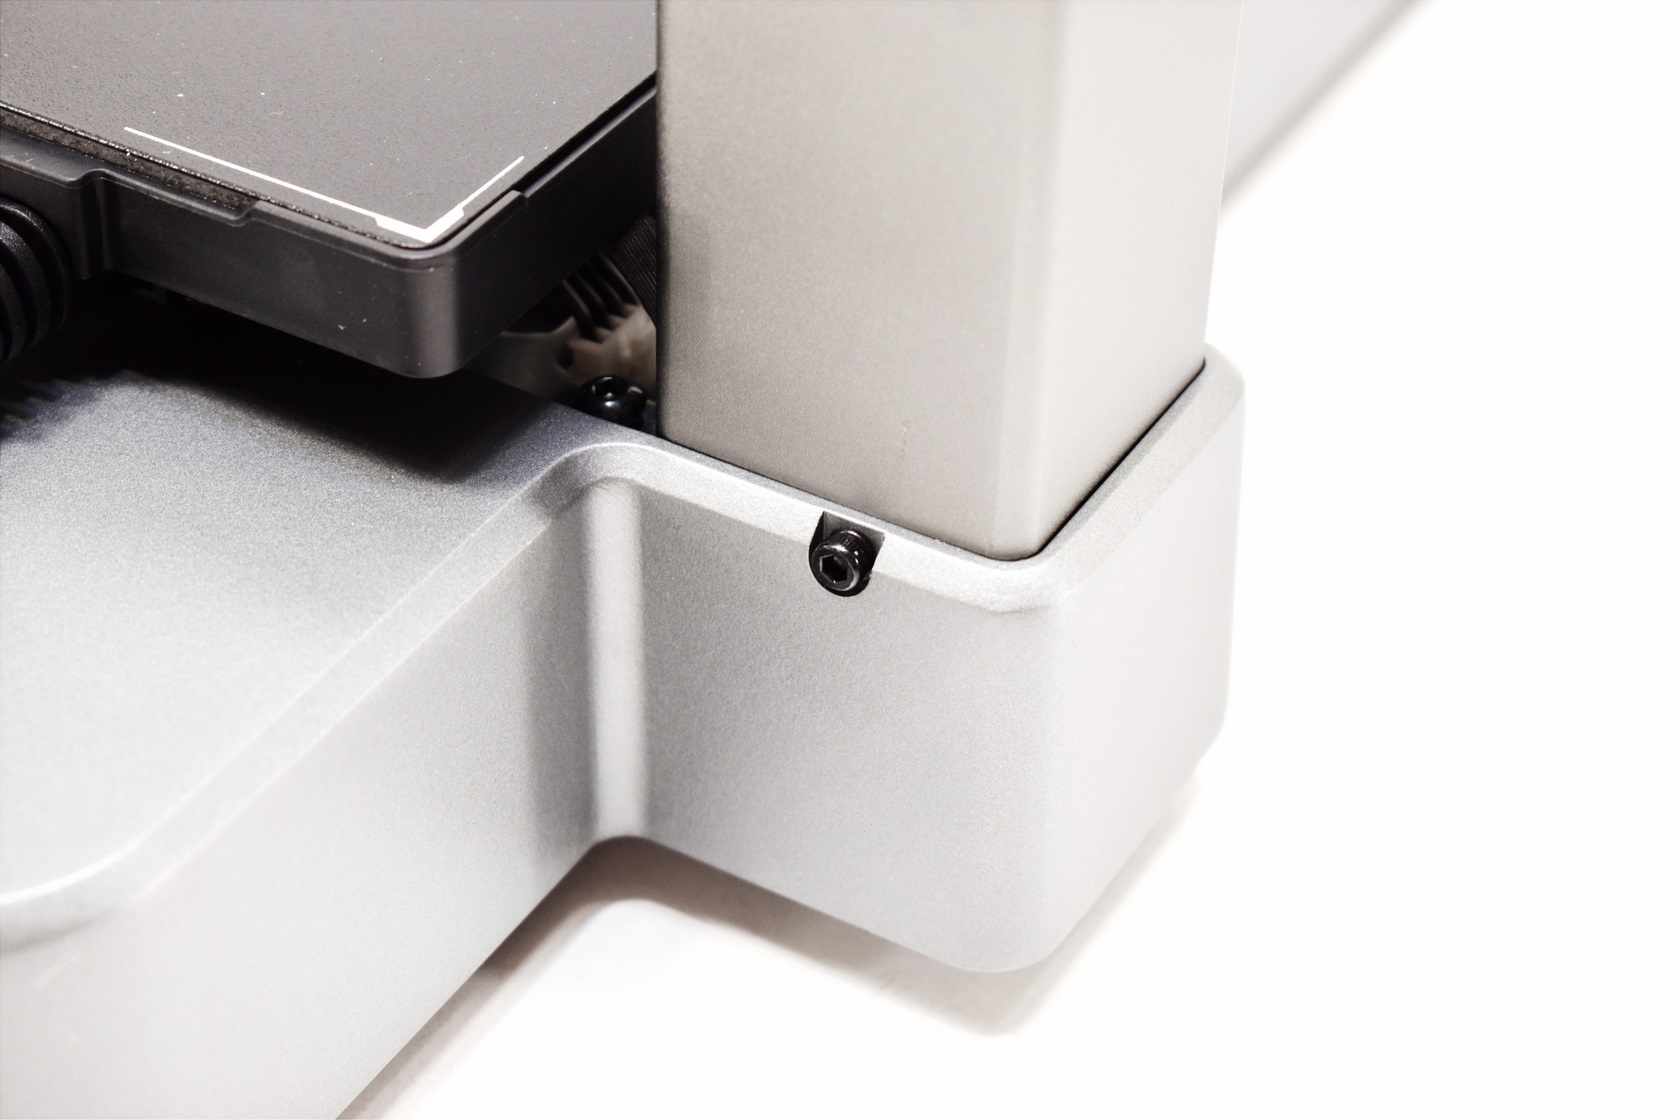
Assembly of the Hi 3D printer is very fast, just attach both parts using the 6 bundled screws, connect the 4 cables (3 between the lower and upper half and 1 between the lower half and the extruder) and you're good to go.
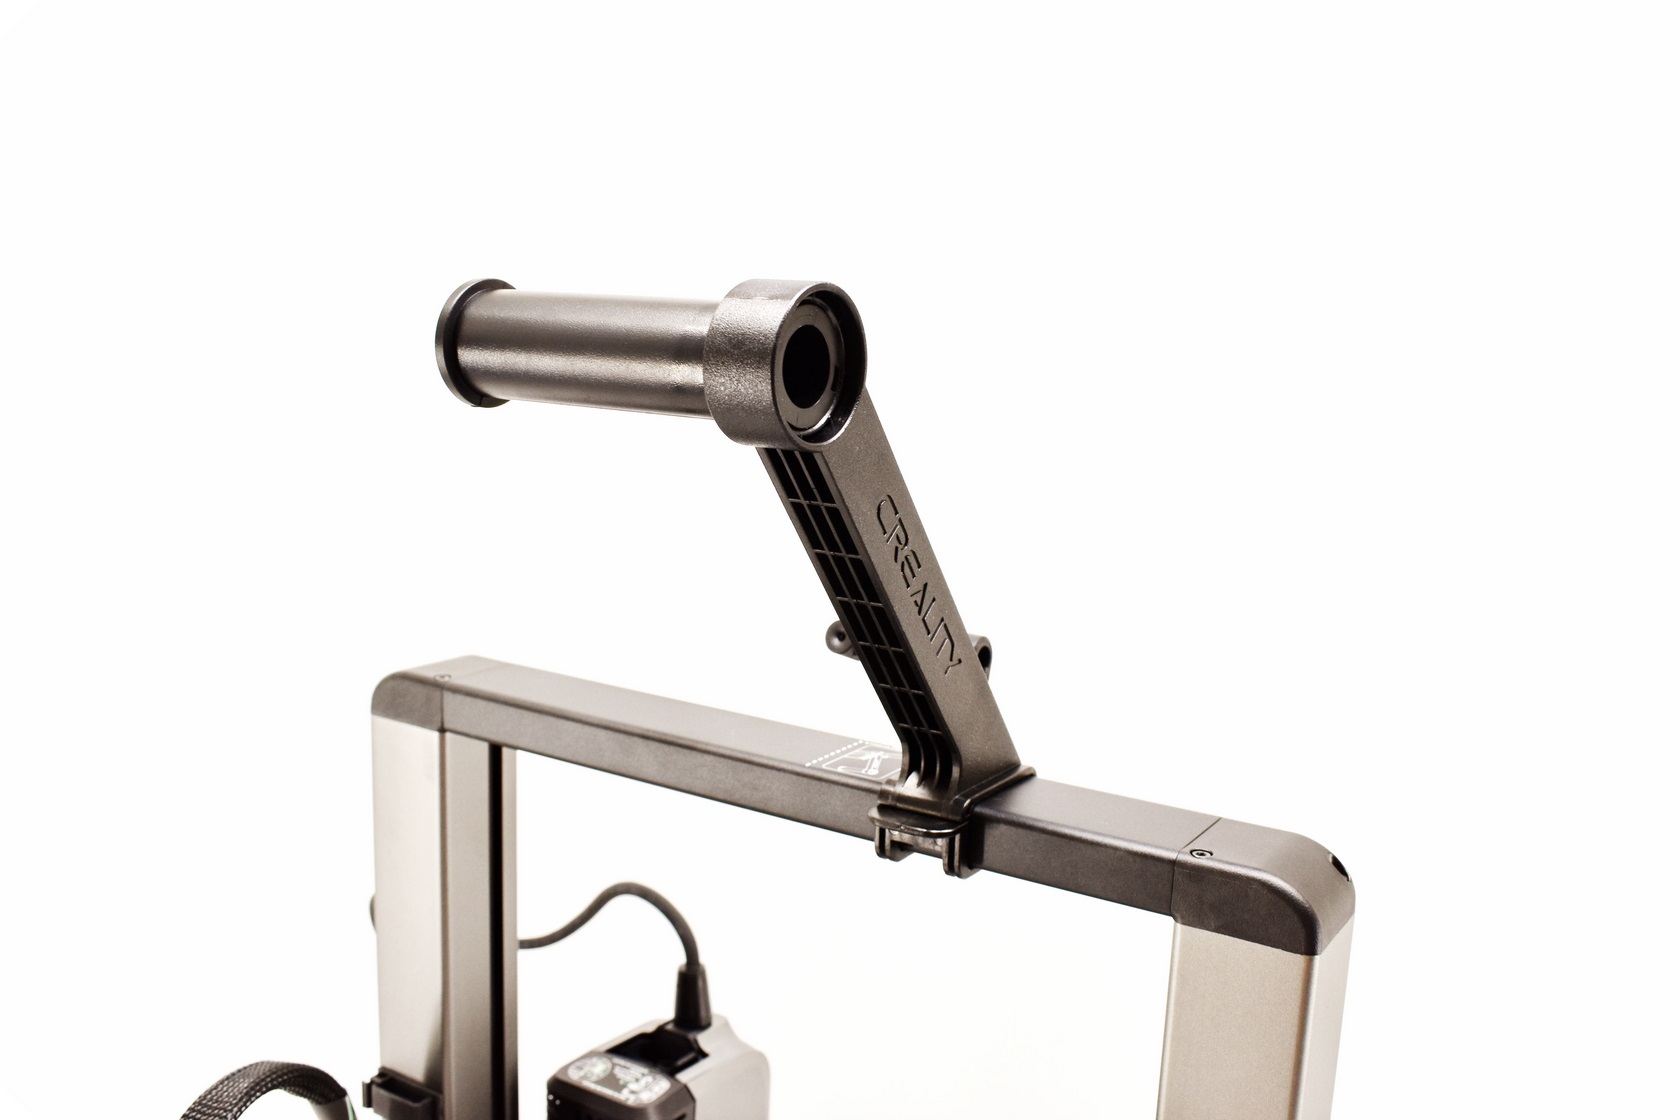
 If you don't plan on using the CFS or if you just have the Hi 3D printer you will also need to attach the three piece filament holder as seen above.
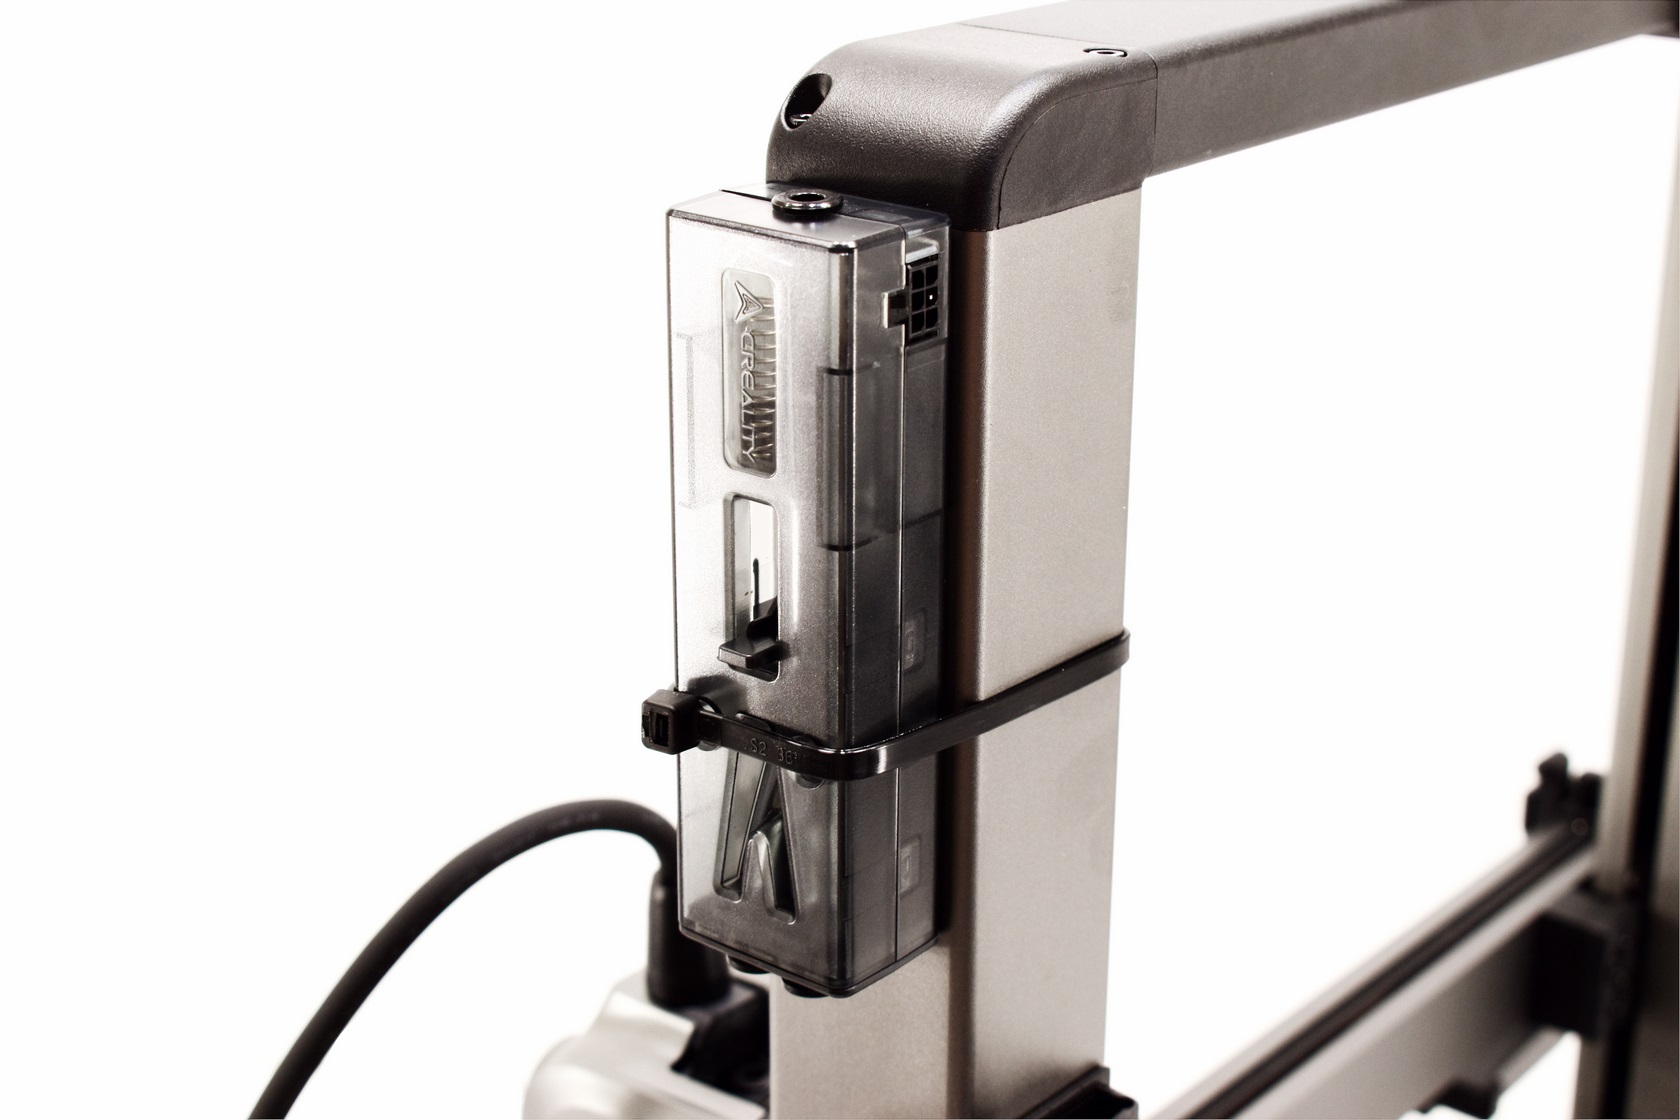
In order to connect the CFS with the Hi 3D printer you will need to attach the buffer on the right top side as seen above (you can either use the bundled dual sided tape or a cable tie like I did - just make sure the cable tie is not too thick).
After that just connect the CFS to the buffer with the bundled cable and with a Teflon tube and the buffer to the extruder again with a Teflon tube and you're set.
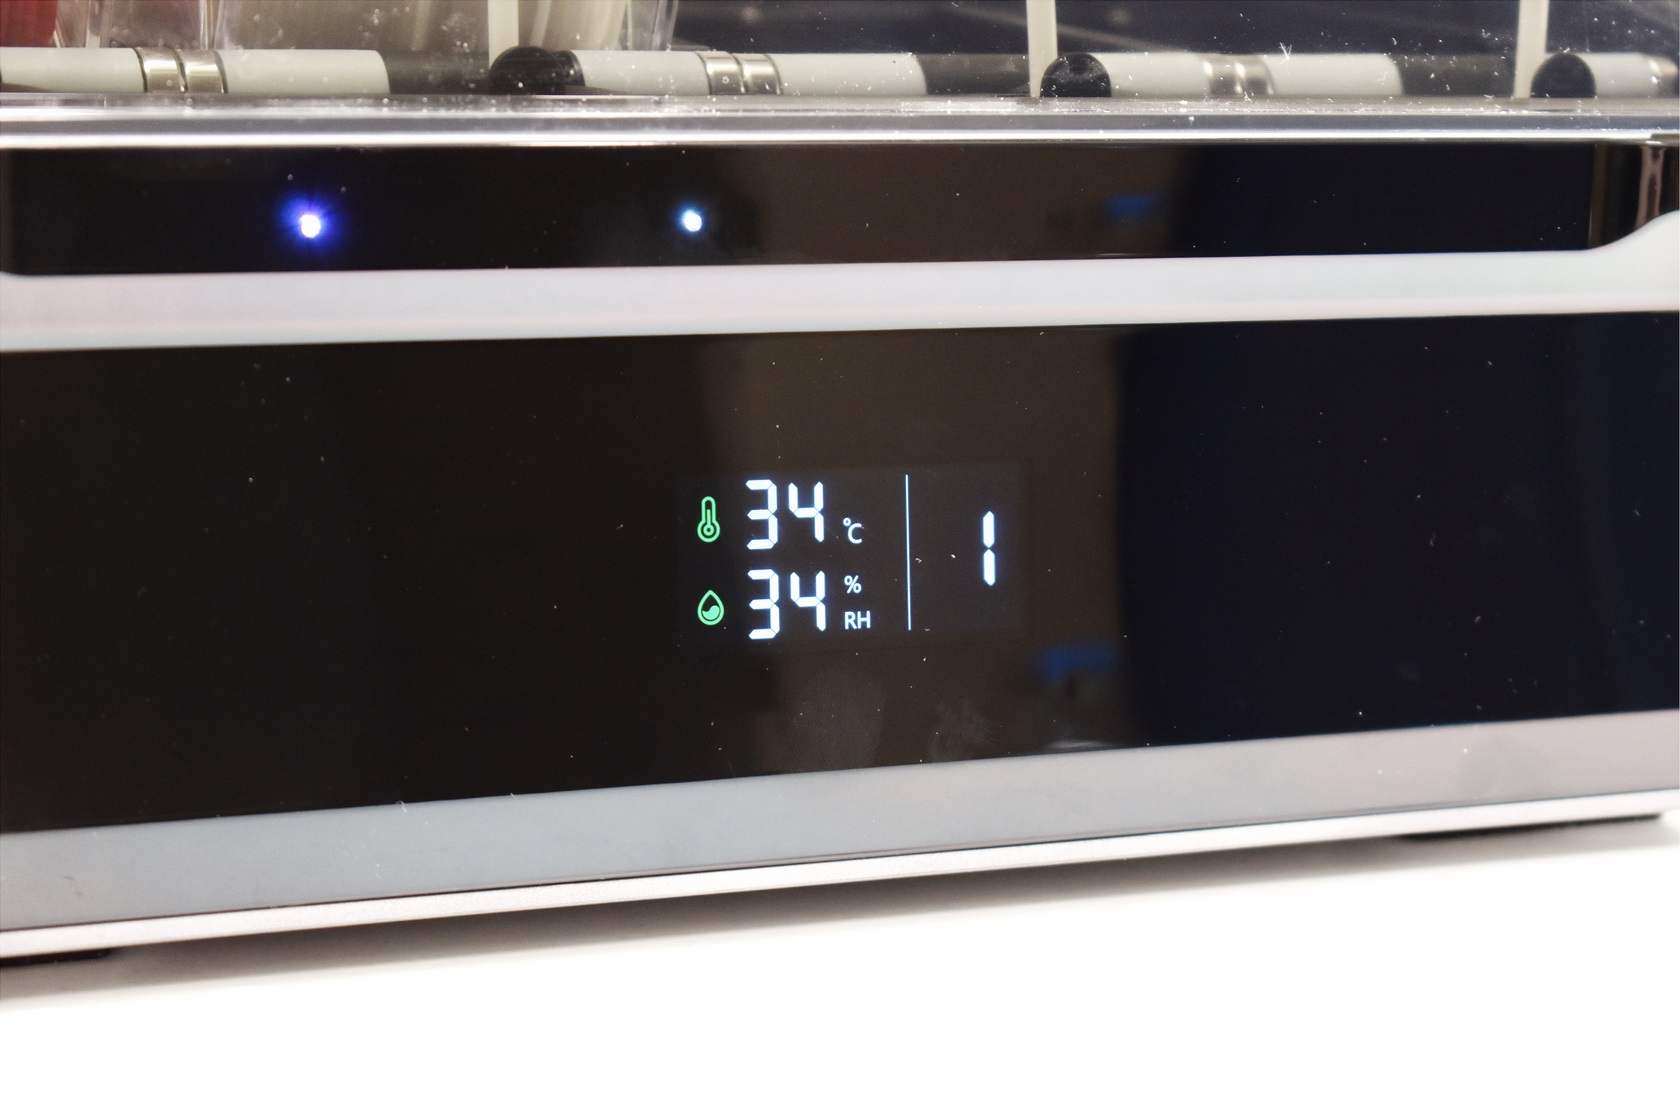
The CFS has a temperature and humidity display at the front.
DISPLAY MENUS
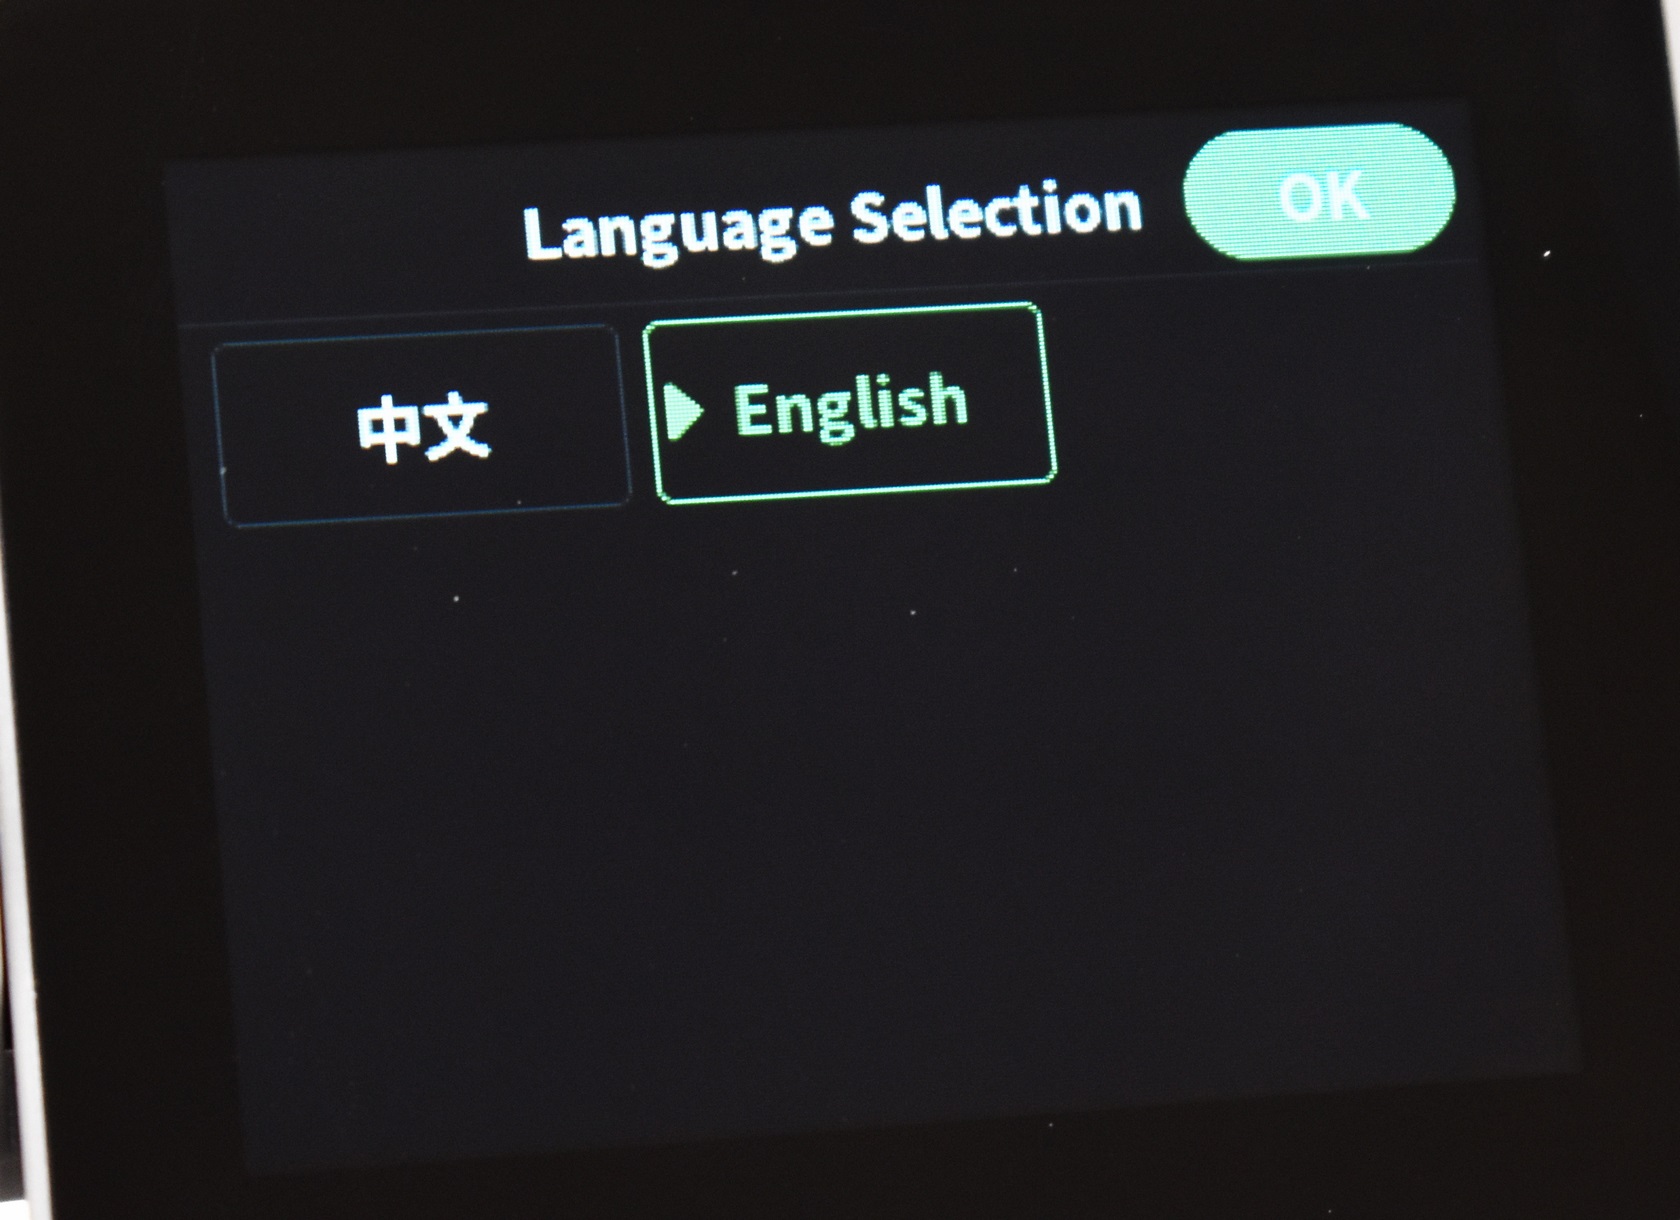
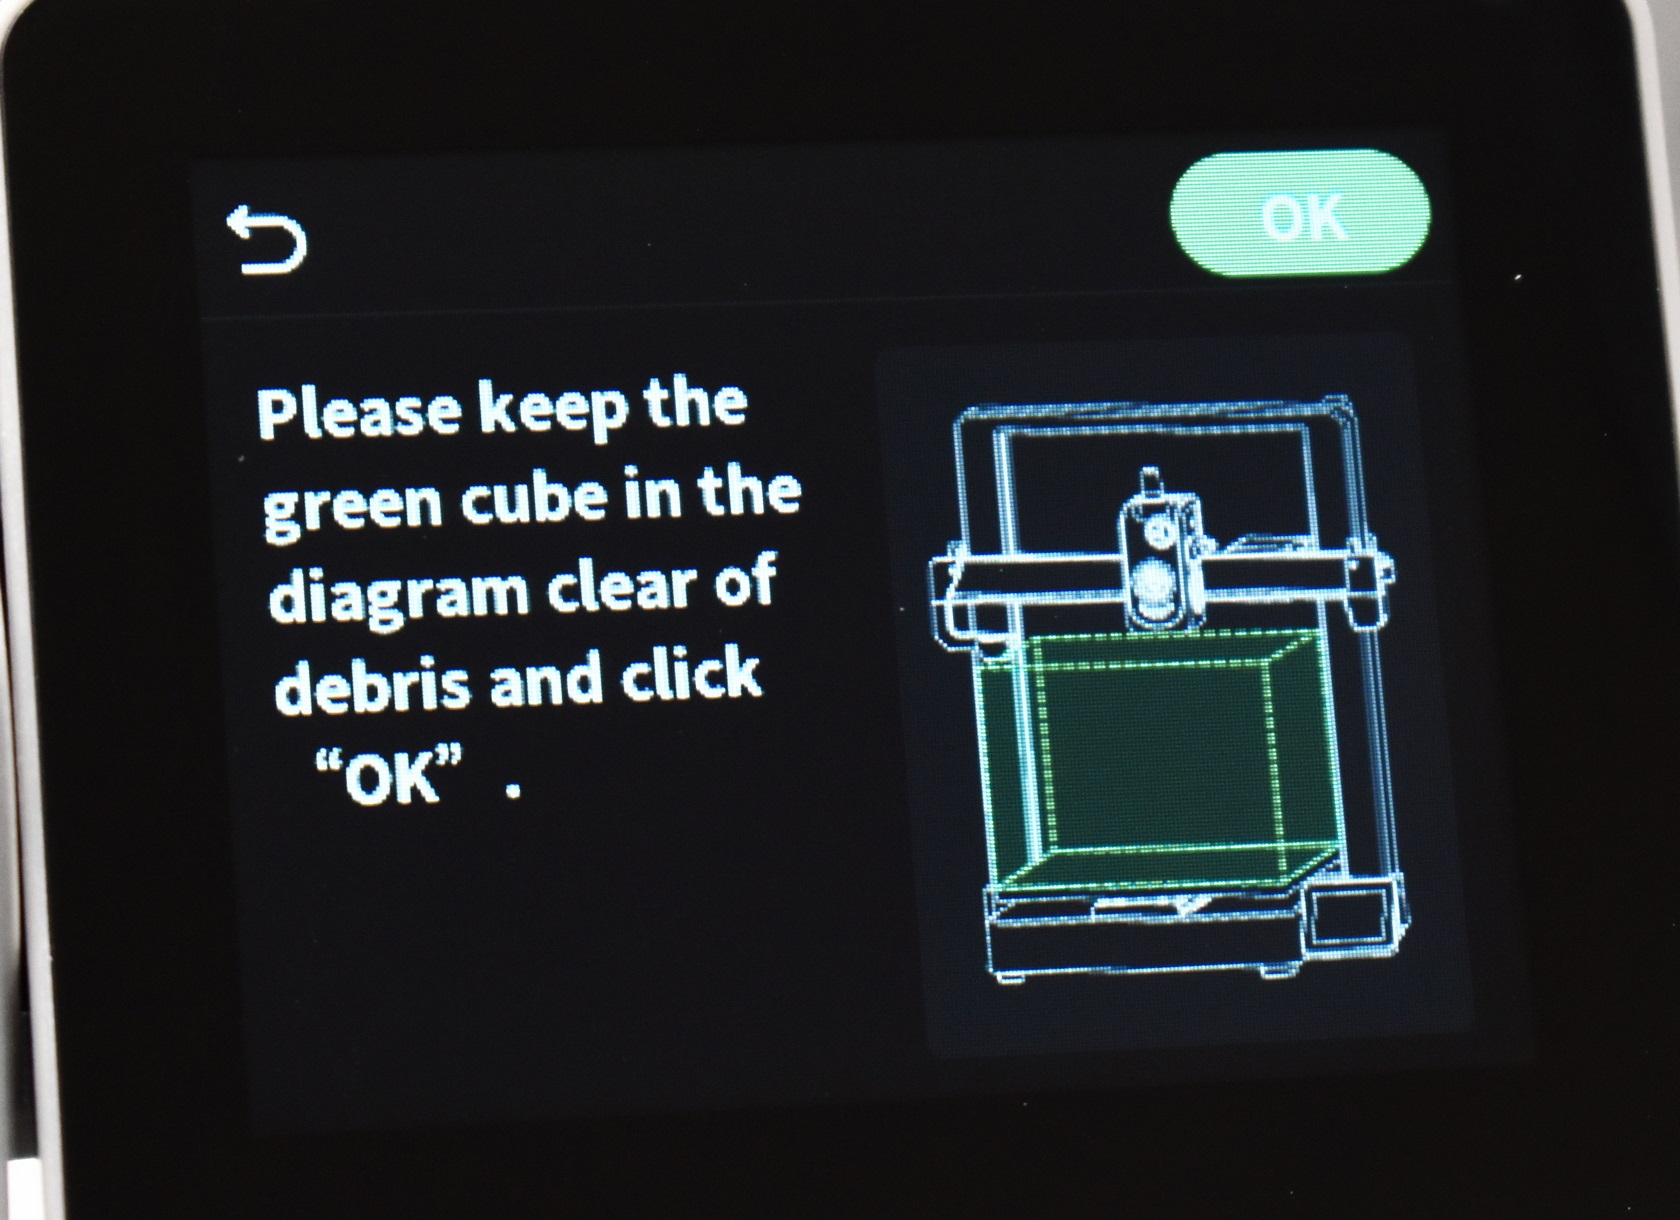
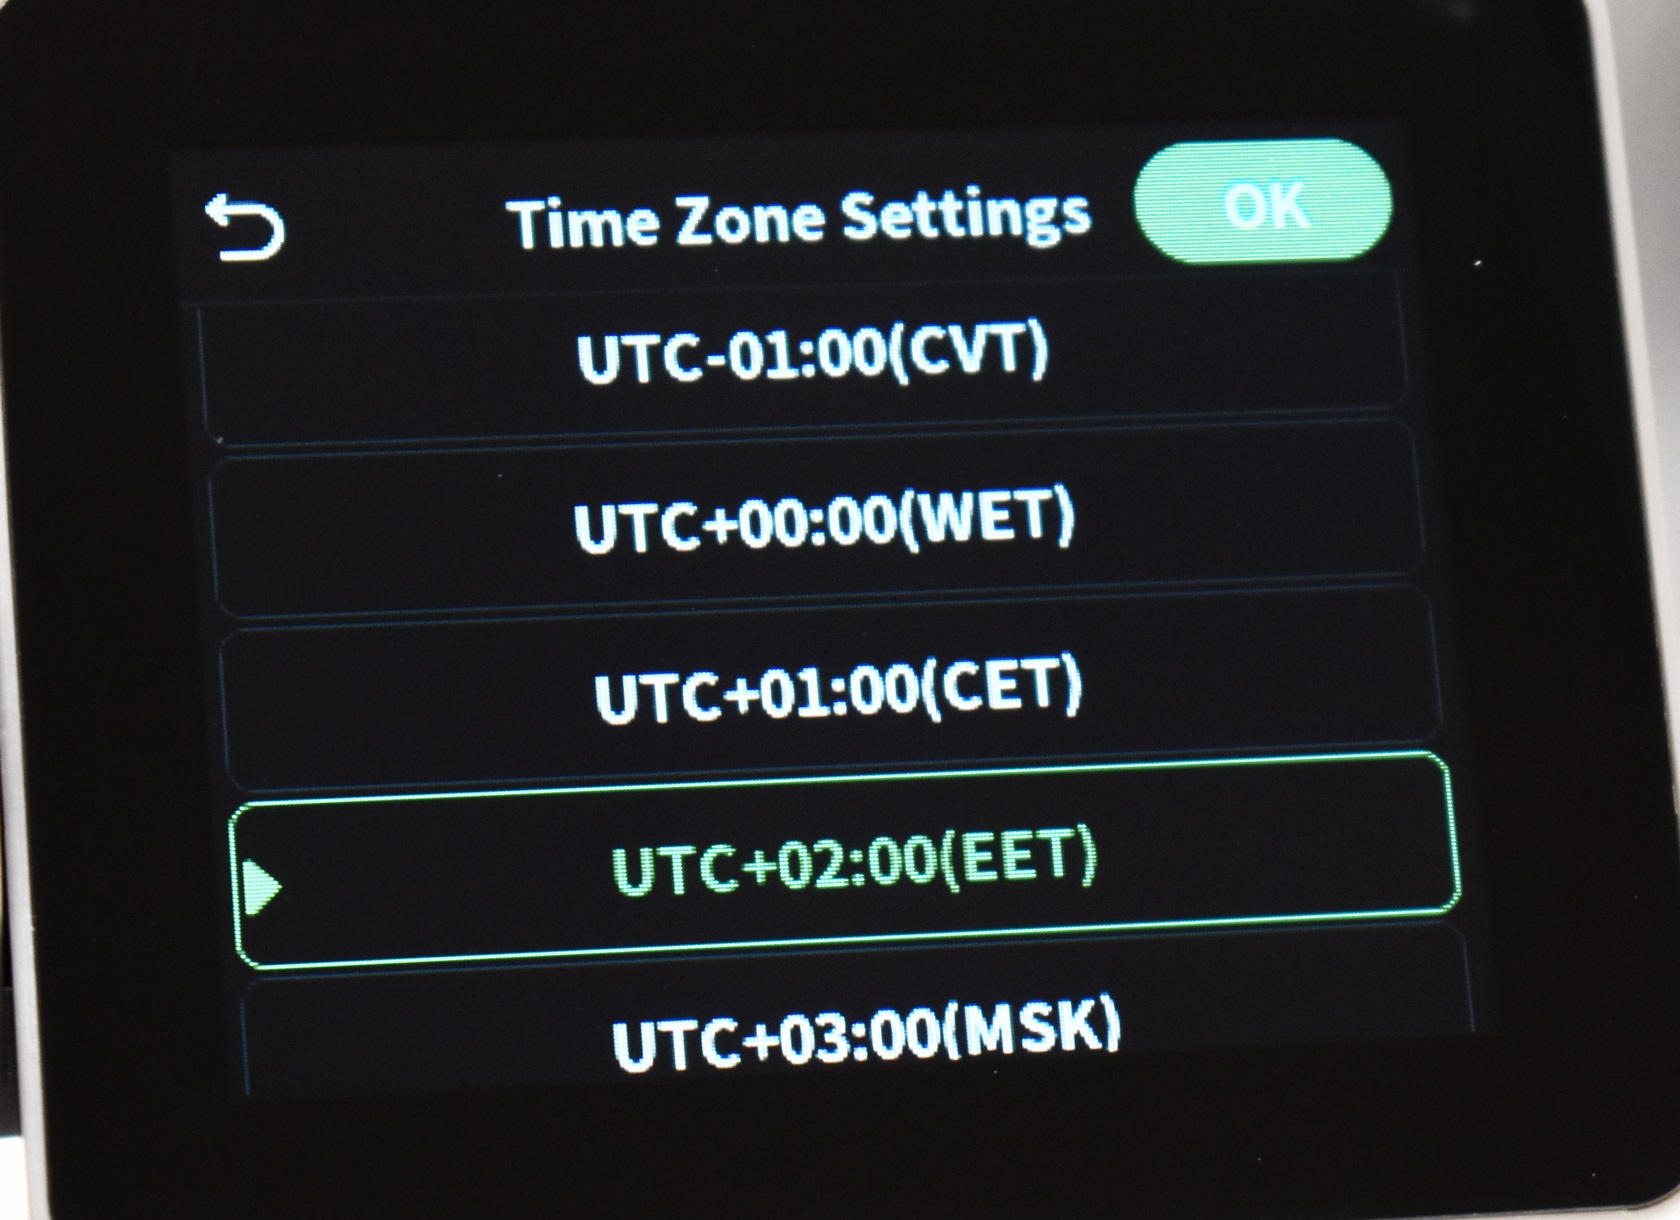
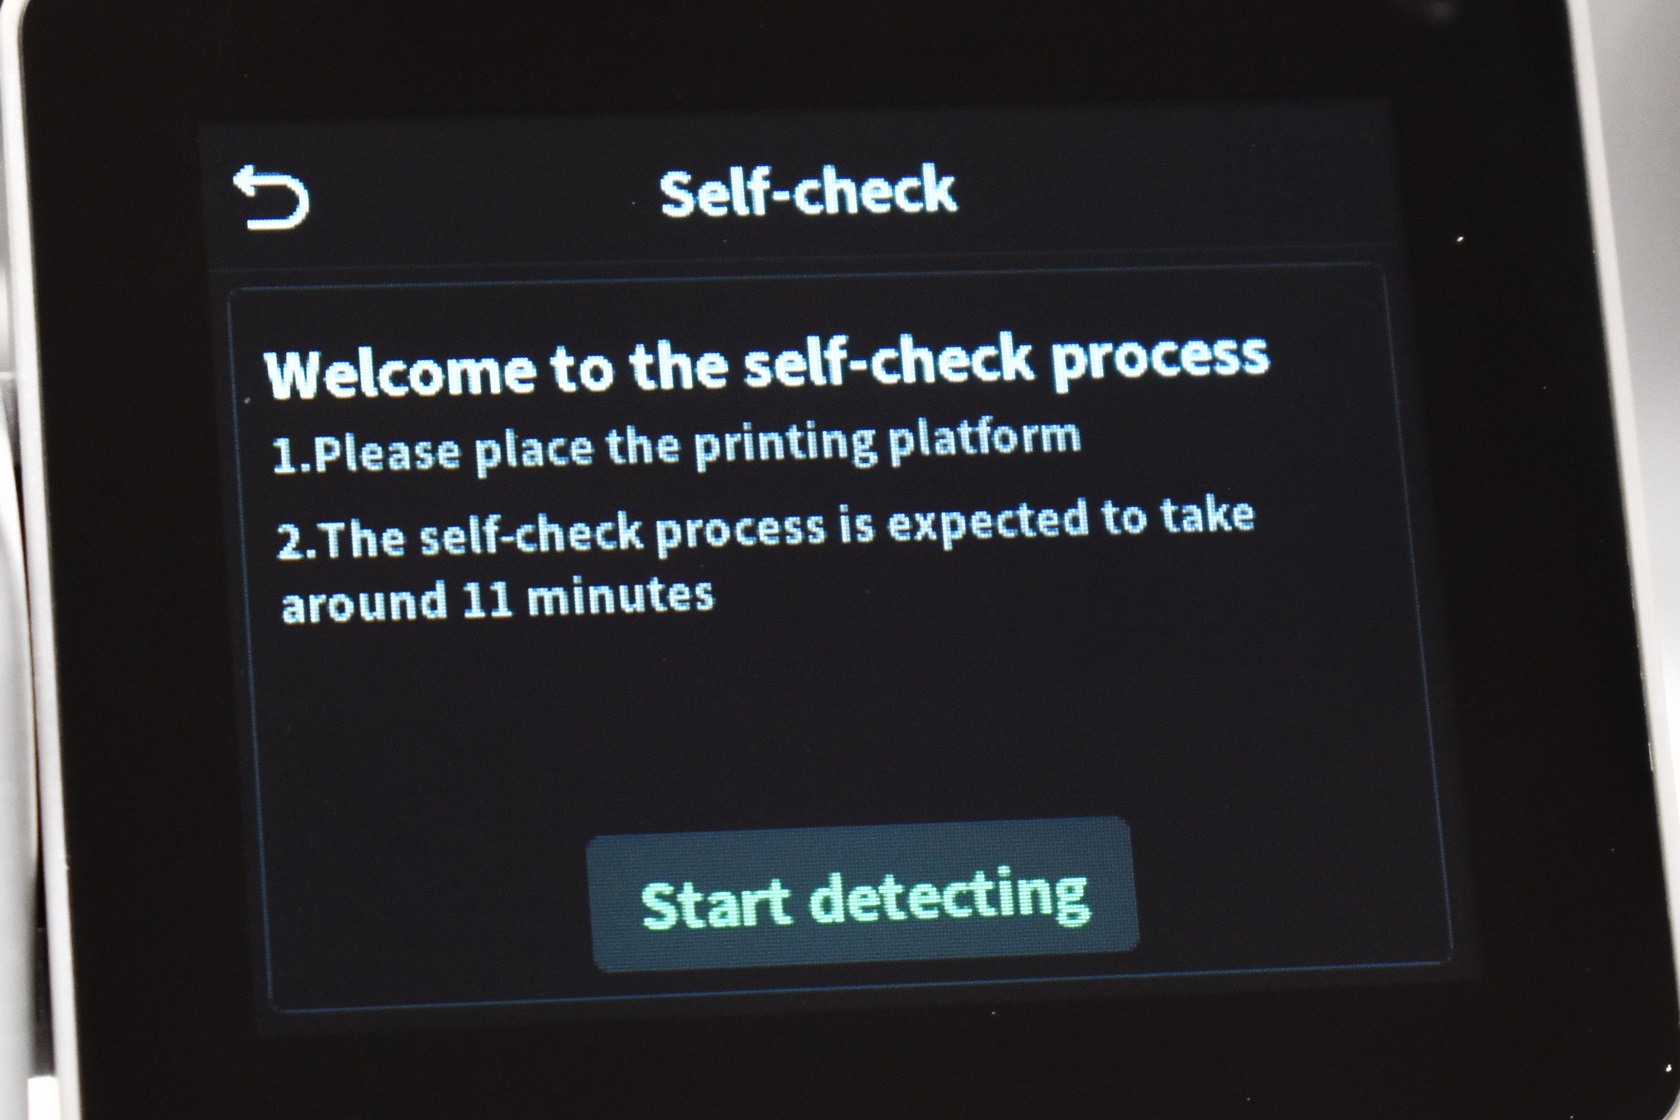
As with every 3D printer out there once you power the Hi model for the first time you will need to choose the language, connect it to the Internet via WiFi, set the time zone and wait for it to complete a self-check.
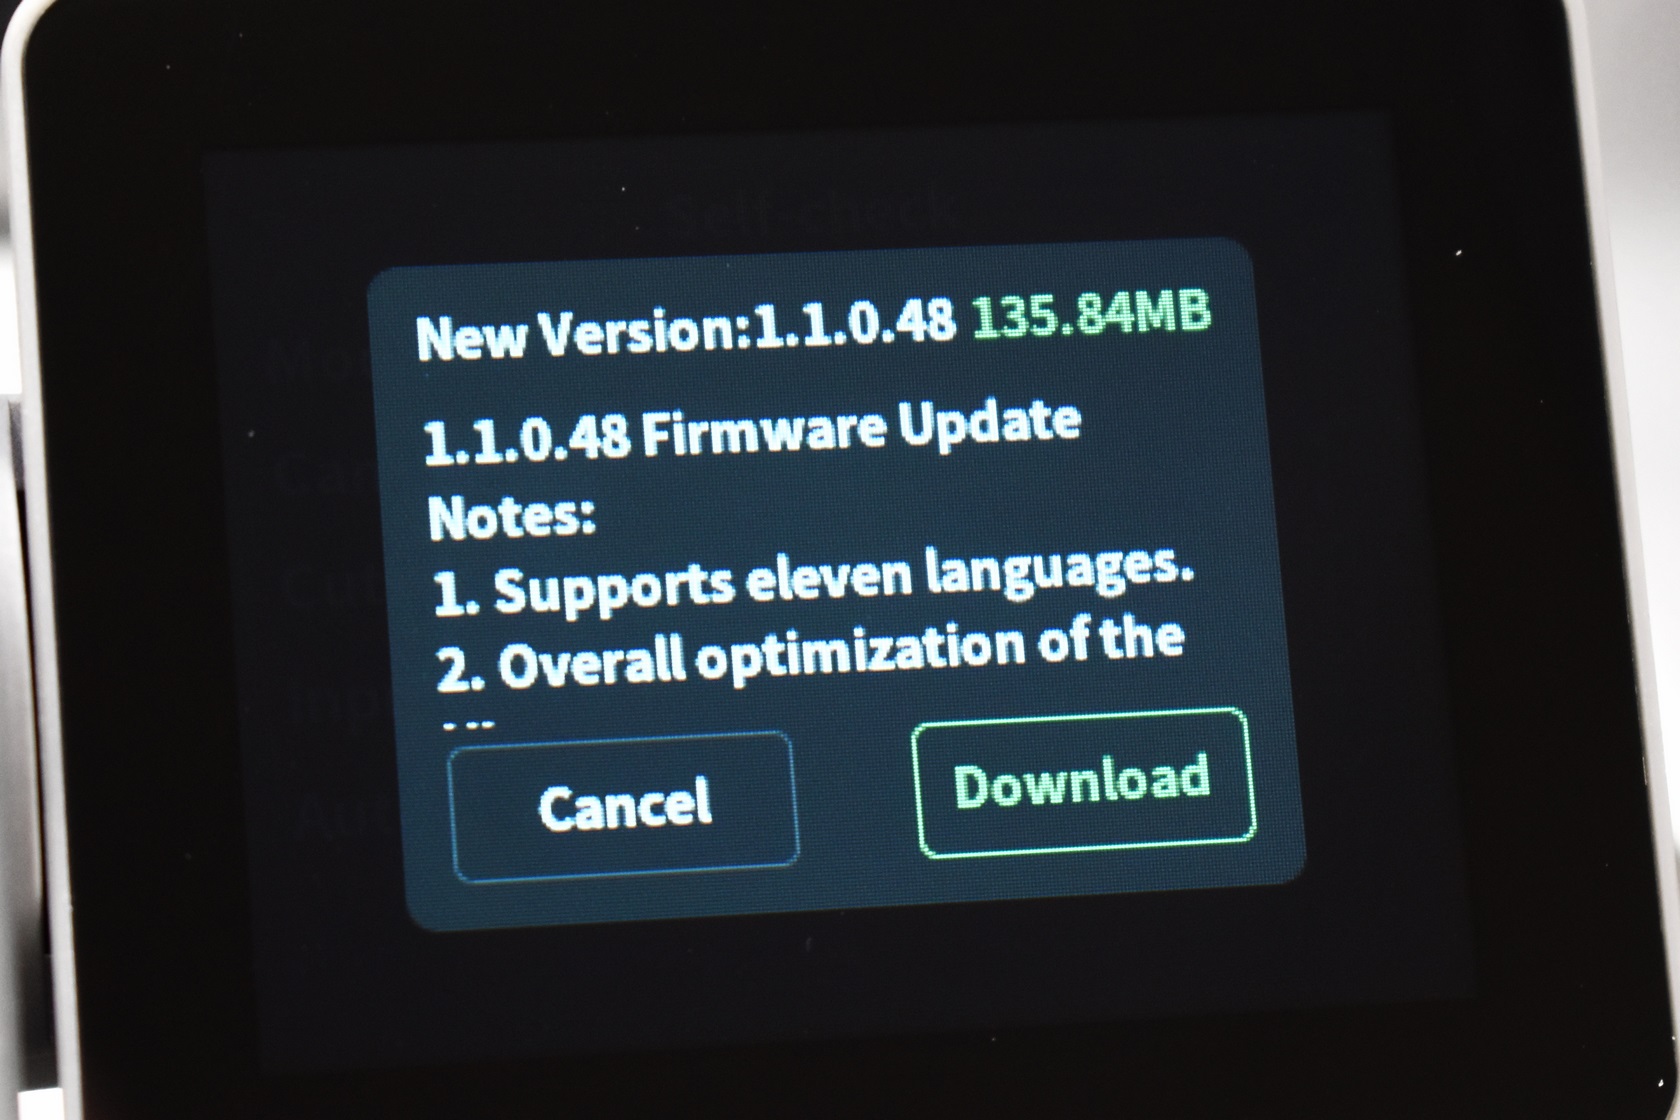
Needless to say, the printer will also check for firmware updates and in my case v1.1.0.48 was available.
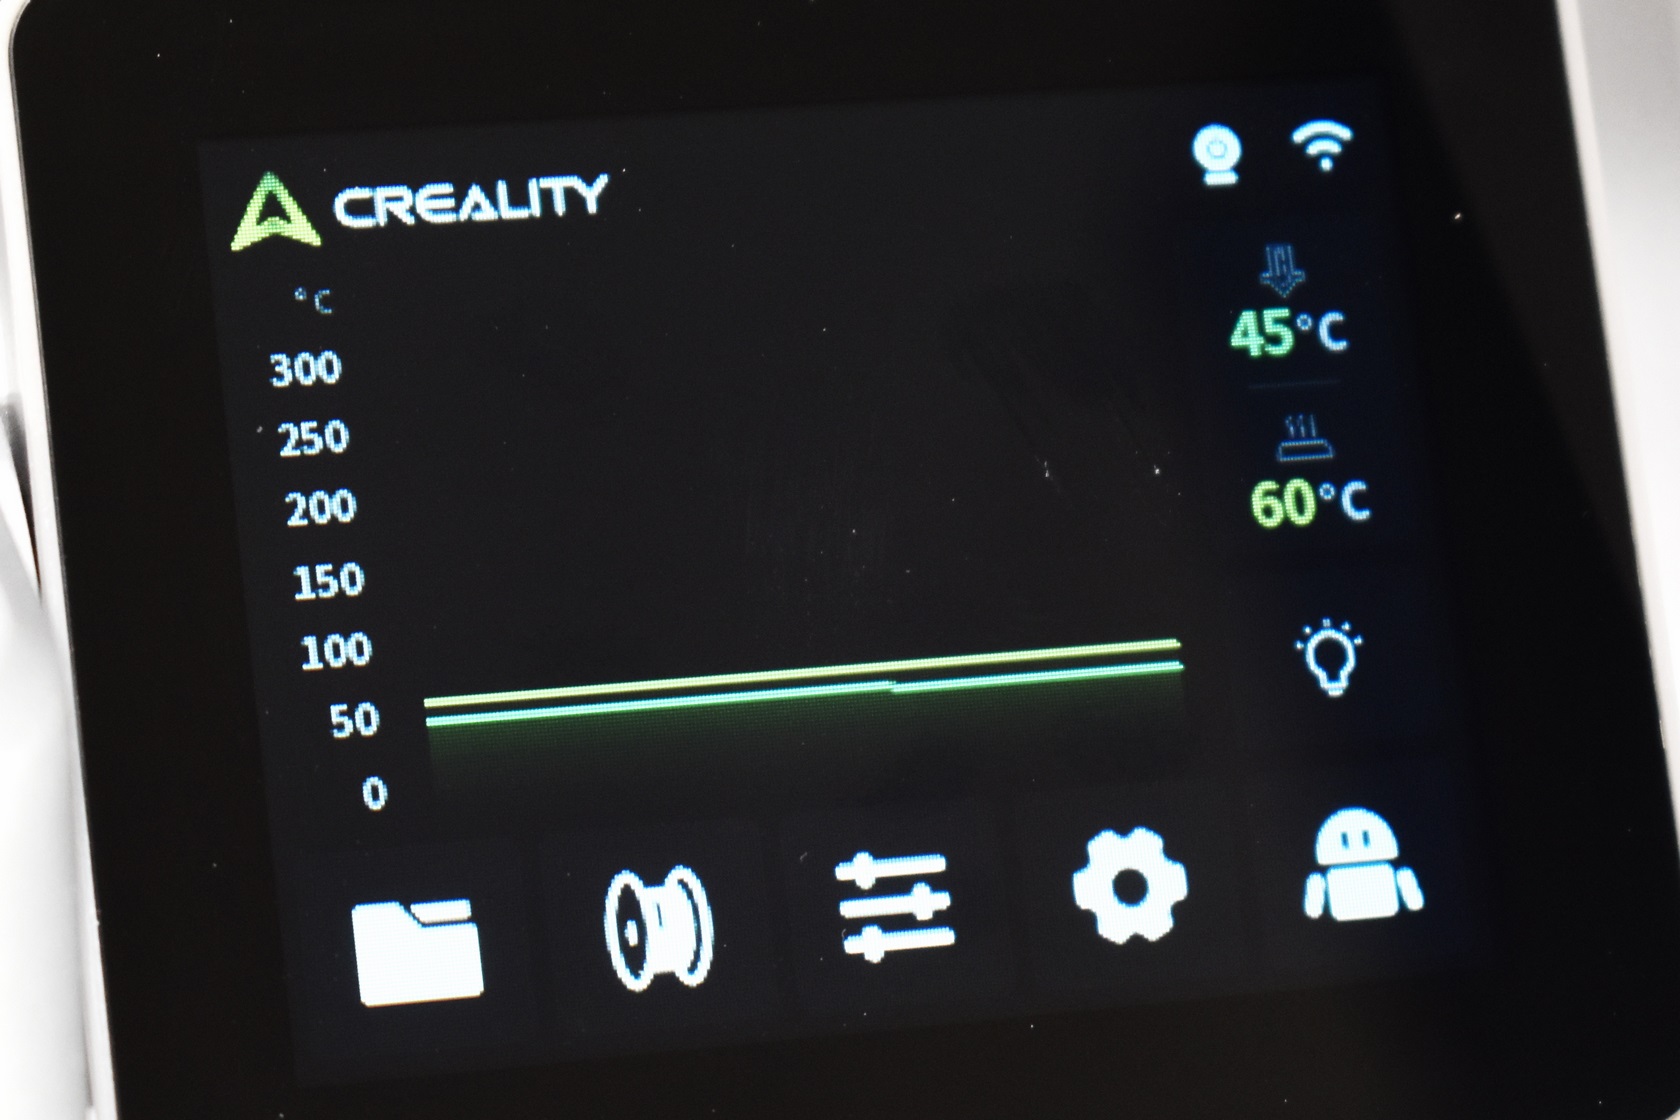
As with past models the main tab informs you of the current temperatures (printing platform and extruder) and whether or not the camera and WiFi are on.
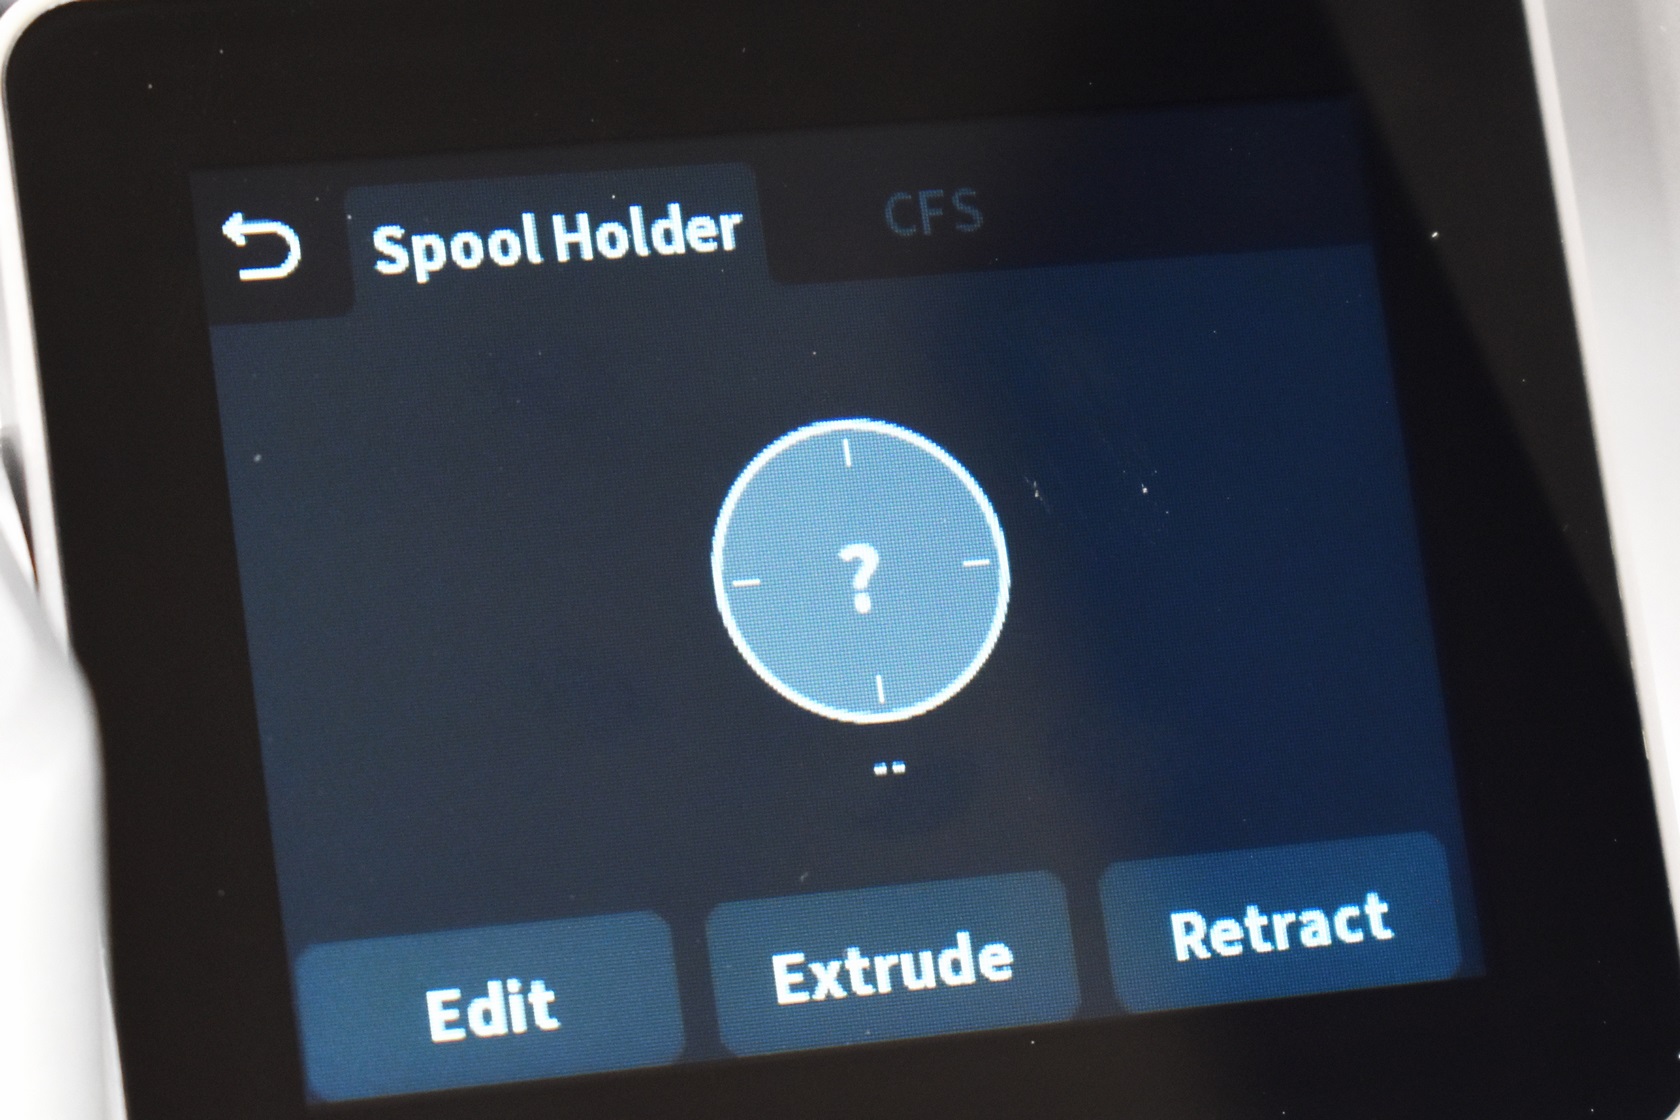
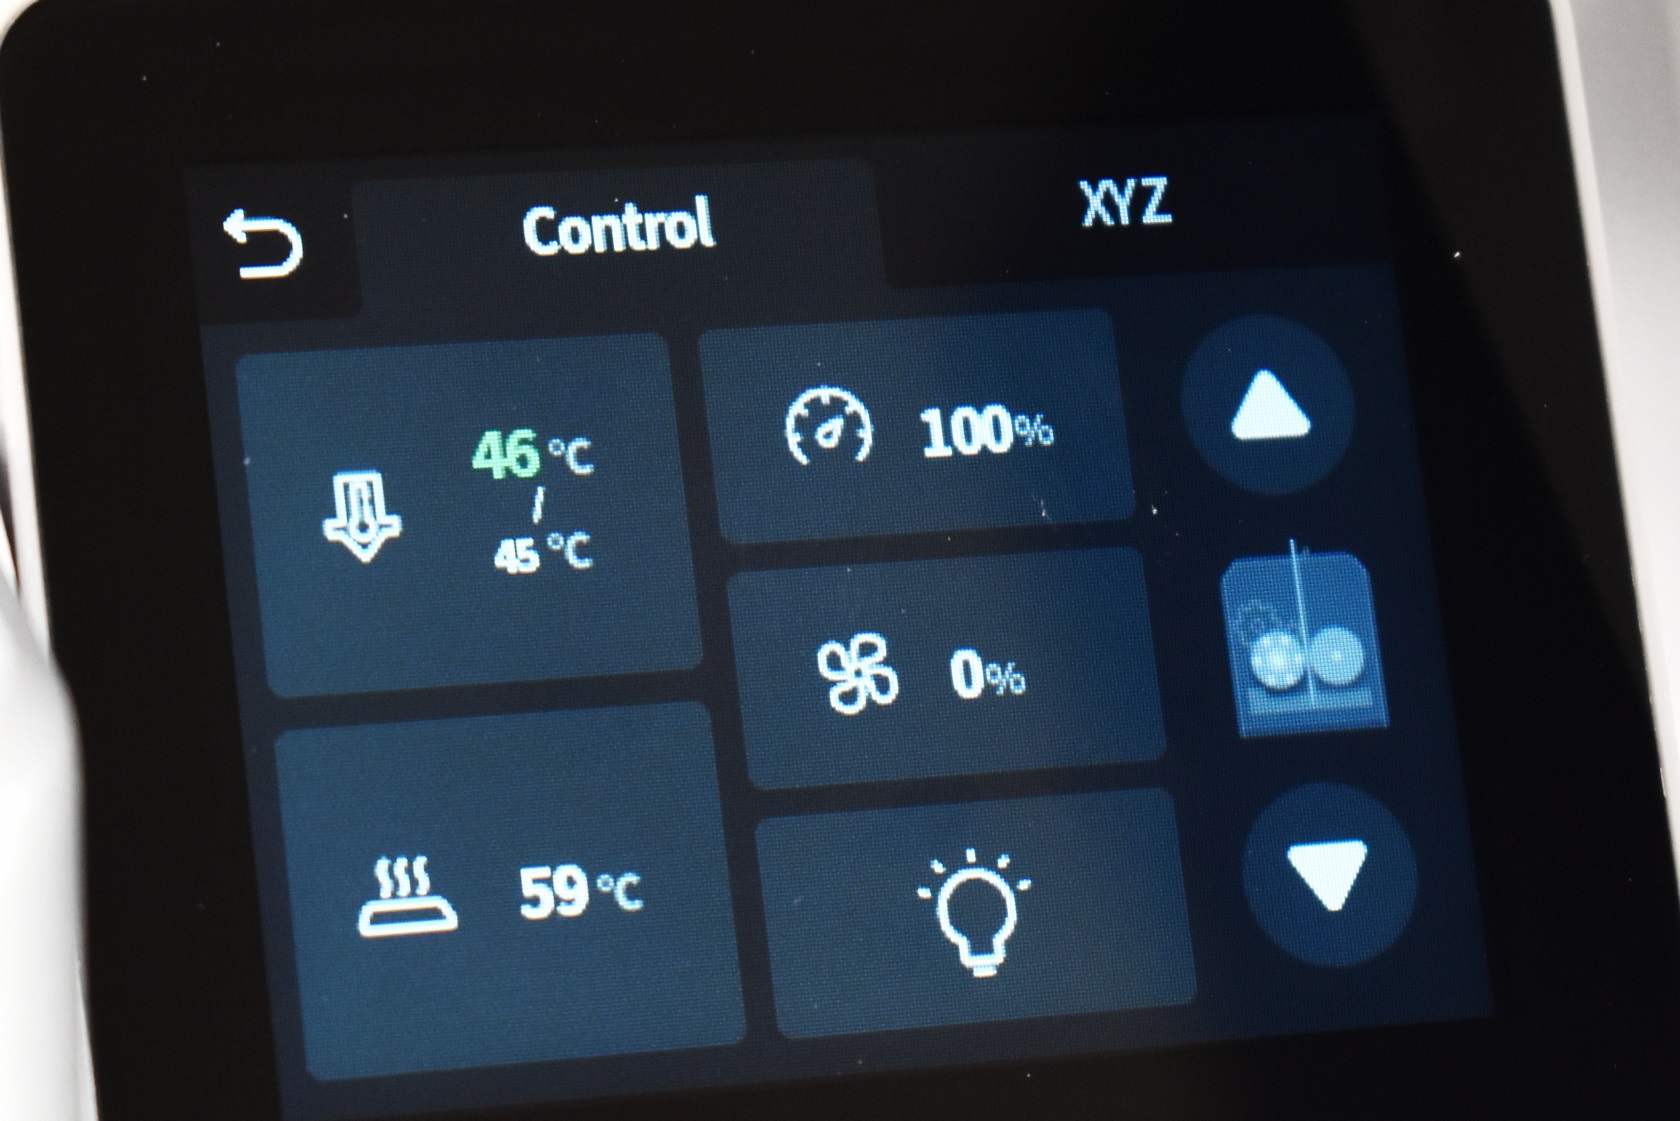
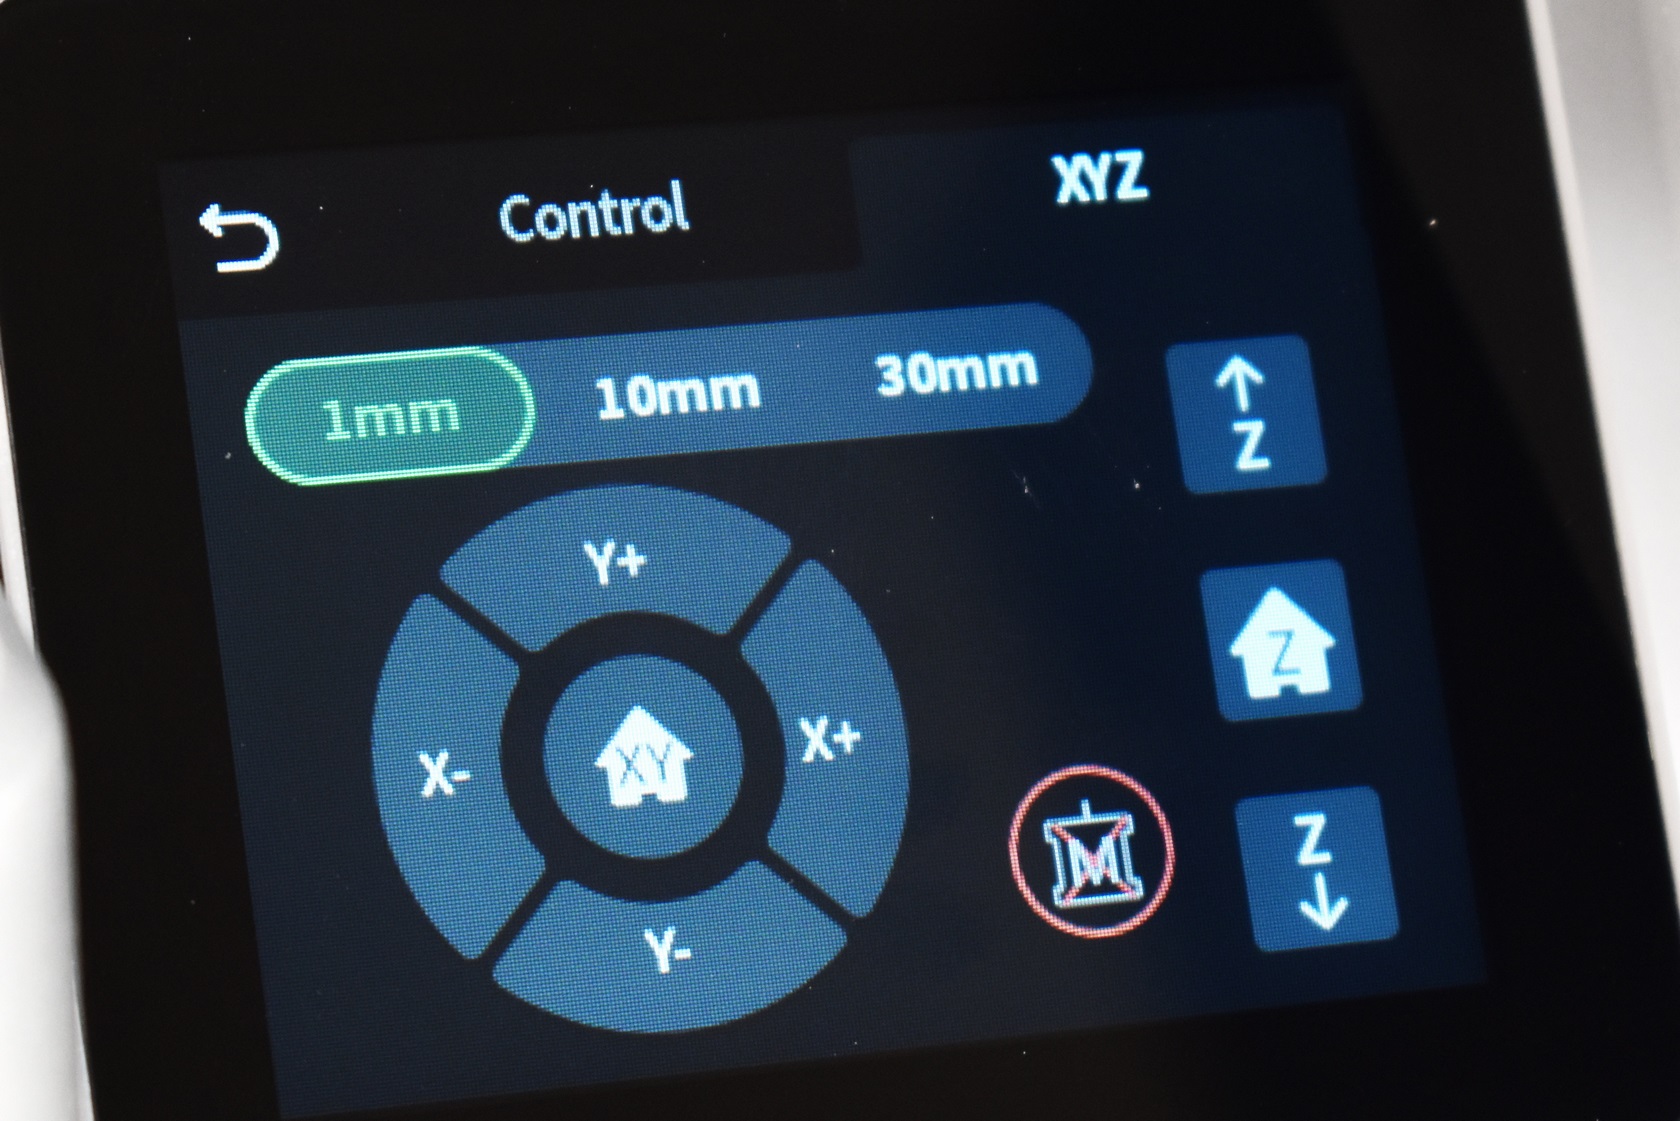
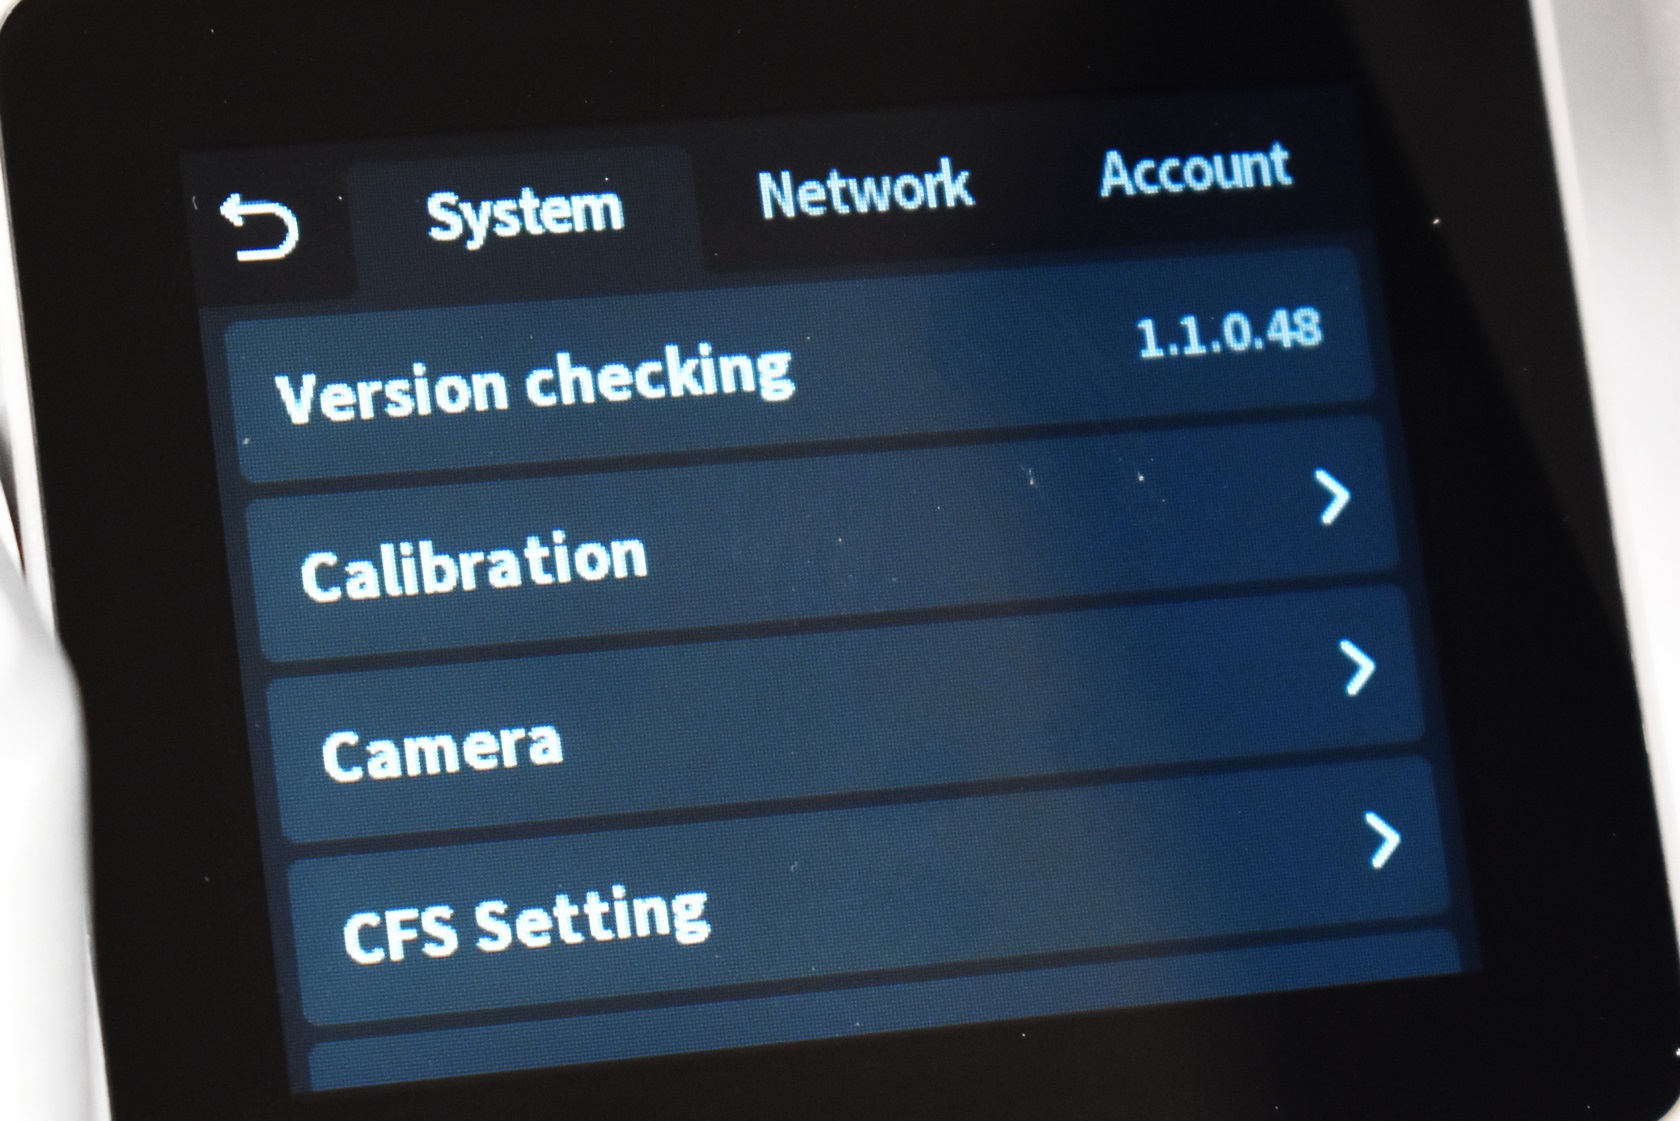
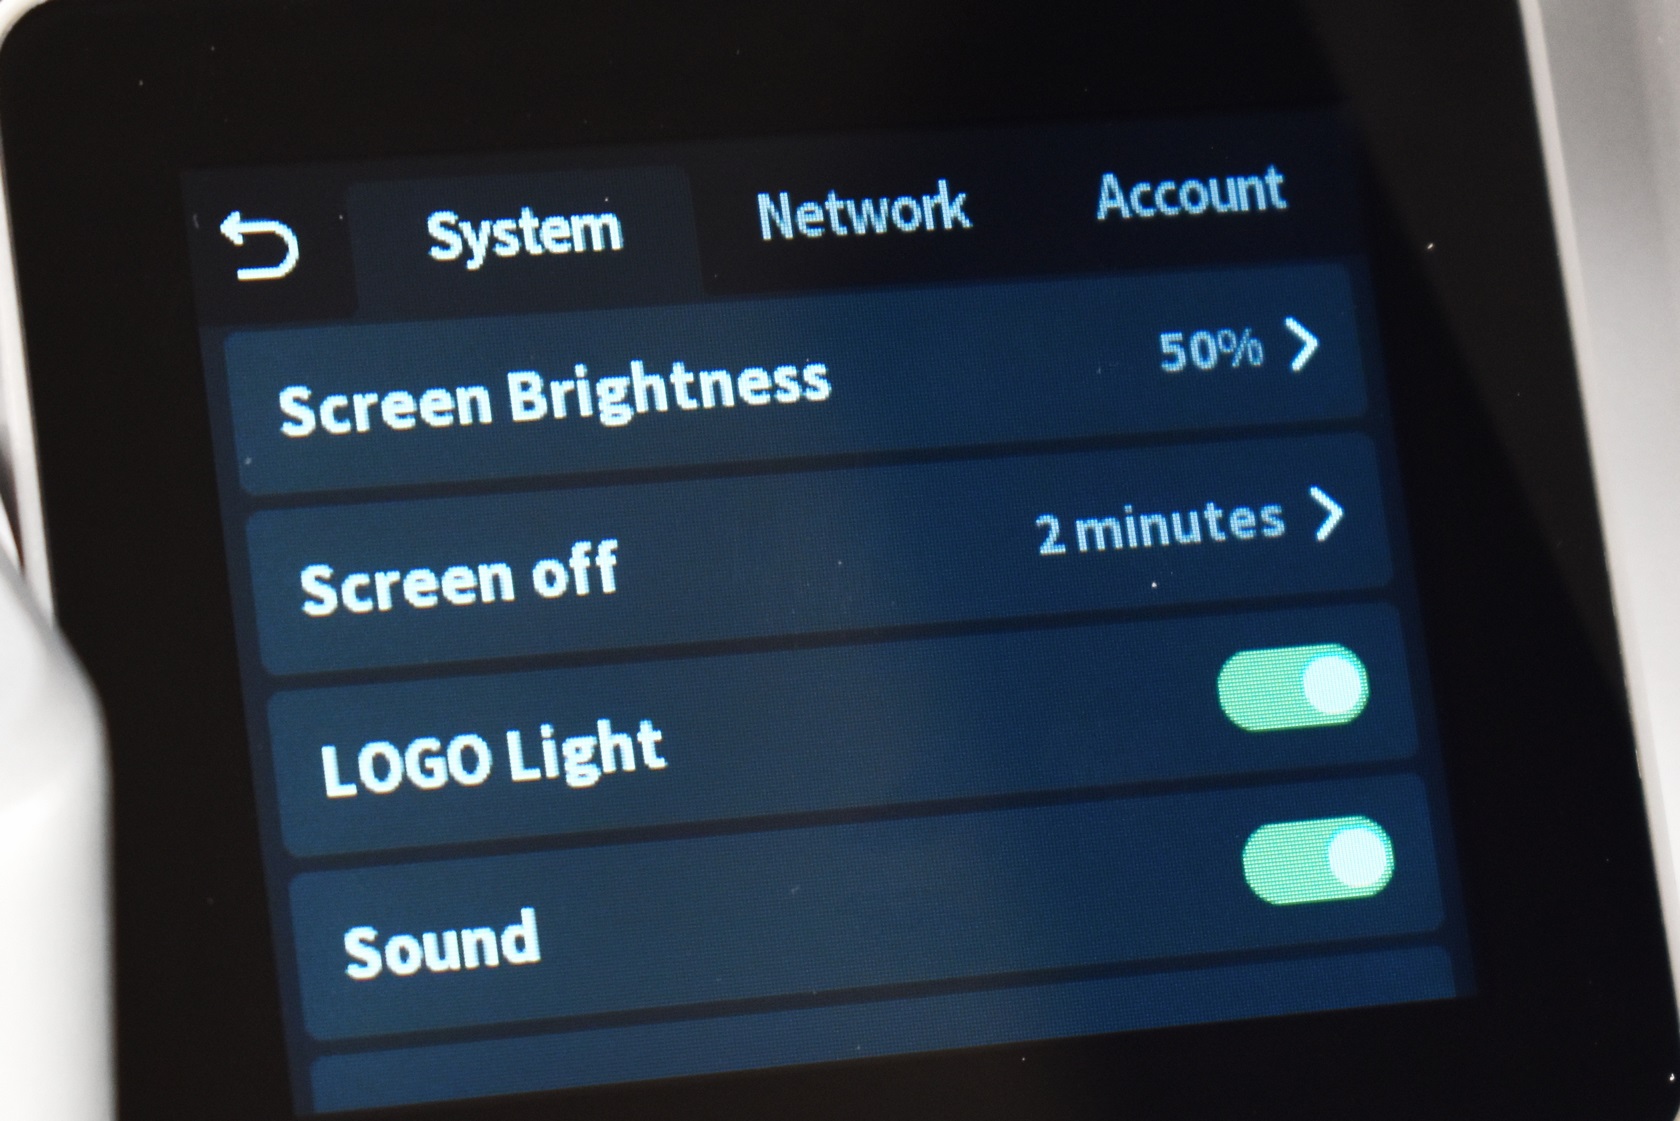
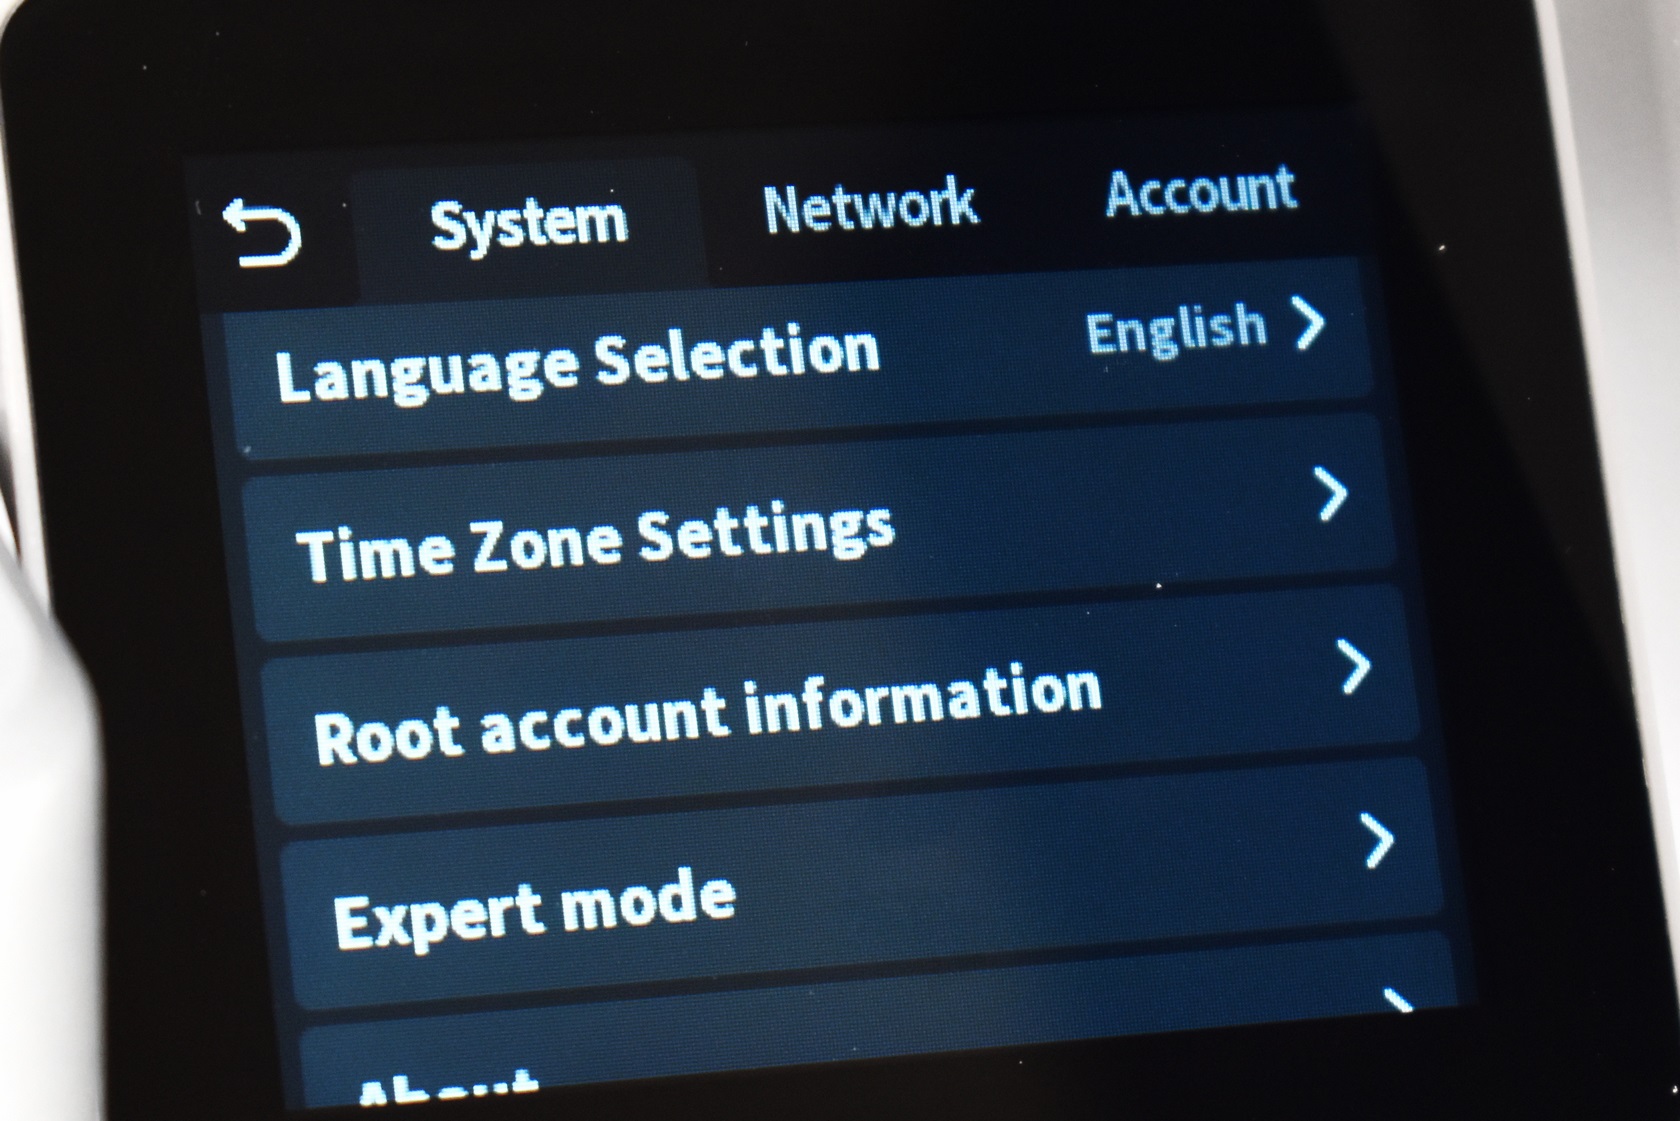
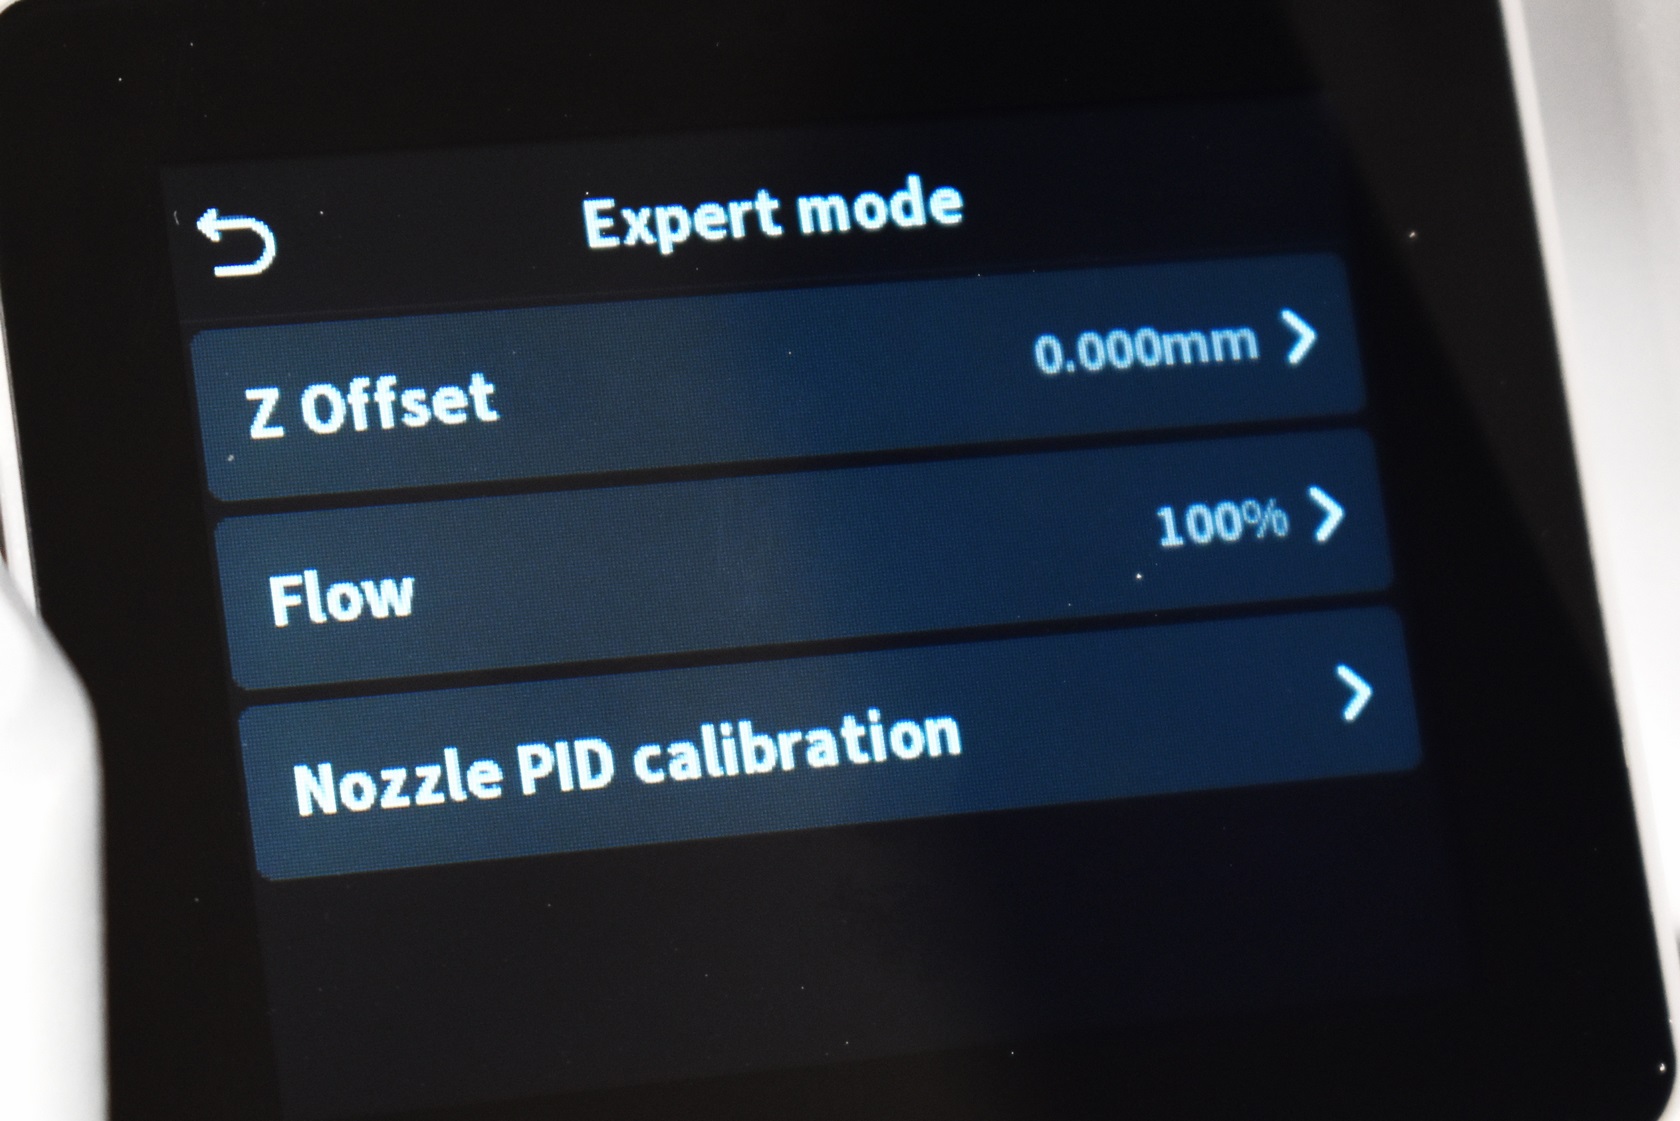
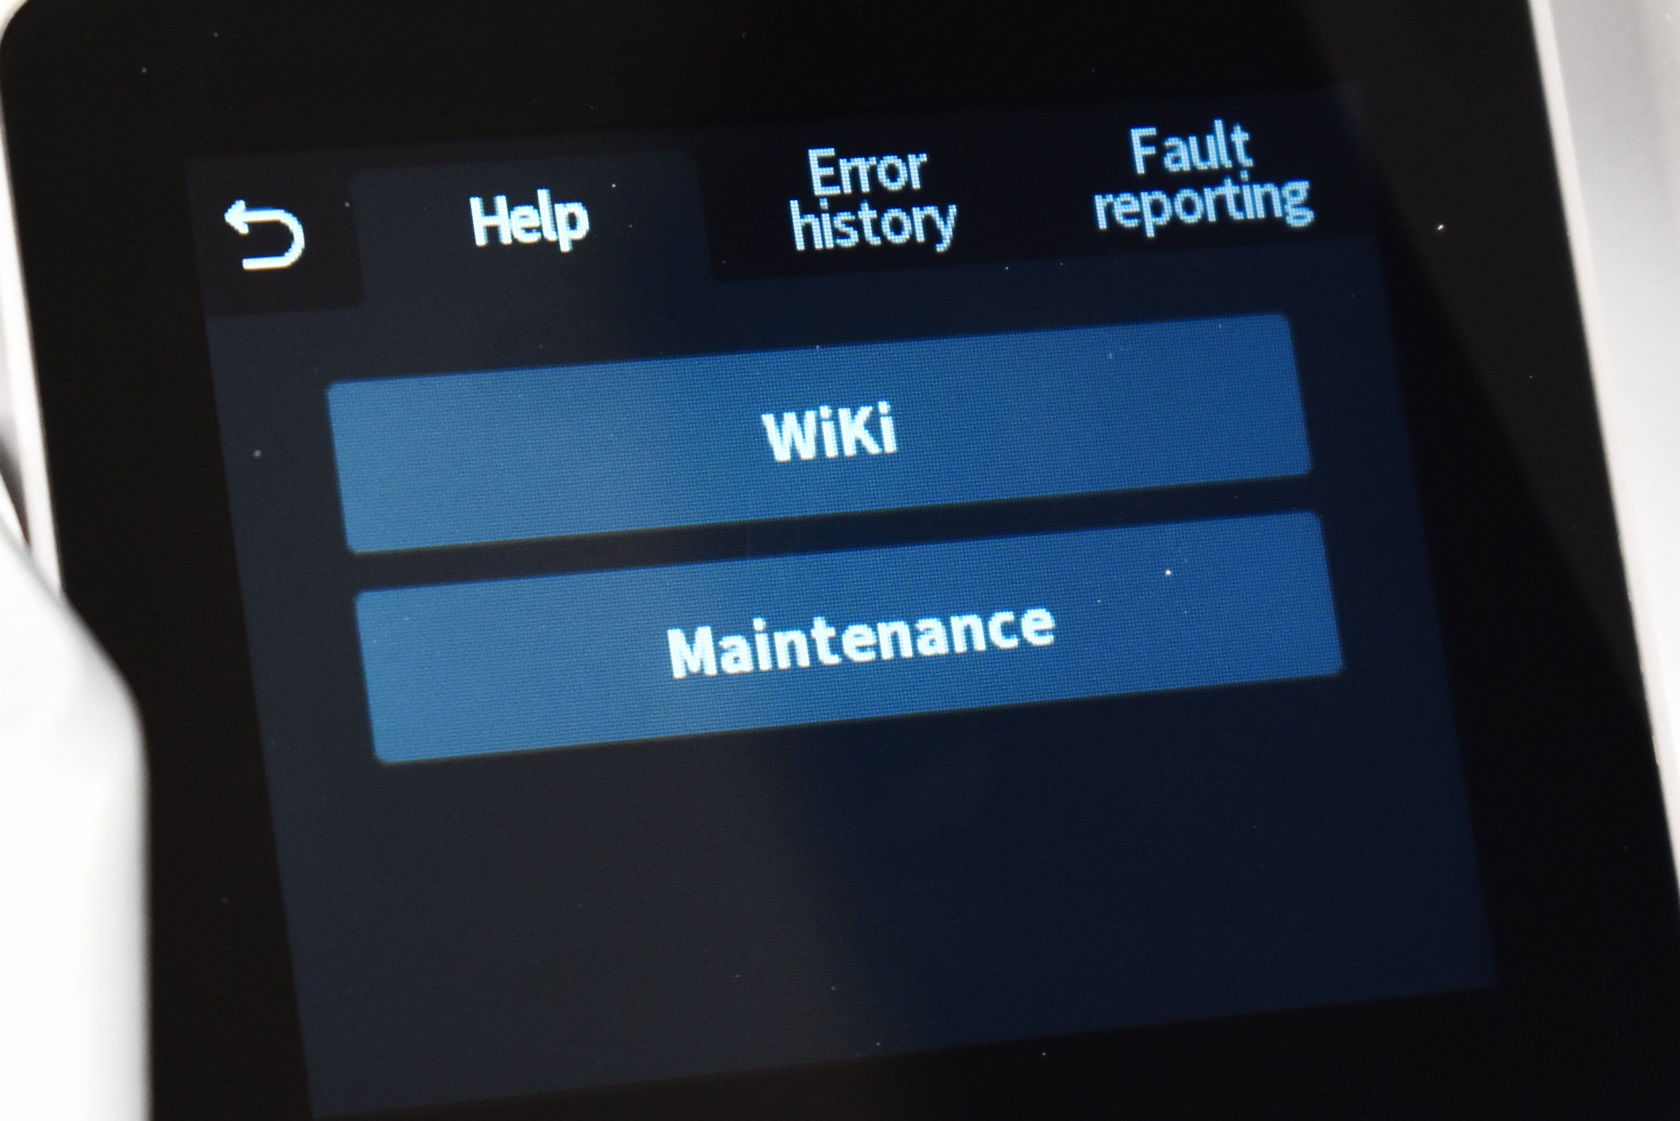
From the main tab you can access the spool holder and CFS tabs, the control tab (for the printing platform, extruder and both axis), settings tab (firmware update check, calibration, camera timelapse, CFS, screen brightness and shut-off timer, Creality logo on the extruder, sound on/off, language, time zone, account information and expert mode settings) and maintenance, error report and faut reporting.
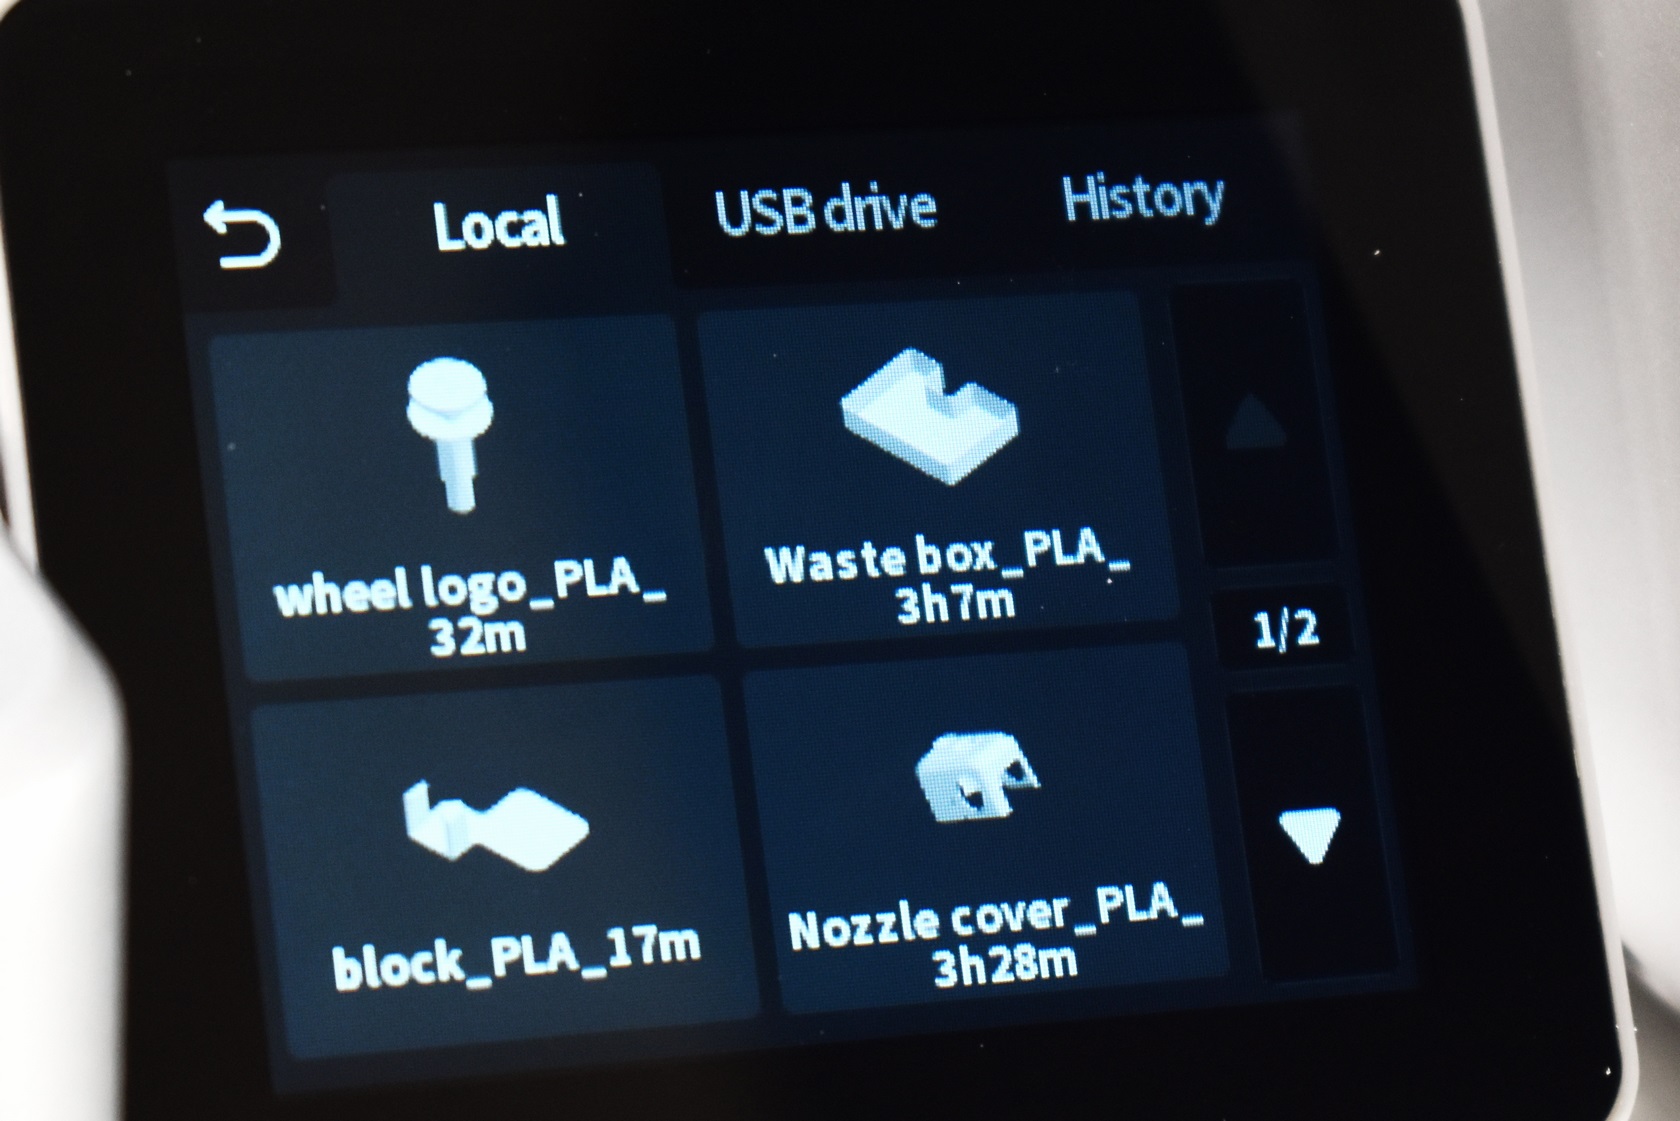
Typically, the 3D model files are displayed as thumbnails (the Hi 3D printer has an 8GB EMMC flash).
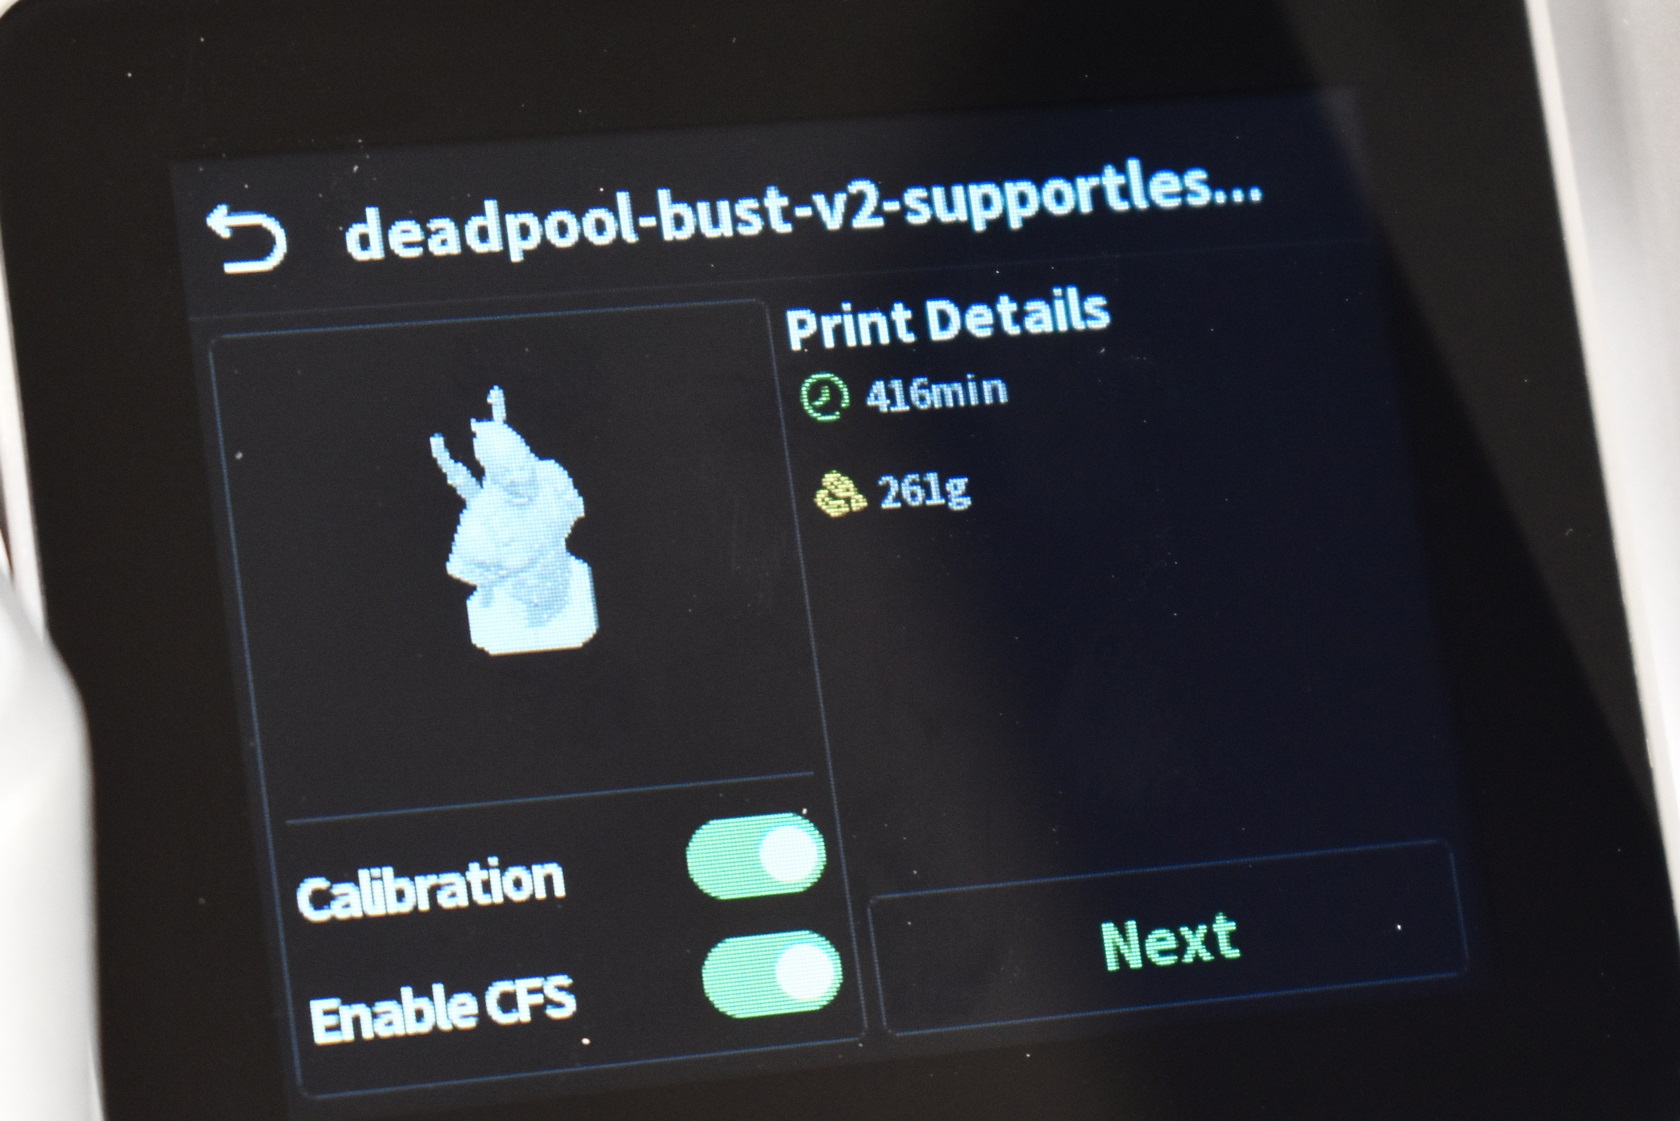
Once you start printing the display will report both completion time (which is not really accurate, at least wasn't during my tests) and the amount of filament you'll need to use (in weight).
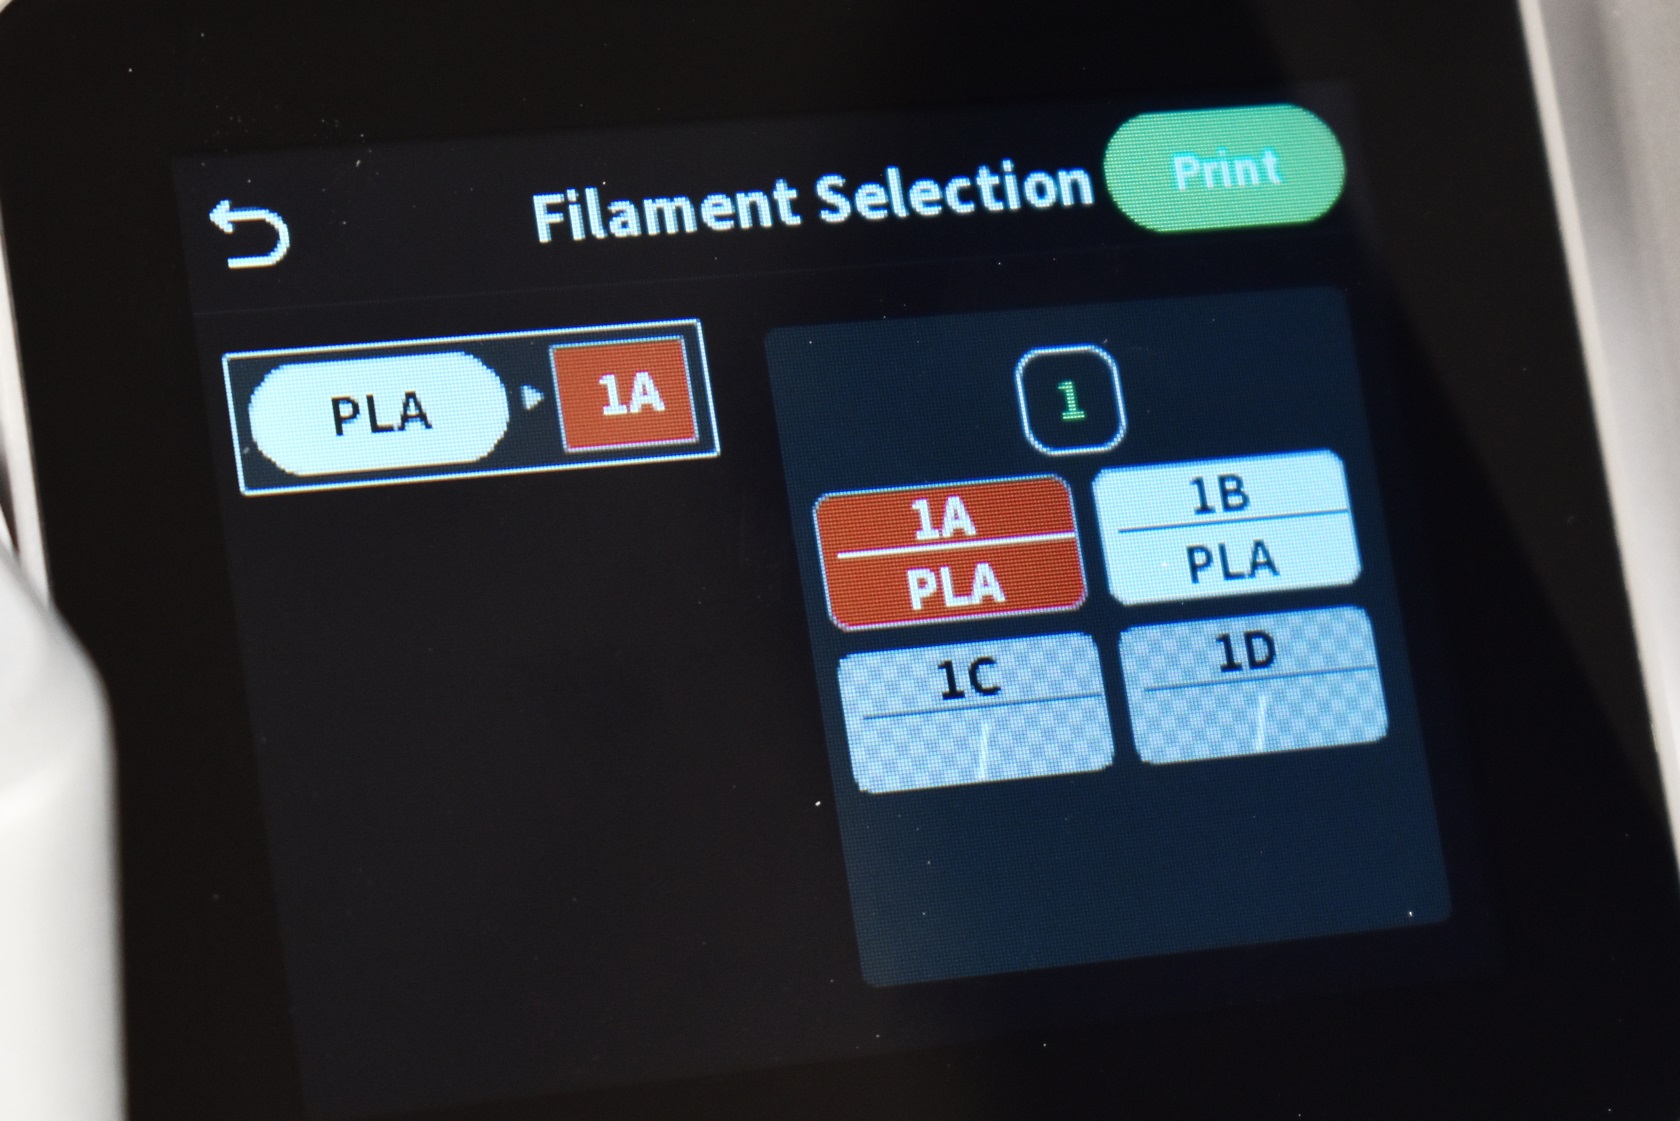
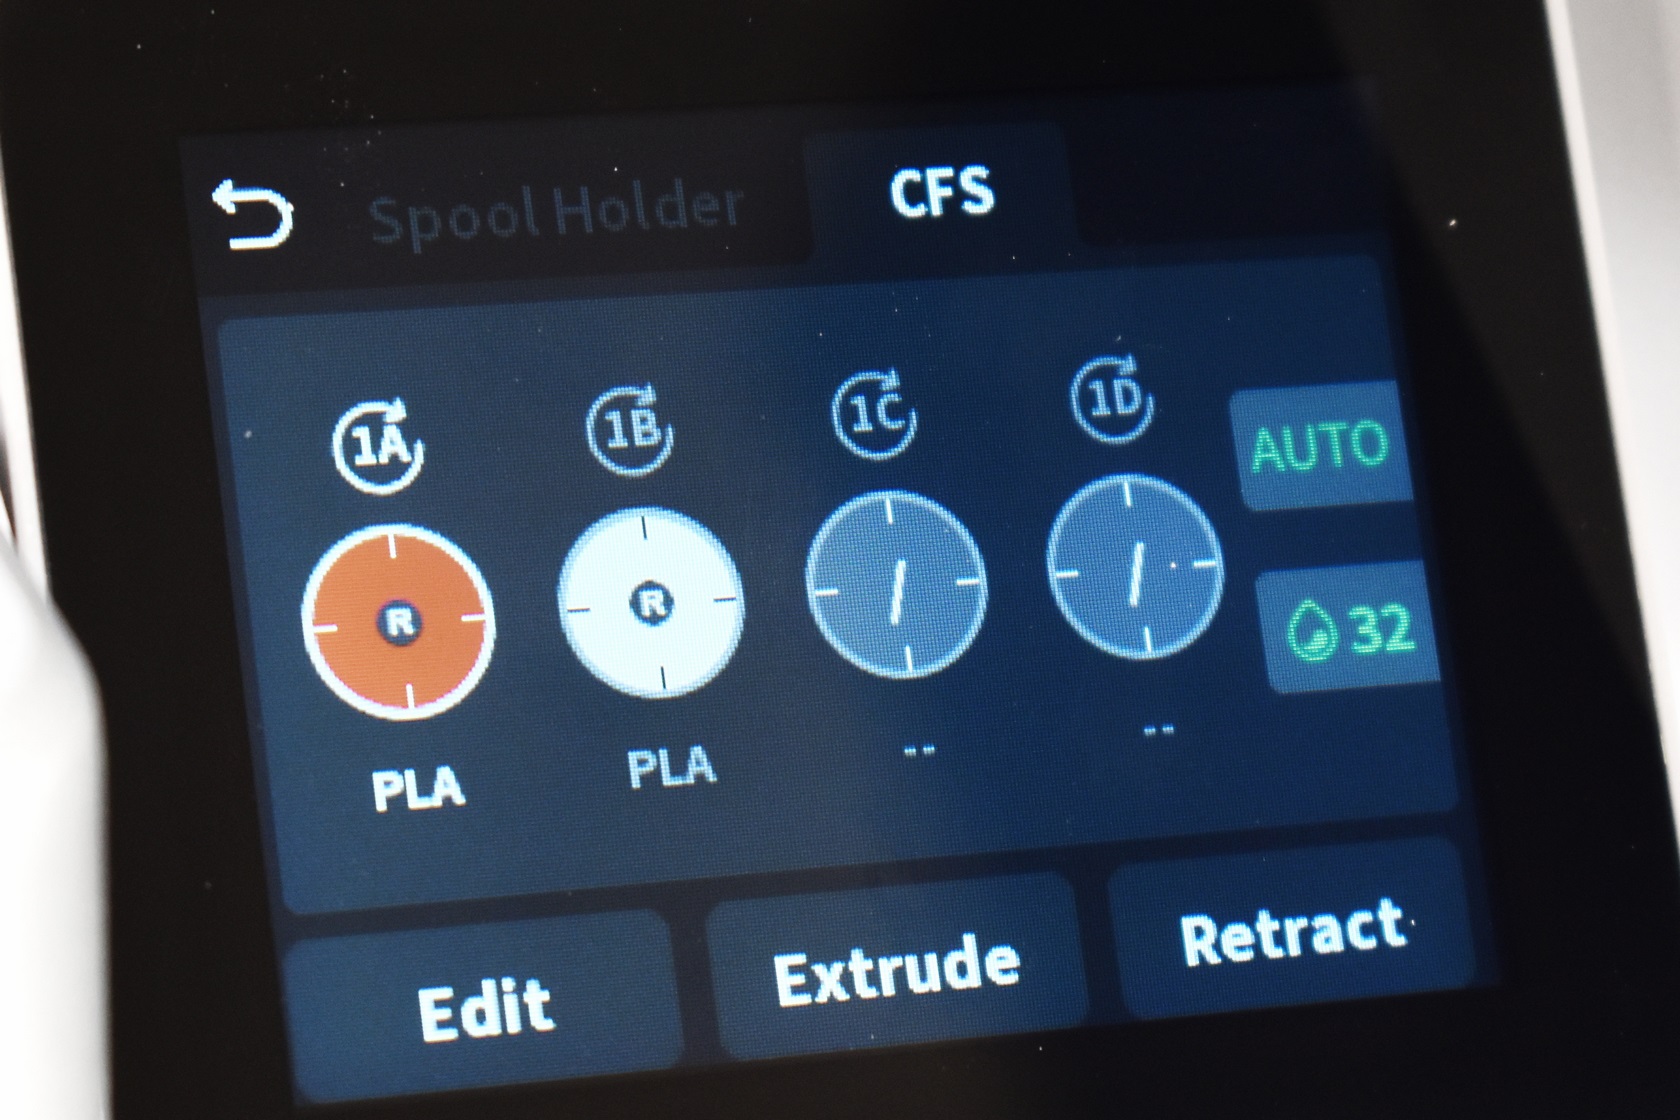
You will also be prompted to select the filament for your 3D model from the available ones in the CFS.
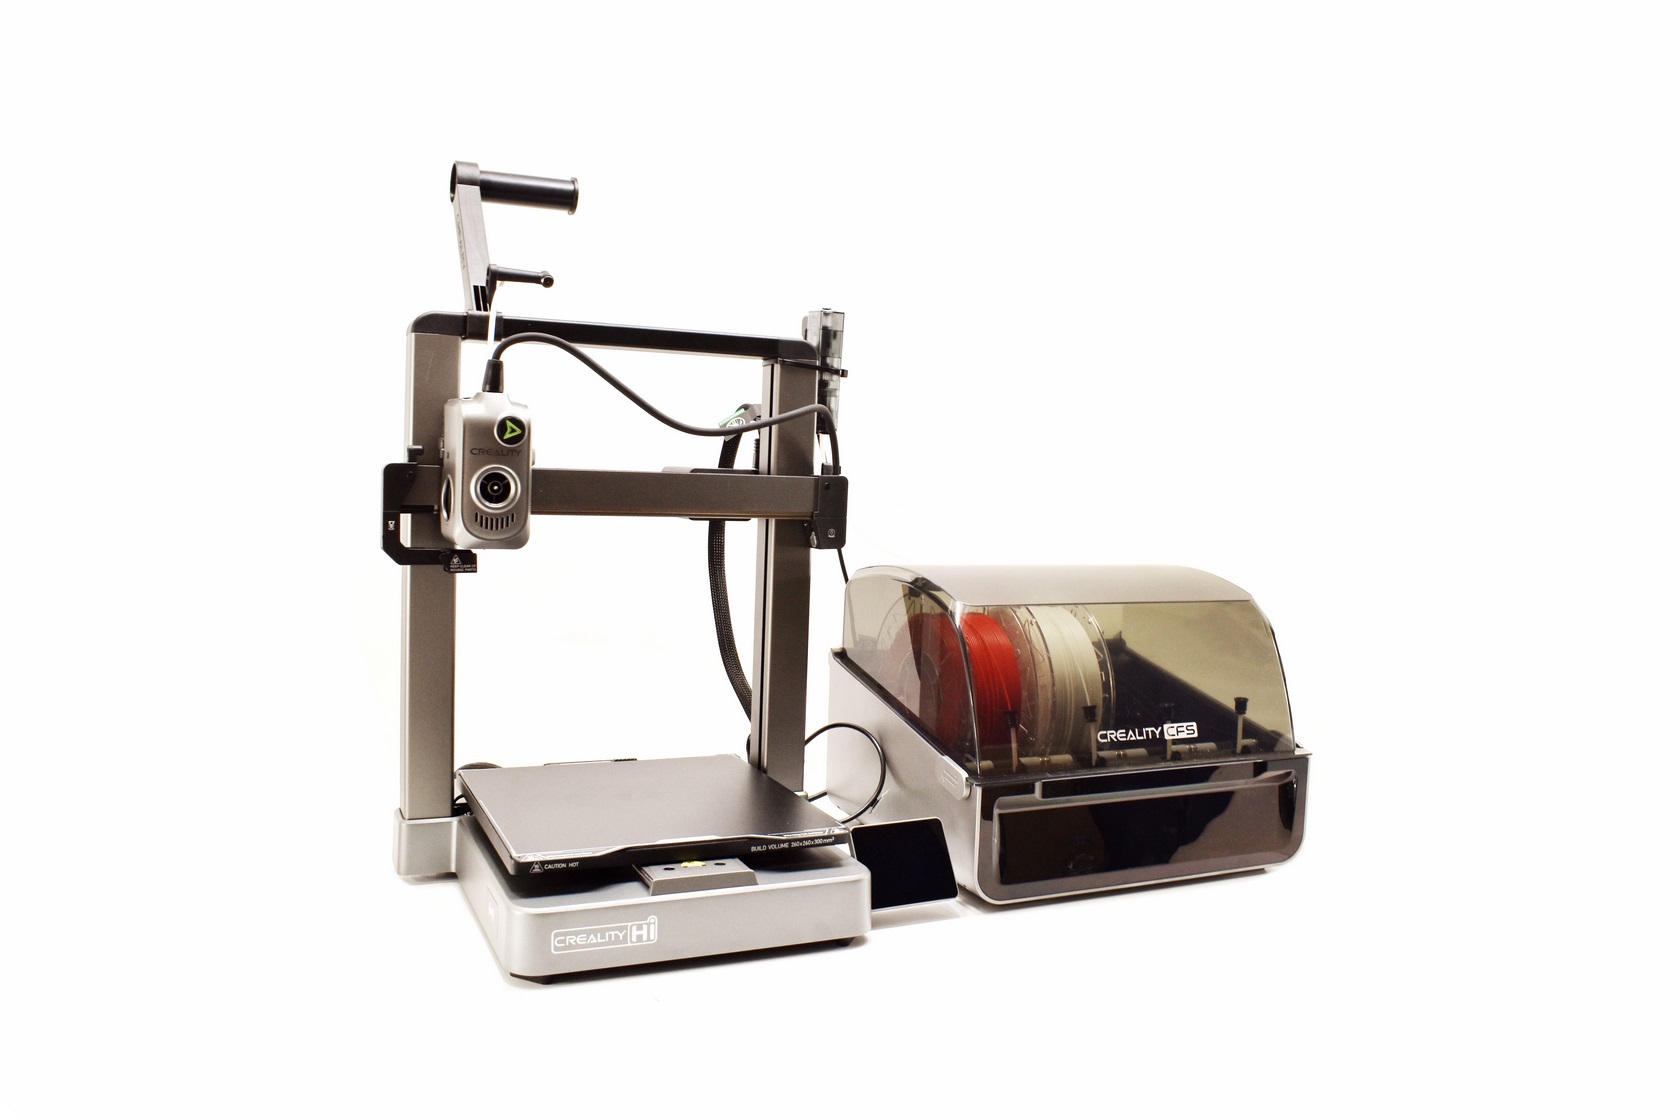
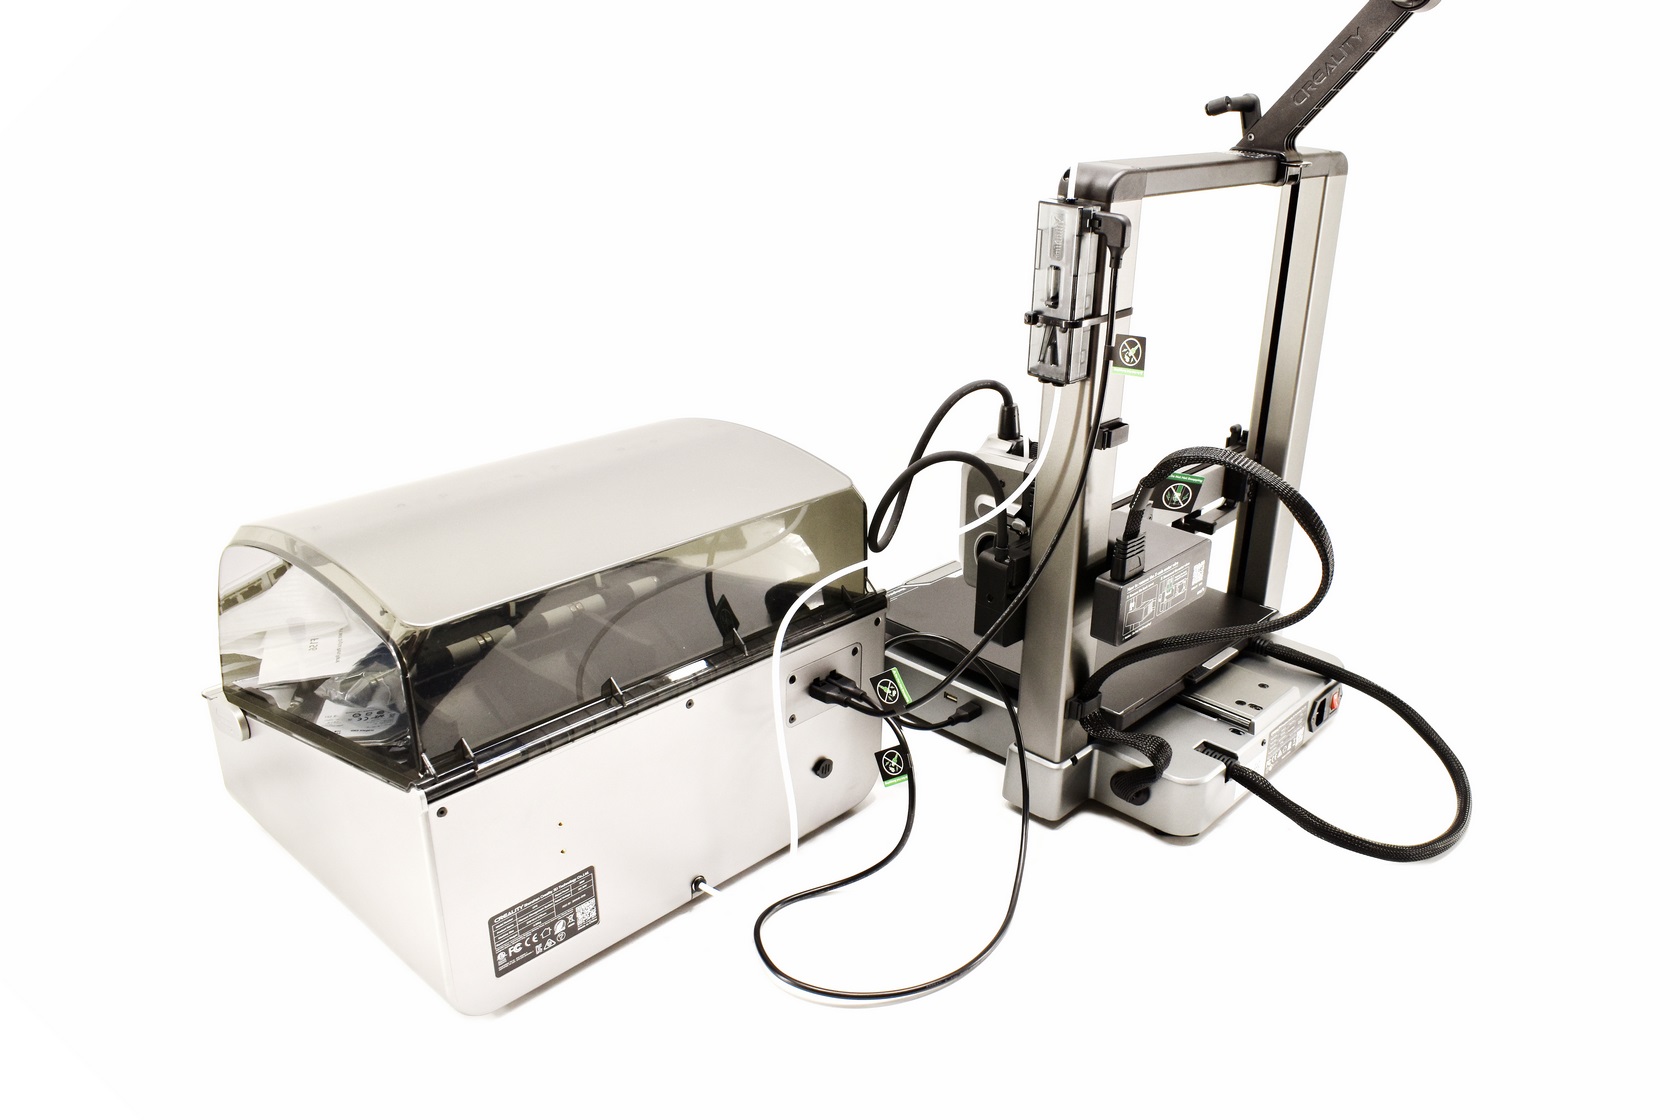
Here you can see the proper layout of the Hi-Combo.
TESTING METHODOLOGY
Once again to test this printer by Creality I used their latest print software (Creality Print 6.2) by manually entering the same settings I’ve used to date with all FDM printers (quality of 0.16mm, 20% infill density and cubic infill pattern).
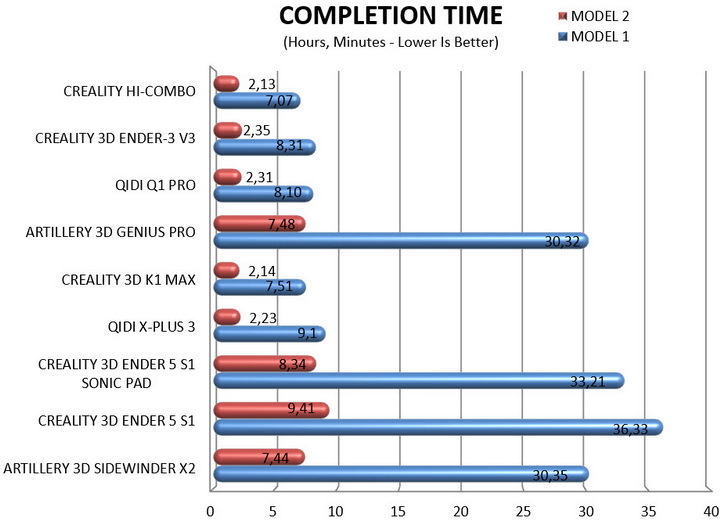
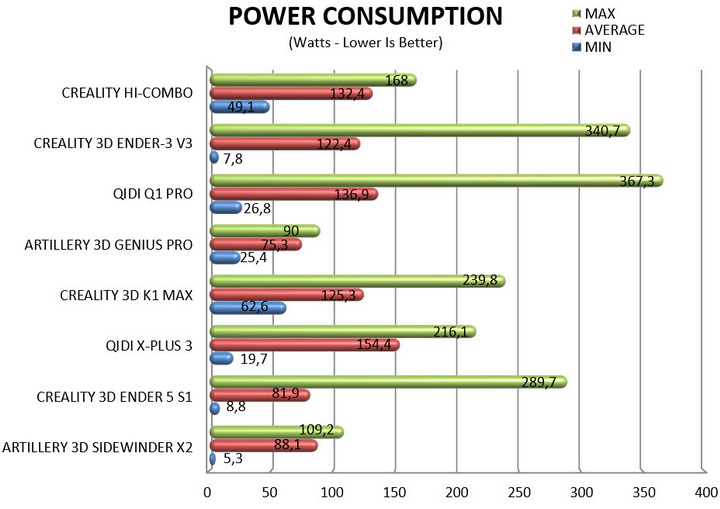
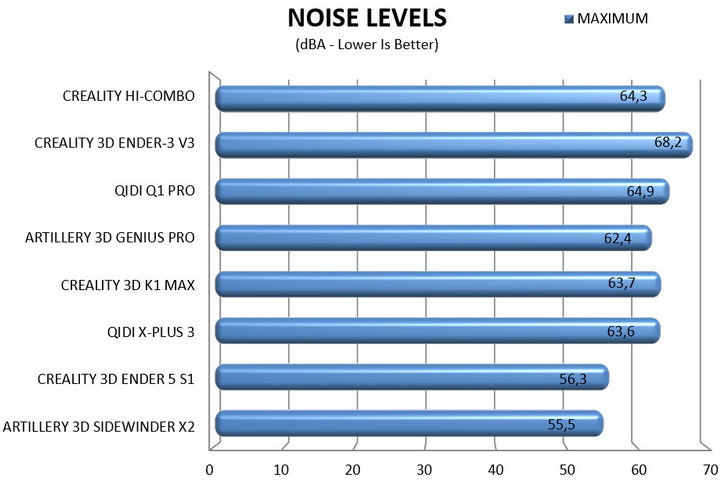
Nothing else has changed of course so again I’ll be using 2 different sized models (downloaded from Cults3D / member Eastman) to record completion time at 100% speed. Second thing to test are noise levels and so once again I’ll be using my ExTech HD600 decibel meter placed roughly 30cm away to record the maximum noise coming from the 3D printer while printing. As for the 3rd test with the help of an UPS and two power meters I decided to also record not only the lowest and highest but also the average instant power consumption of the 3D printer in my hands.
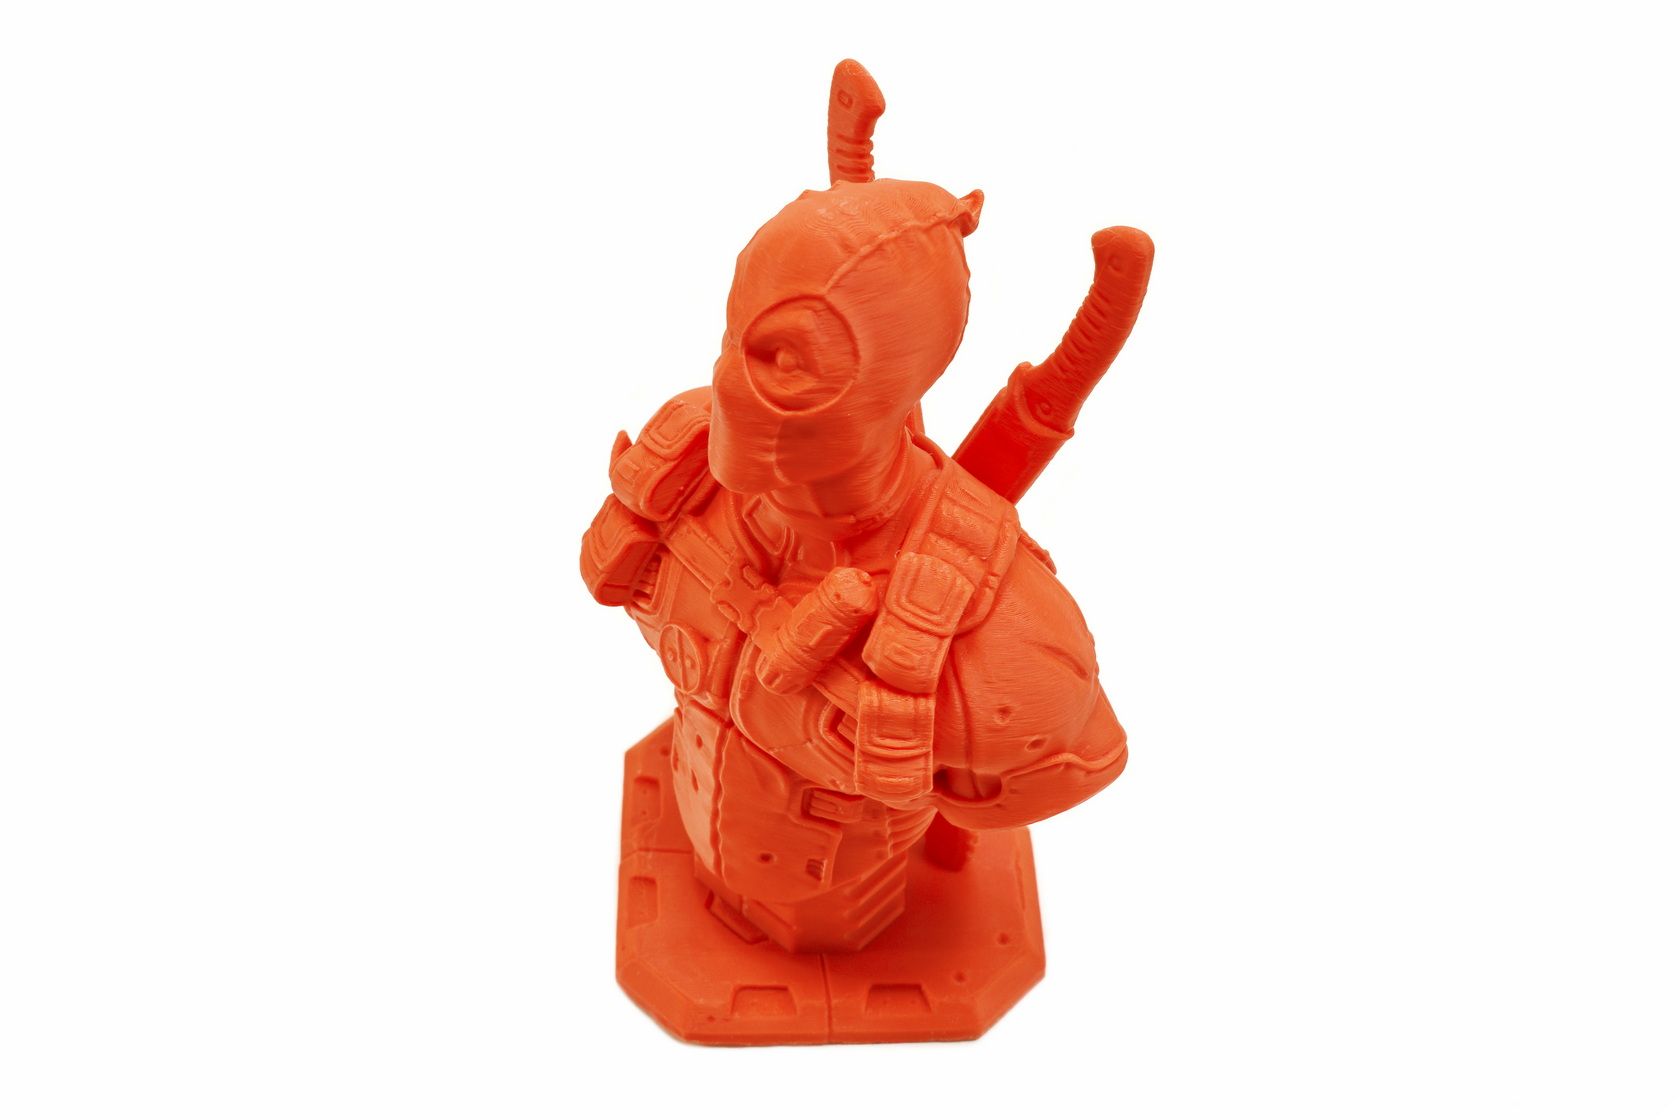
Quality wise I have no complaints from the Hi 3D printer (also worth pointing out is that the epoxy print plate worked as intended, hope every print plate out there was like that). The only strange thing was that the 3D models changed color slightly when seen from a different angle but that was probably due to the filaments used (short clip is available on YouTube and TikTok - not timelapse since the end result was subpar).

Depending on how complex a dual-color (or more) 3D model is you may end up wasting as much filament whenever the CFS changes colors (and discards whatever is in the extruder) as the 3D model itself (for each of these two models I had to use around 85 meters of filament - always according to the Creality Cloud app). So my obvious recommendation is to avoid printing anything complex.
TEST RESULTS
CONCLUSION
Even though the Hi-Combo by Creality belongs in the mid-end segment of their lineup it’s the first time I had so much fun with a 3D printer. This is not only due to the CFS device which allowed me to change between filaments/colors at will (it does however take around 2 minutes to switch between filaments and it does waste quite a bit of material while doing so) but also because of its speed and epoxy print plate which needed no extra steps from me whatsoever (11 model prints without issue – PLA and PLA Silk filaments). Yes, the Hi 3D printer may be slower compared to some other models but what it lacks in printing speed it more than makes up for with its impressive acceleration. The 3.2” display is very easy to use (not very responsive at times but I don’t consider that to be an issue) and the Hi-Fi combo also does extremely well in terms of power consumption. So, what didn’t I like about the Hi-Combo? Three things, first the very short cable between the buffer and the CFS device (which means the 3D printer needs to be just around 20cm away), the somewhat bad LED light paired with the 720p camera which produces a subpar result in low light situations (the camera itself is not great either but since it does allow you to keep watch of what's happening from afar it's still better than not having one at all) and the rather small print surface (always compared to other models). I am also a bit concerned about the silica packs in the CFS since they may not be quite enough for areas with very high humidity levels but where I am located that’s obviously not a problem.
As I type these lines the Hi-Combo 3D printer bundle by Creality retails for USD499 inside the USA (Amazon.com) and for 488.71Euros inside the EU (Amazon.de) so it’s priced extremely well for what it offers. Again, it has its shortcomings so it’s far from perfect, but it does deliver on most things that matter which is why it deserves the Golden Award.

PROS
- Good Build Quality (Aluminum Frame)
- Very Fast (Up To 500ms Speed / 12000ms Acceleration)
- CFS Multi Color Addon (4 Filaments Per CFS / Up To 16 Filaments)
- Print Quality
- Heated & Flexible Epoxy Print Bed
- High Speed Direct Drive Extruder
- G Sensor (Input Shaping)
- Manual & Automatic Leveling
- 720p Camera With Privacy Cap and LED (Remote Viewing / Timelapse)
- Tri Metal Nozzle
- 3.2 Inch HD Color Touch Screen Display
- WiFi & USB Port
- Power Consumption
CONS
- 720p Camera & Small LED Light (Image Quality)
- Small Build Plate (For Some)
- Short 3D Printer To CFS Cable


.png)