O-Sense

.jpg)


ASSEMBLY
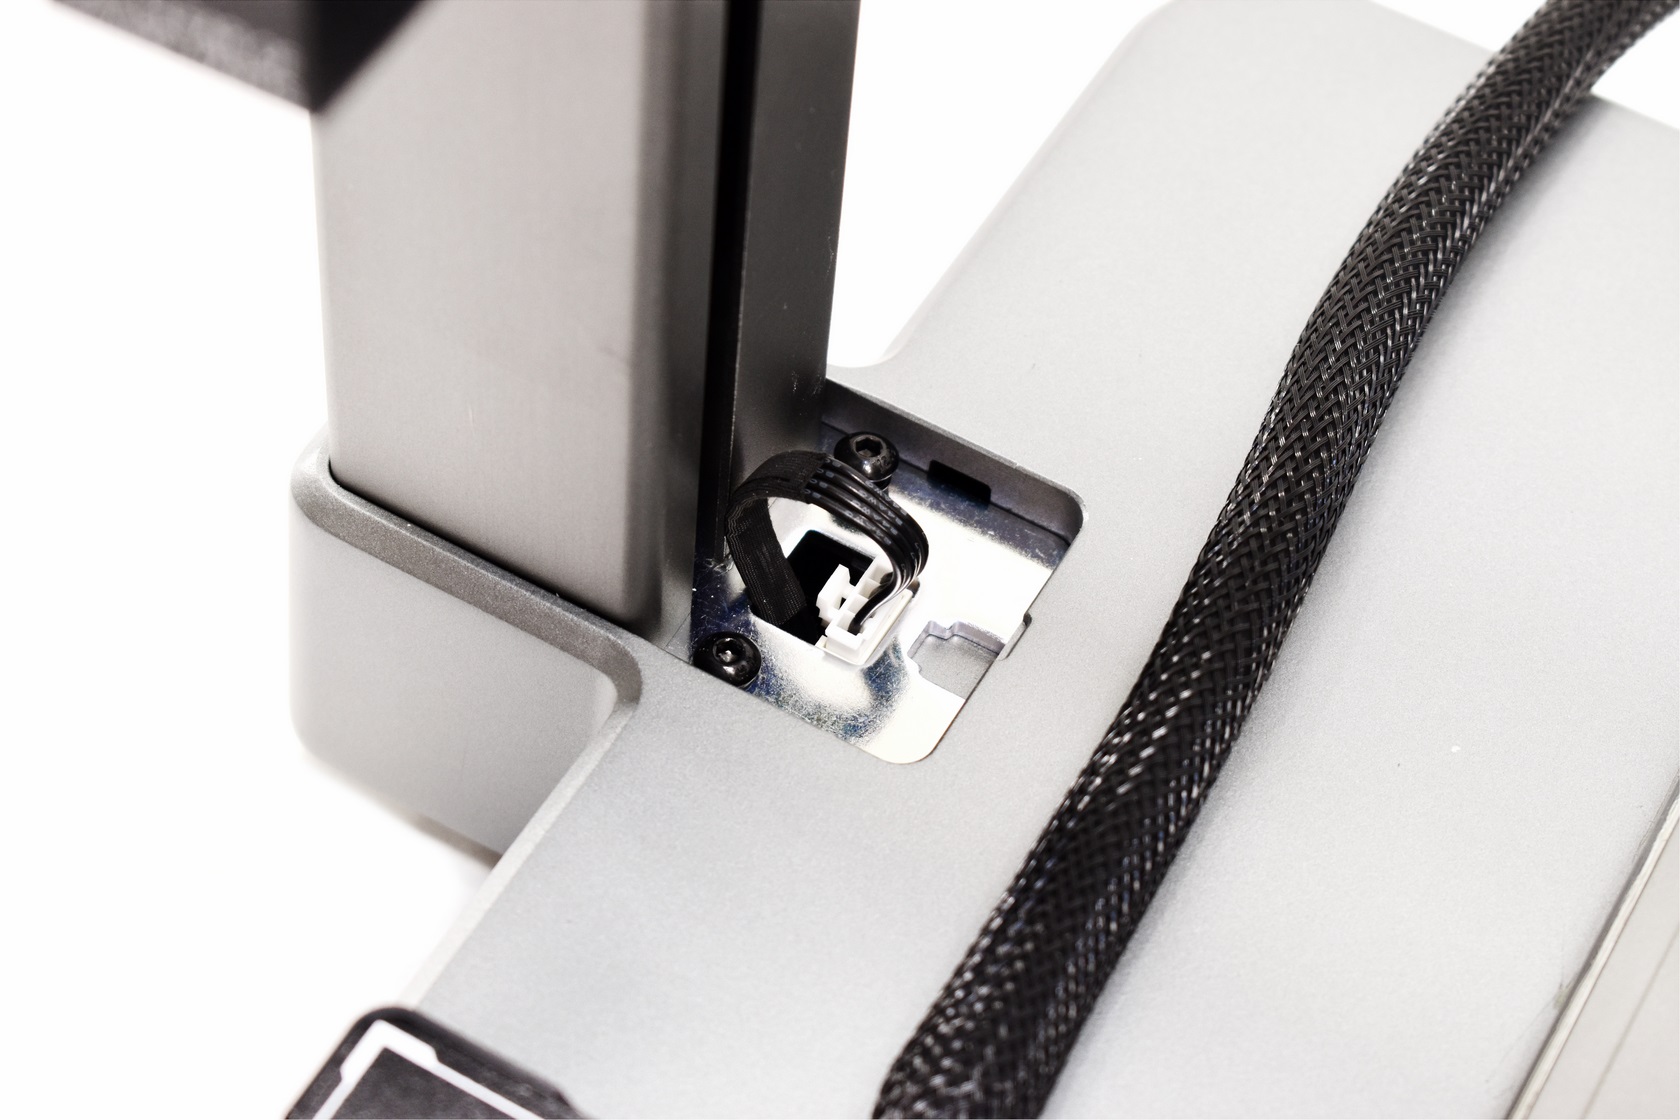
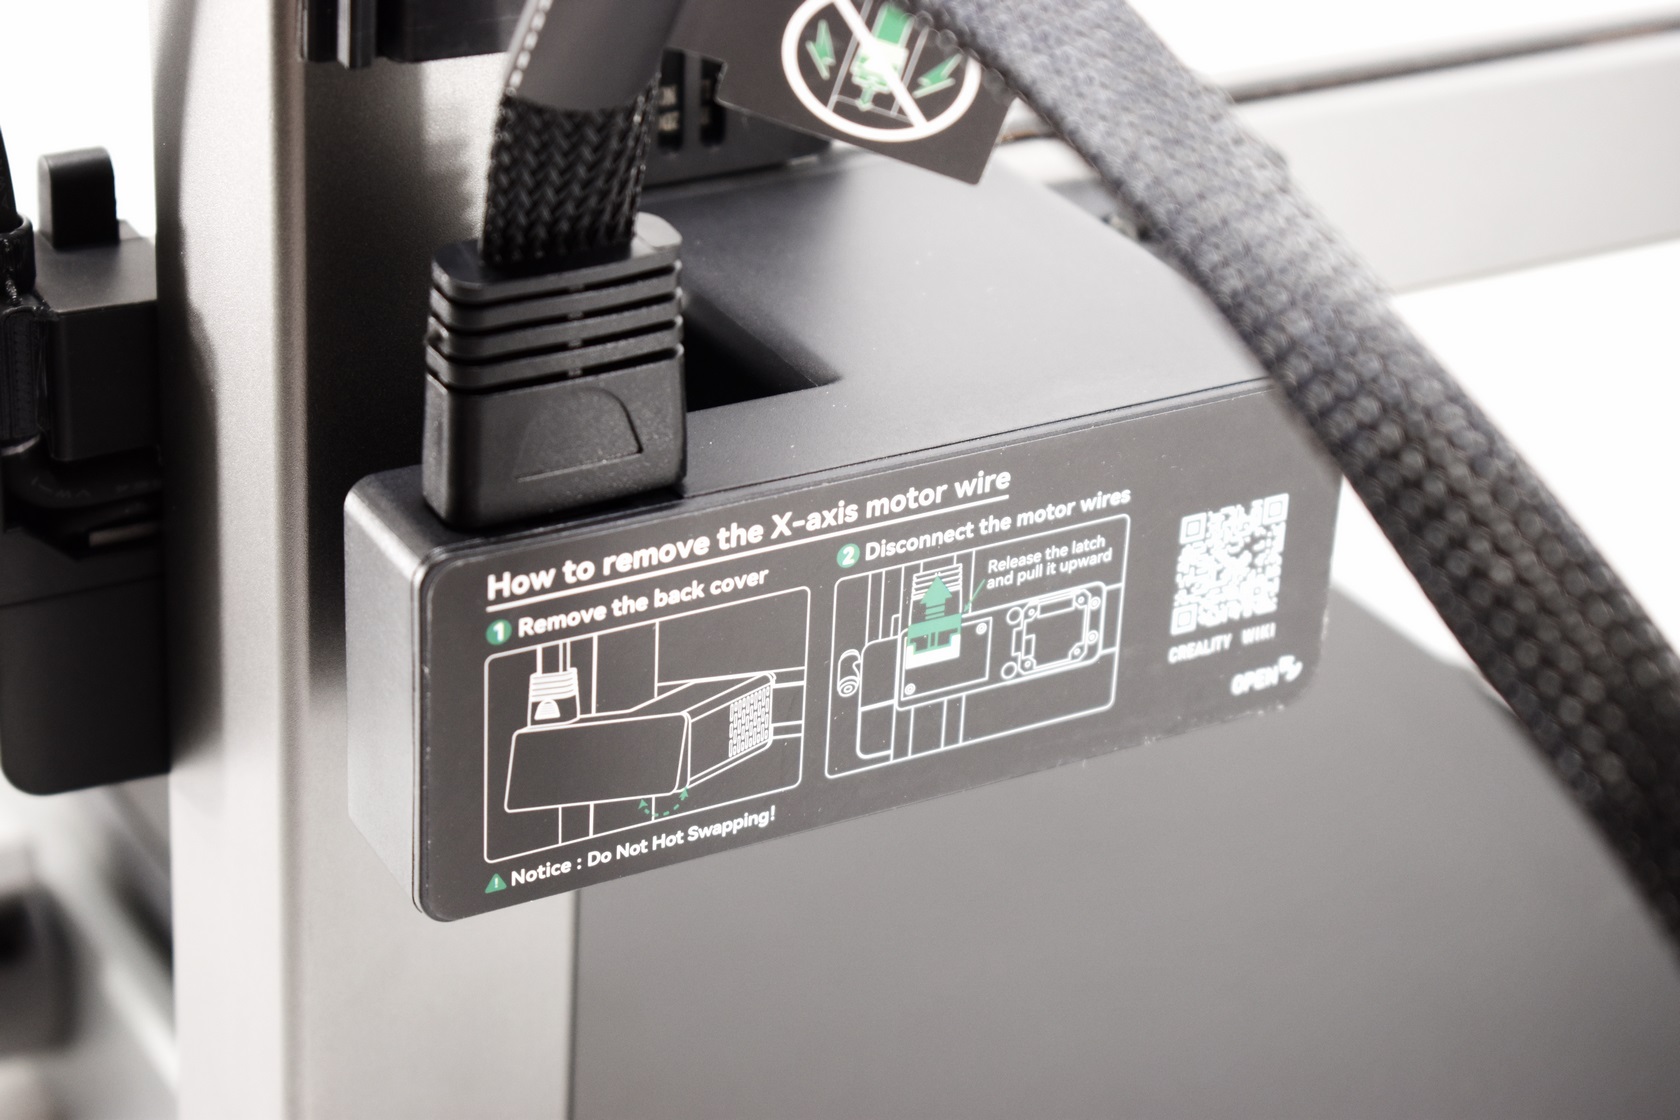
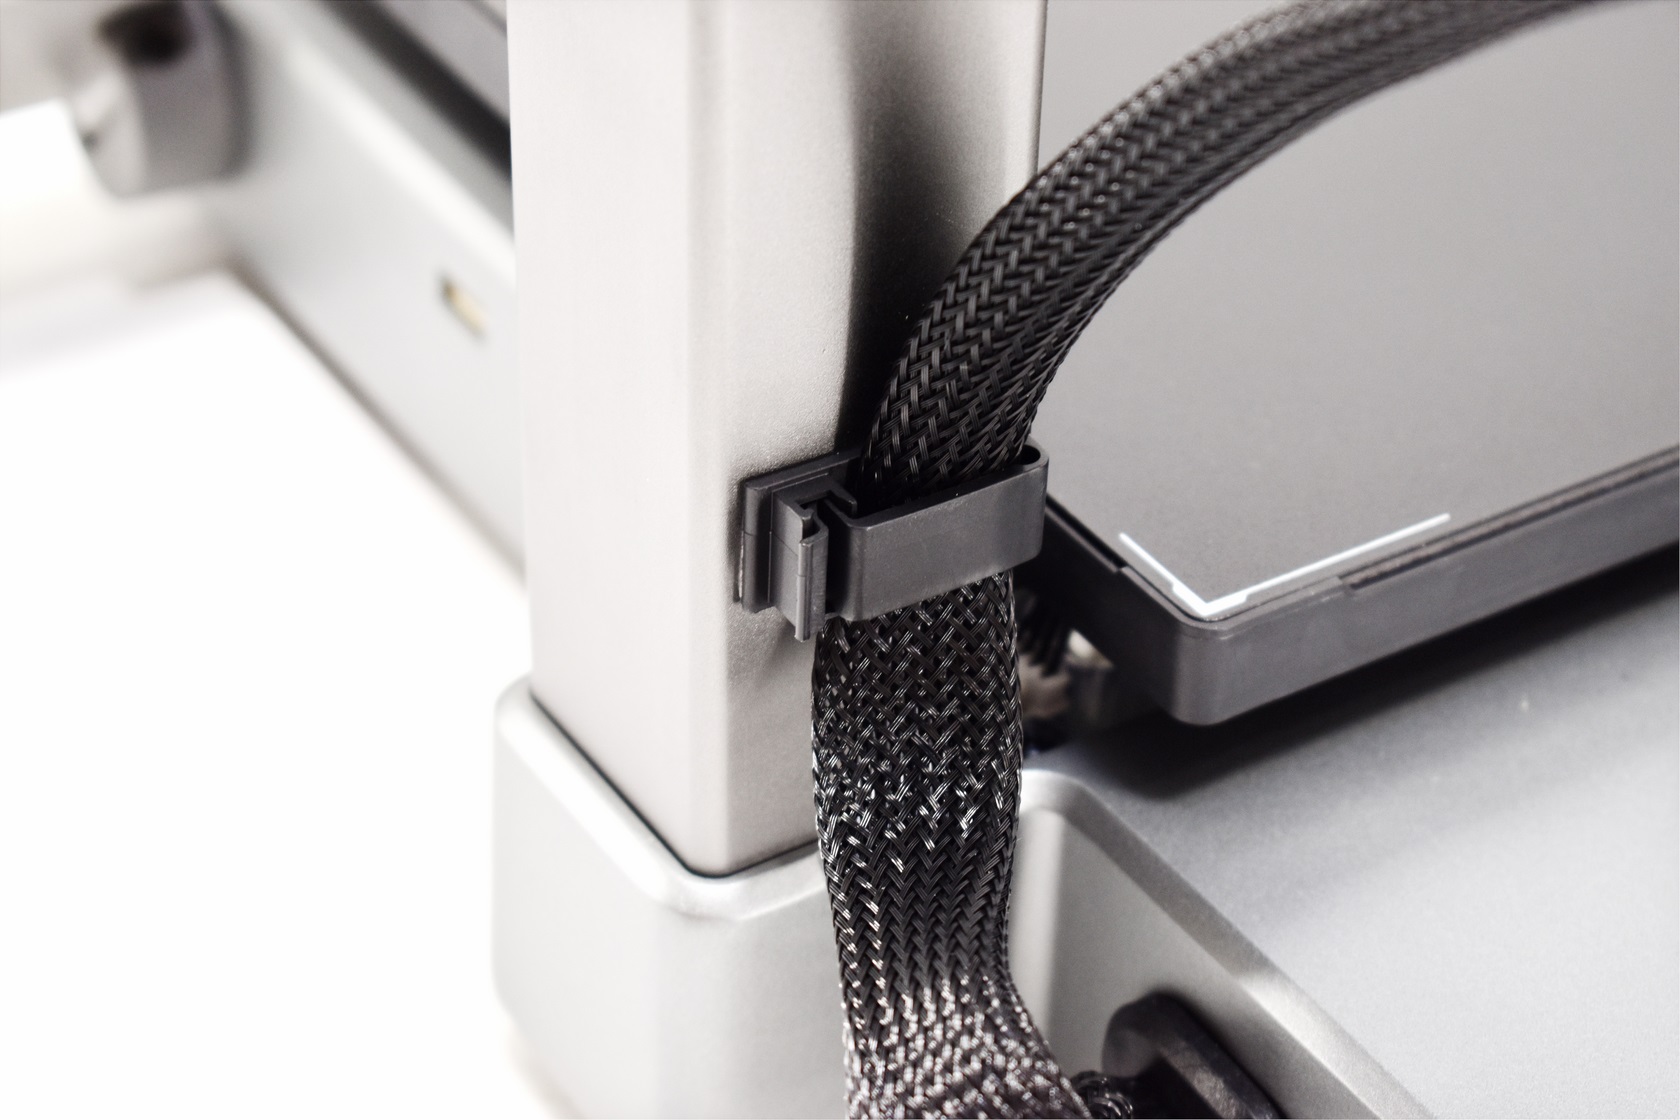
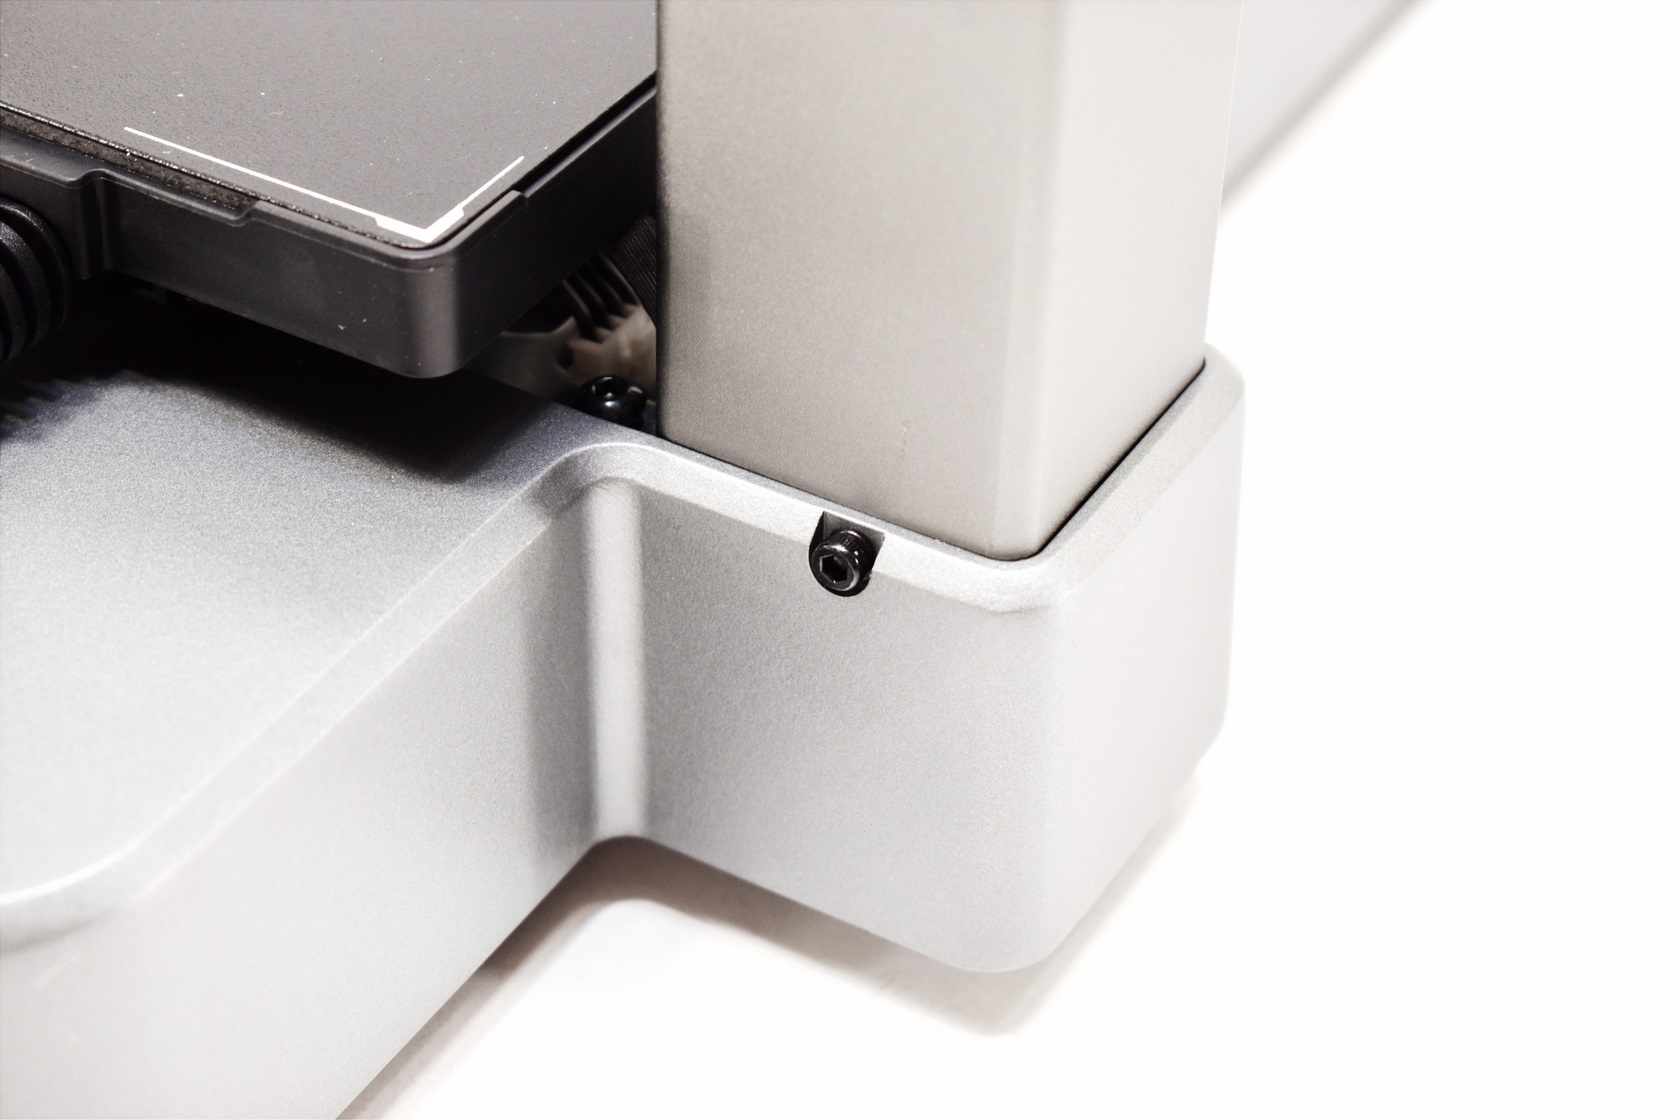
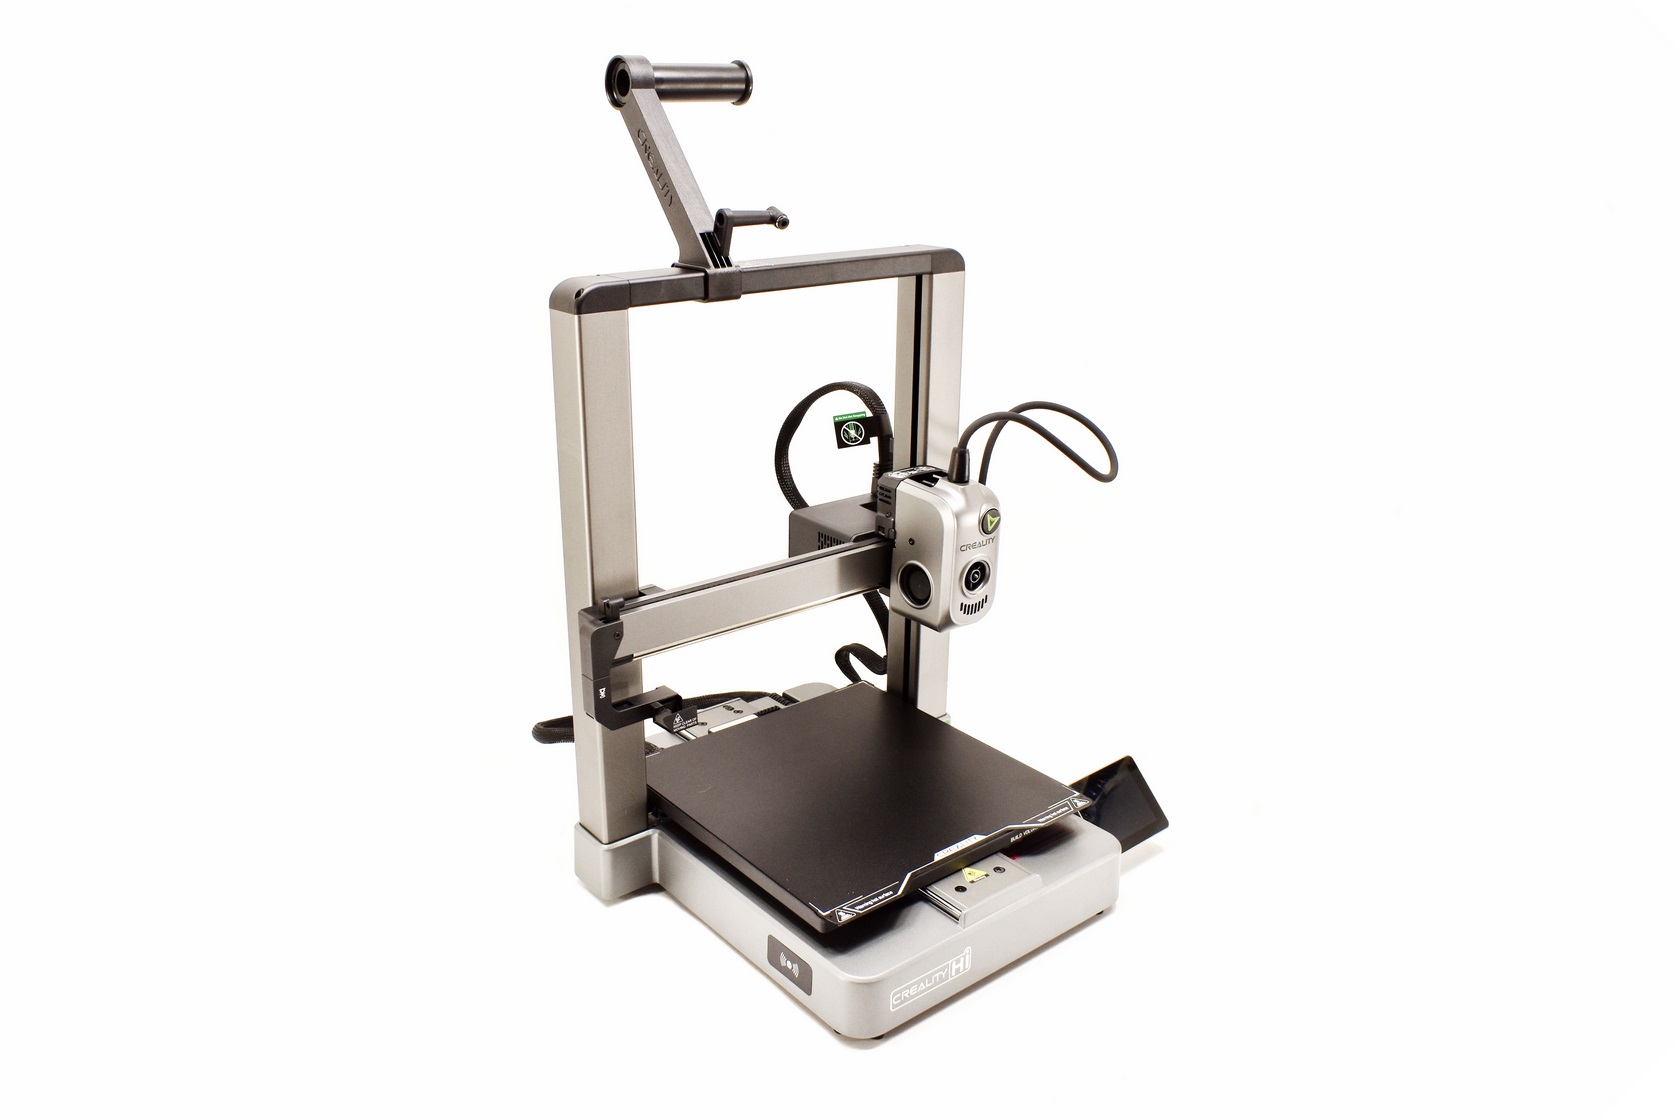
Assembly of the Hi 3D printer is very fast, just attach both parts using the 6 bundled screws, connect the 4 cables (3 between the lower and upper half and 1 between the lower half and the extruder) and you're good to go.
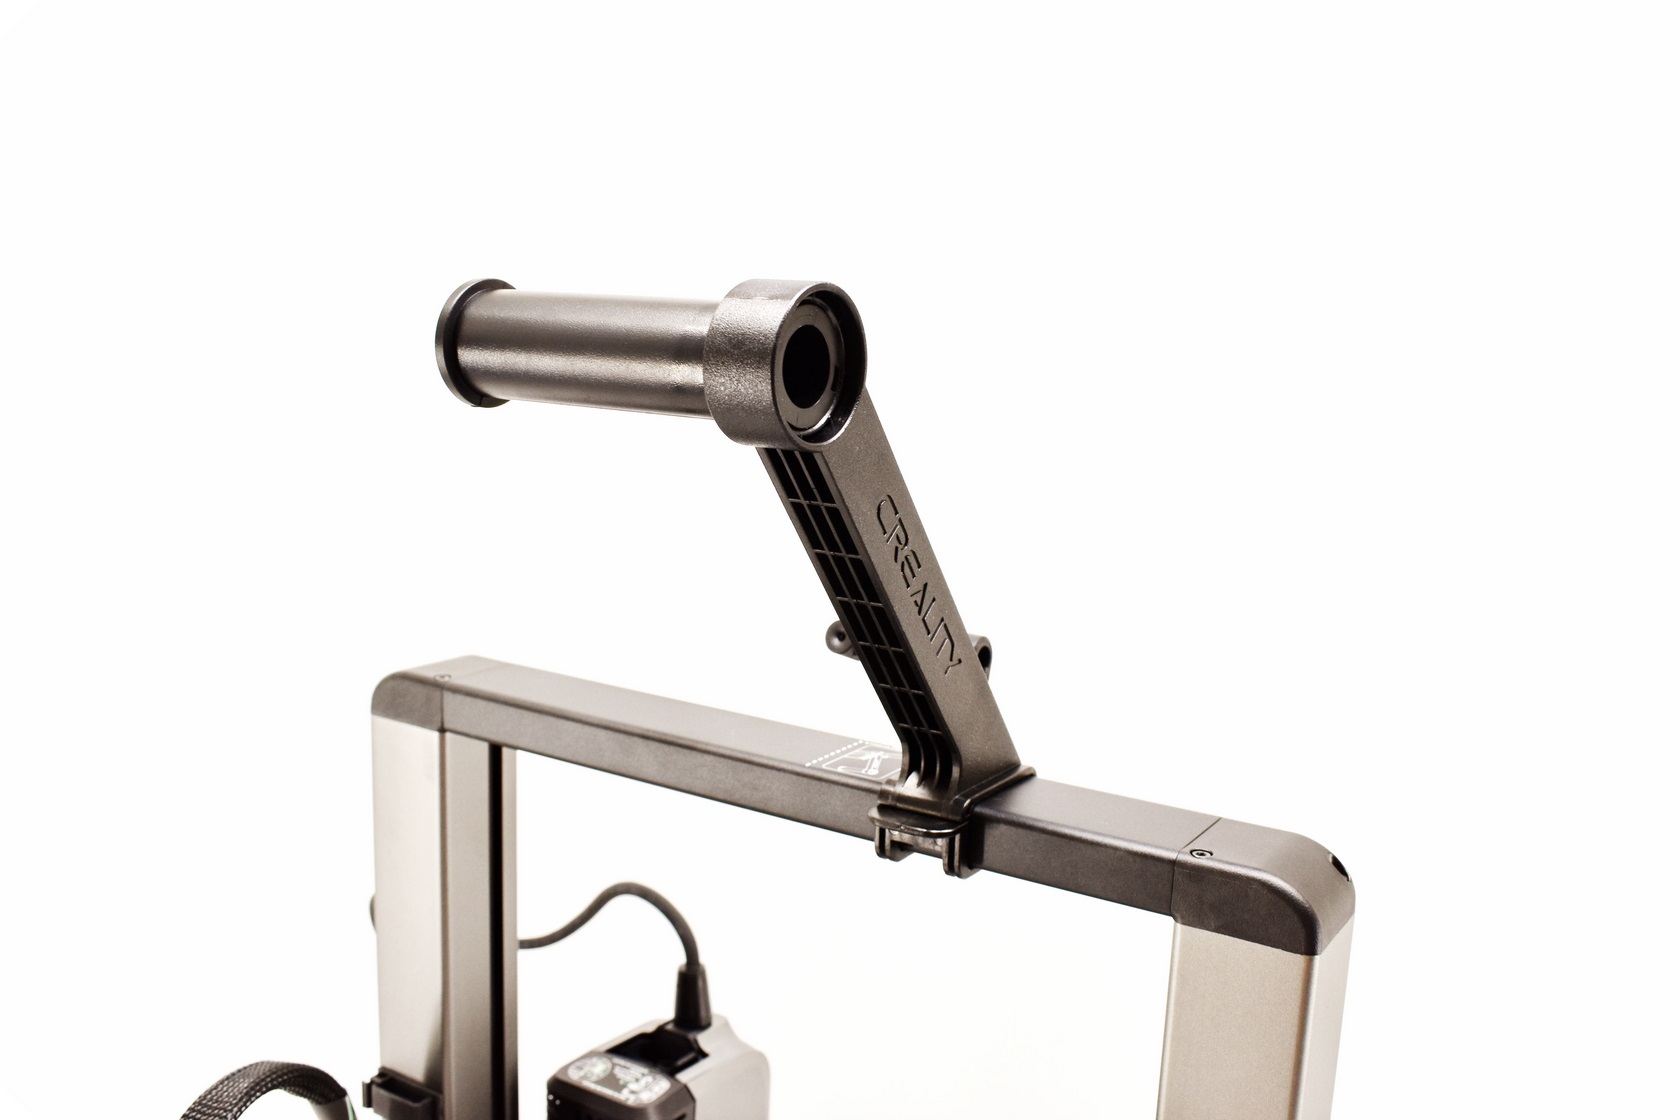
 If you don't plan on using the CFS or if you just have the Hi 3D printer you will also need to attach the three piece filament holder as seen above.
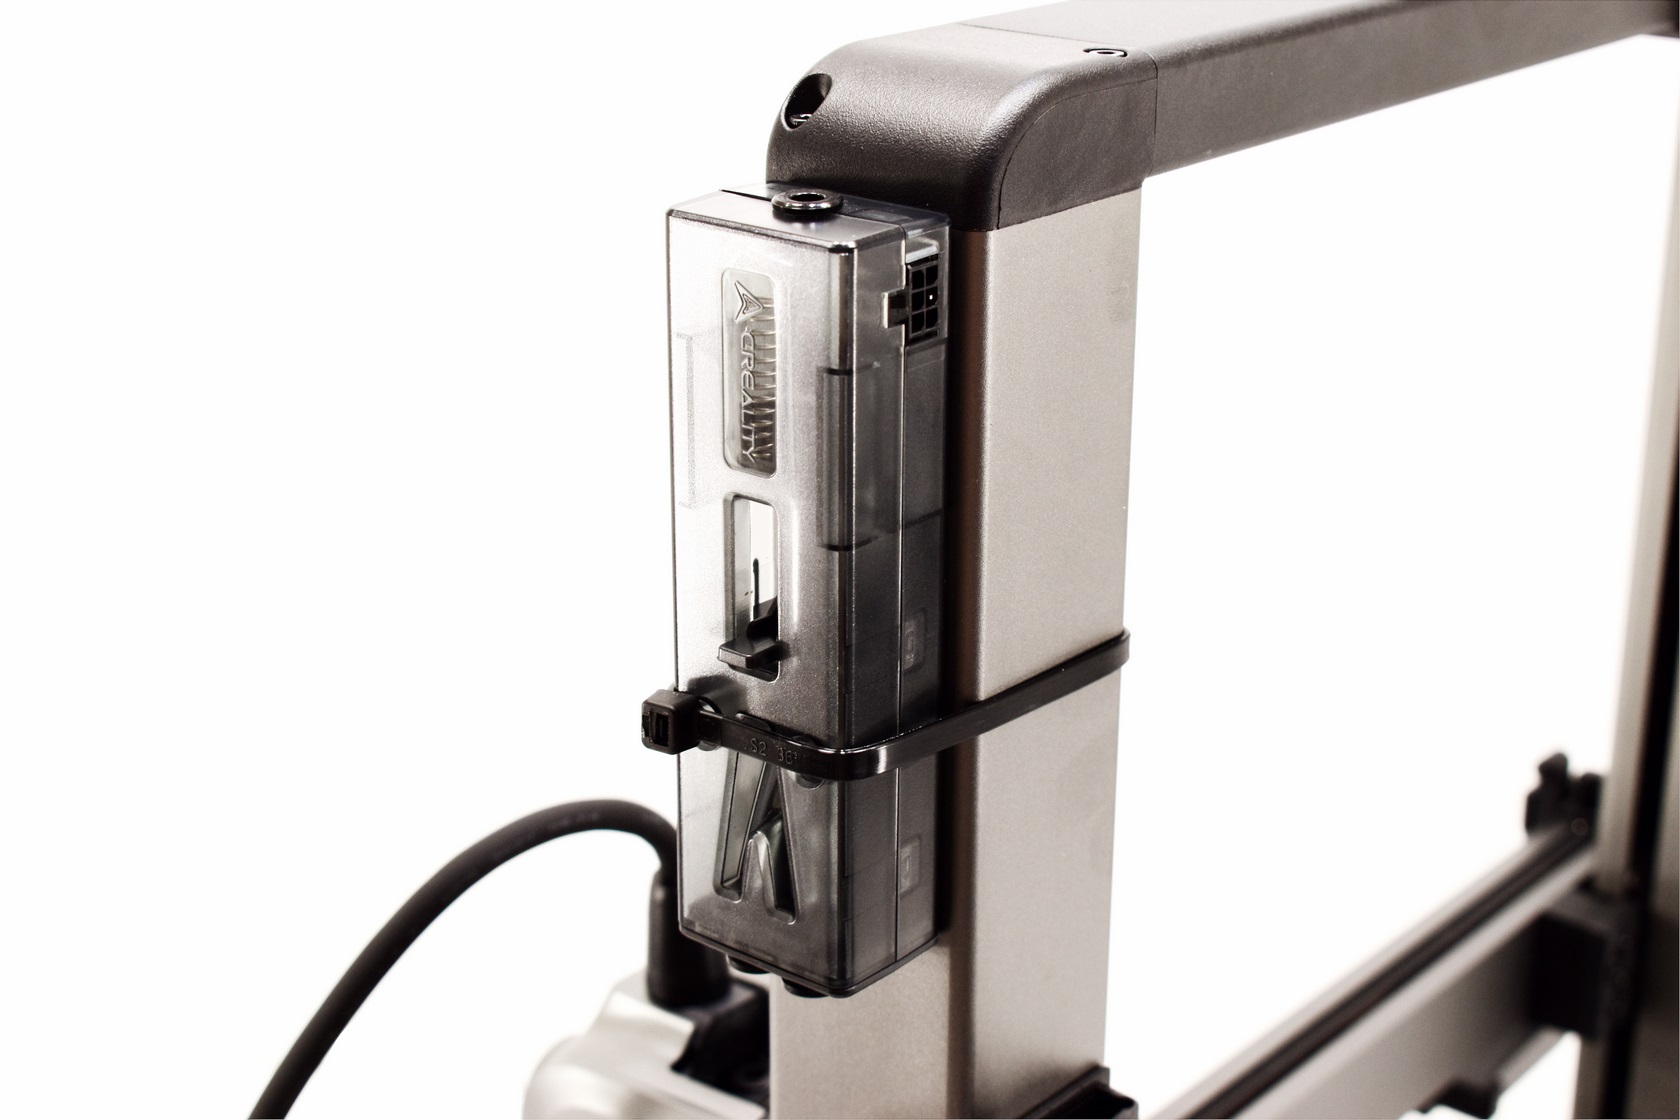
In order to connect the CFS with the Hi 3D printer you will need to attach the buffer on the right top side as seen above (you can either use the bundled dual sided tape or a cable tie like I did - just make sure the cable tie is not too thick).
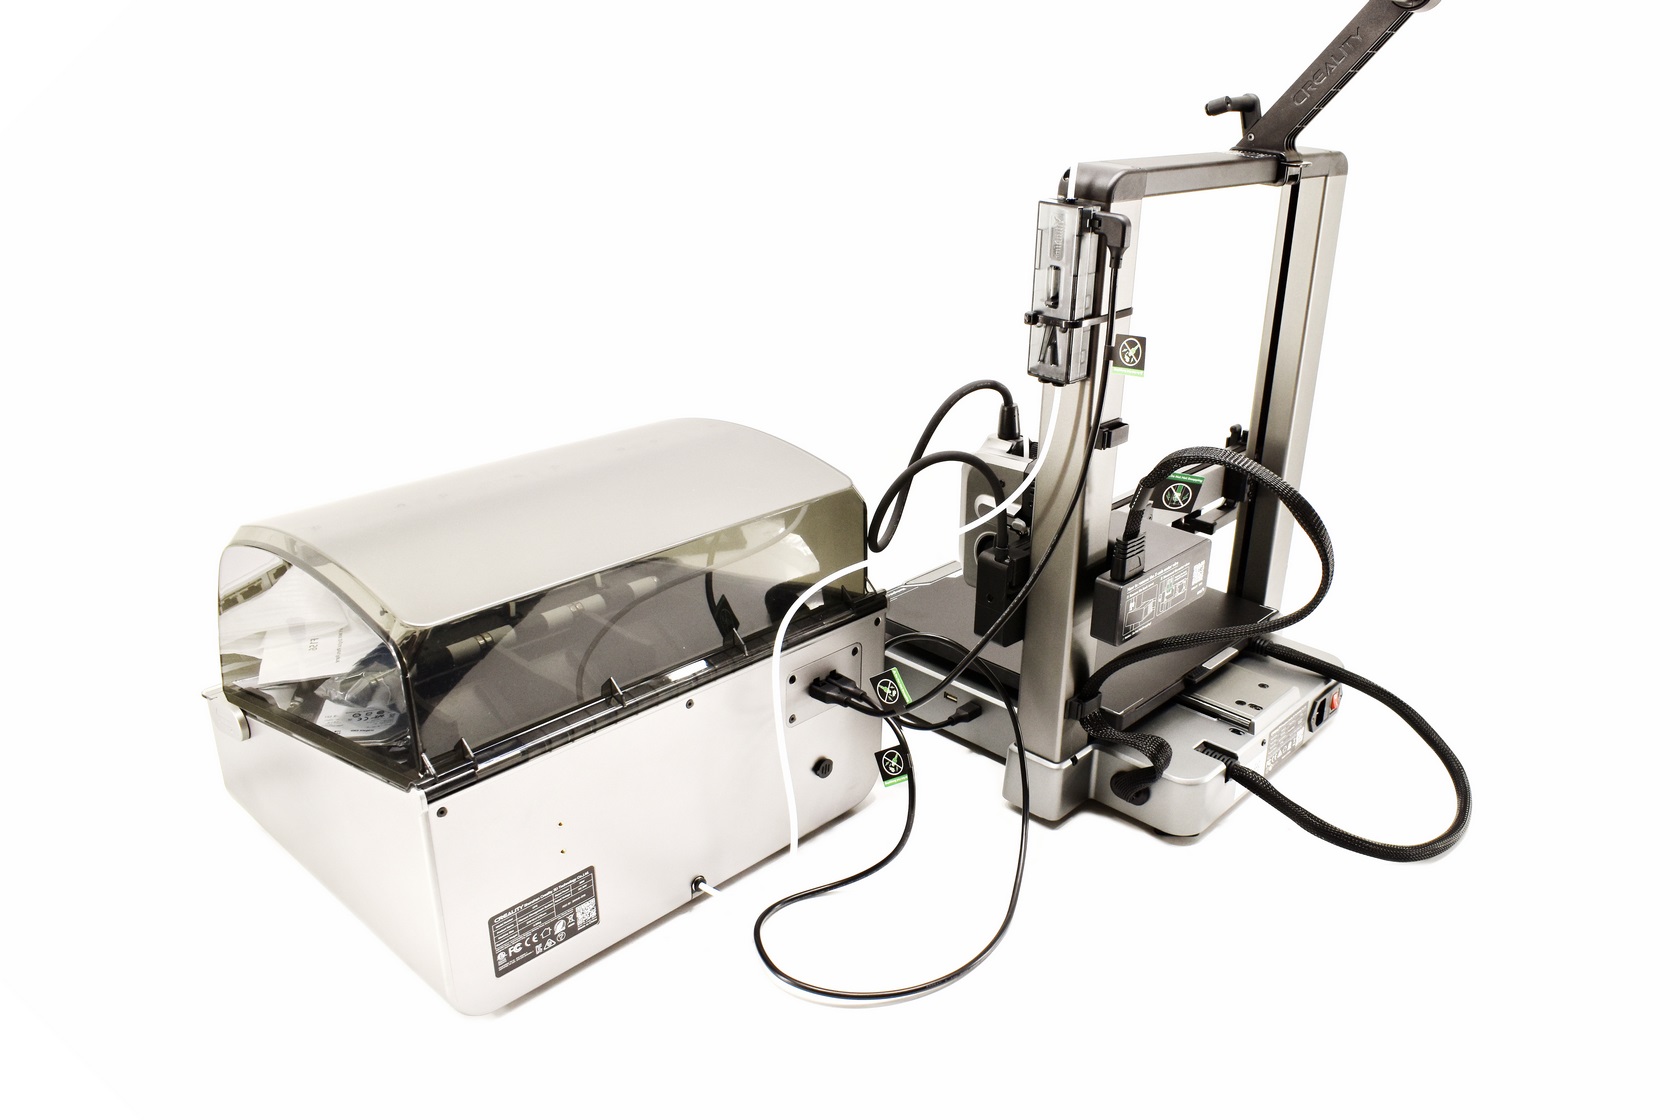
After that just connect the CFS to the buffer with the bundled cable and with a Teflon tube and the buffer to the extruder again with a Teflon tube and you're set.
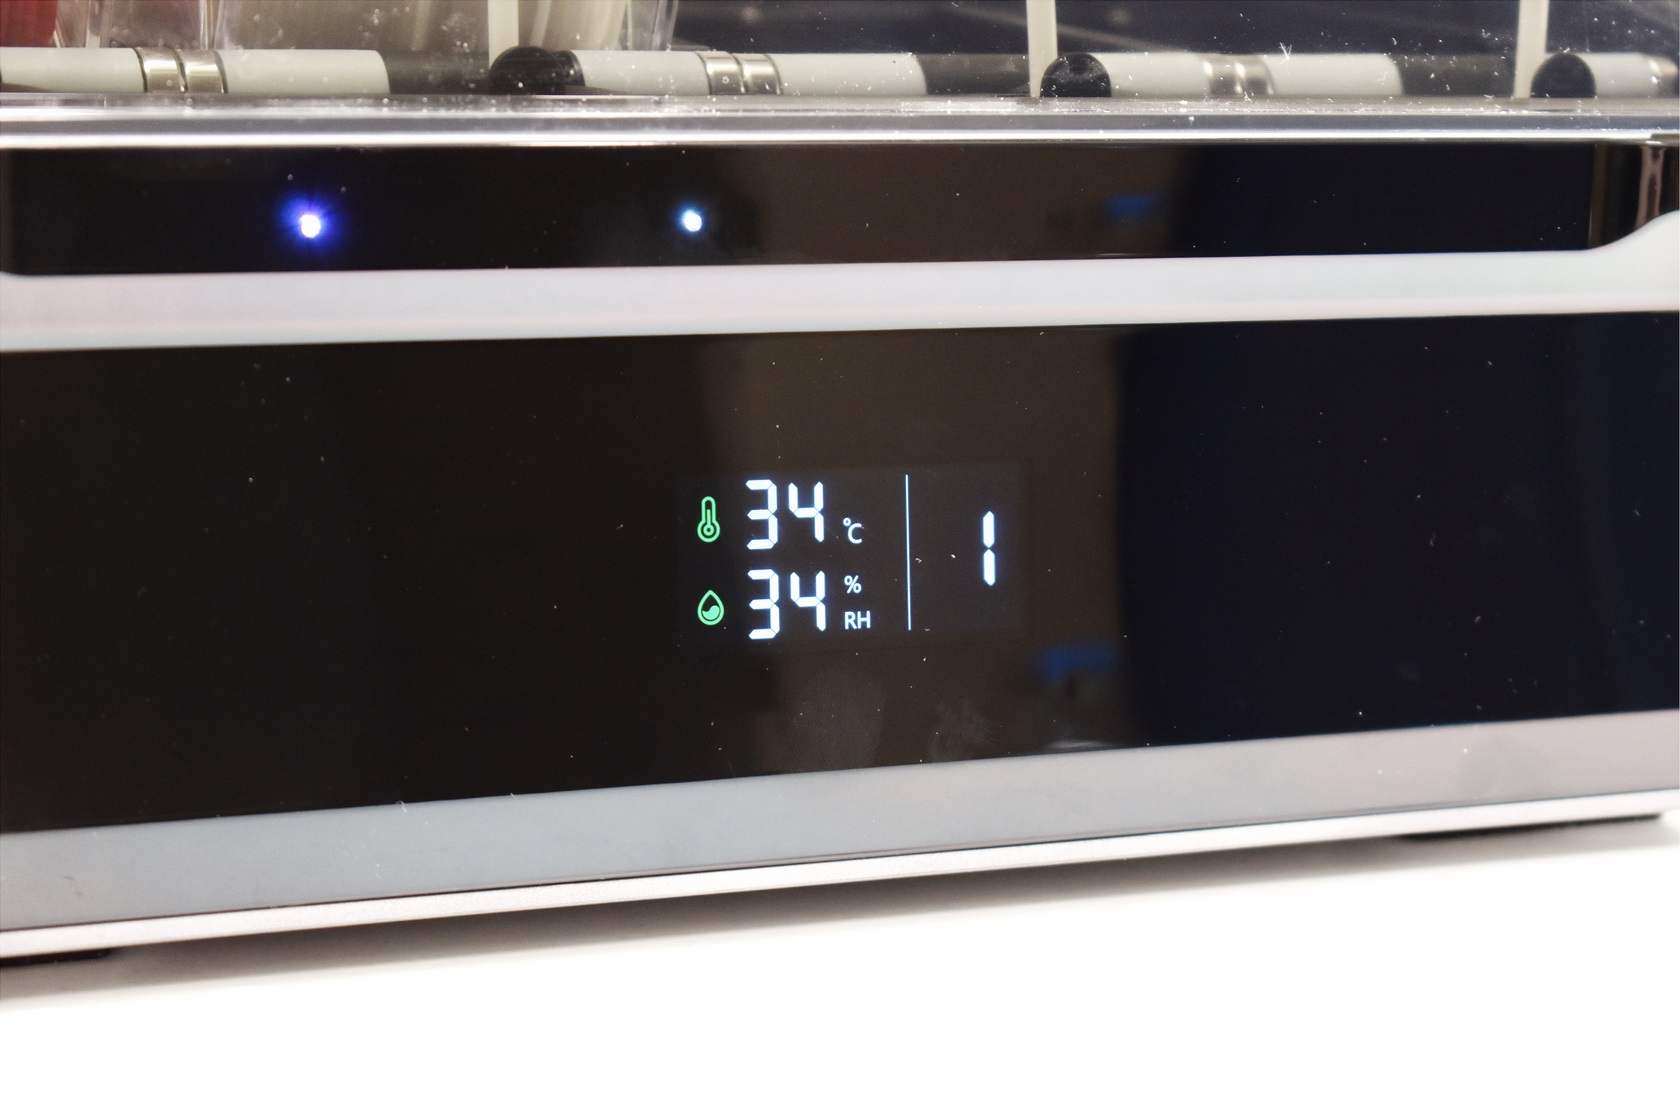
The CFS has a temperature and humidity display at the front.


.png)