O-Sense

.jpg)


INTRODUCTION
3D printing has quietly shifted from a niche hobby to a practical tool that more people rely on for prototyping, repairs, and small‑batch creations. What used to feel experimental now feels almost routine, with printers becoming faster, more reliable, and far easier to live with. The real difference these days isn’t just print quality, it’s how smoothly a machine fits into your workflow. After using and testing a wide range of models over the years, I’ve learned that the best printers are the ones that disappear into the background and simply get the job done. That brings me to today’s review subject, the QIDI PLUS 4, a machine that promises industrial‑level stability without the industrial‑level headache.
Our story formed in 2014, QIDI Tech began with a small team of engineers with a big vision: we wanted to make 3D printing accessible to everyone. Crazy? A little bit. With our journey have consistently focused on more than just producing machinery; it's about enabling creators of all kinds to bring their ideas to life. Every day, we're doing more than just constructing printers. We are establishing an environment where seasoned designers and adventurous individuals can join forces, work together, realize ideas, and develop. QIDI Tech 3D printers are created to be intuitive and efficient, after all, delivering a hassle free printing process for all users from the beginning should be the top priority. Our extensive manufacturing plant and advanced research and development center embody our commitment to creativity, excellence, and teamwork.
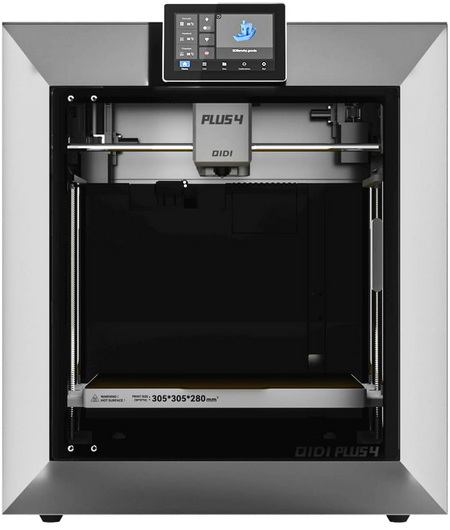
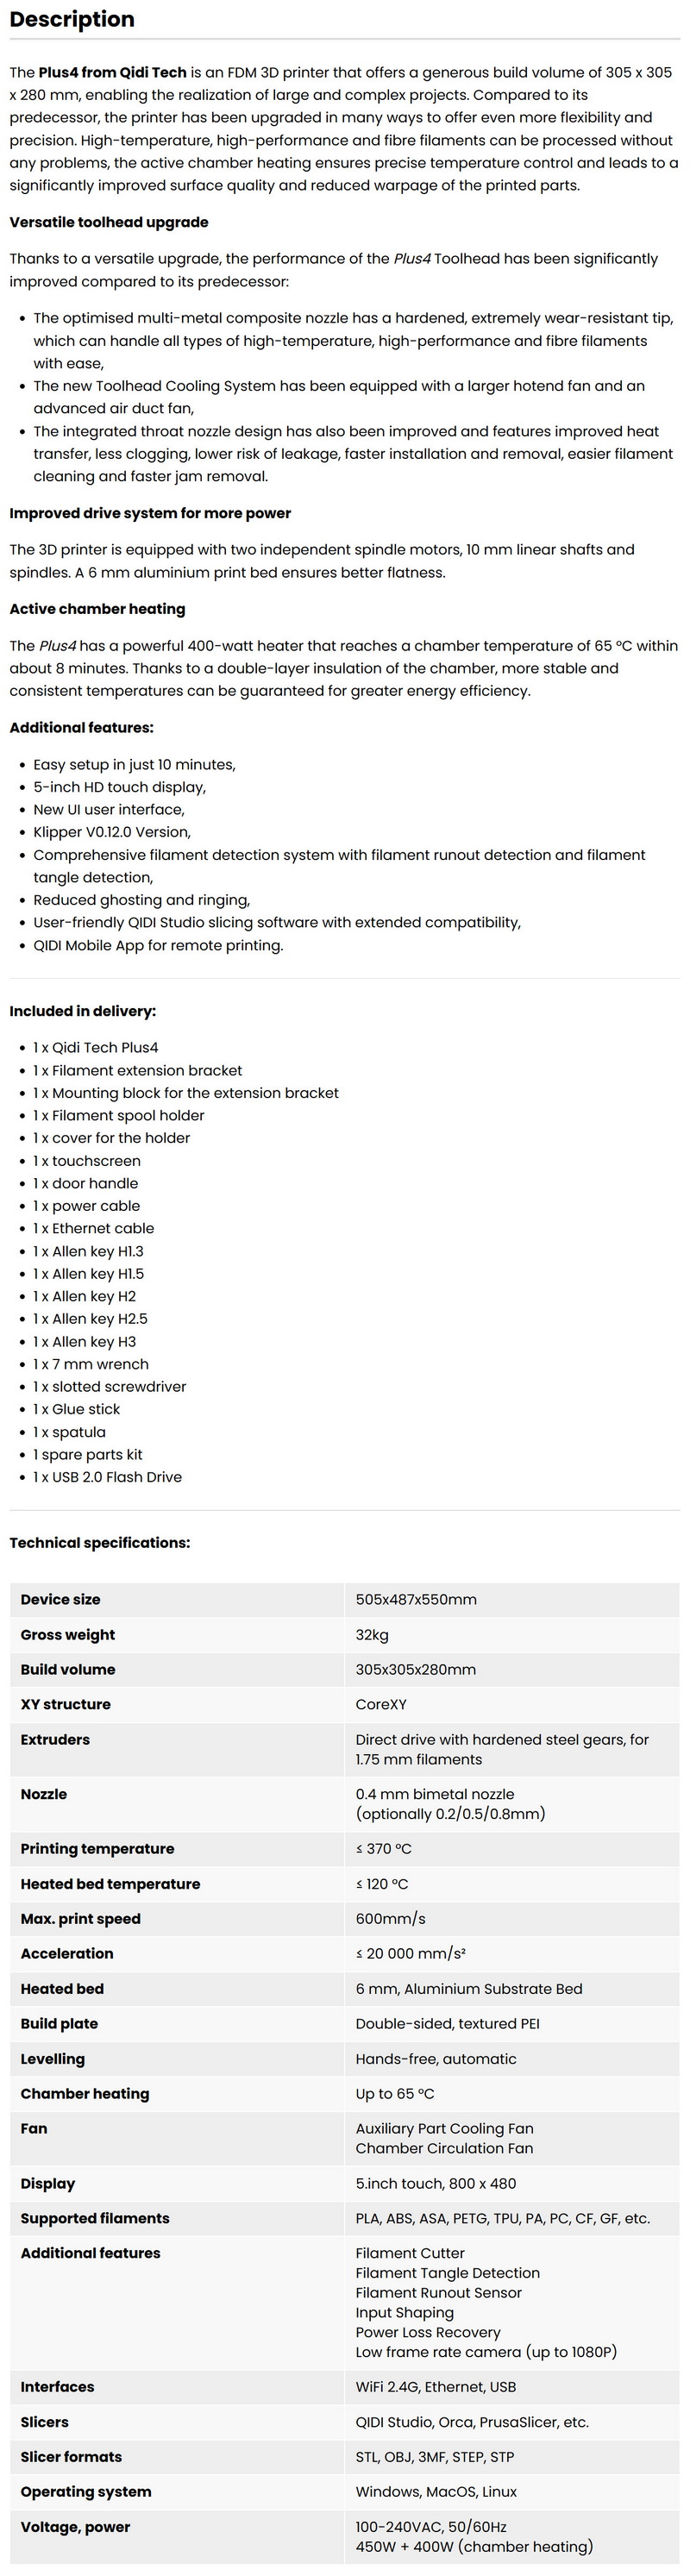
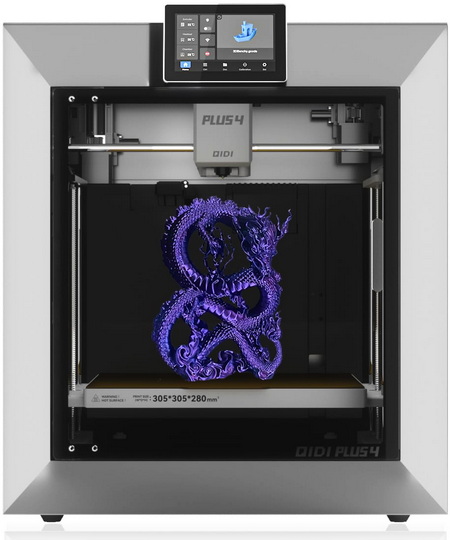
The QIDI Plus 4 comes in with a roomy 305x305x280mm build volume and a CoreXY motion system driven by 9mm belts for stability at high speeds. It’s rated for up to 600mm/s with acceleration up to 20,000mm/s², backed by input shaping and closed‑loop control to keep prints clean even when pushing it. The direct‑drive extruder can reach temperatures of up to 370°C, letting it handle tougher materials like Nylon, ABS, ASA, PETG, TPU, and carbon‑ or glass‑fiber composites. A second‑generation actively heated chamber climbs to 65°C, which helps reduce warping on engineering filaments. The dual‑sided textured PEI plate makes part removal painless, and the fully automatic leveling system keeps setup hands‑off. QIDI also features an 5-inch 800x480 touch screen, Wi-Fi 2.4GHz connectivity, USB port, Ethernet RJ45 port, filament runout and tangle detection (quad filament box is also supported), and an auxiliary part‑cooling fan for sharper details. The machine runs on Windows, macOS, or Linux and supports STL, OBJ, and 3MF files. With a solid metal frame, dual Z‑axis lead screws, and a carbon‑filtered circulation fan, it’s clearly built for reliability. All of this comes wrapped in a chassis that feels more industrial than hobby‑grade.
SPECIFICATIONS AND FEATURES
PACKAGING AND CONTENTS
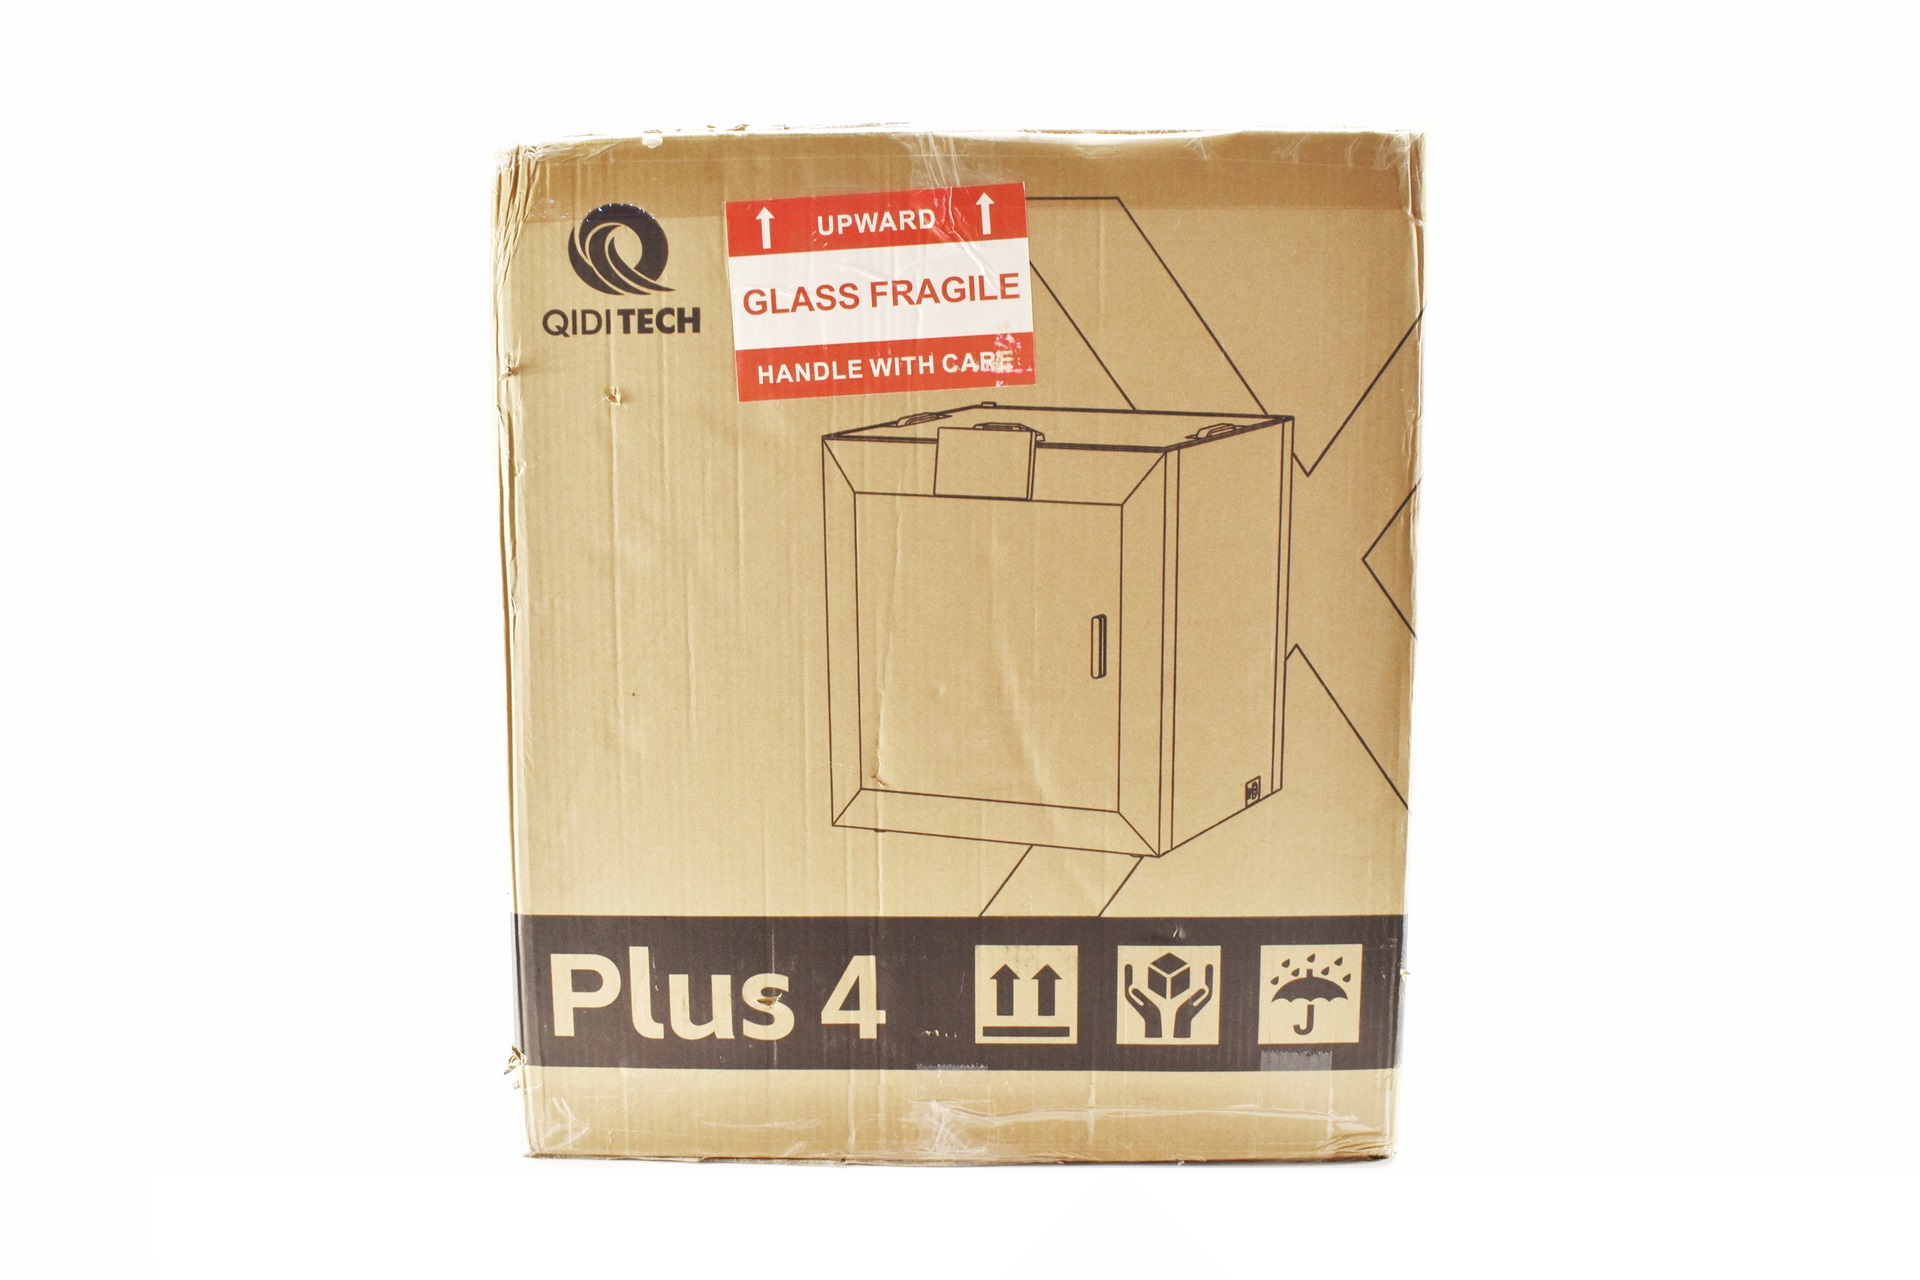
The Plus 4 gets shipped in a plain cardboard box that has a product drawing at the front and rear right under the company logo.
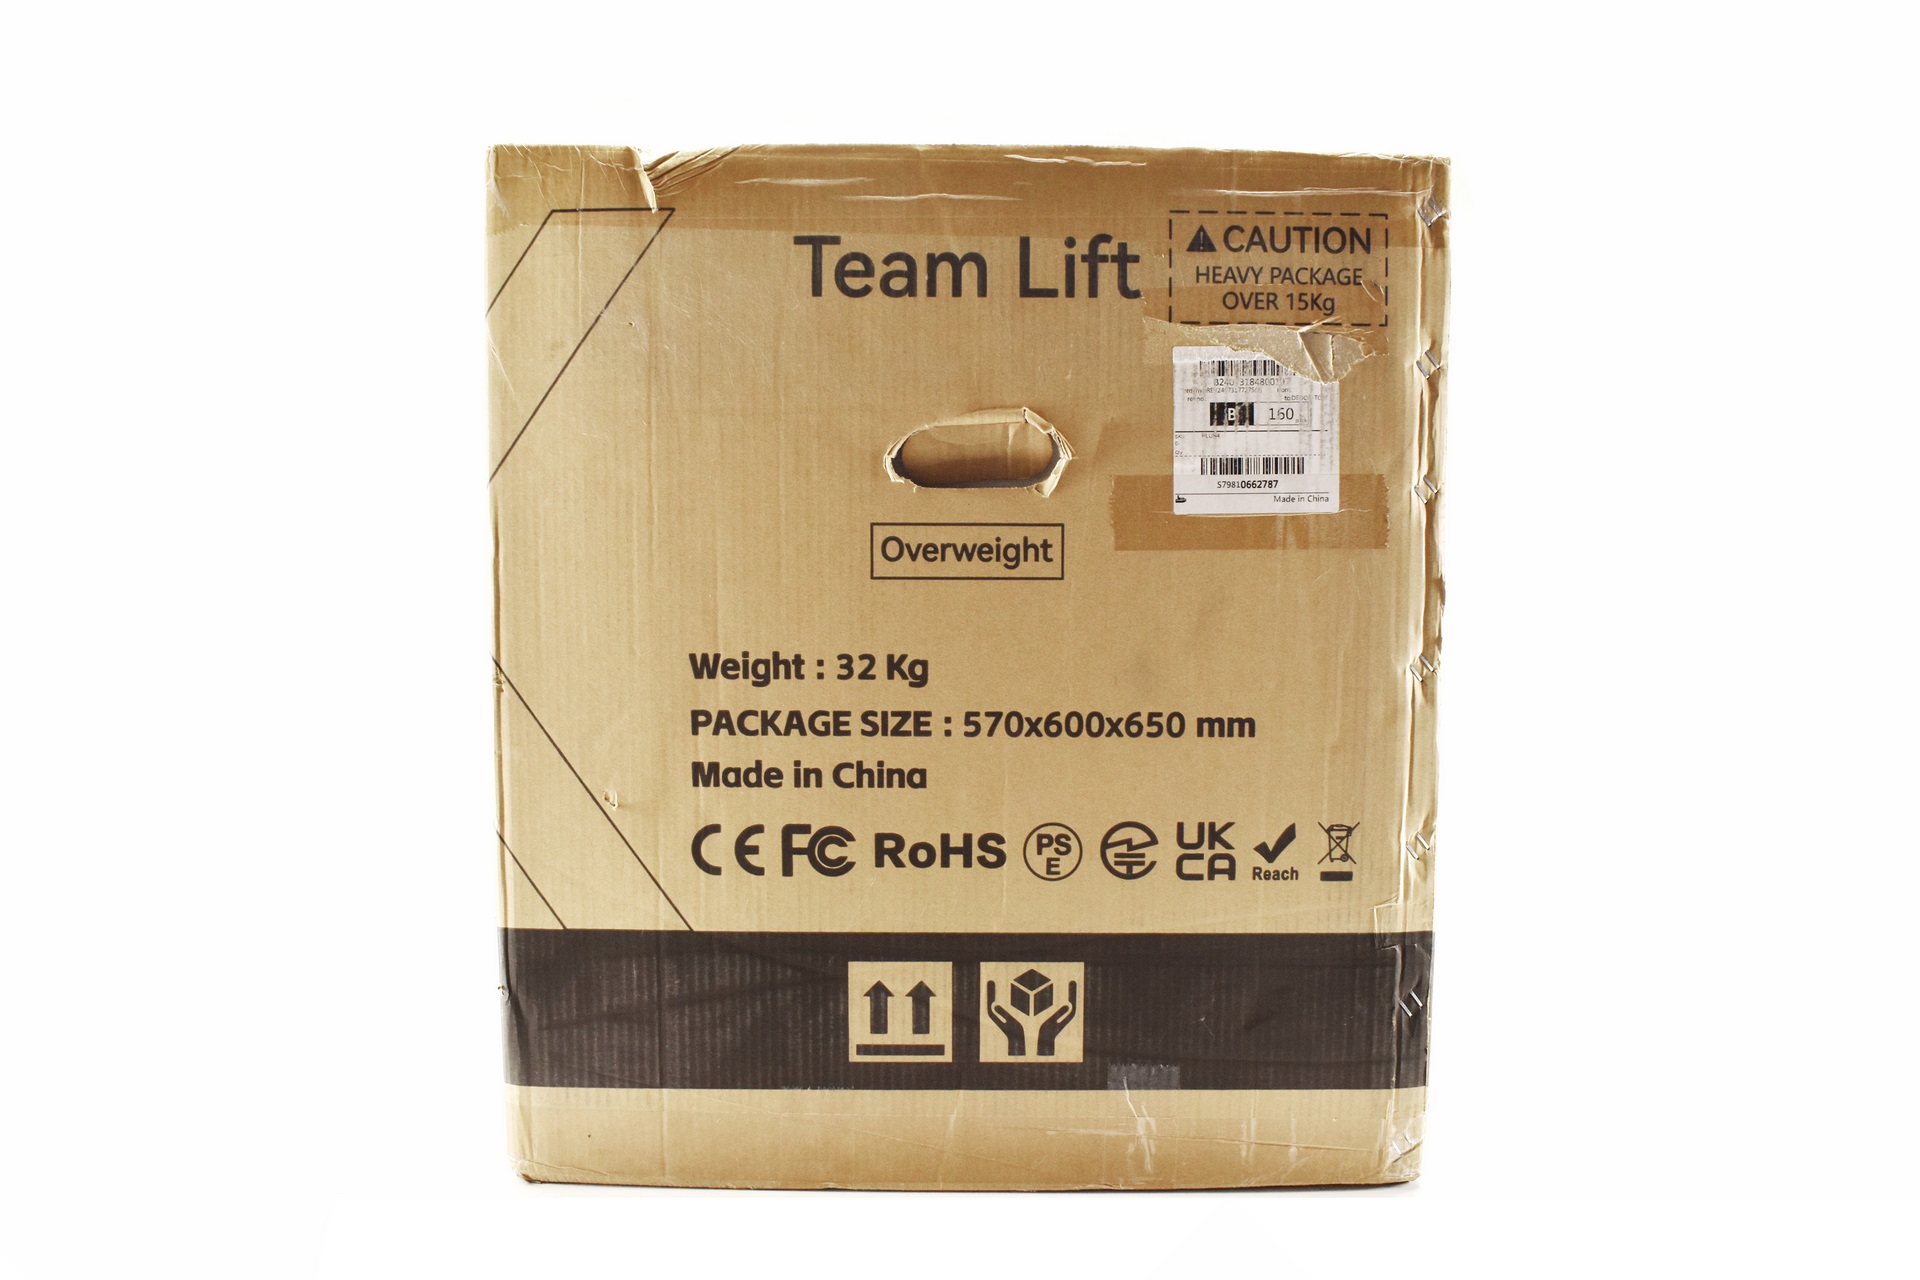
The package size and weight are printed on both sides.
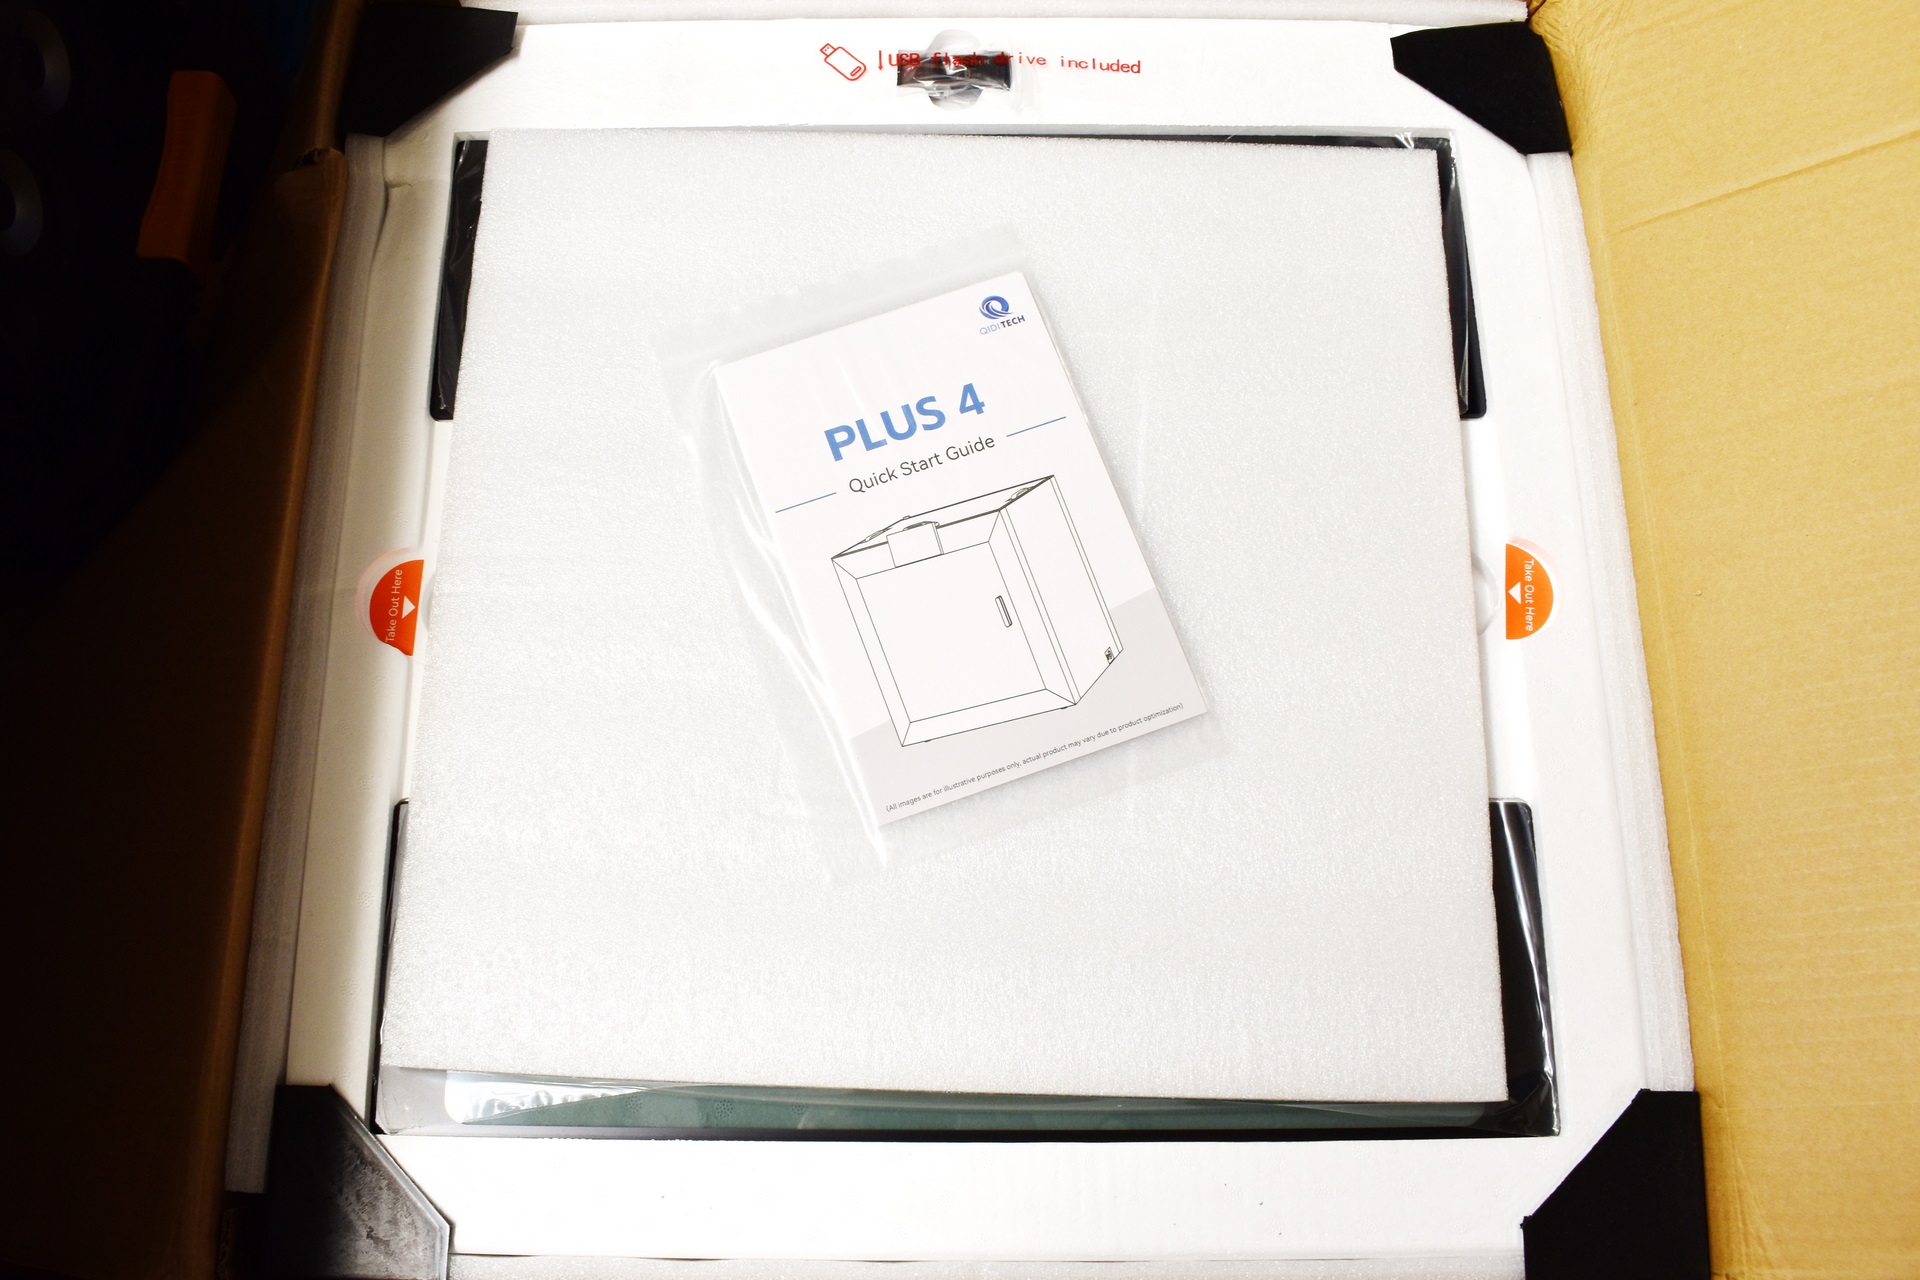
Typically, the printer is placed between several pieces of foam.
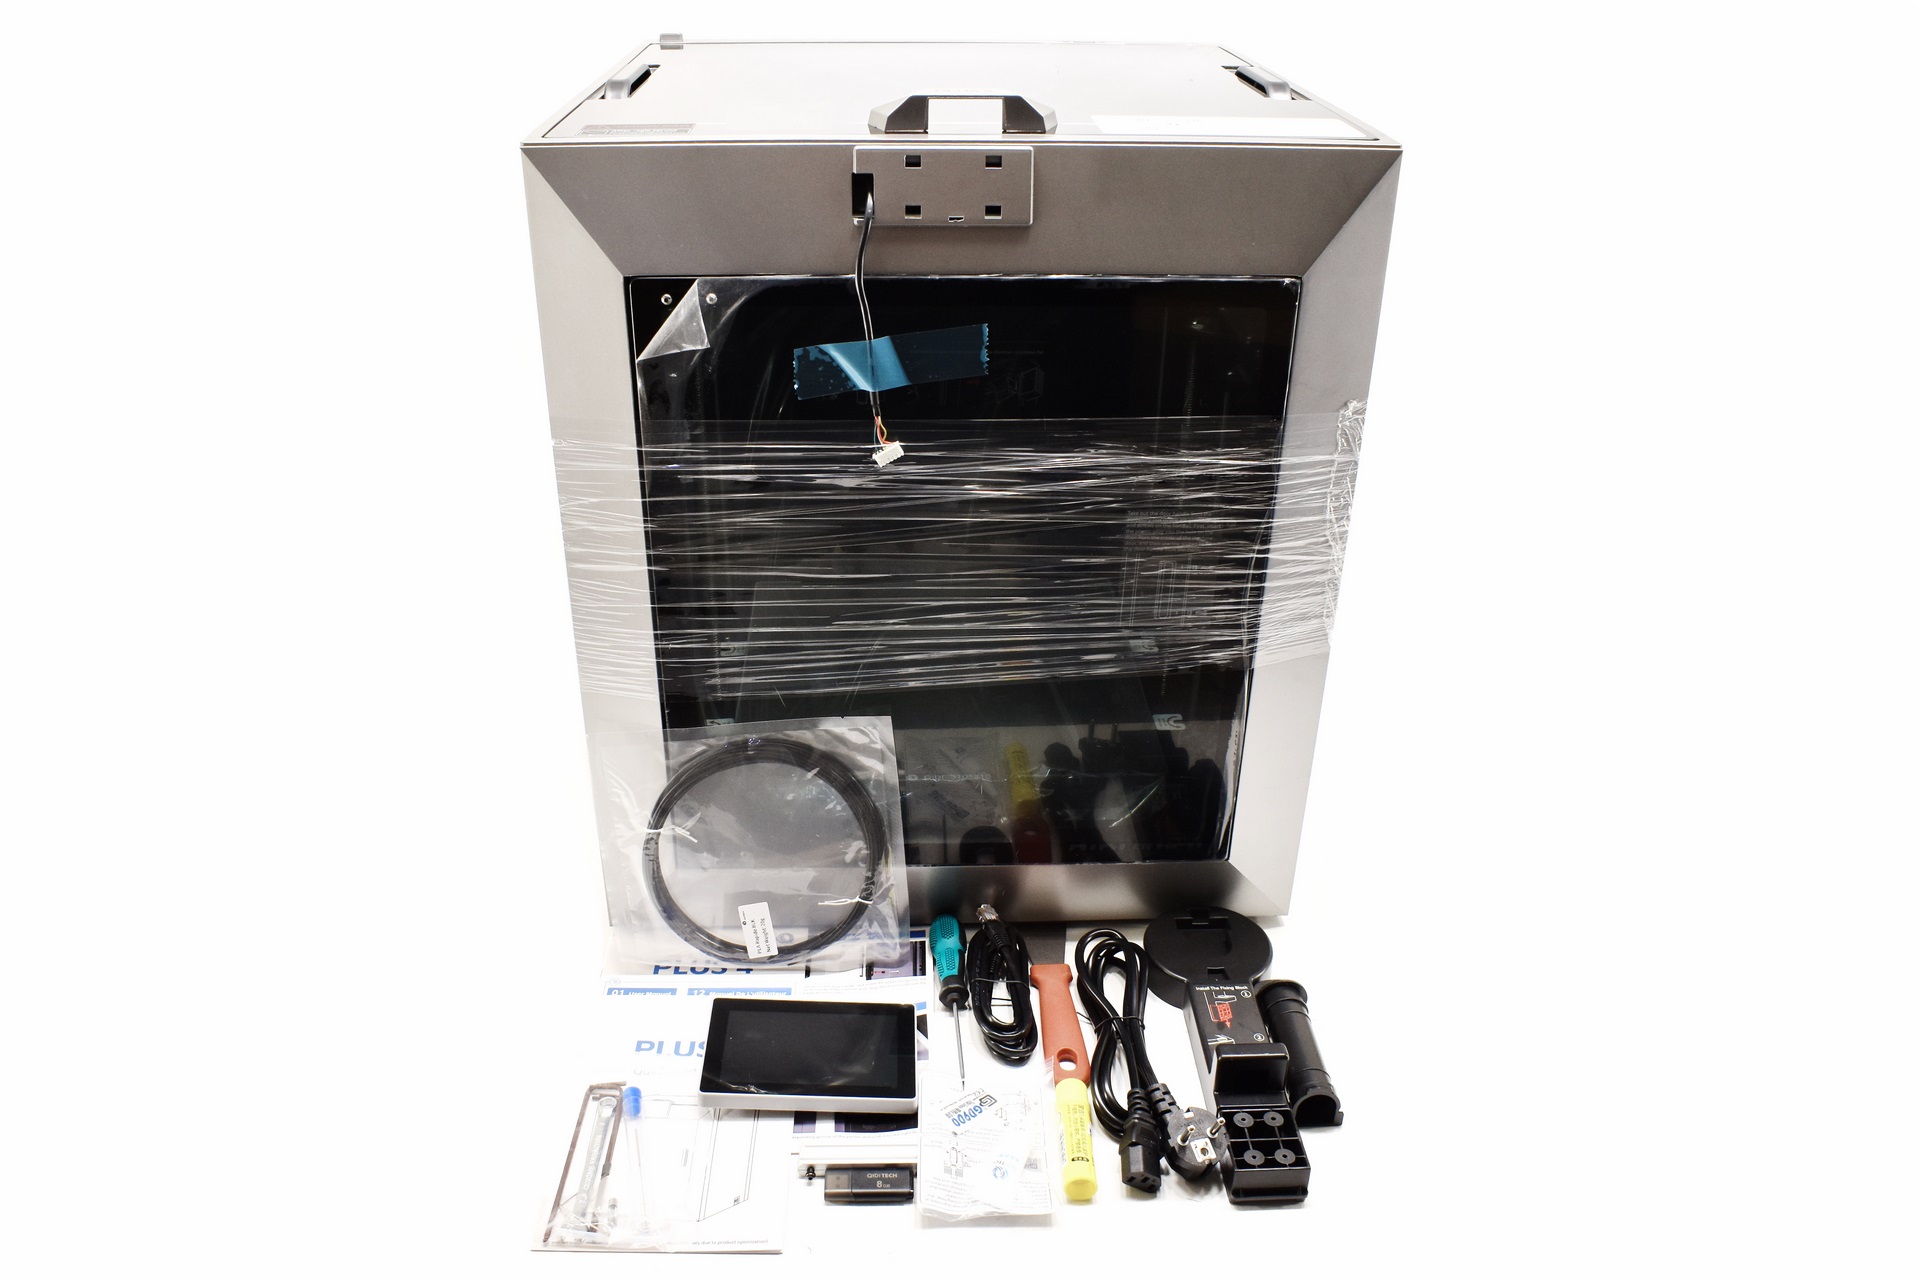
Aside the Plus4 inside the box you'll also find the LCD screen, three piece filament spool holder, 20g PLA rapido filament sample, flat screwdriver, wrench, 5 Allen keys, ethernet cable, power cord, thermal grease, glue stick, scraper, USB 2.0 flash drive, nozzle cleaning kit, quick start guide and the user manual.
THE PLUS 4
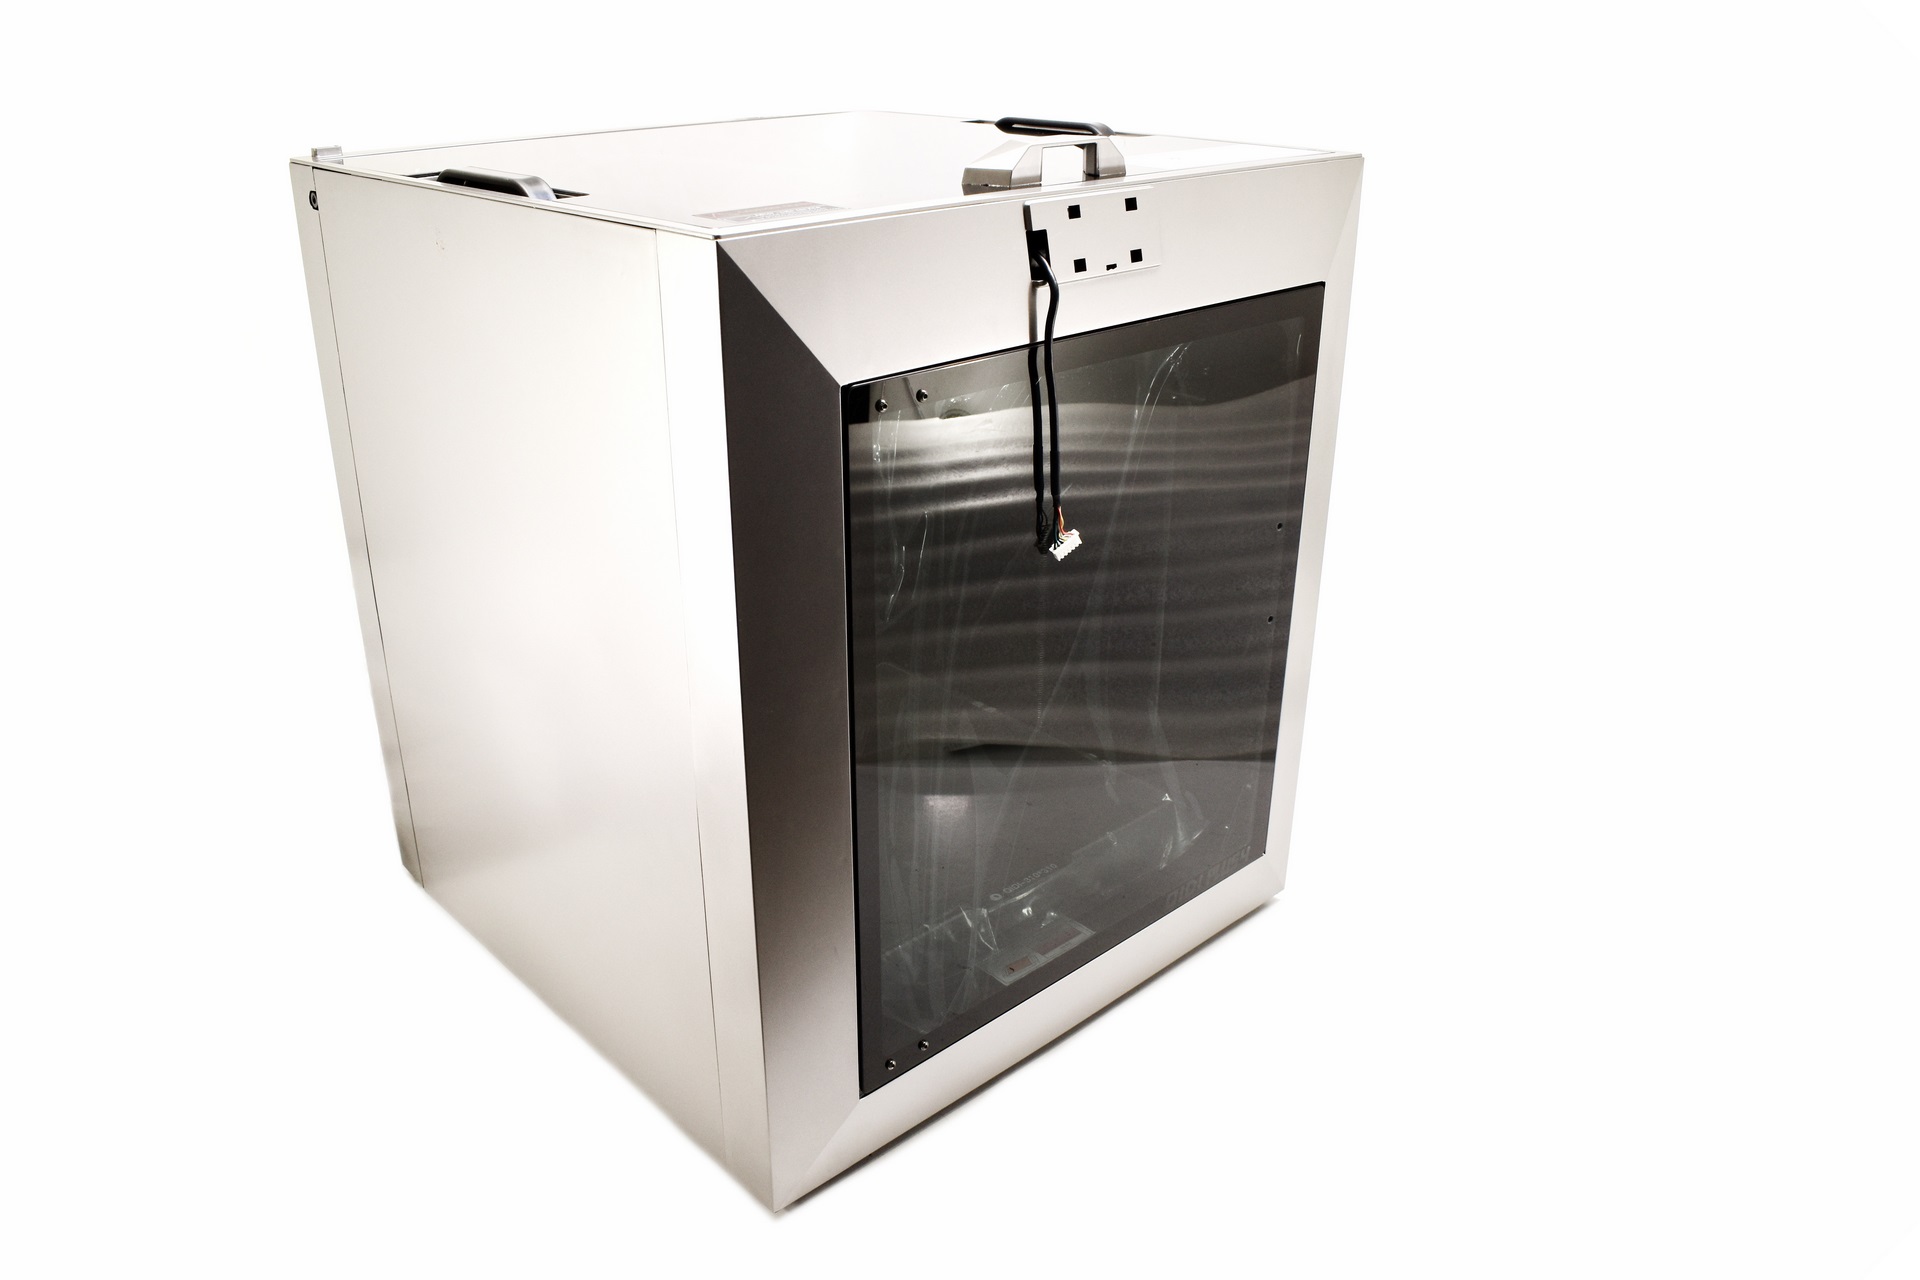
Standing 550mm tall, 487mm wide and 505mm deep the Plus 4 is a medium to large sized desktop 3D printer.
Just like with all other closed enclosure 3D printers I’ve used and/or tested to date the Plus 4 features a tempered glass cover which you can use (not for PLA prints however).

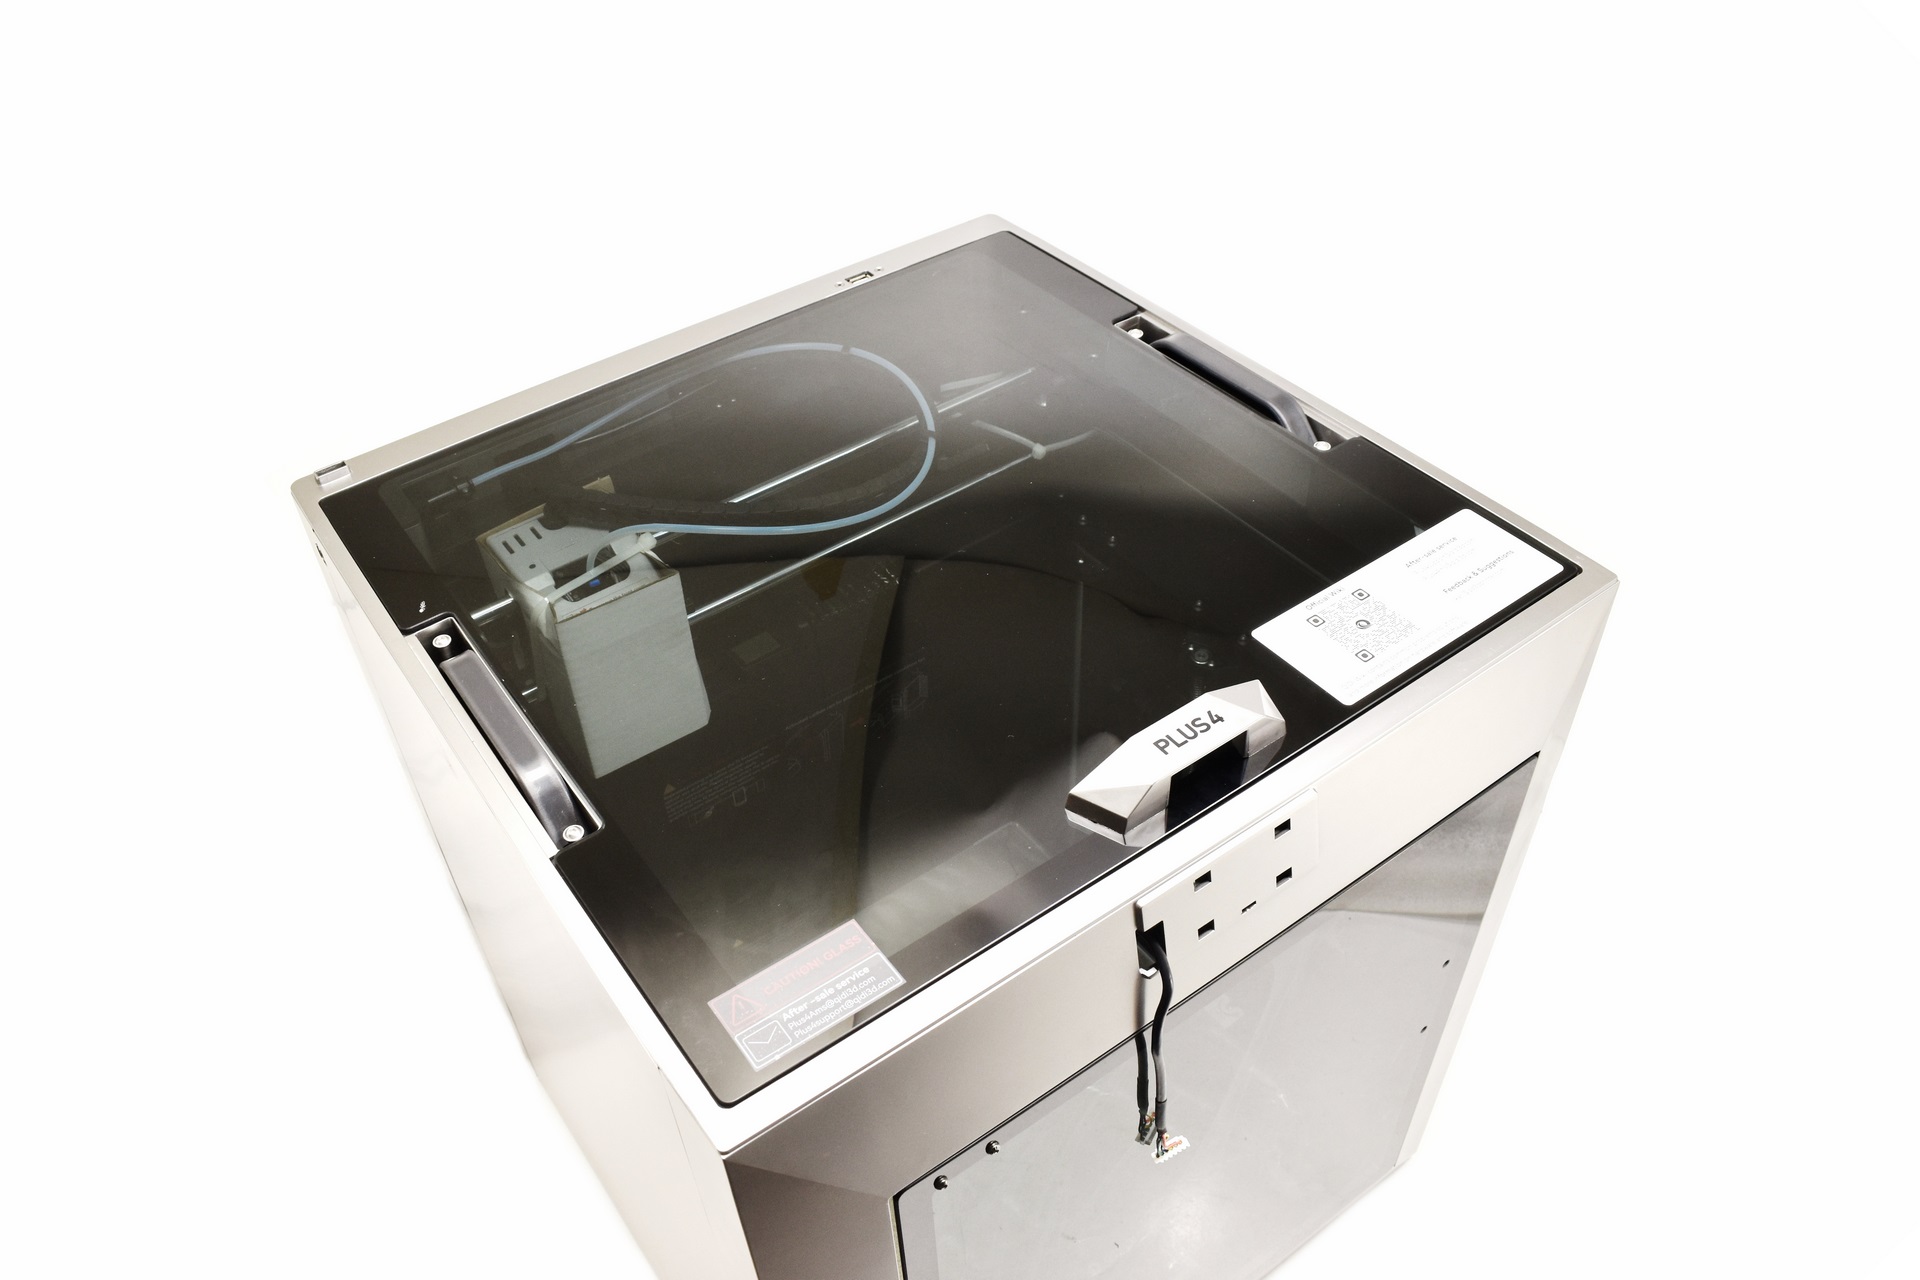
QIDI has placed two very convenient carrying handles on the top left and right of the Plus 4.
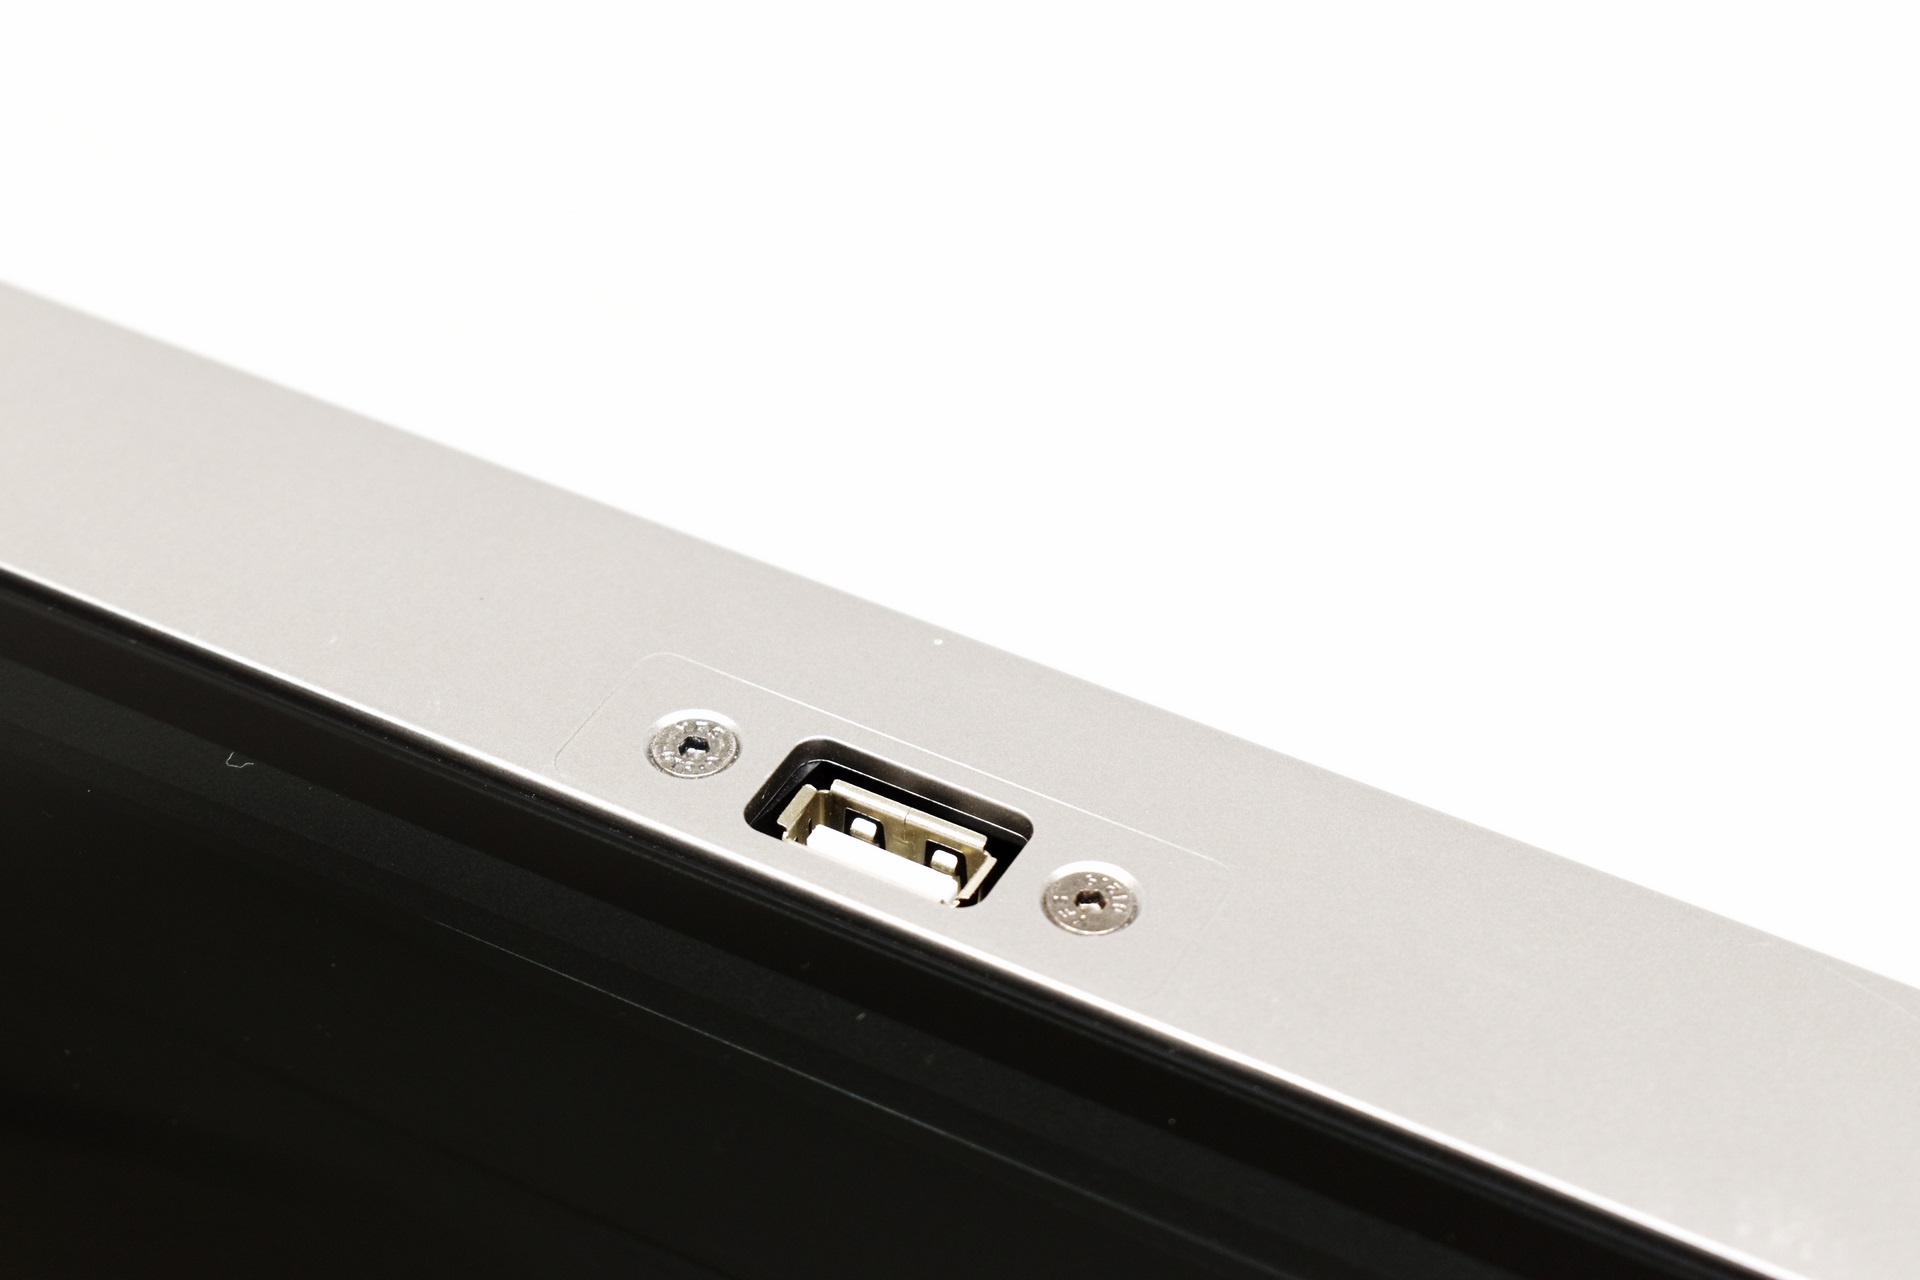
There’s also a USB port at the far rear top as seen above.
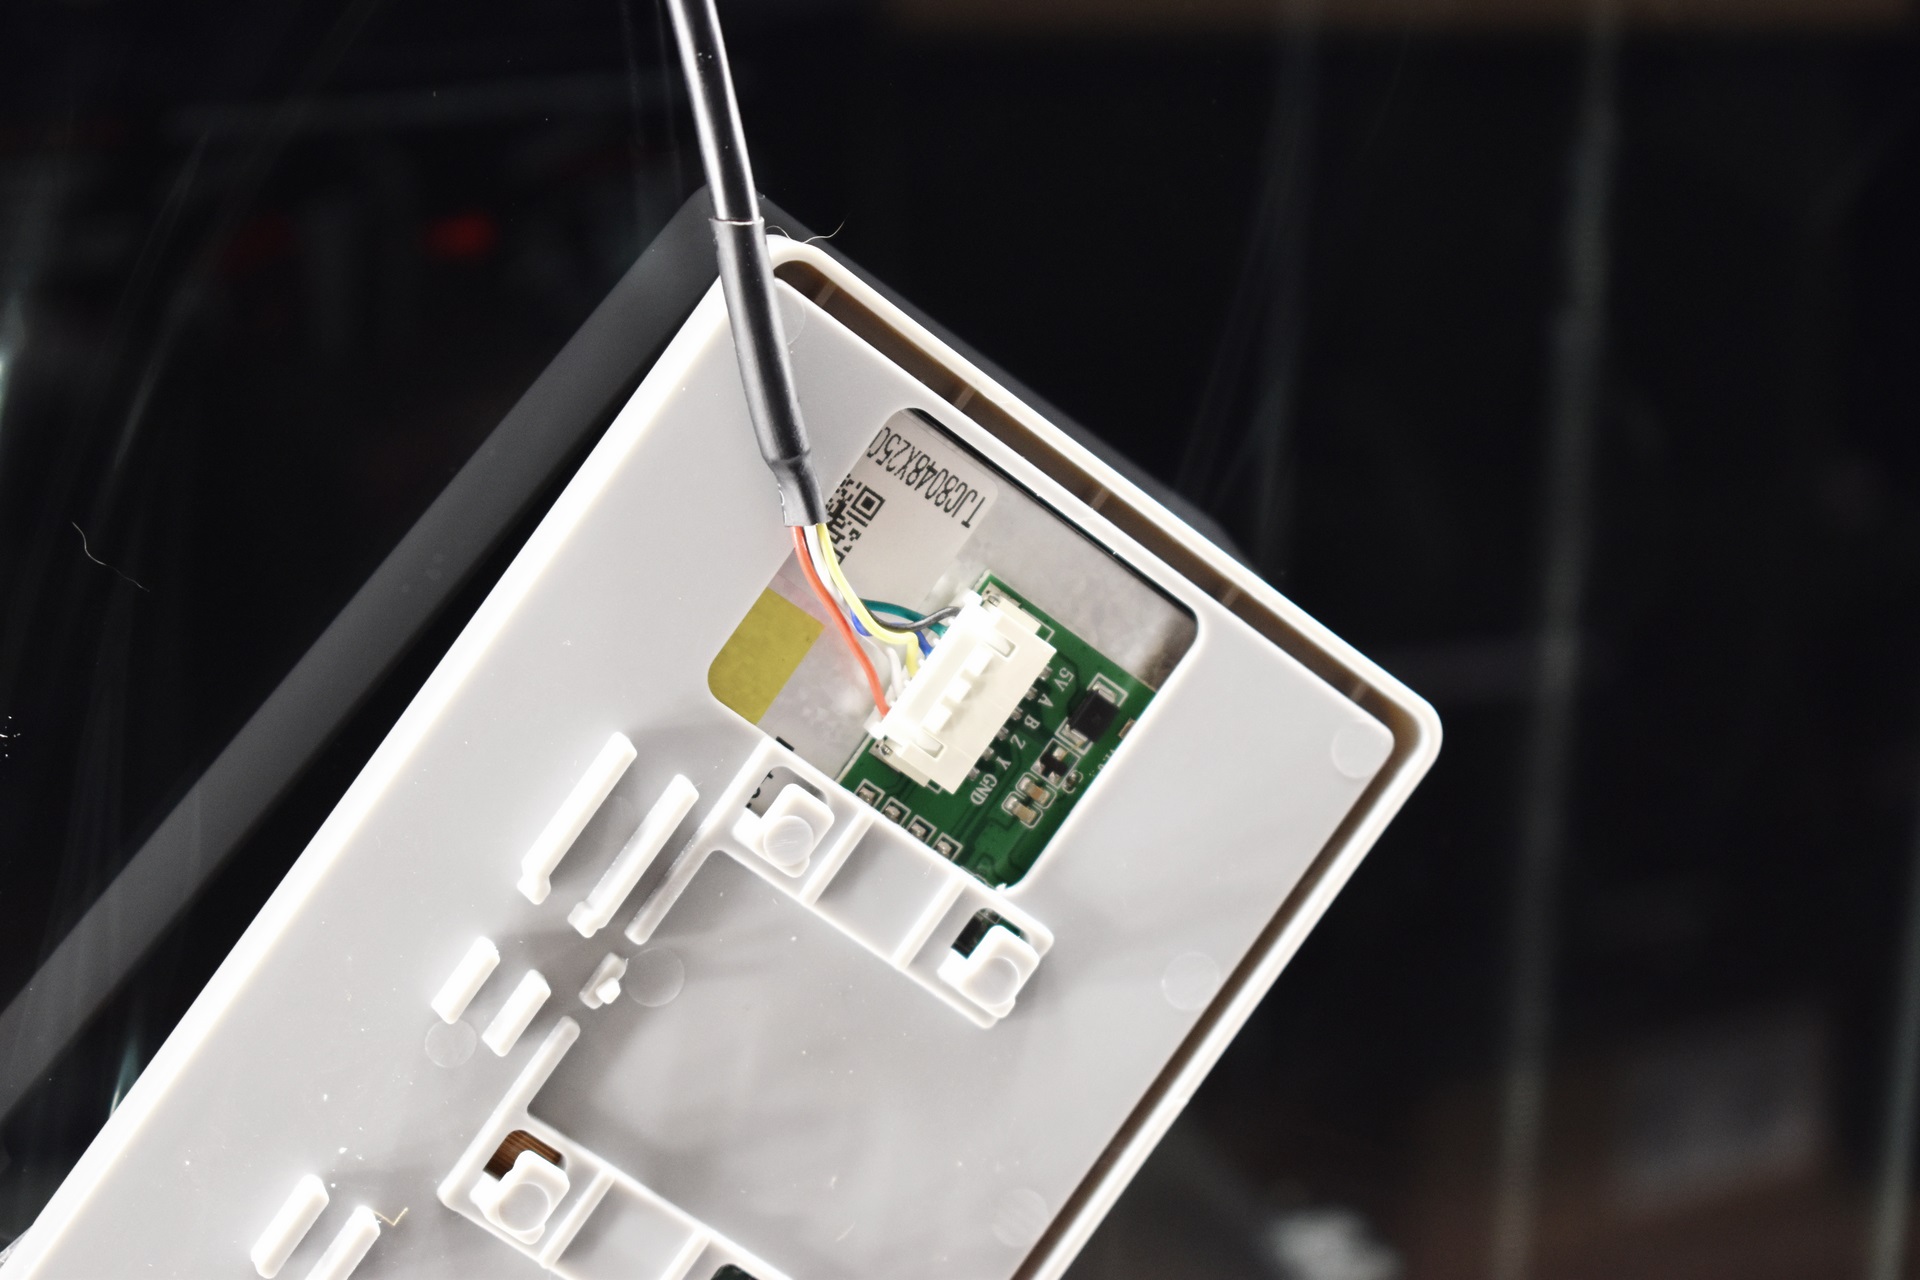
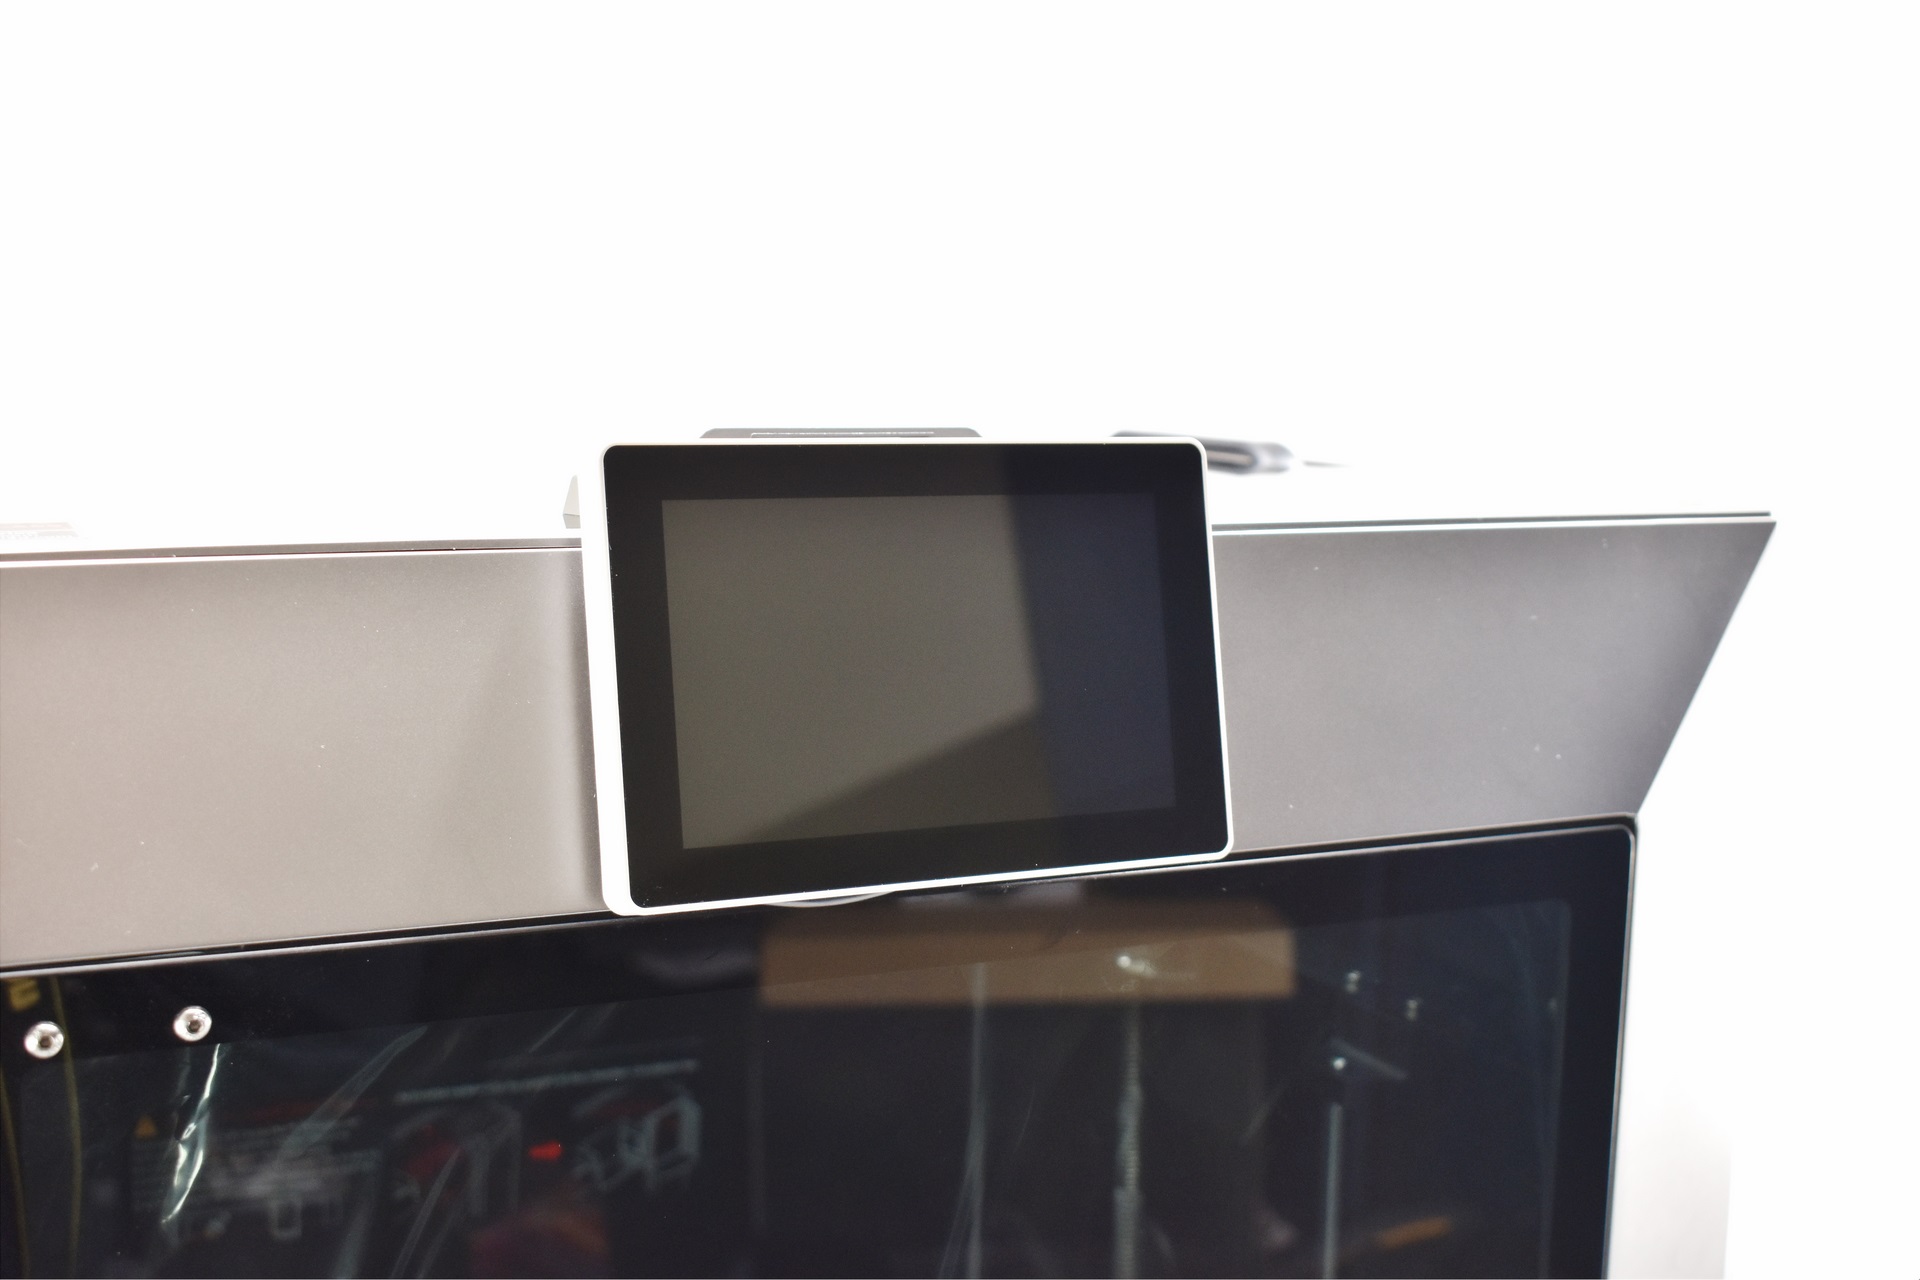
As with pas models installing the LCD just requires from the end user to connect the cable, place it on the mount and just slide it towards the right.
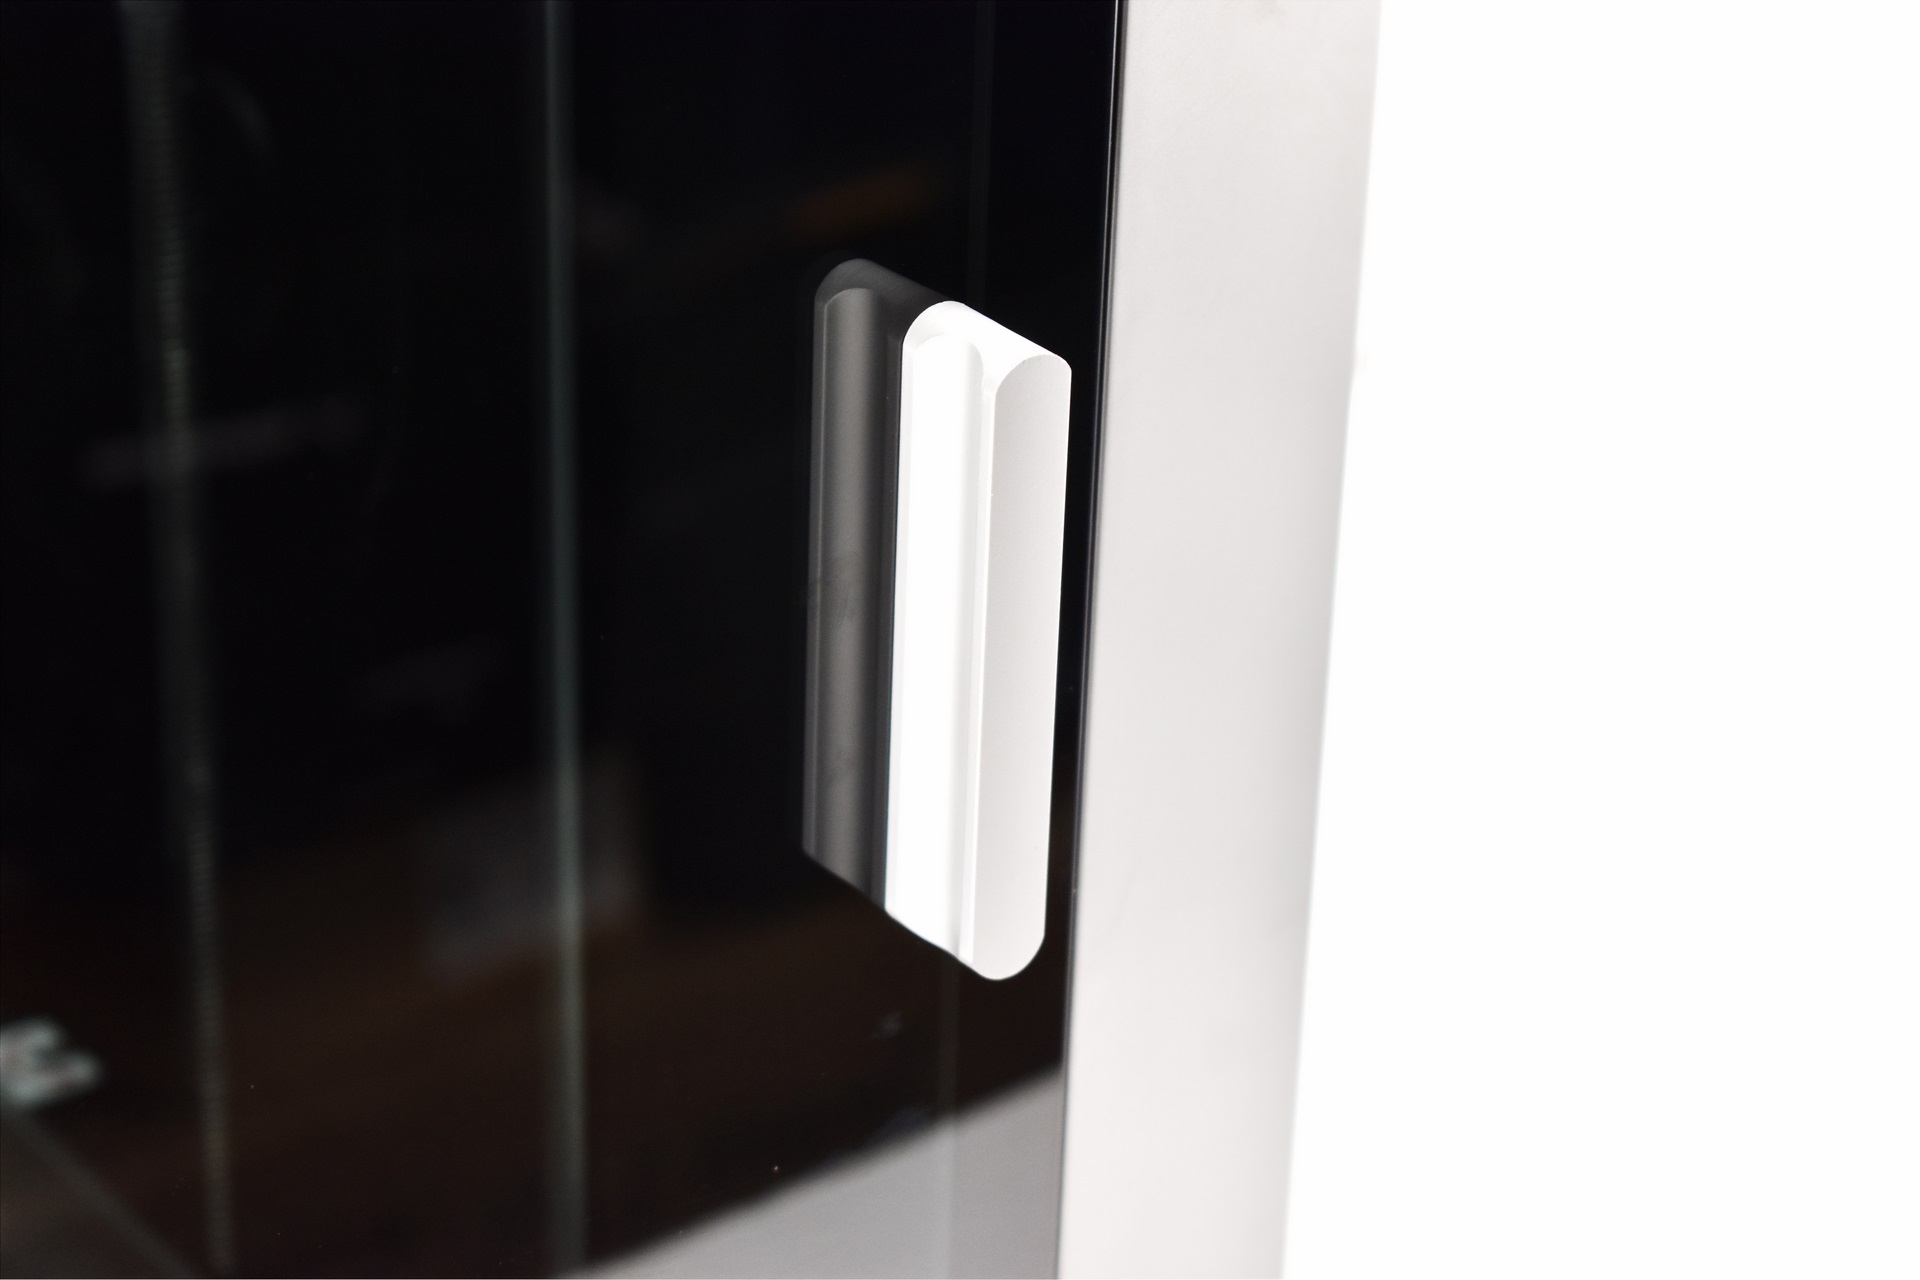
You also need to mount the front tempered glass door handle as seen above (2 screws).
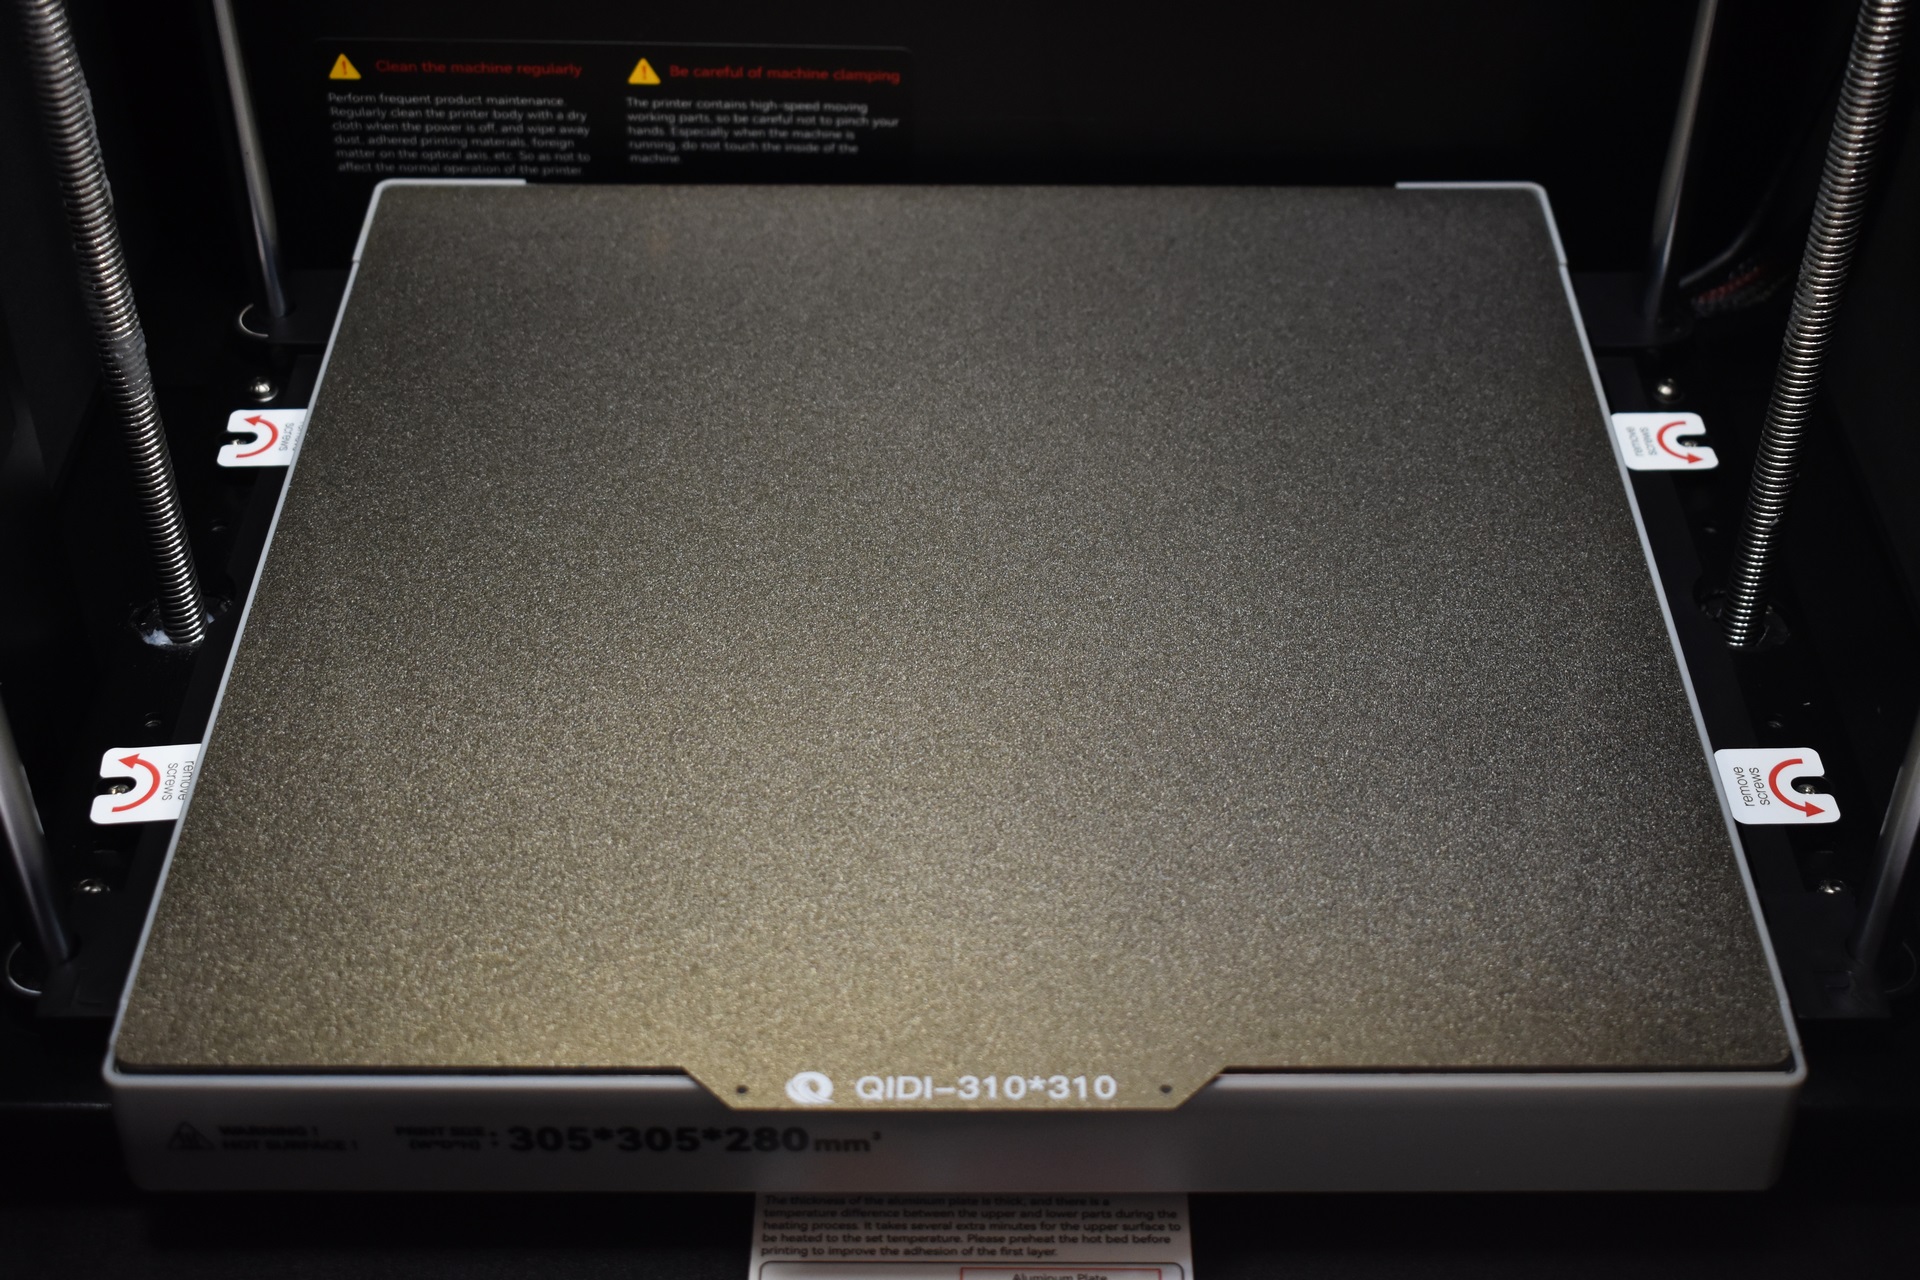
QIDI has used a textured PEI magnetic plate with the Plus 4 and as for the platform, it's held in place on the left and right by two pieces of plastic secured with 2 long screws each so you’ll also need to remove those (as you will the cable ties holding the direct drive extruder and the axis).
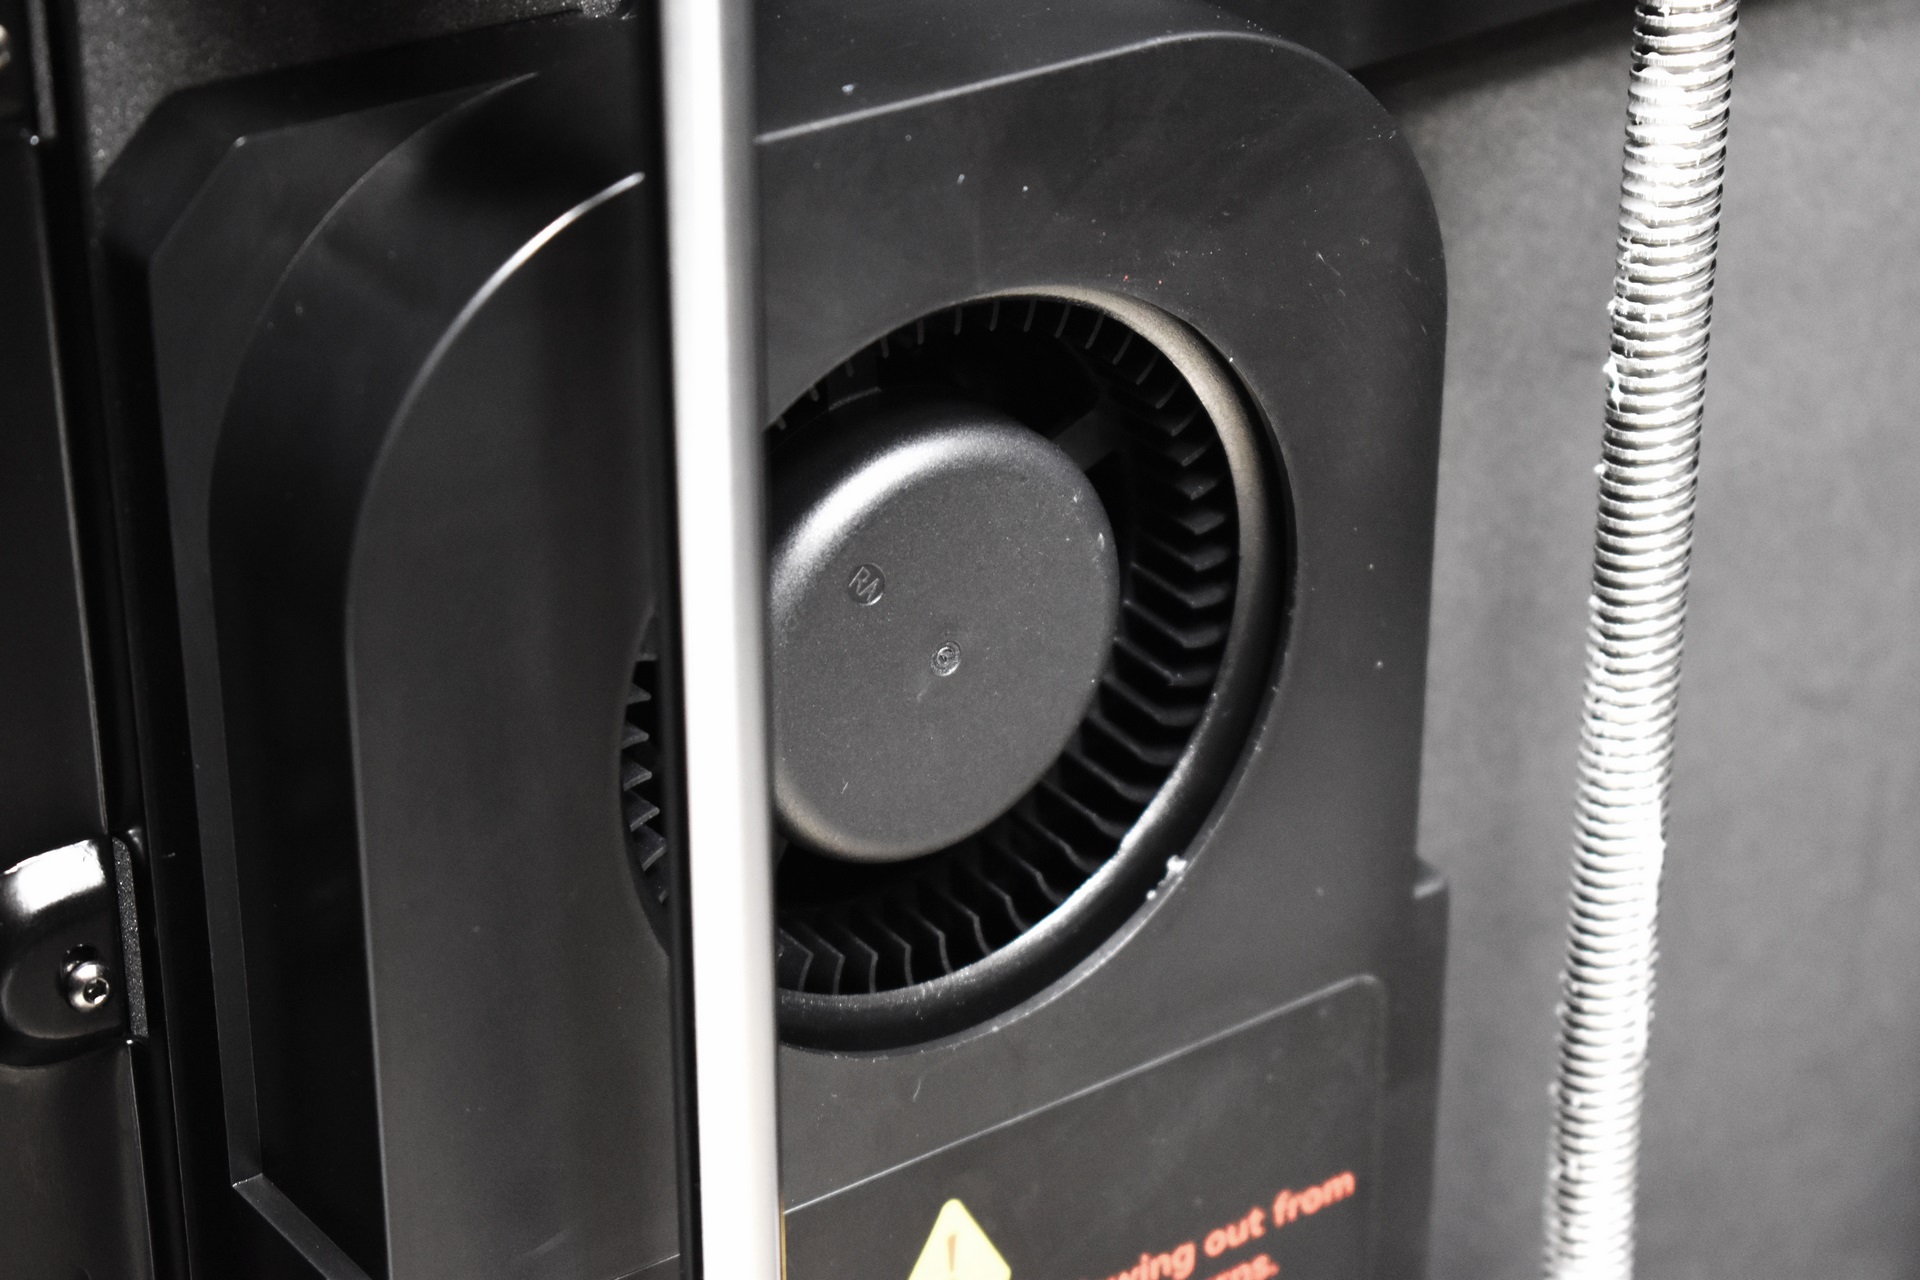
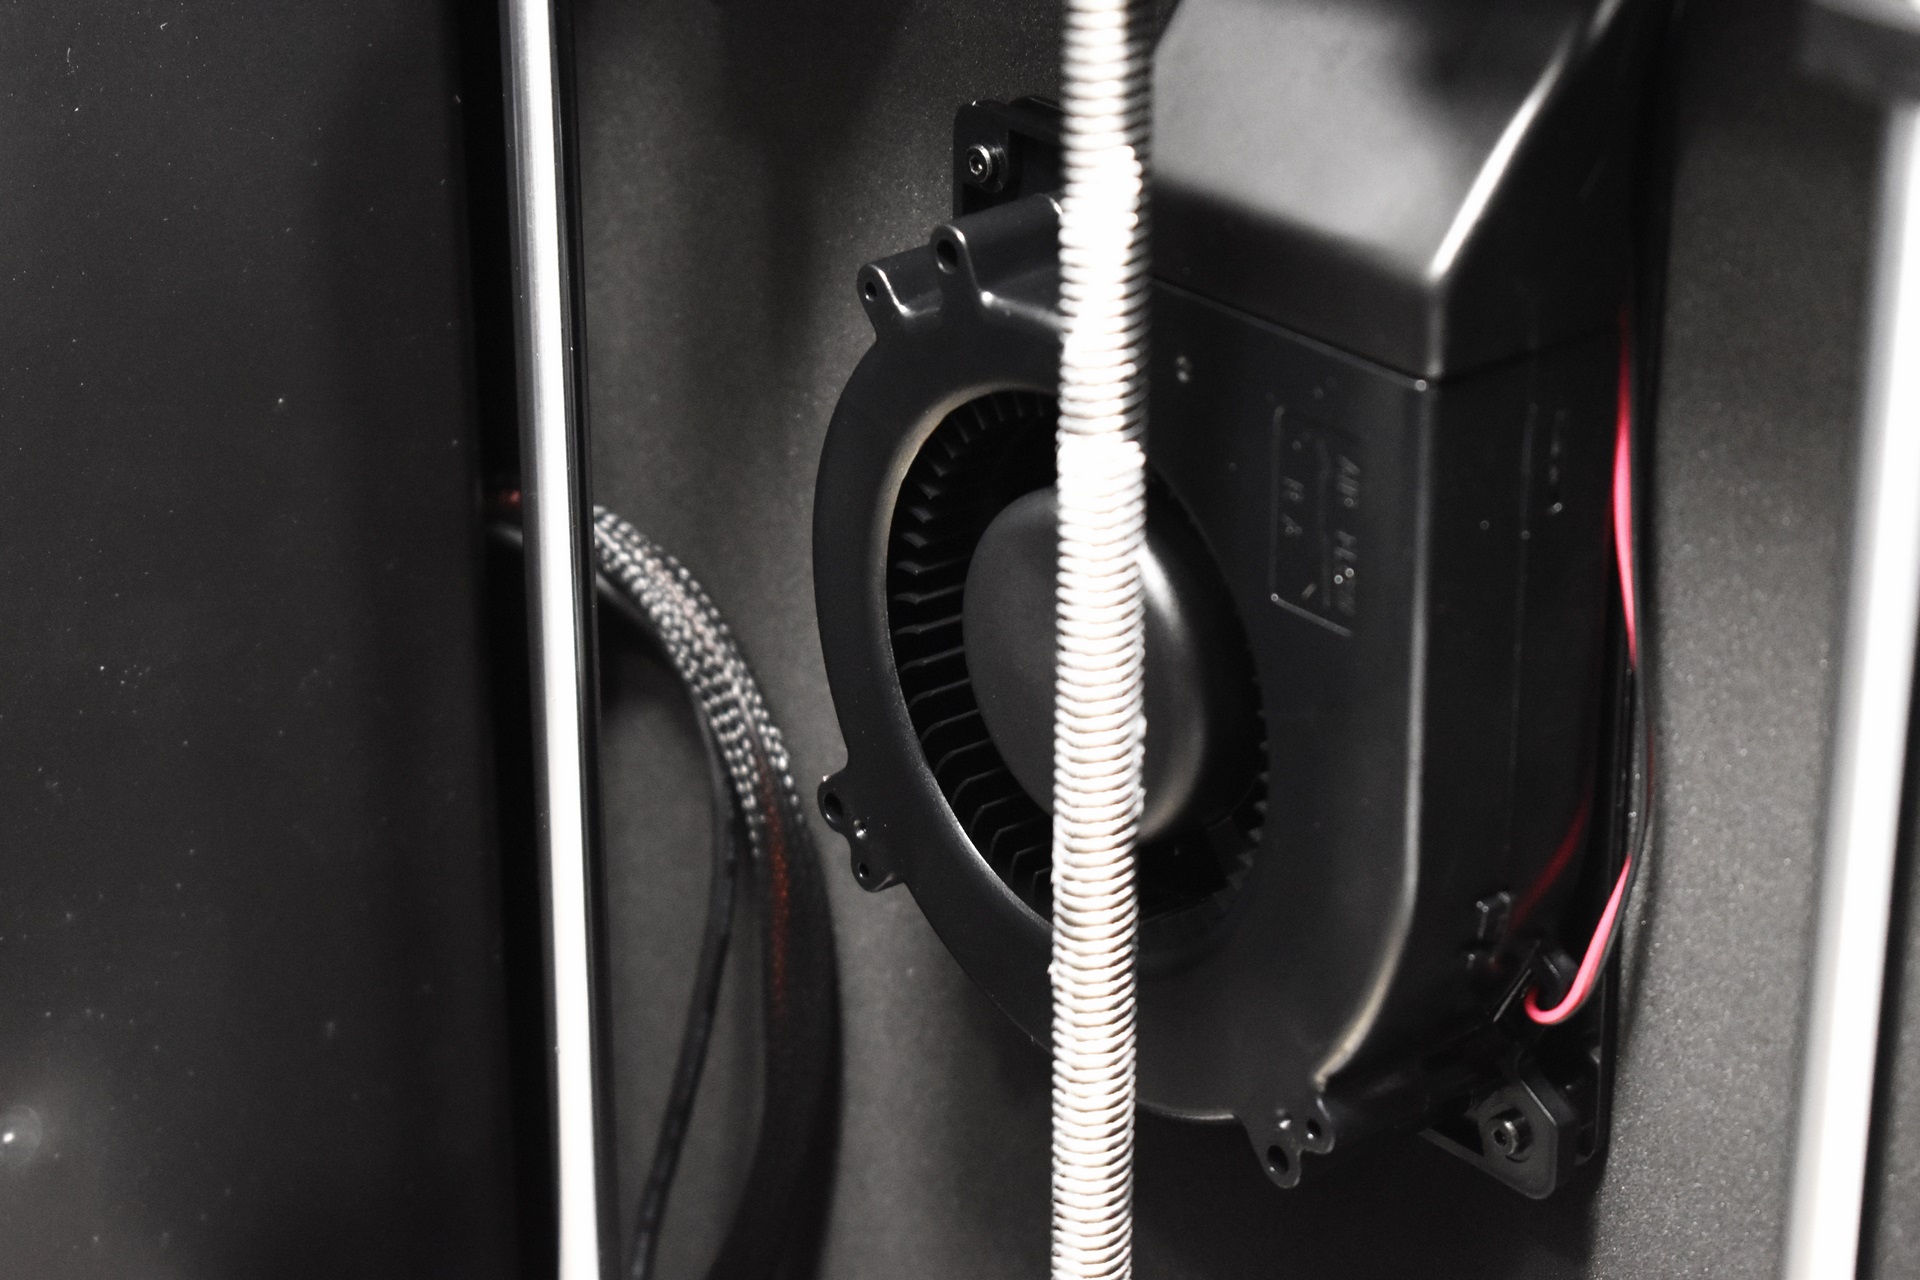
Two blower type fans are placed on the interior of the enclosure.
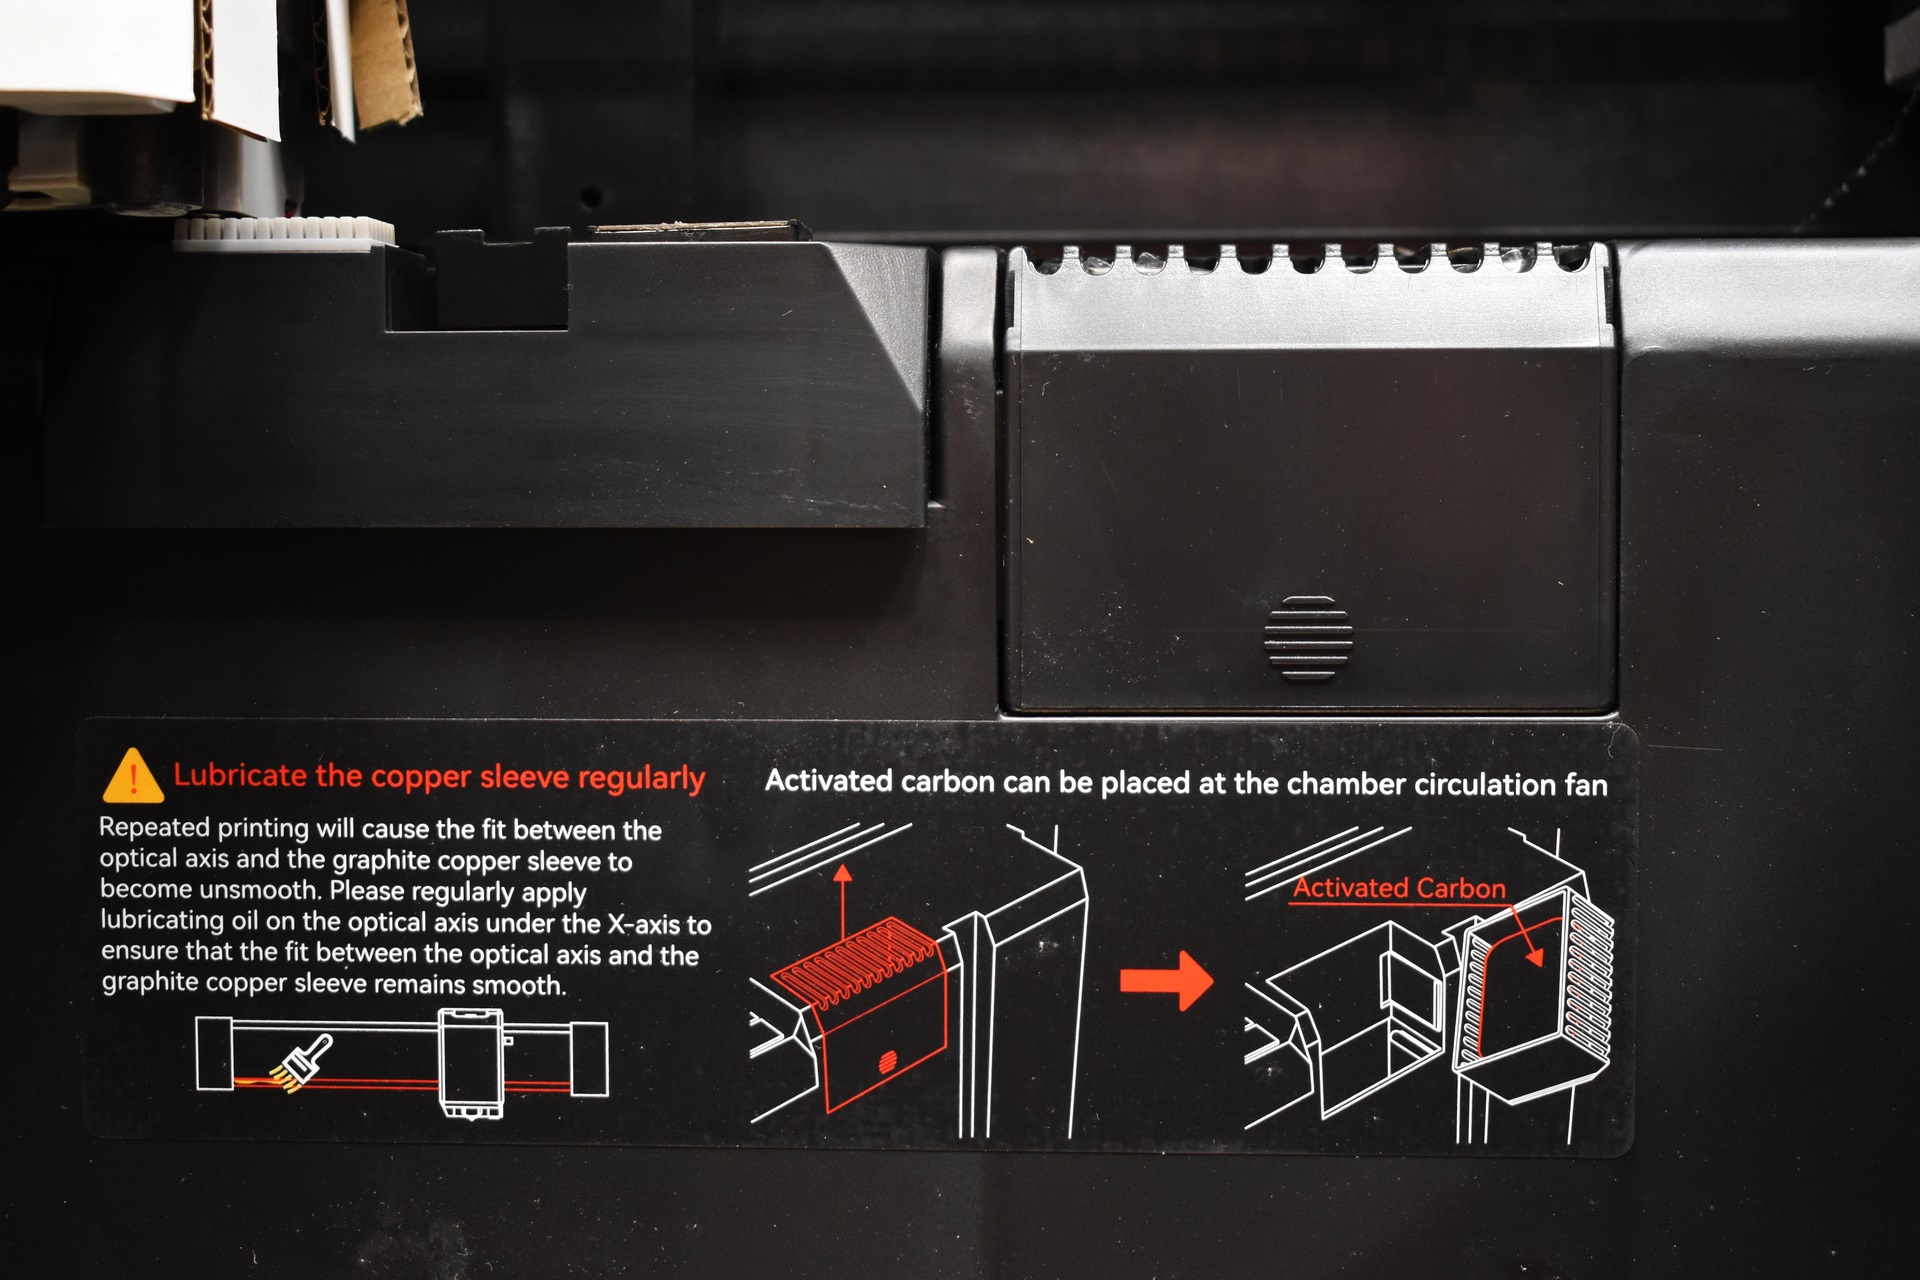
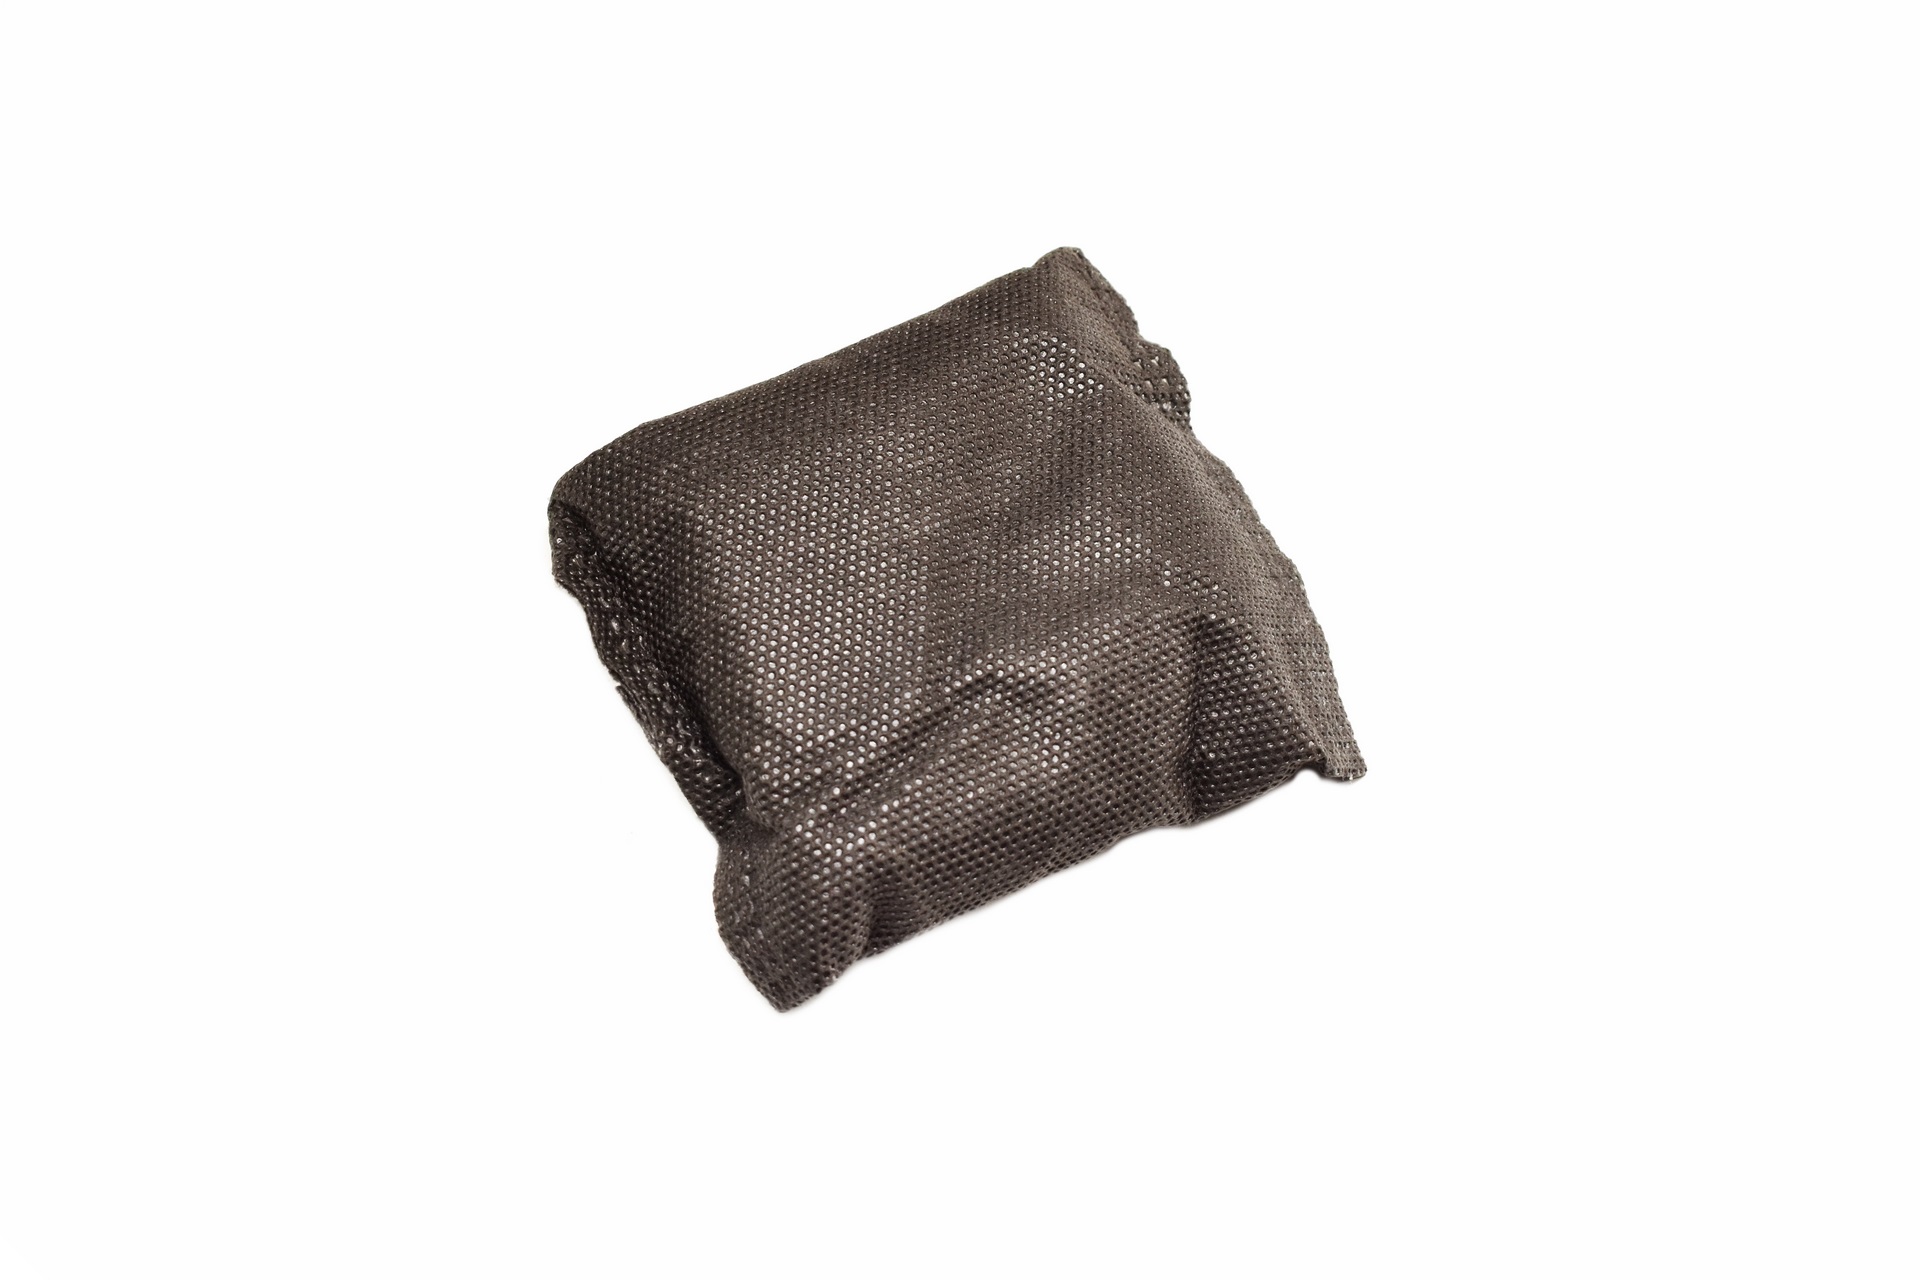 There’s also a nozzle cleaner, filament collector and an activated carbon compartment with an activated carbon pouch/bag inside.
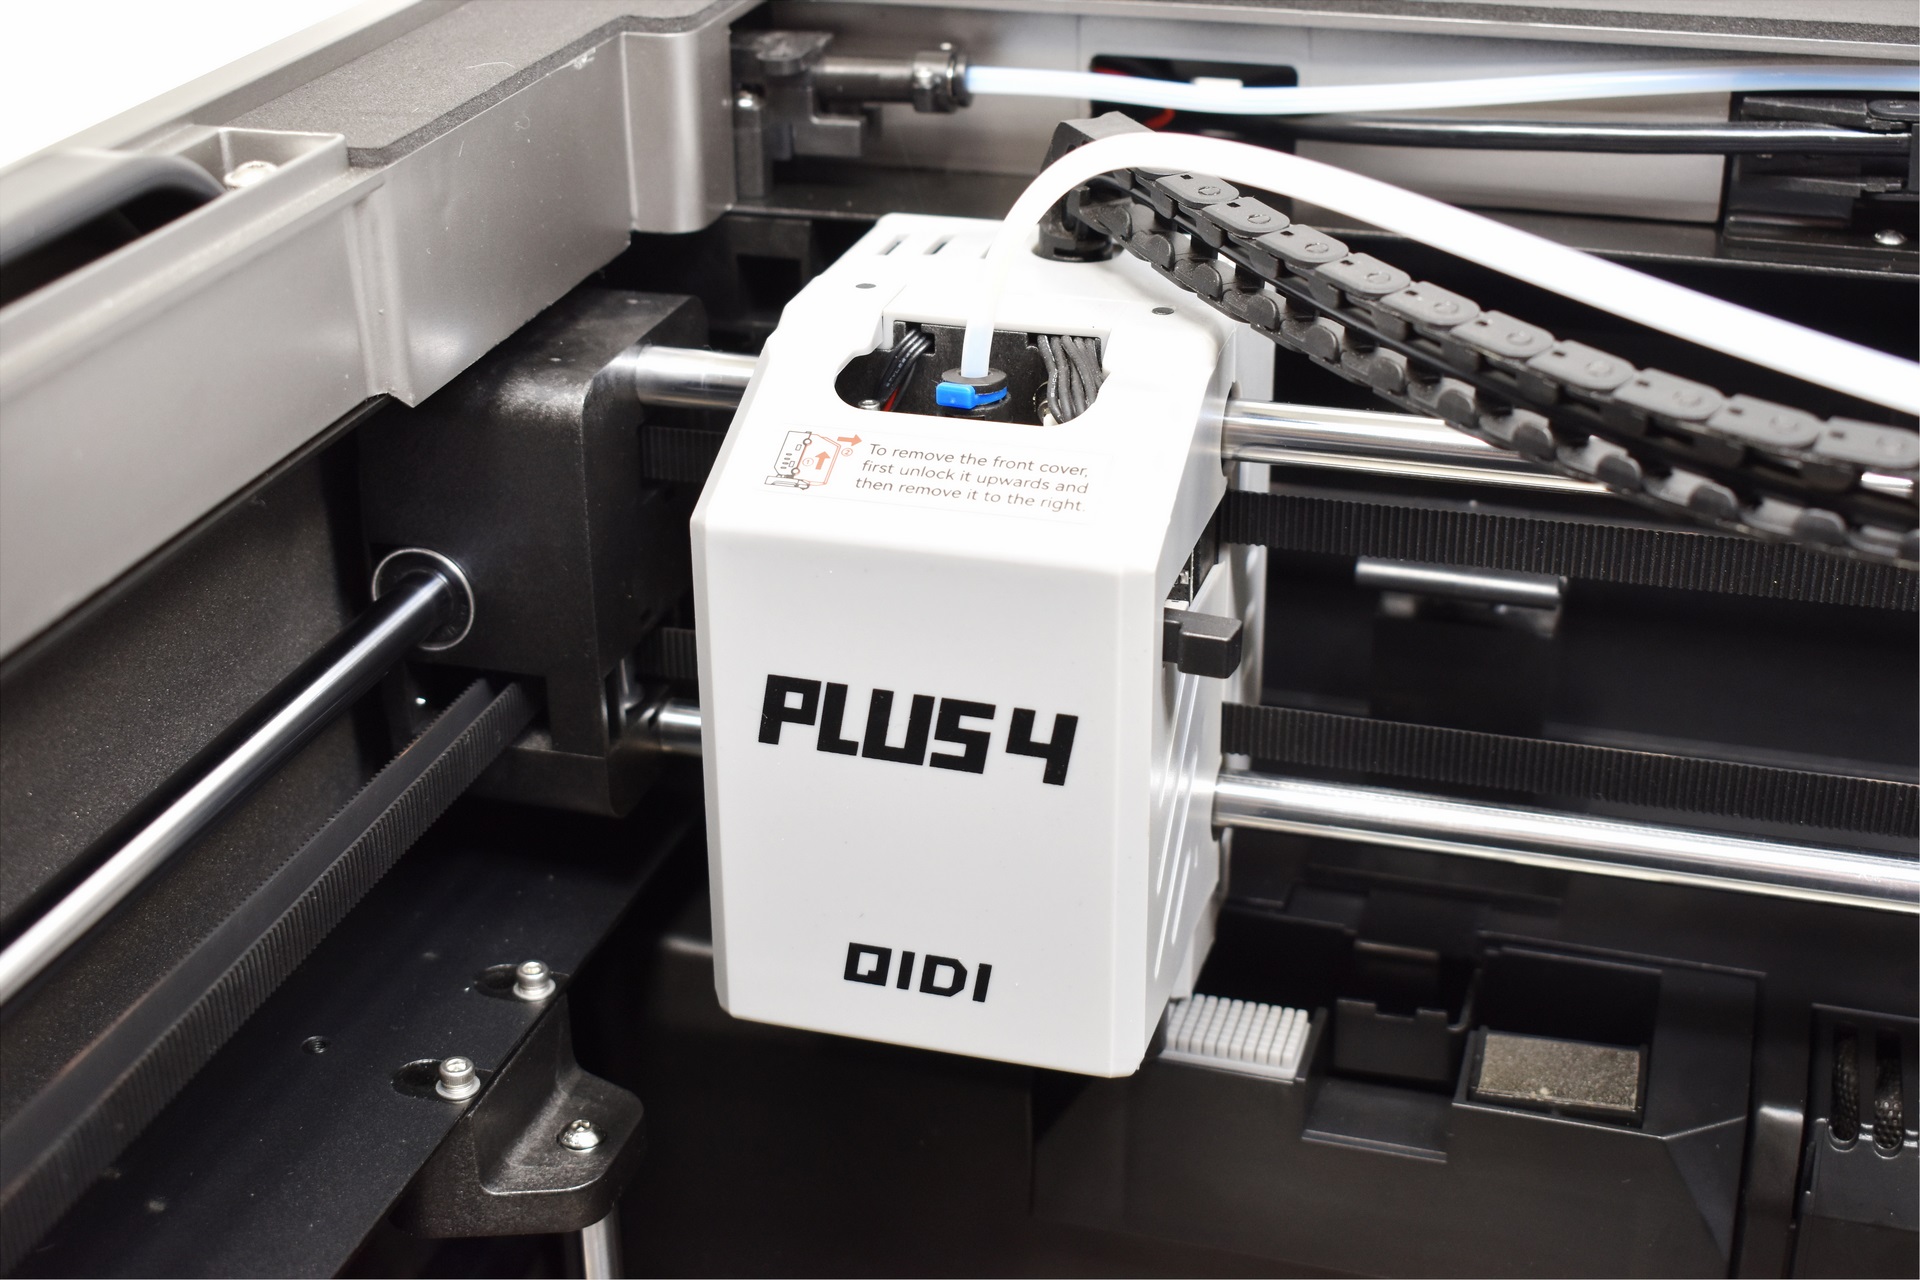
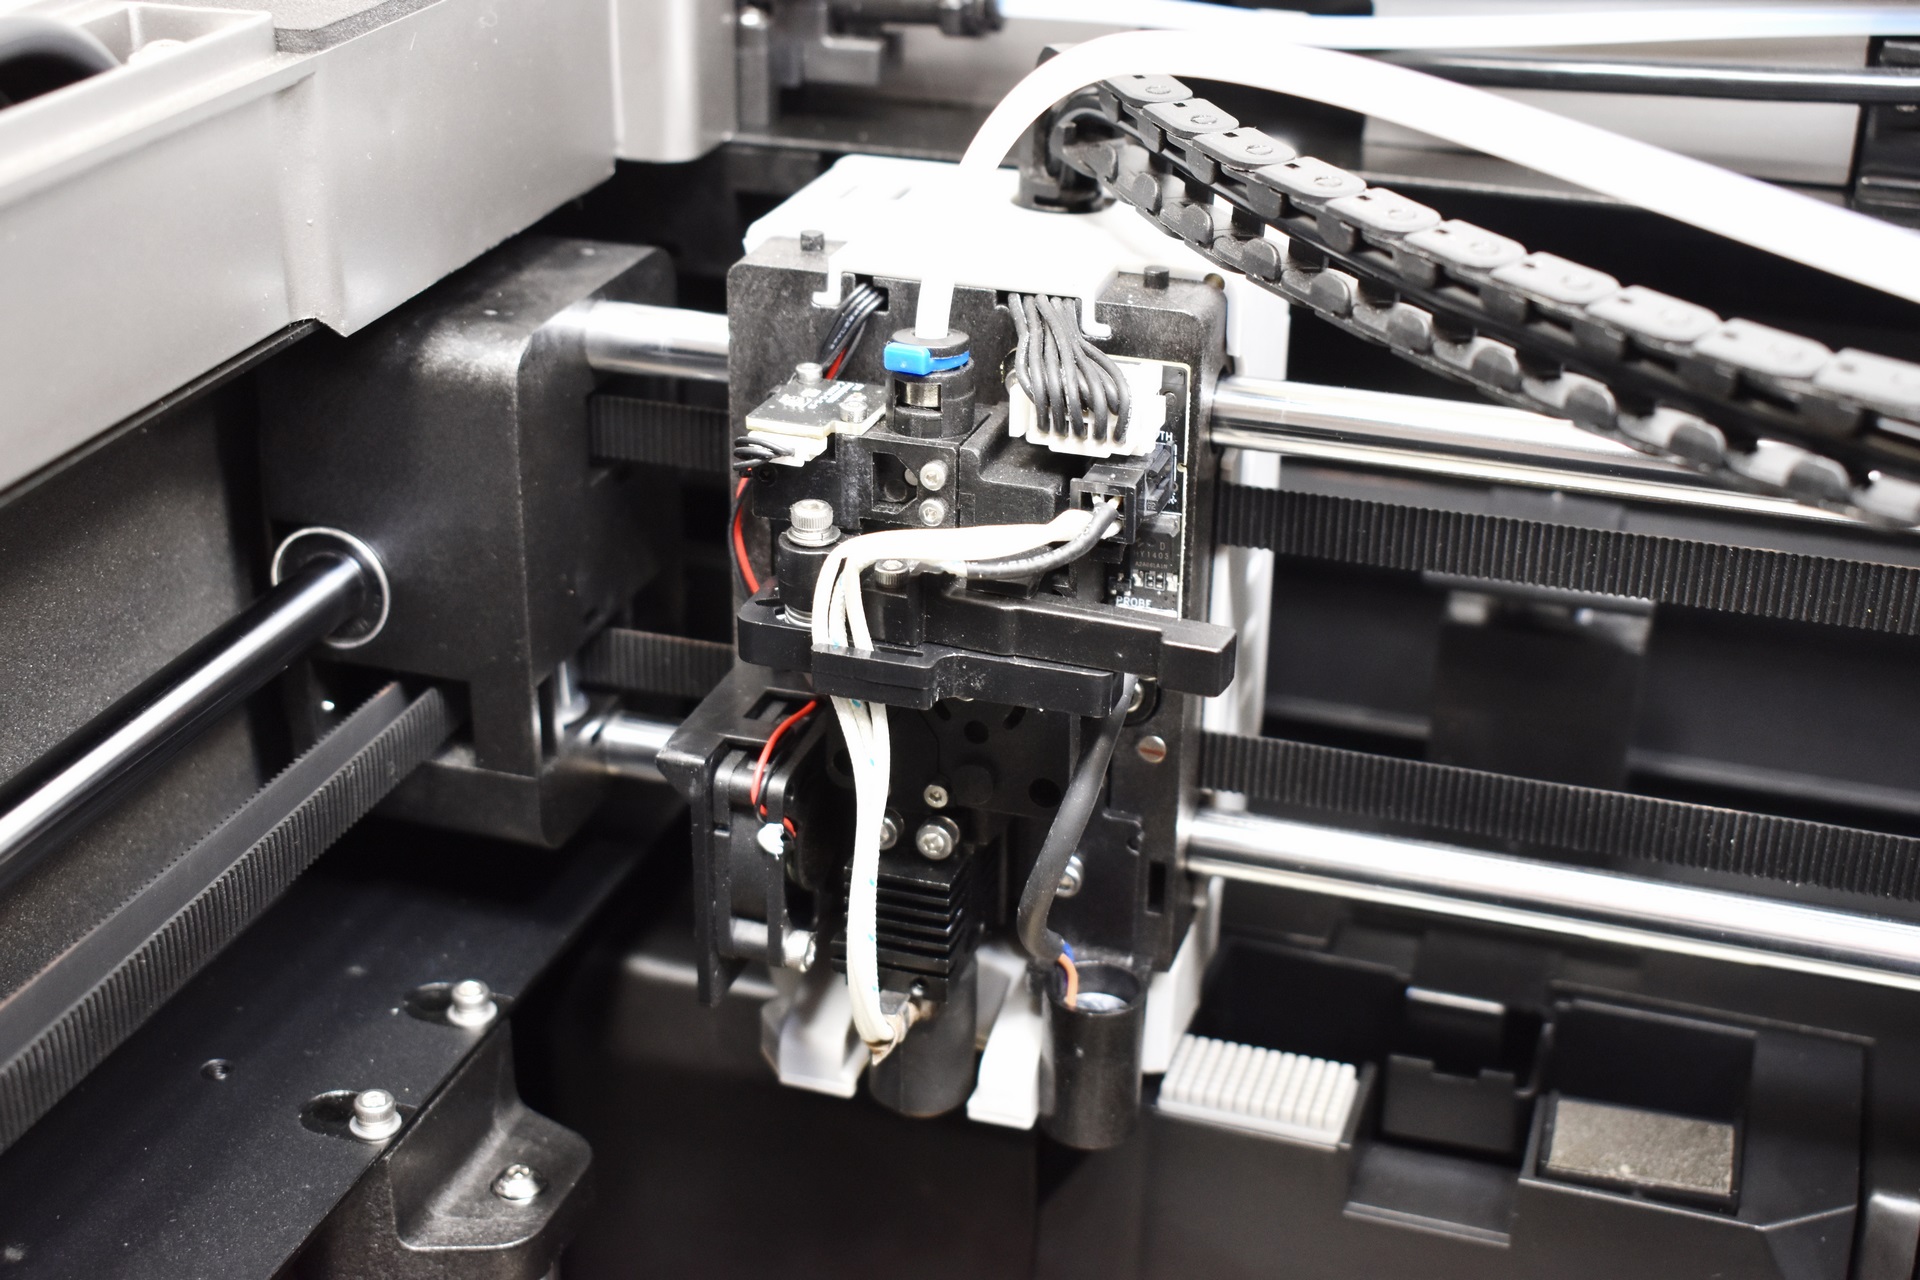
QIDI has equipped the Plus 4 with what’s one of the largest direct drive extruders around (for such a model).
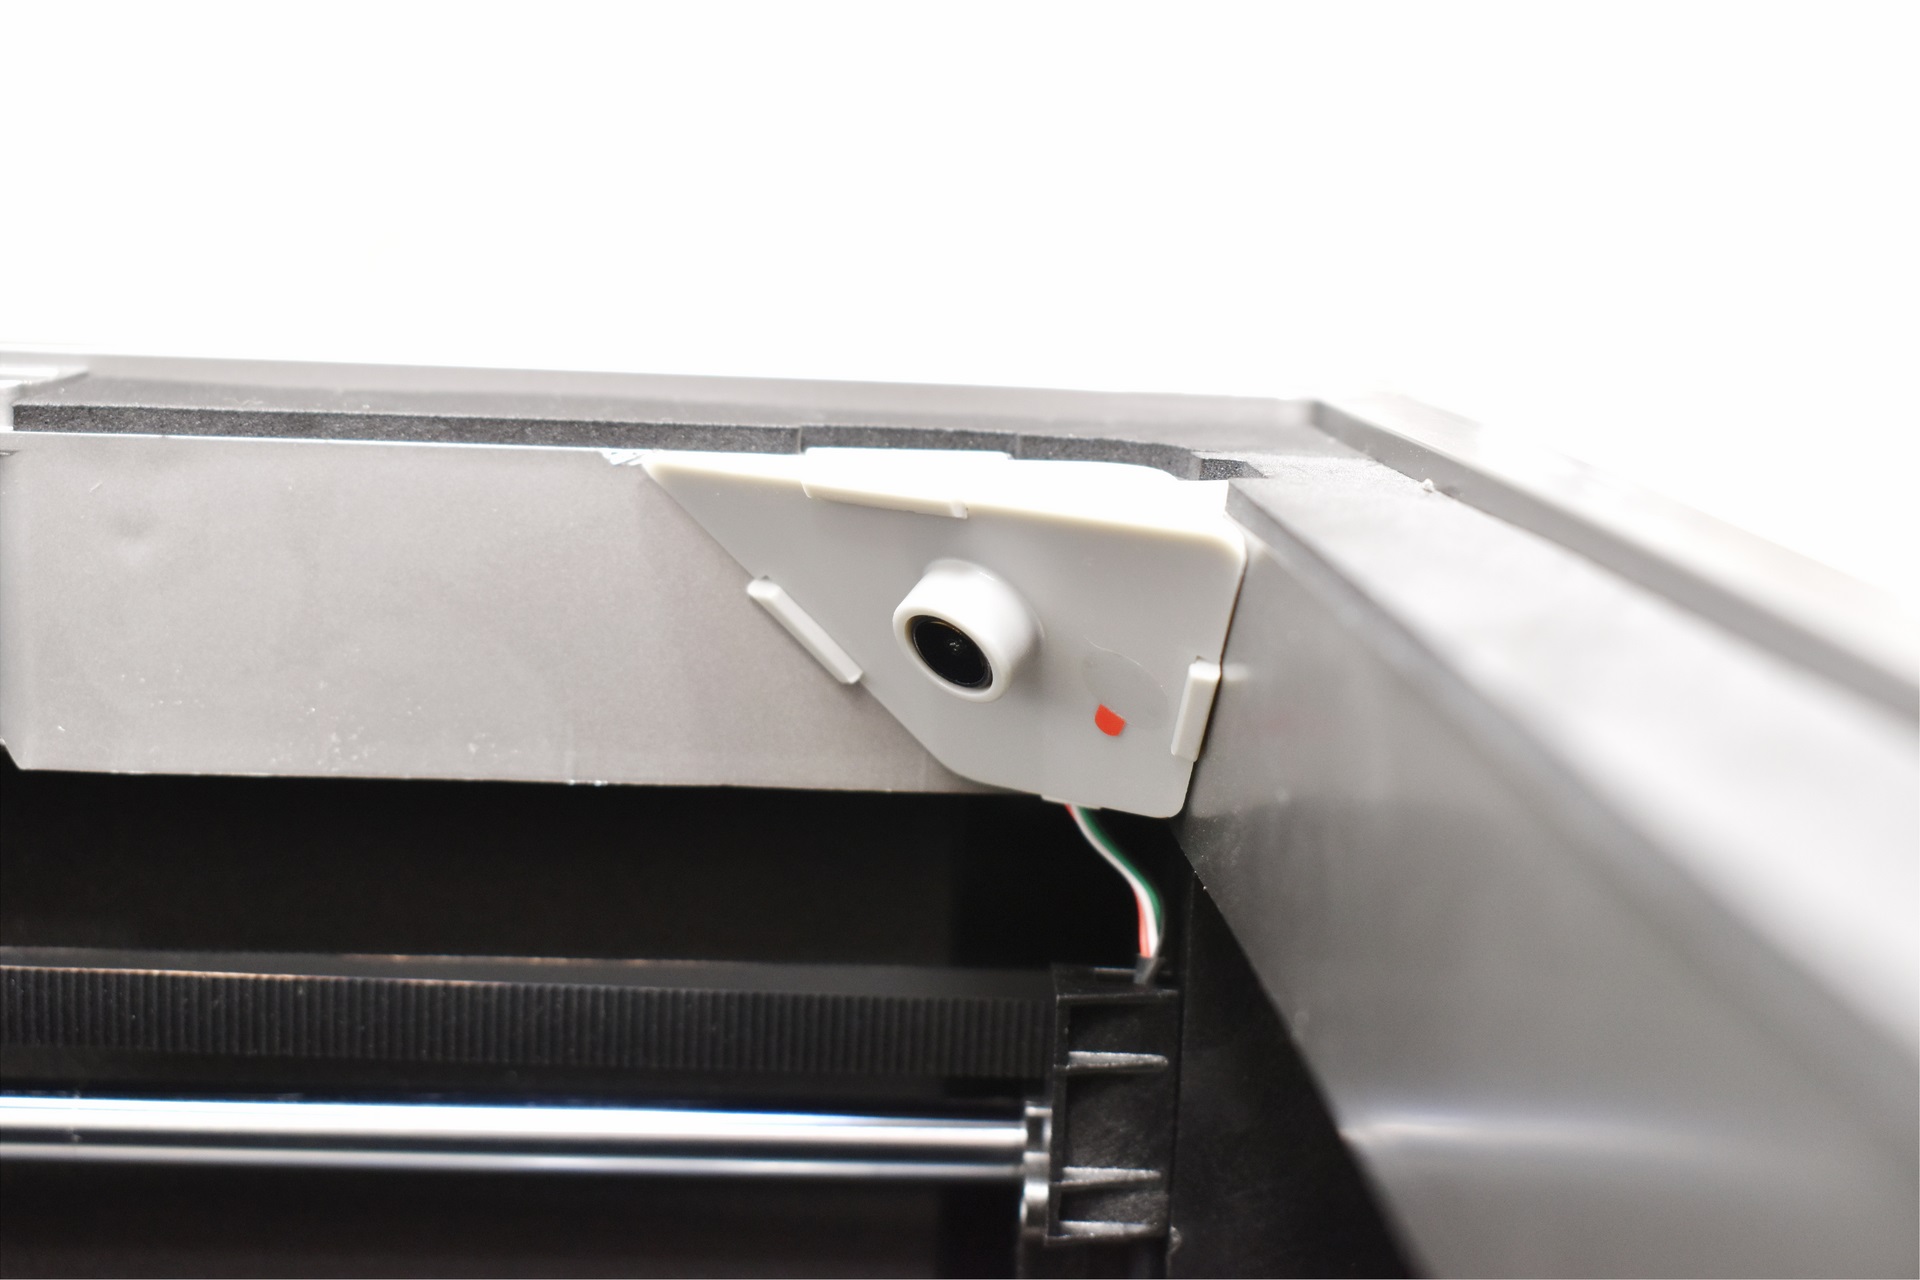
Inside the enclosure there’s also a LED strip and an 1080p camera (which however seems to record at 480p by default).
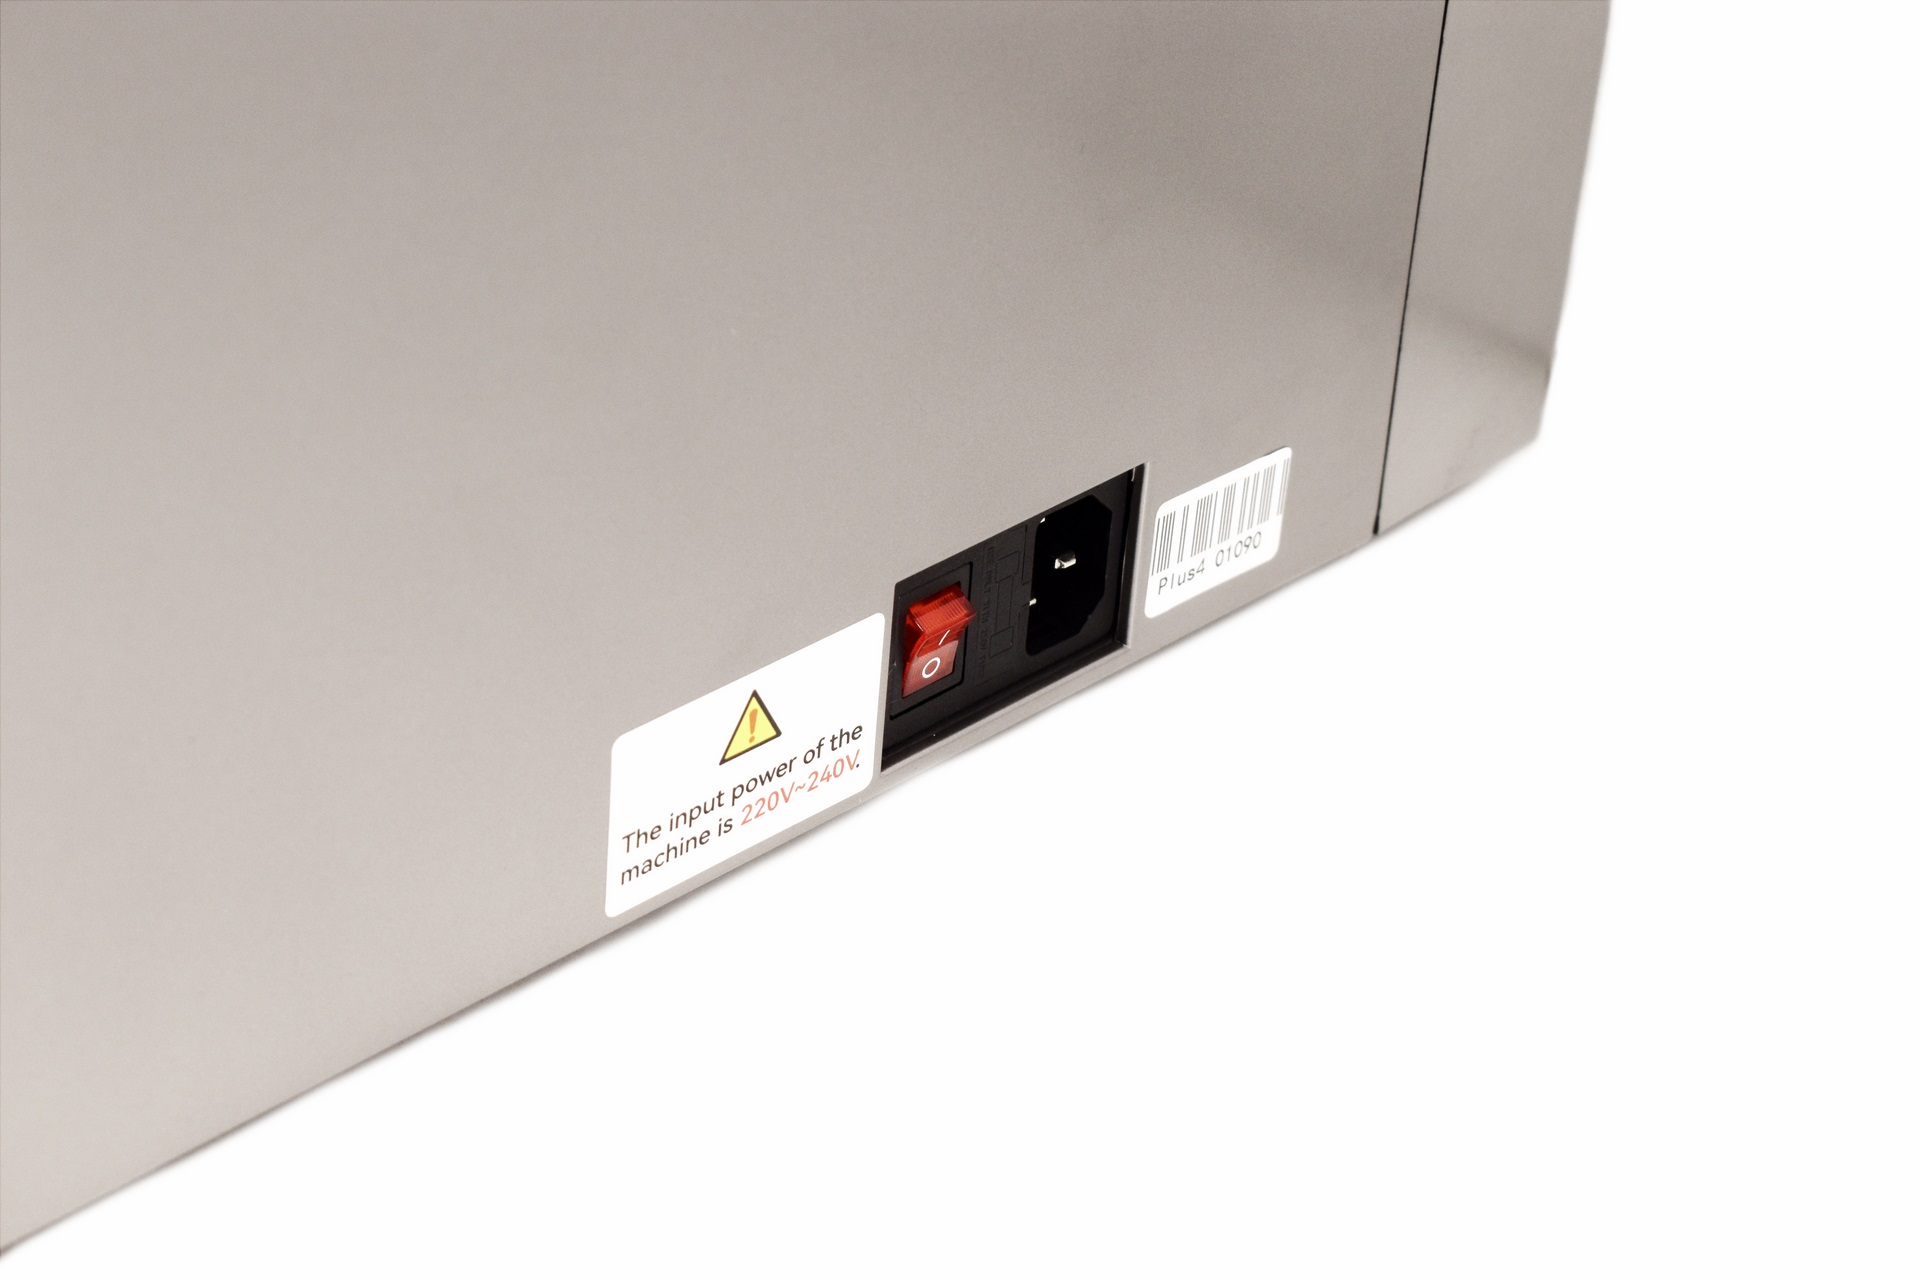
Both the power on/off switch and the power port are located on the right side.
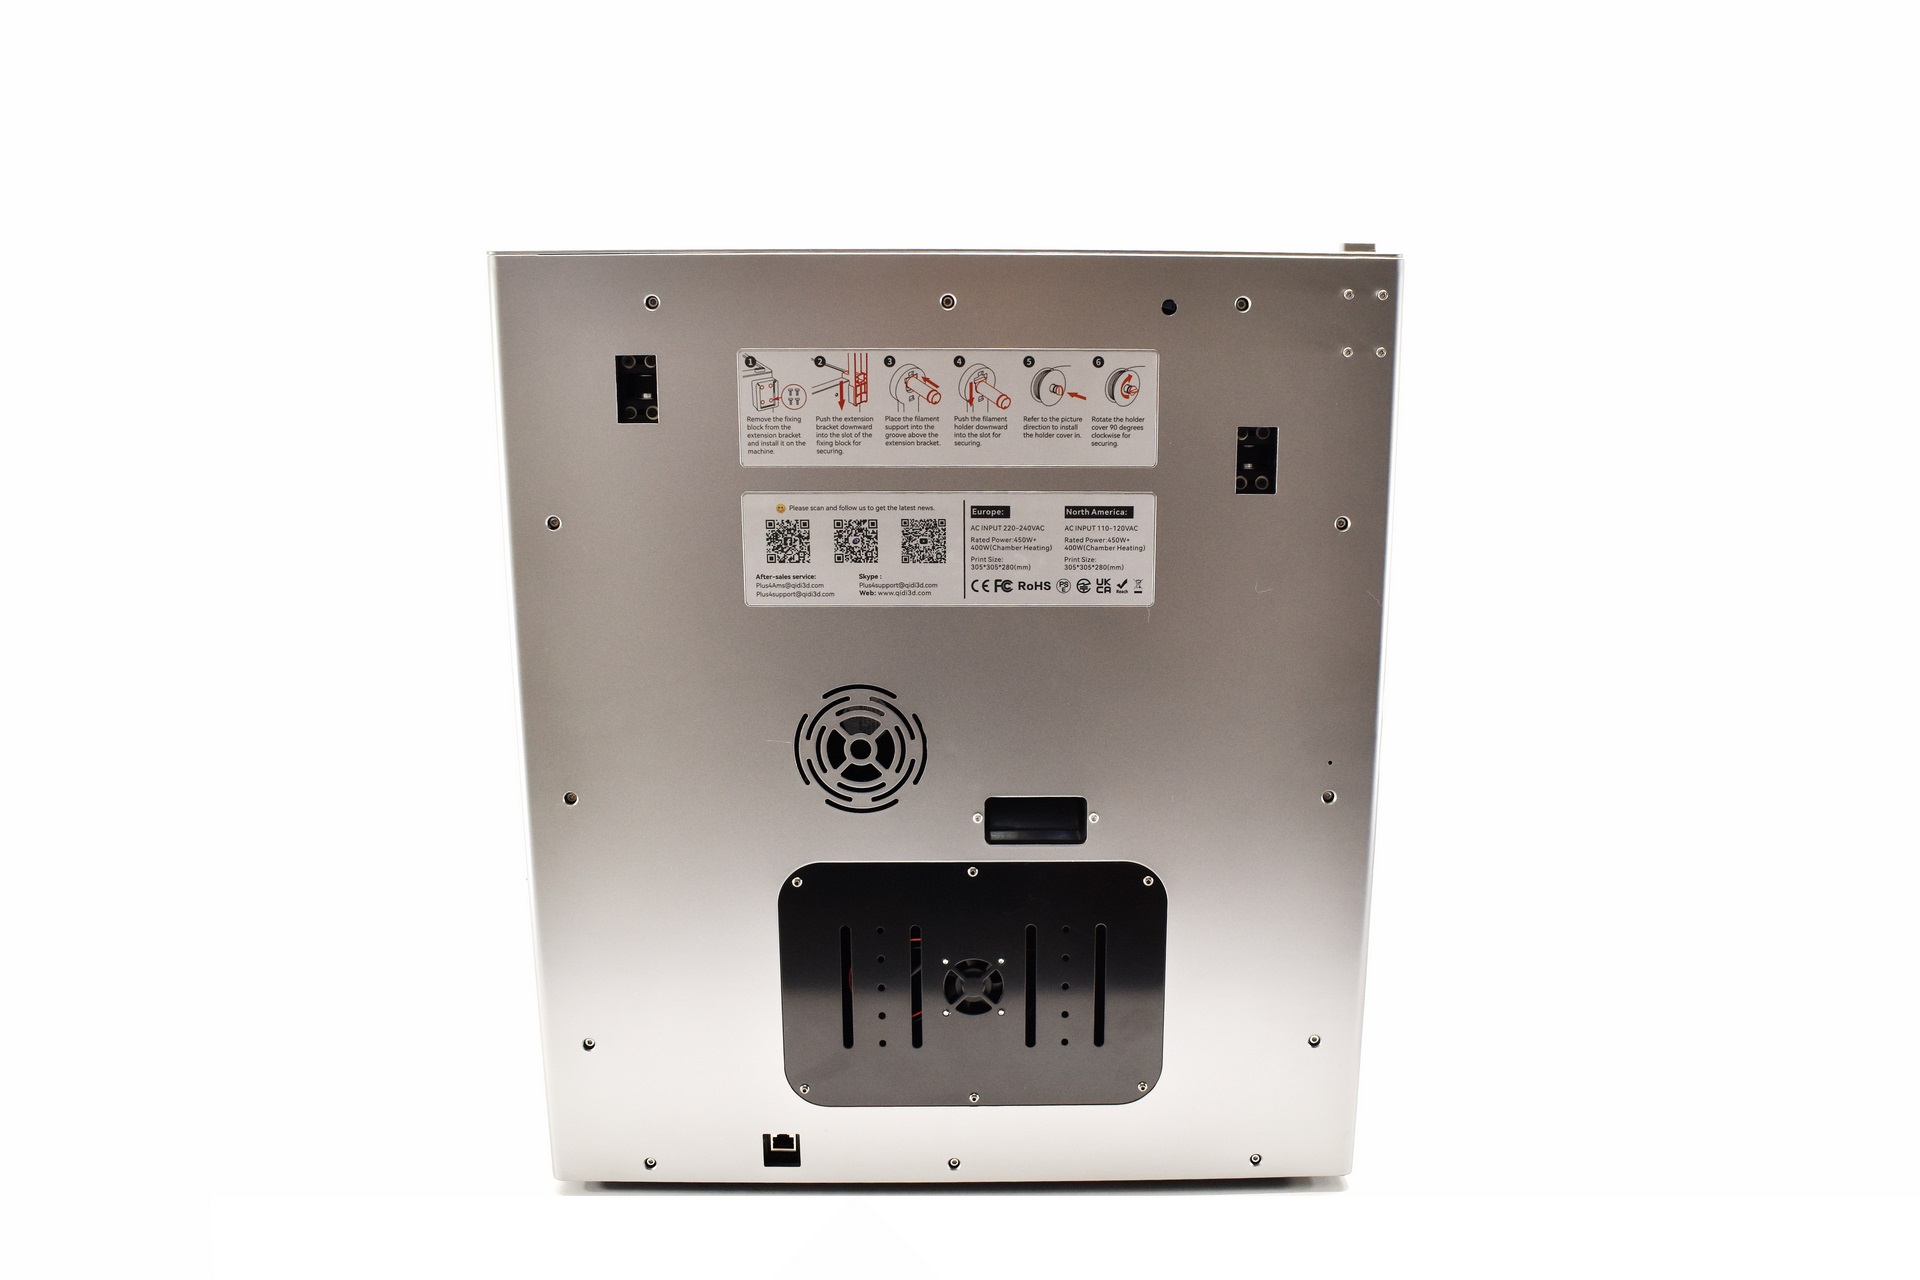
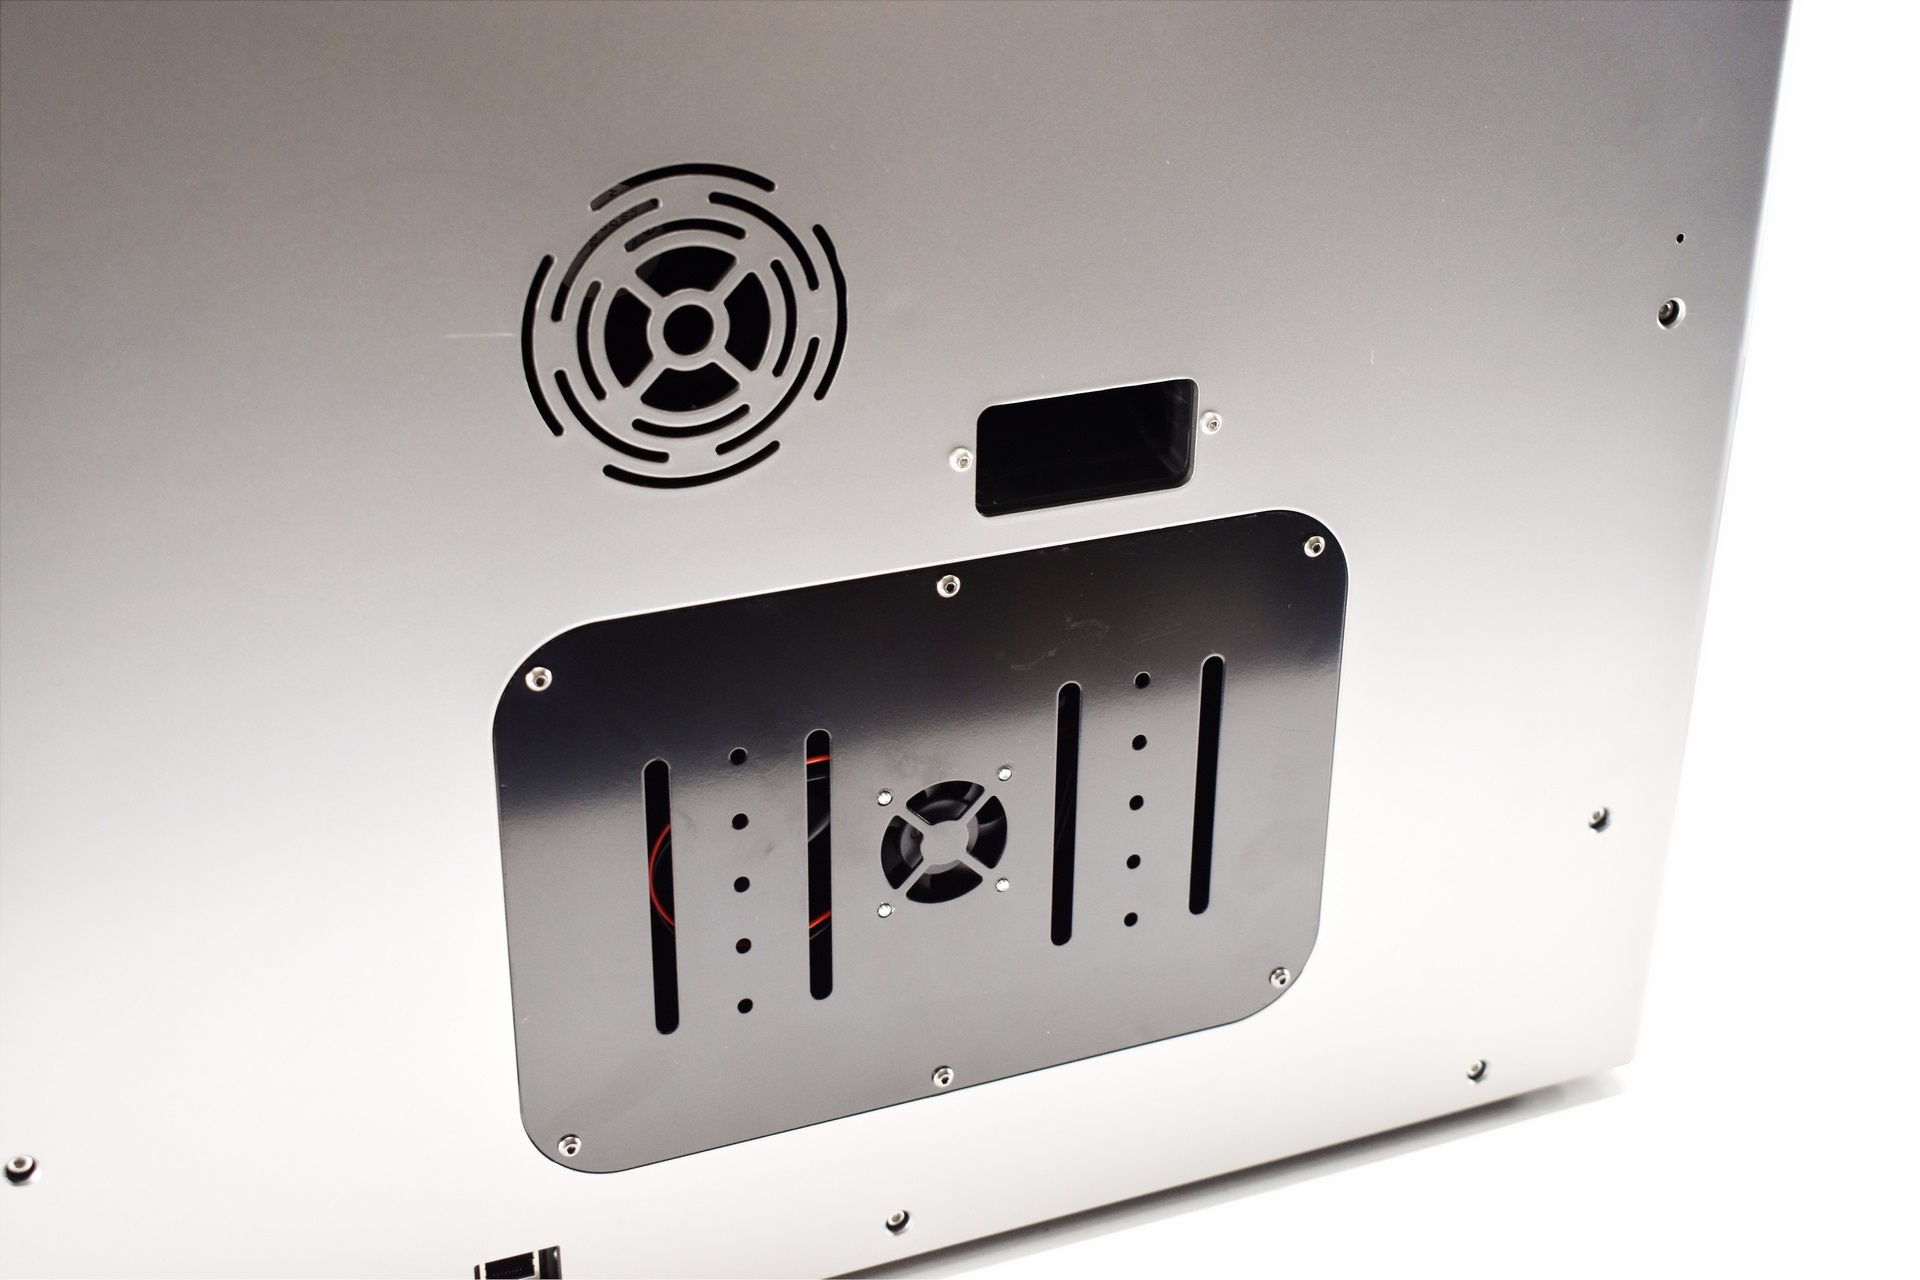
Moving at the rear we find a mounting area, exhaust port and an intake fan.
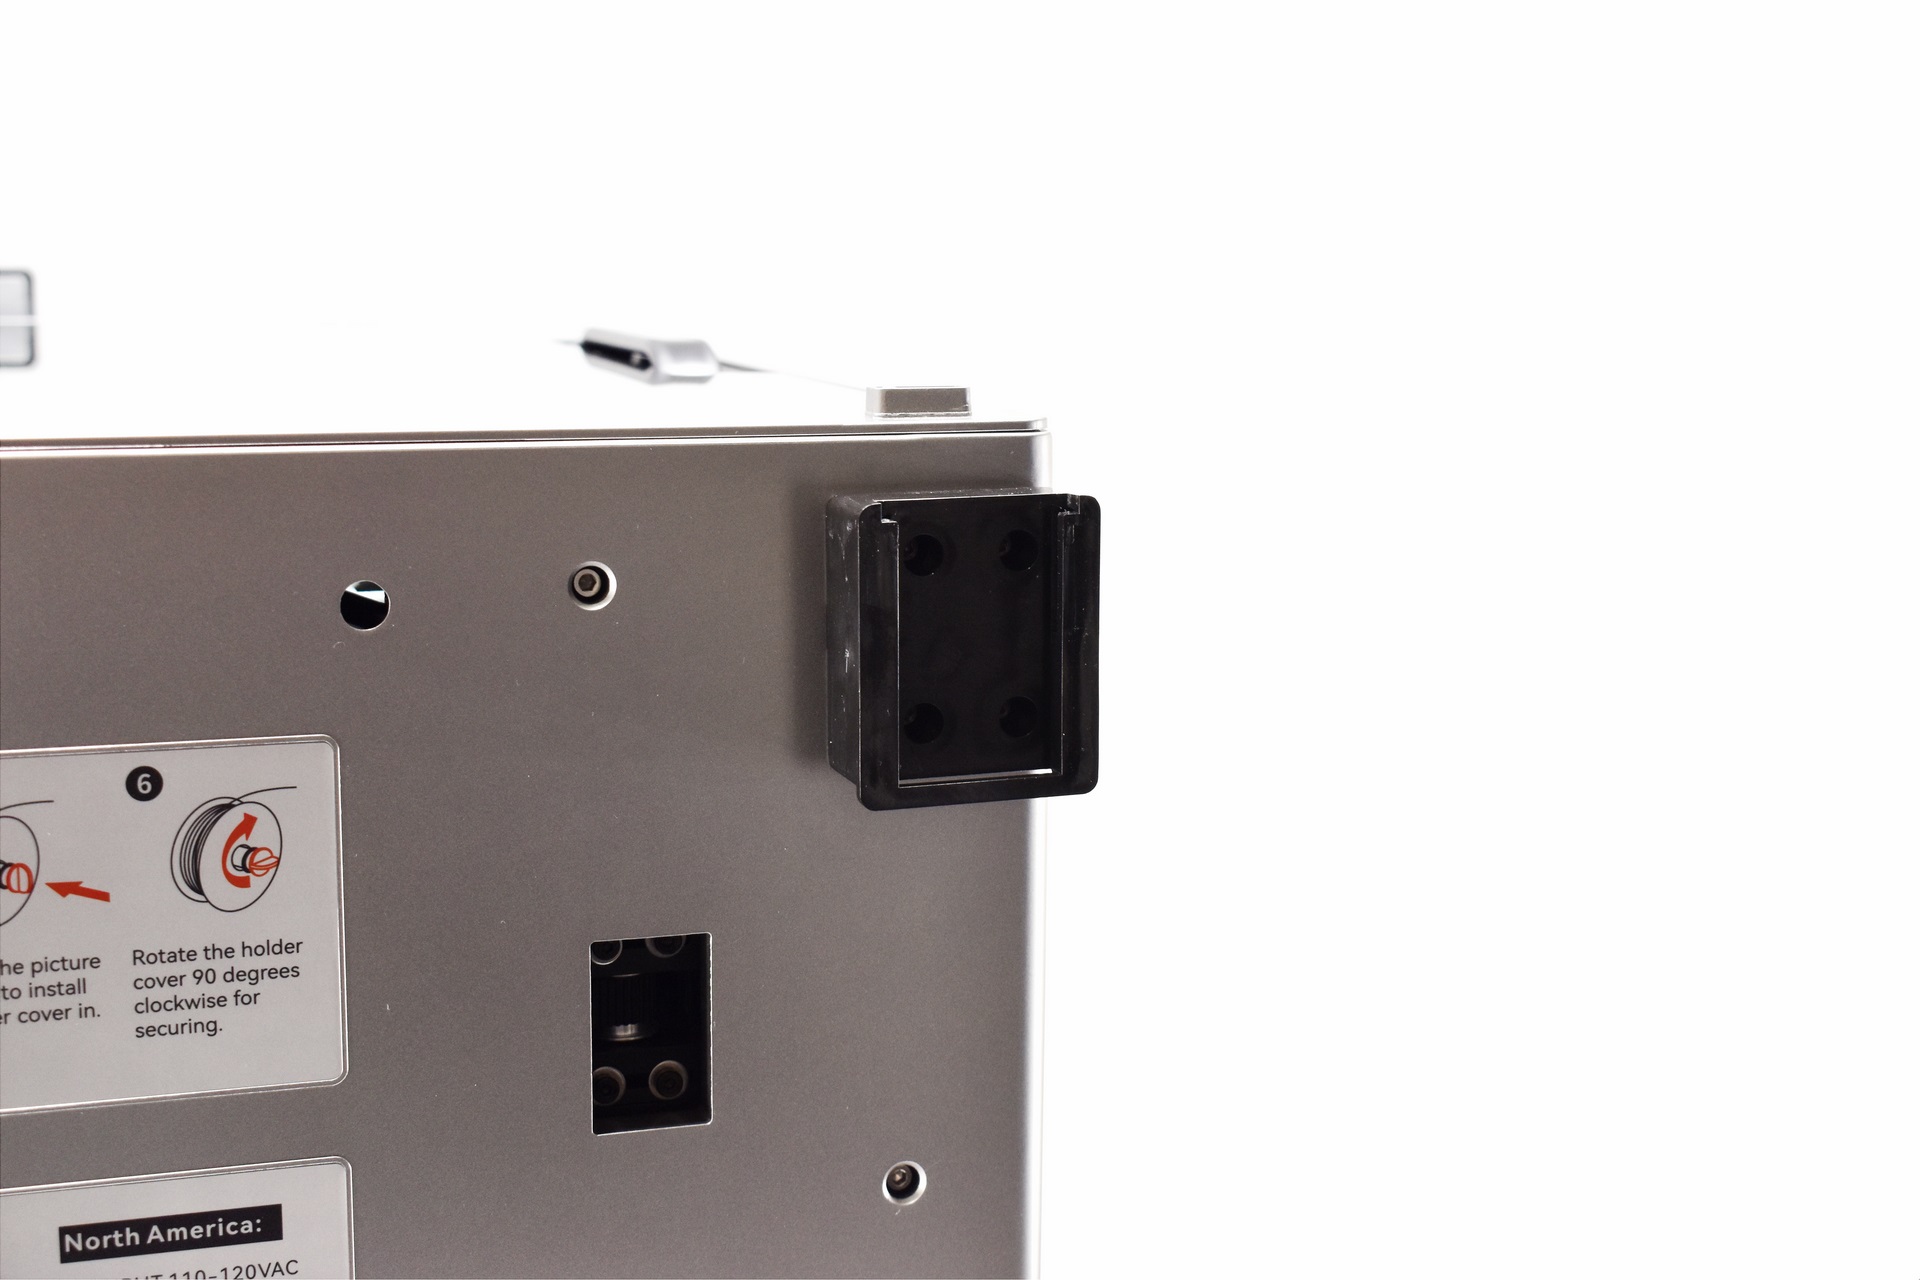
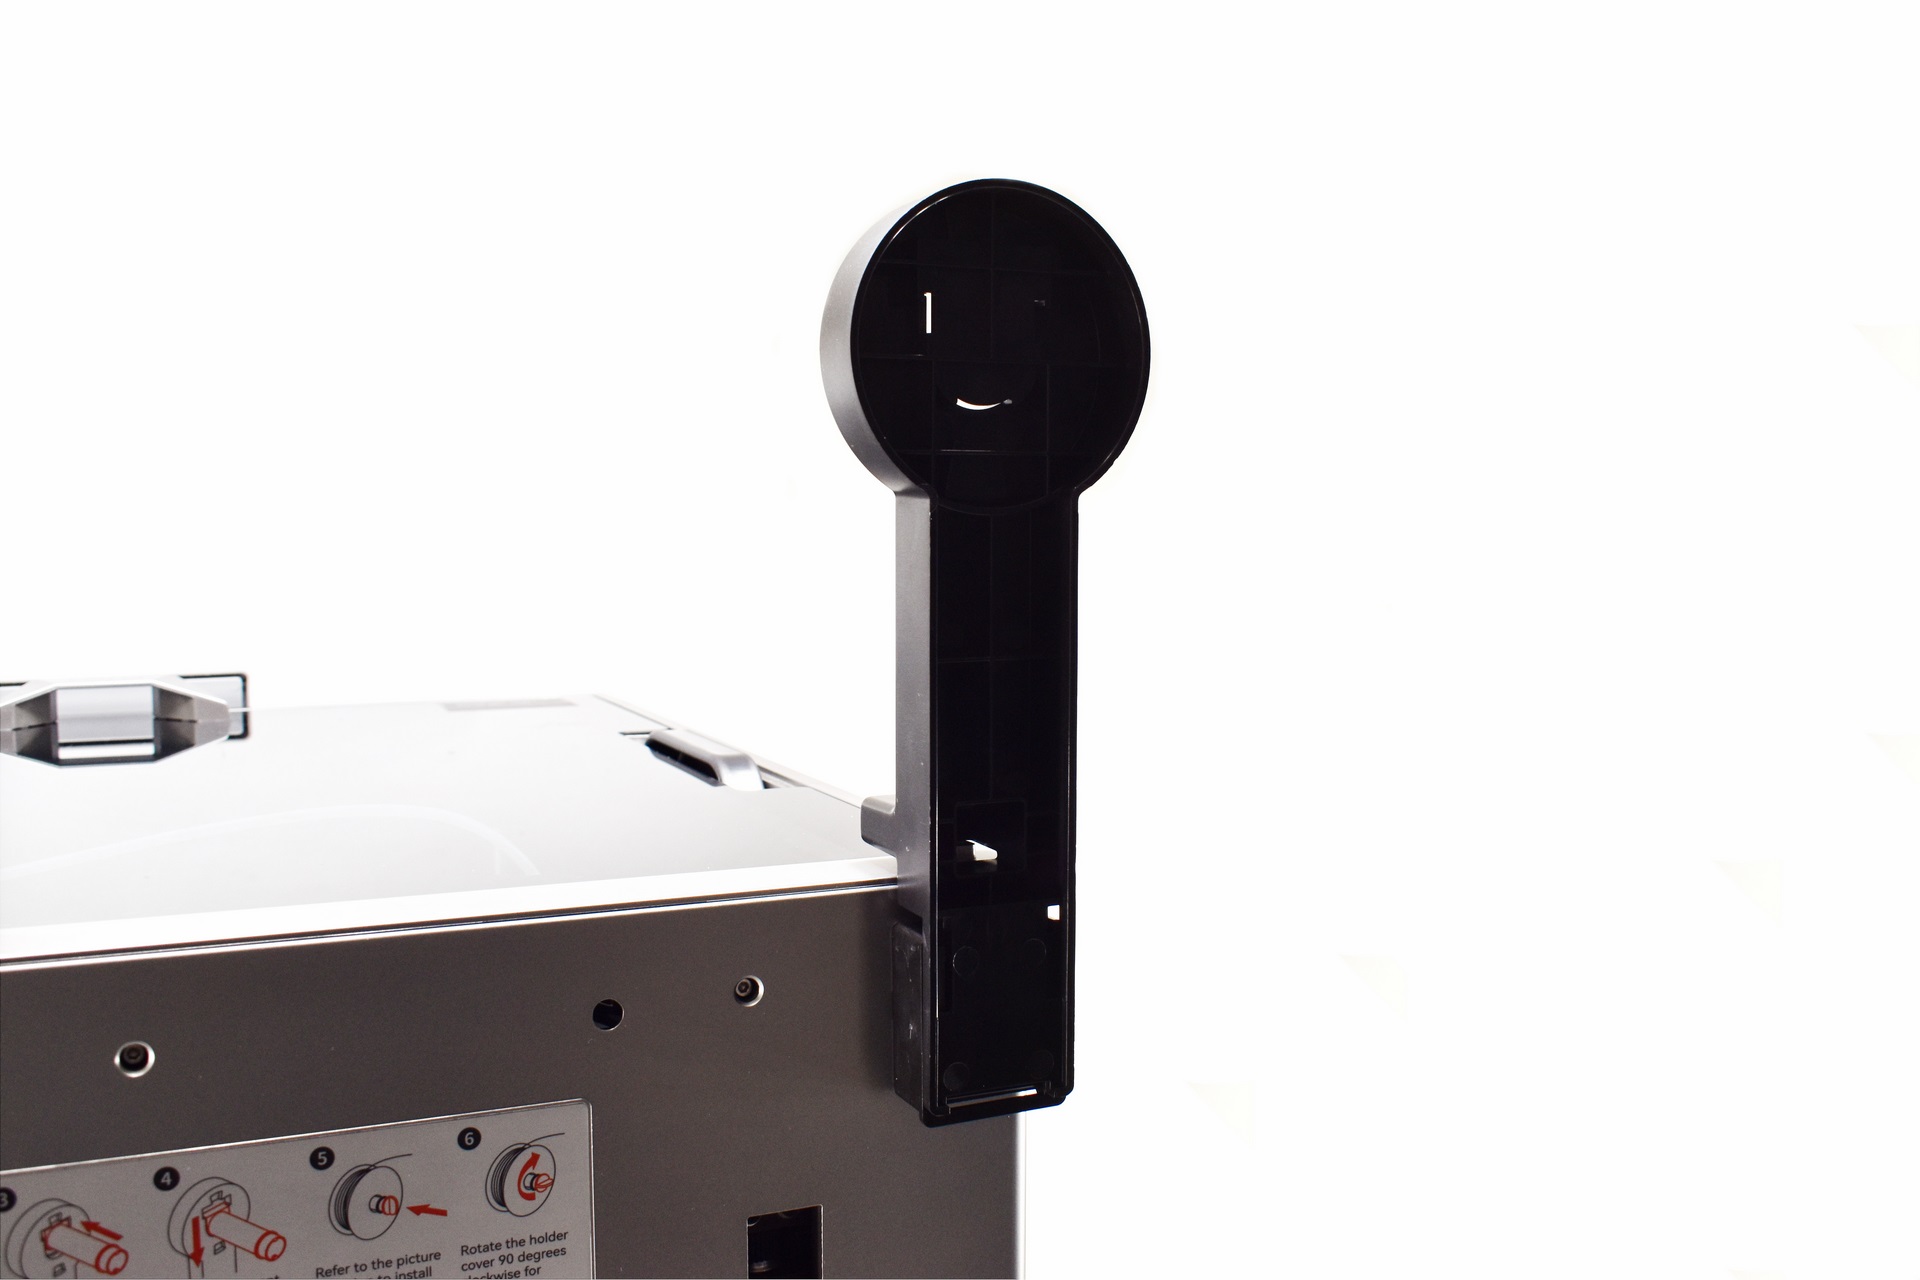
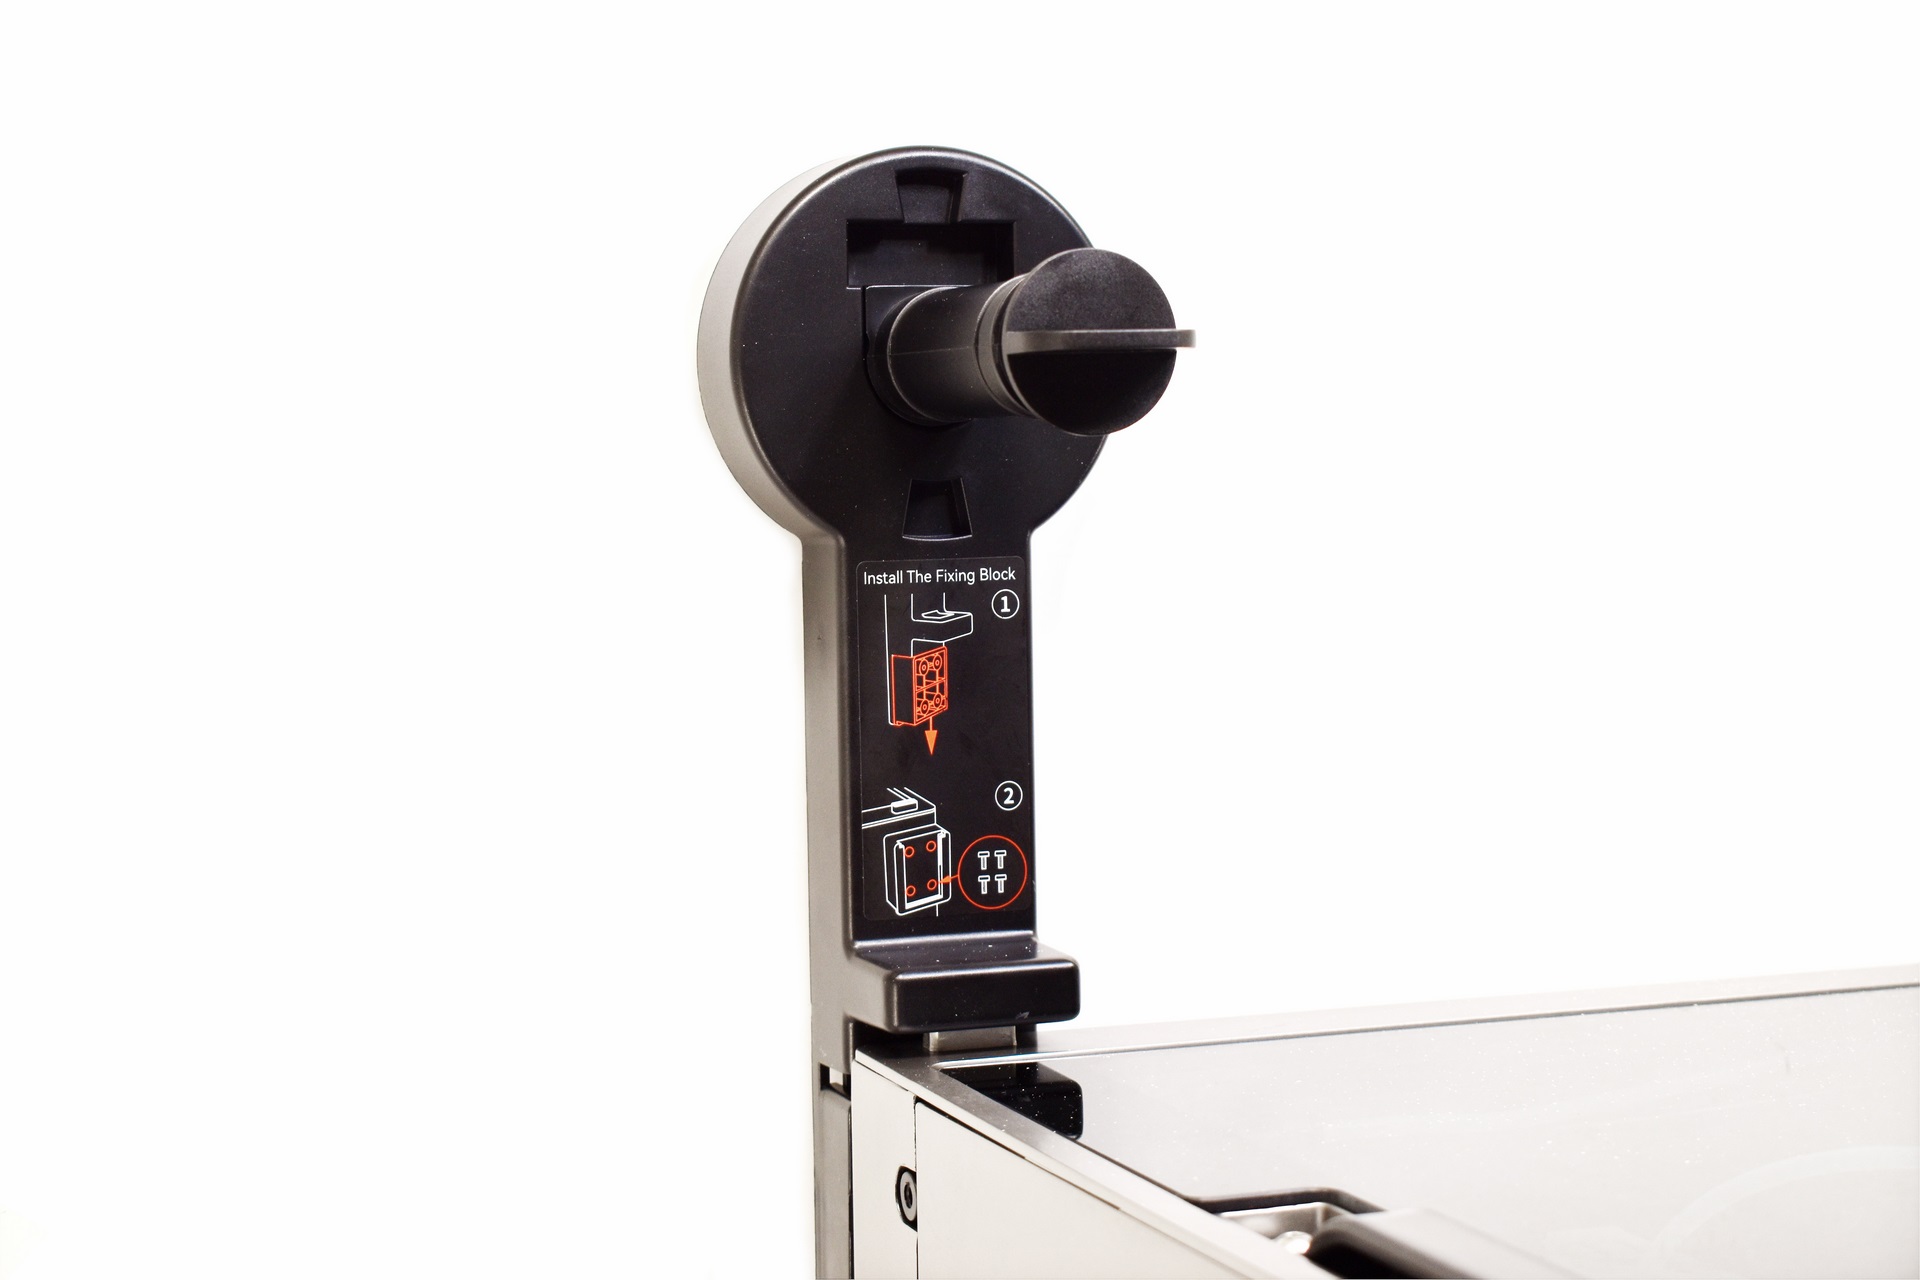
The mounting area is used by the 3-piece filament spool holder as seen above.
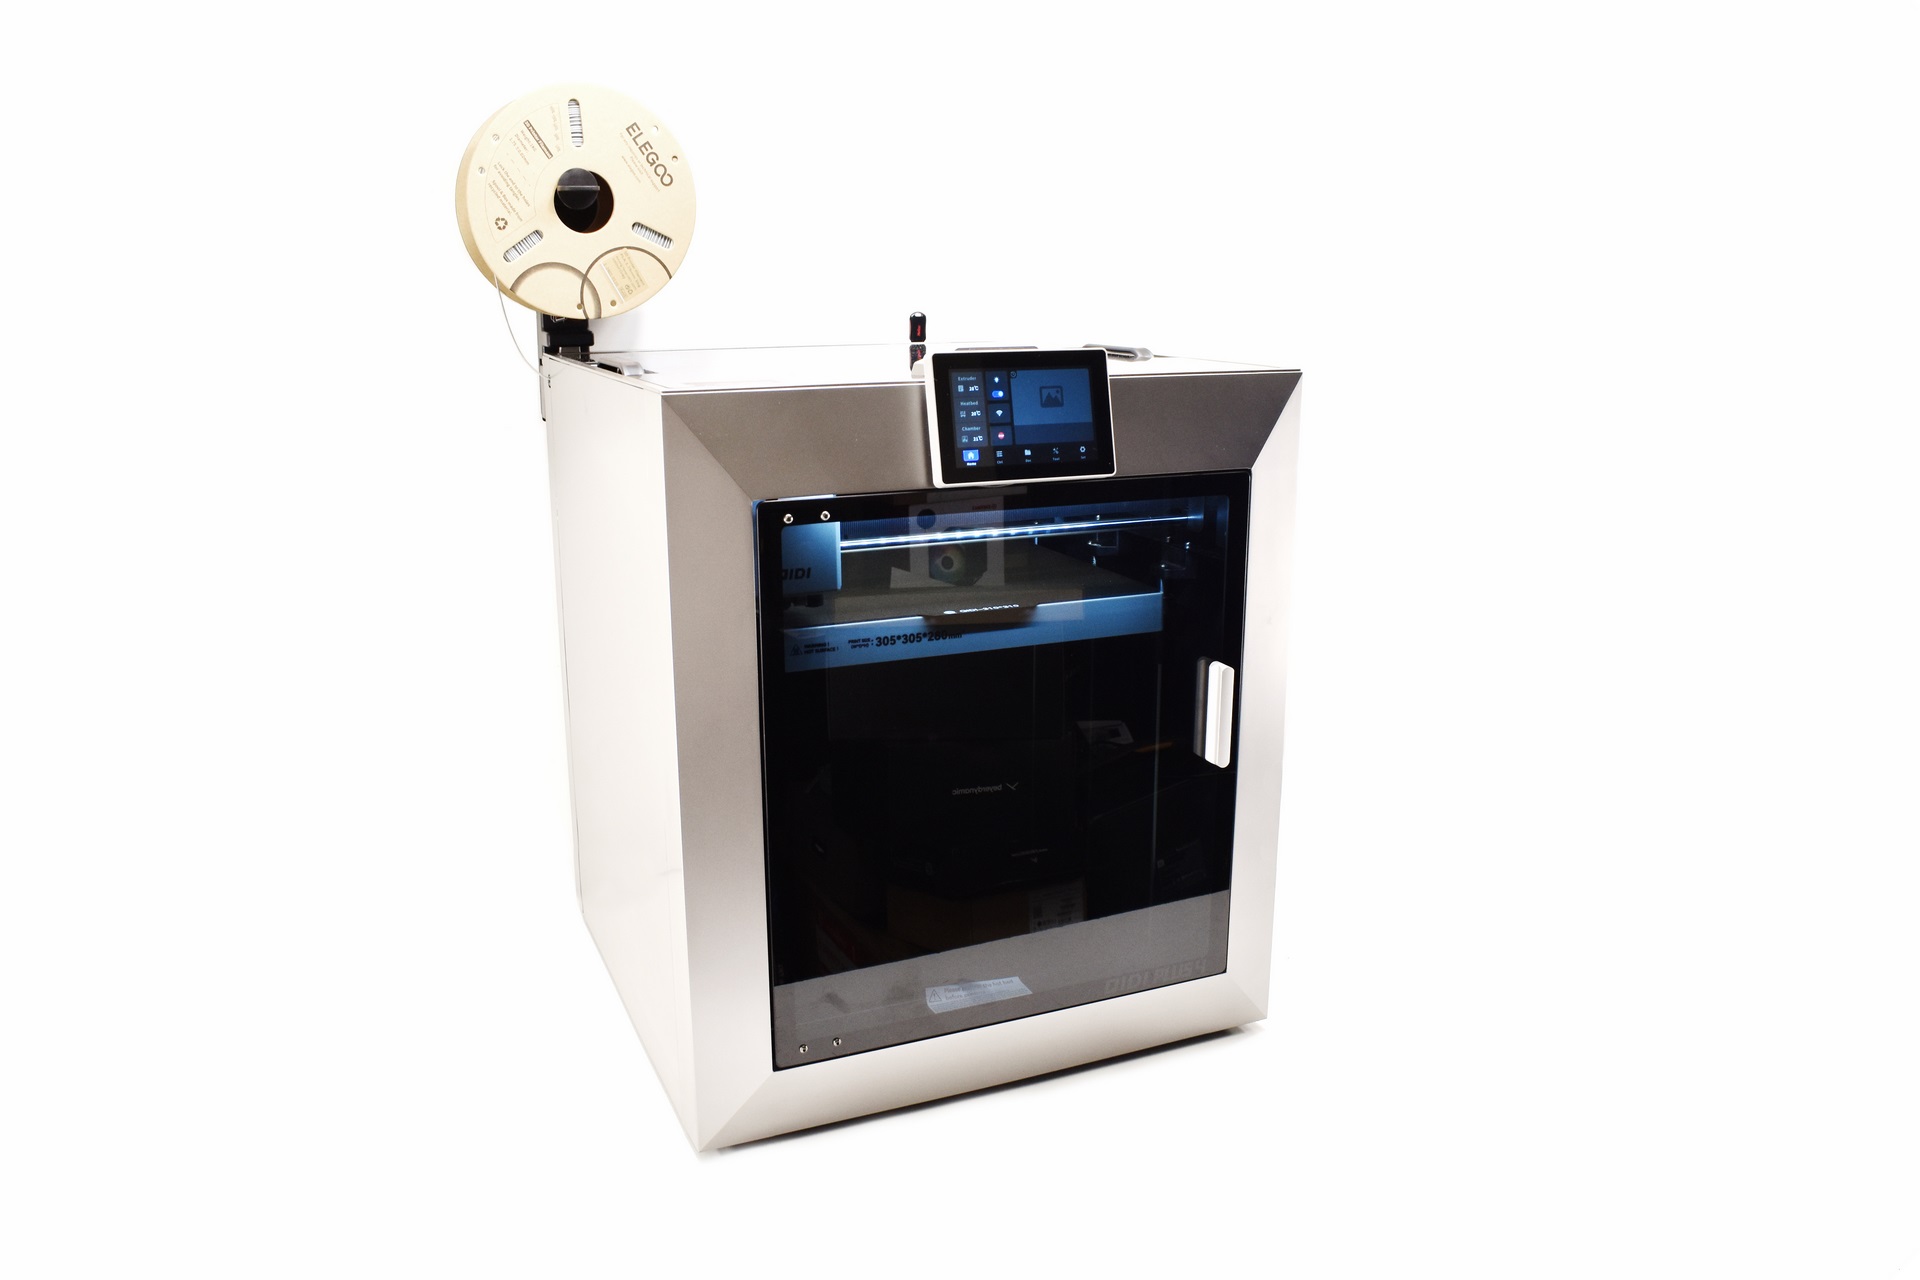
Since QIDI didn’t send over any PLA filaments for this review I used a high-speed one by Elegoo (also updated the firmware to version 1.7.1 initially – via online mode that was pushed to 1.7.3 just in time for my tests).
LCD MENUS
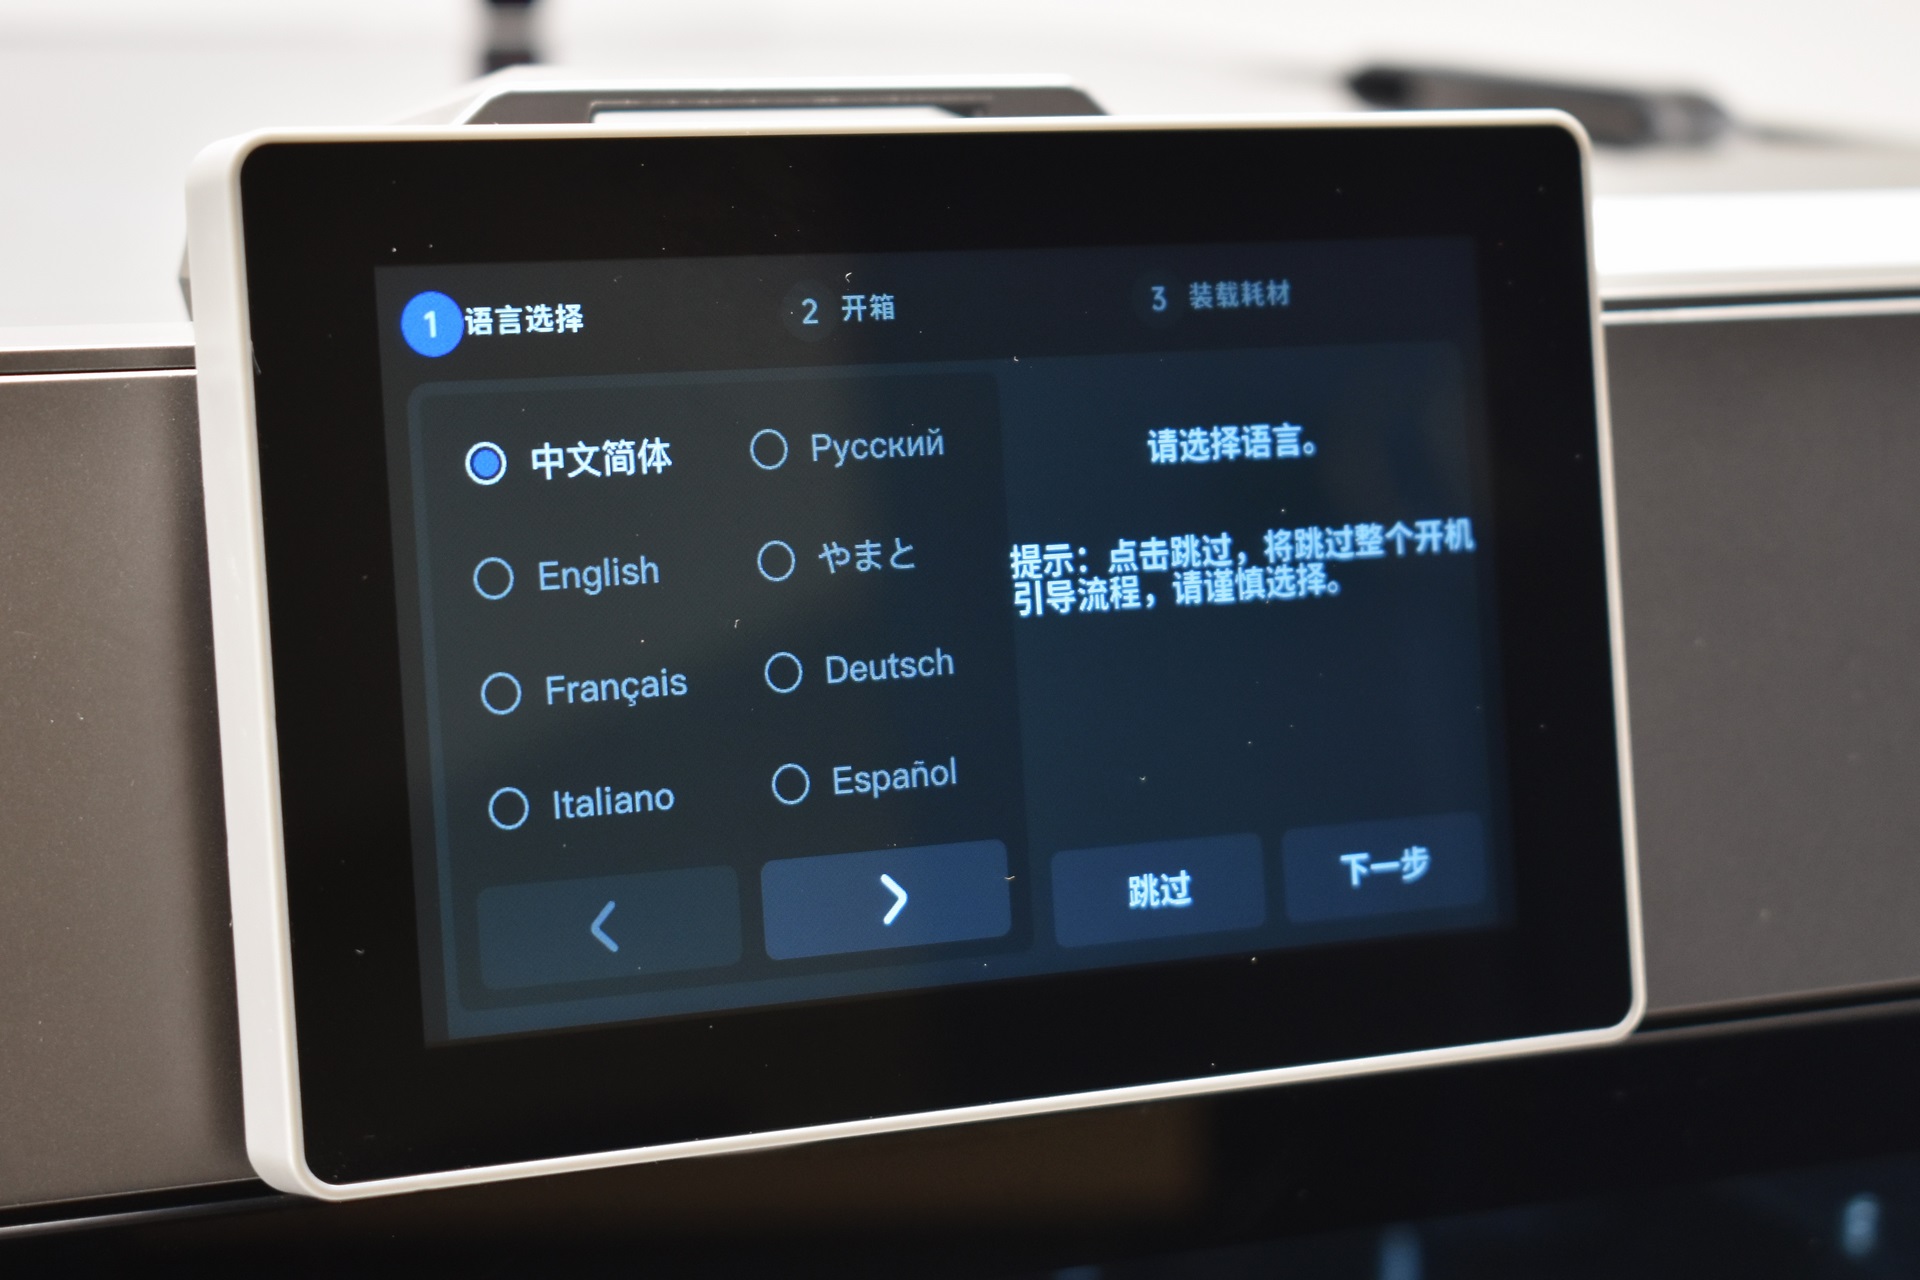
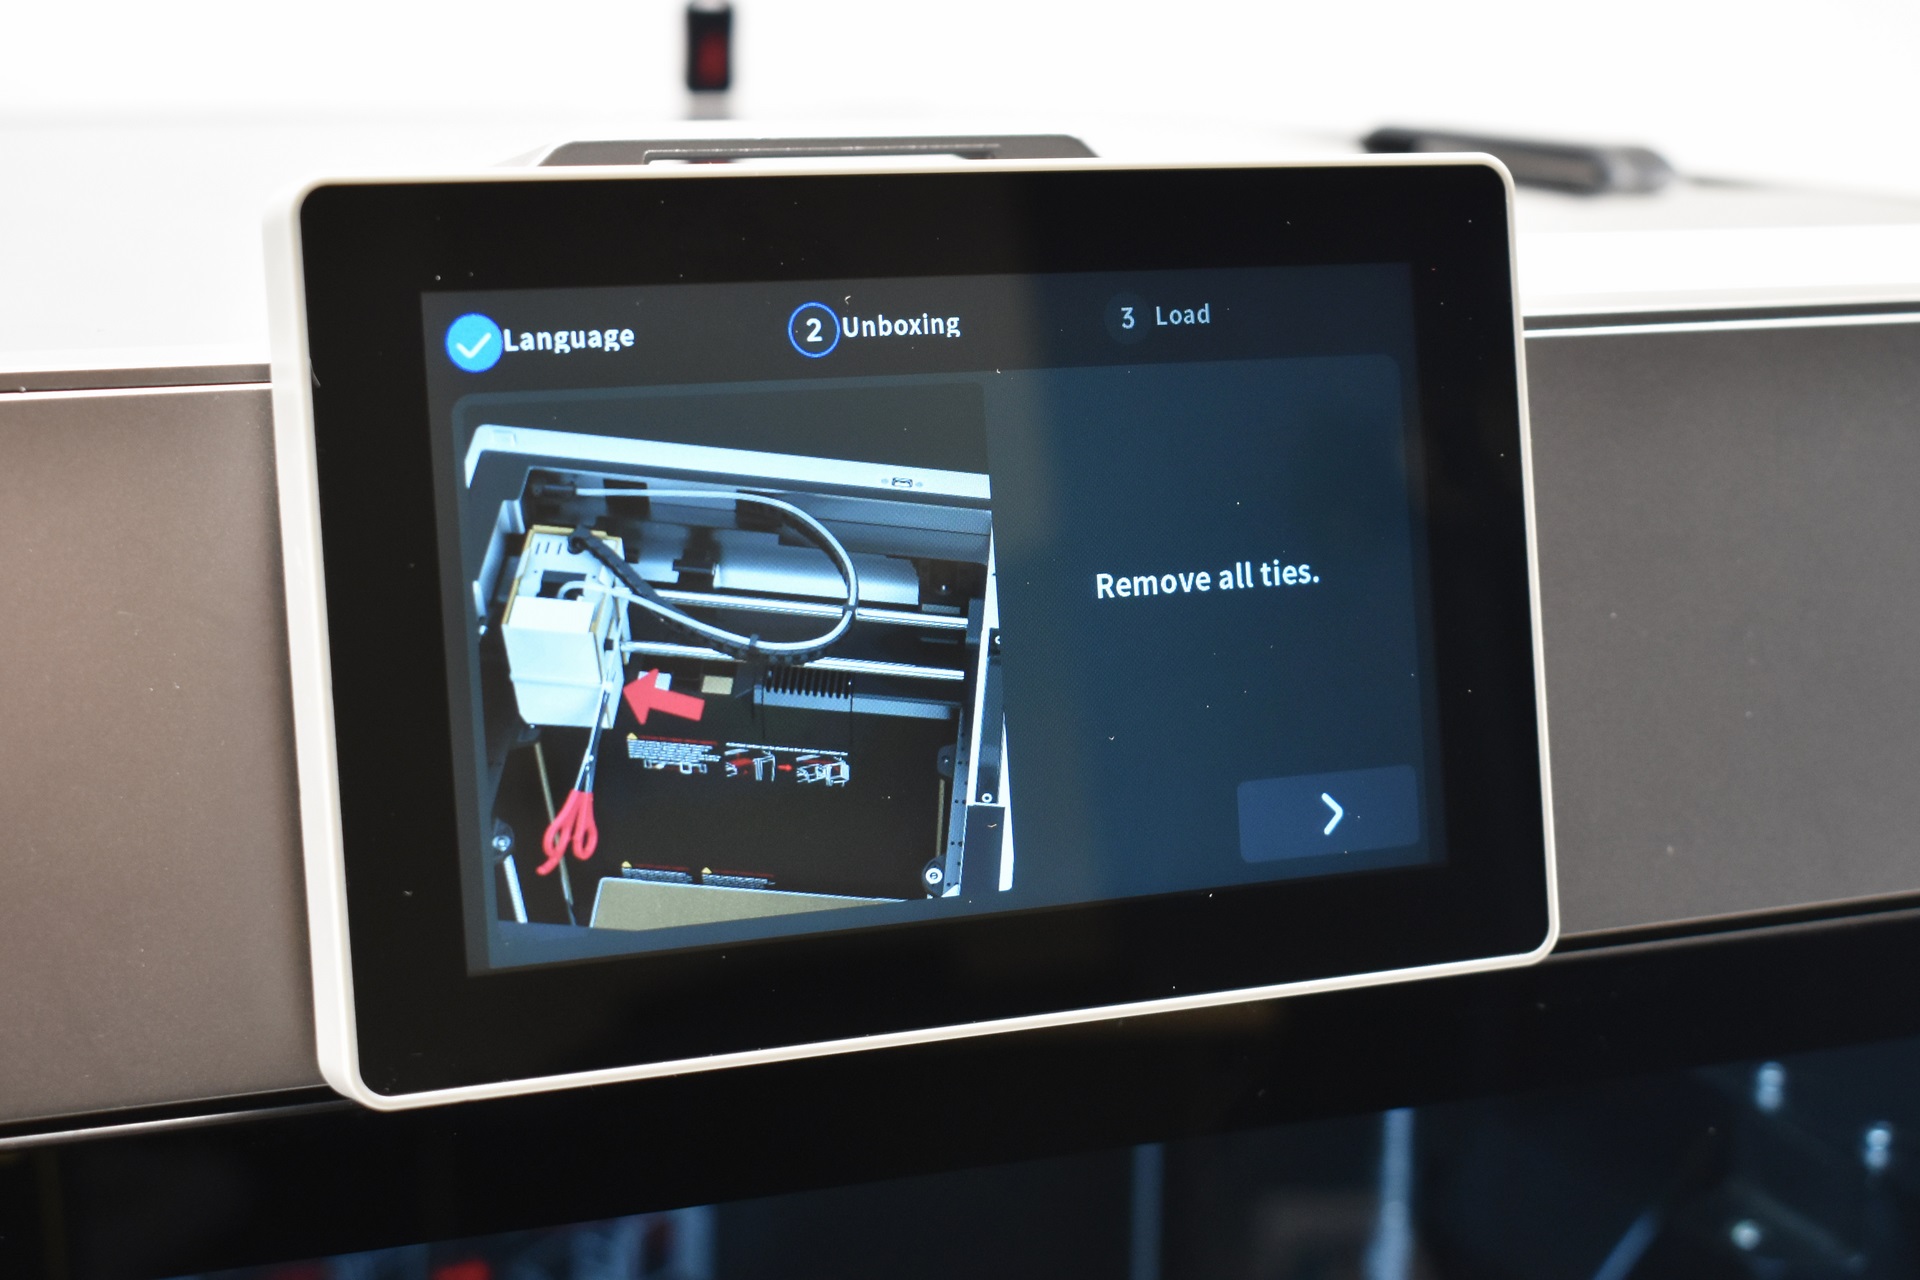
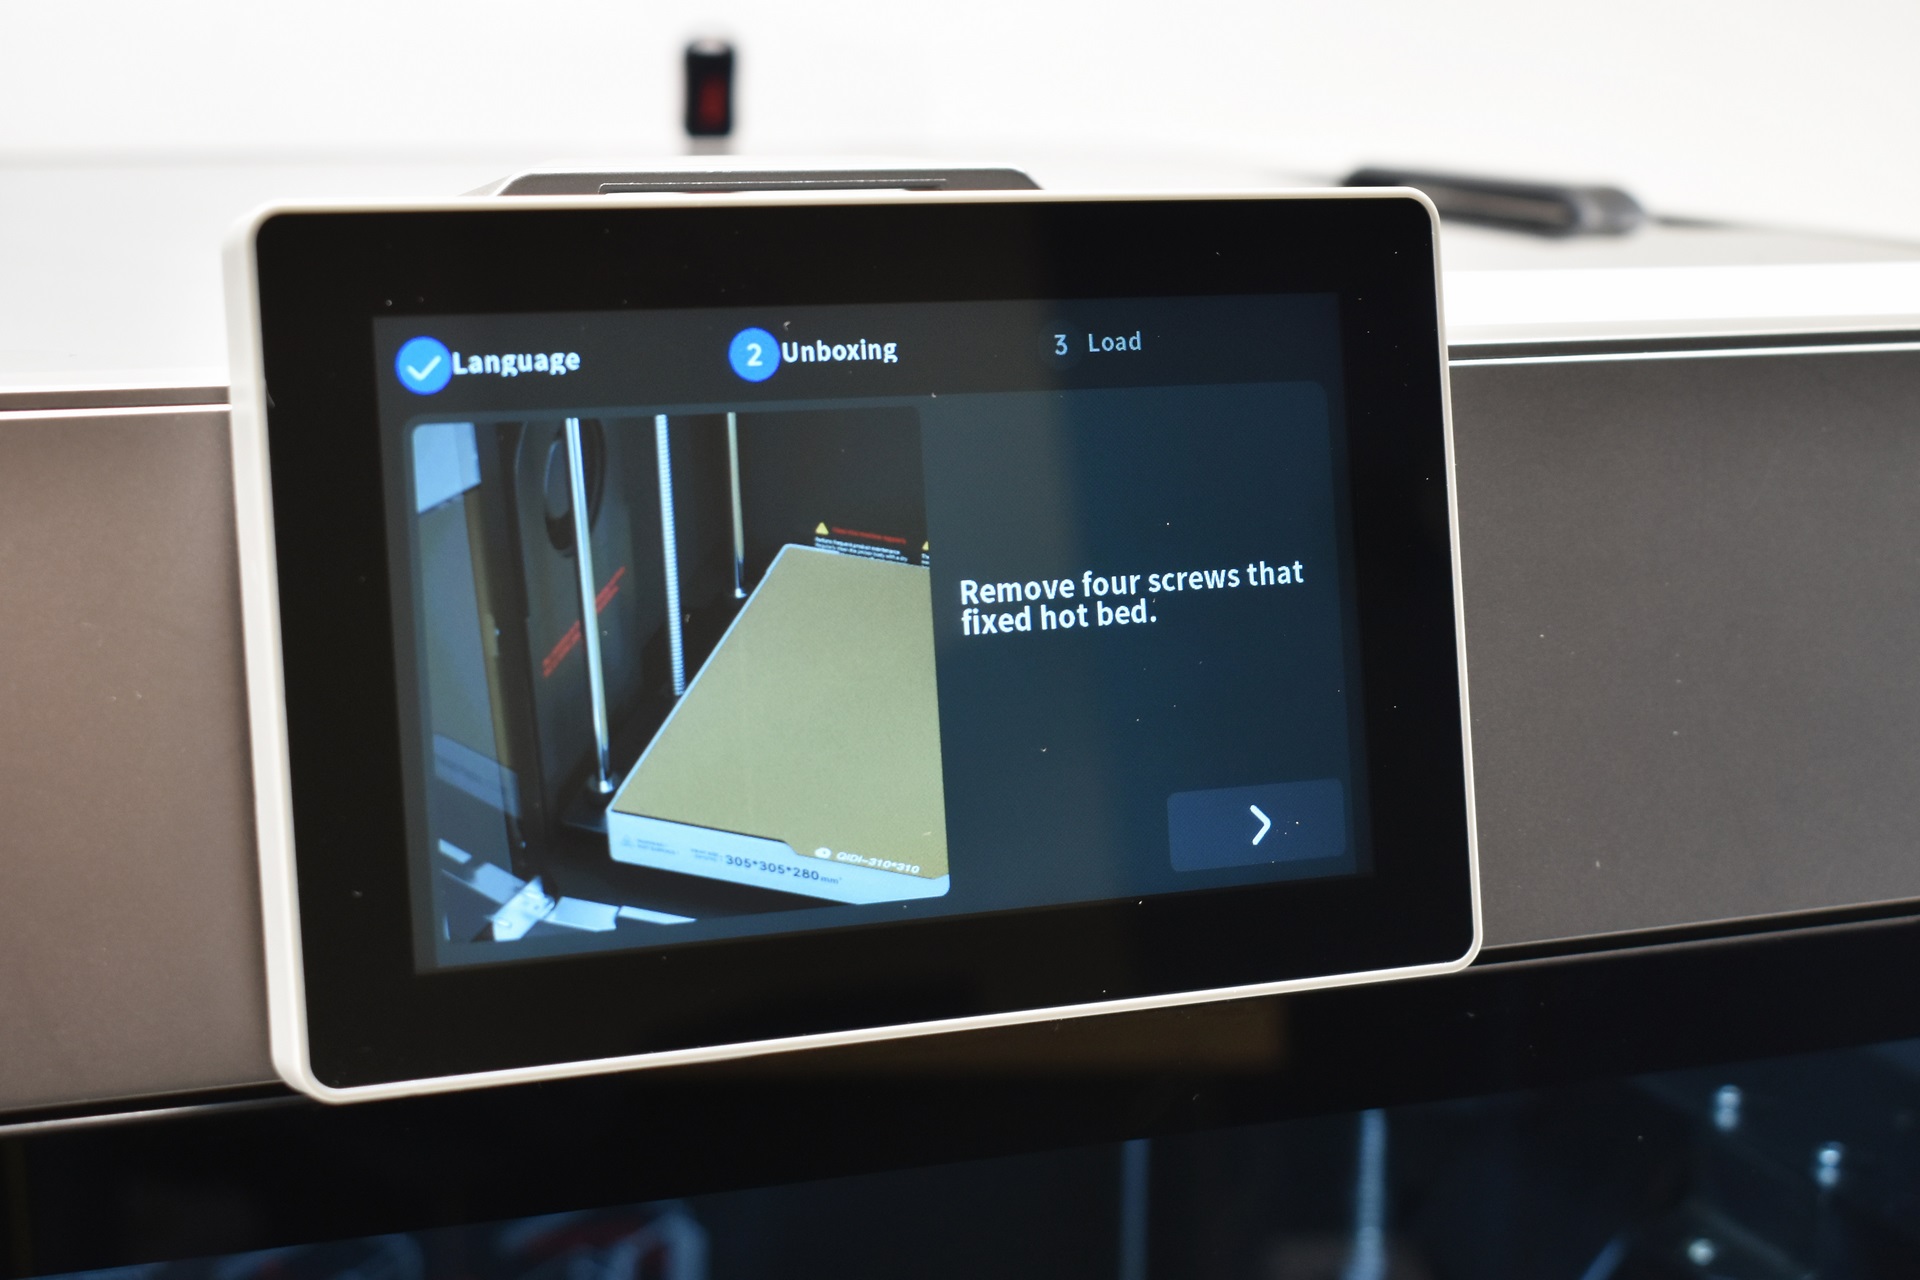

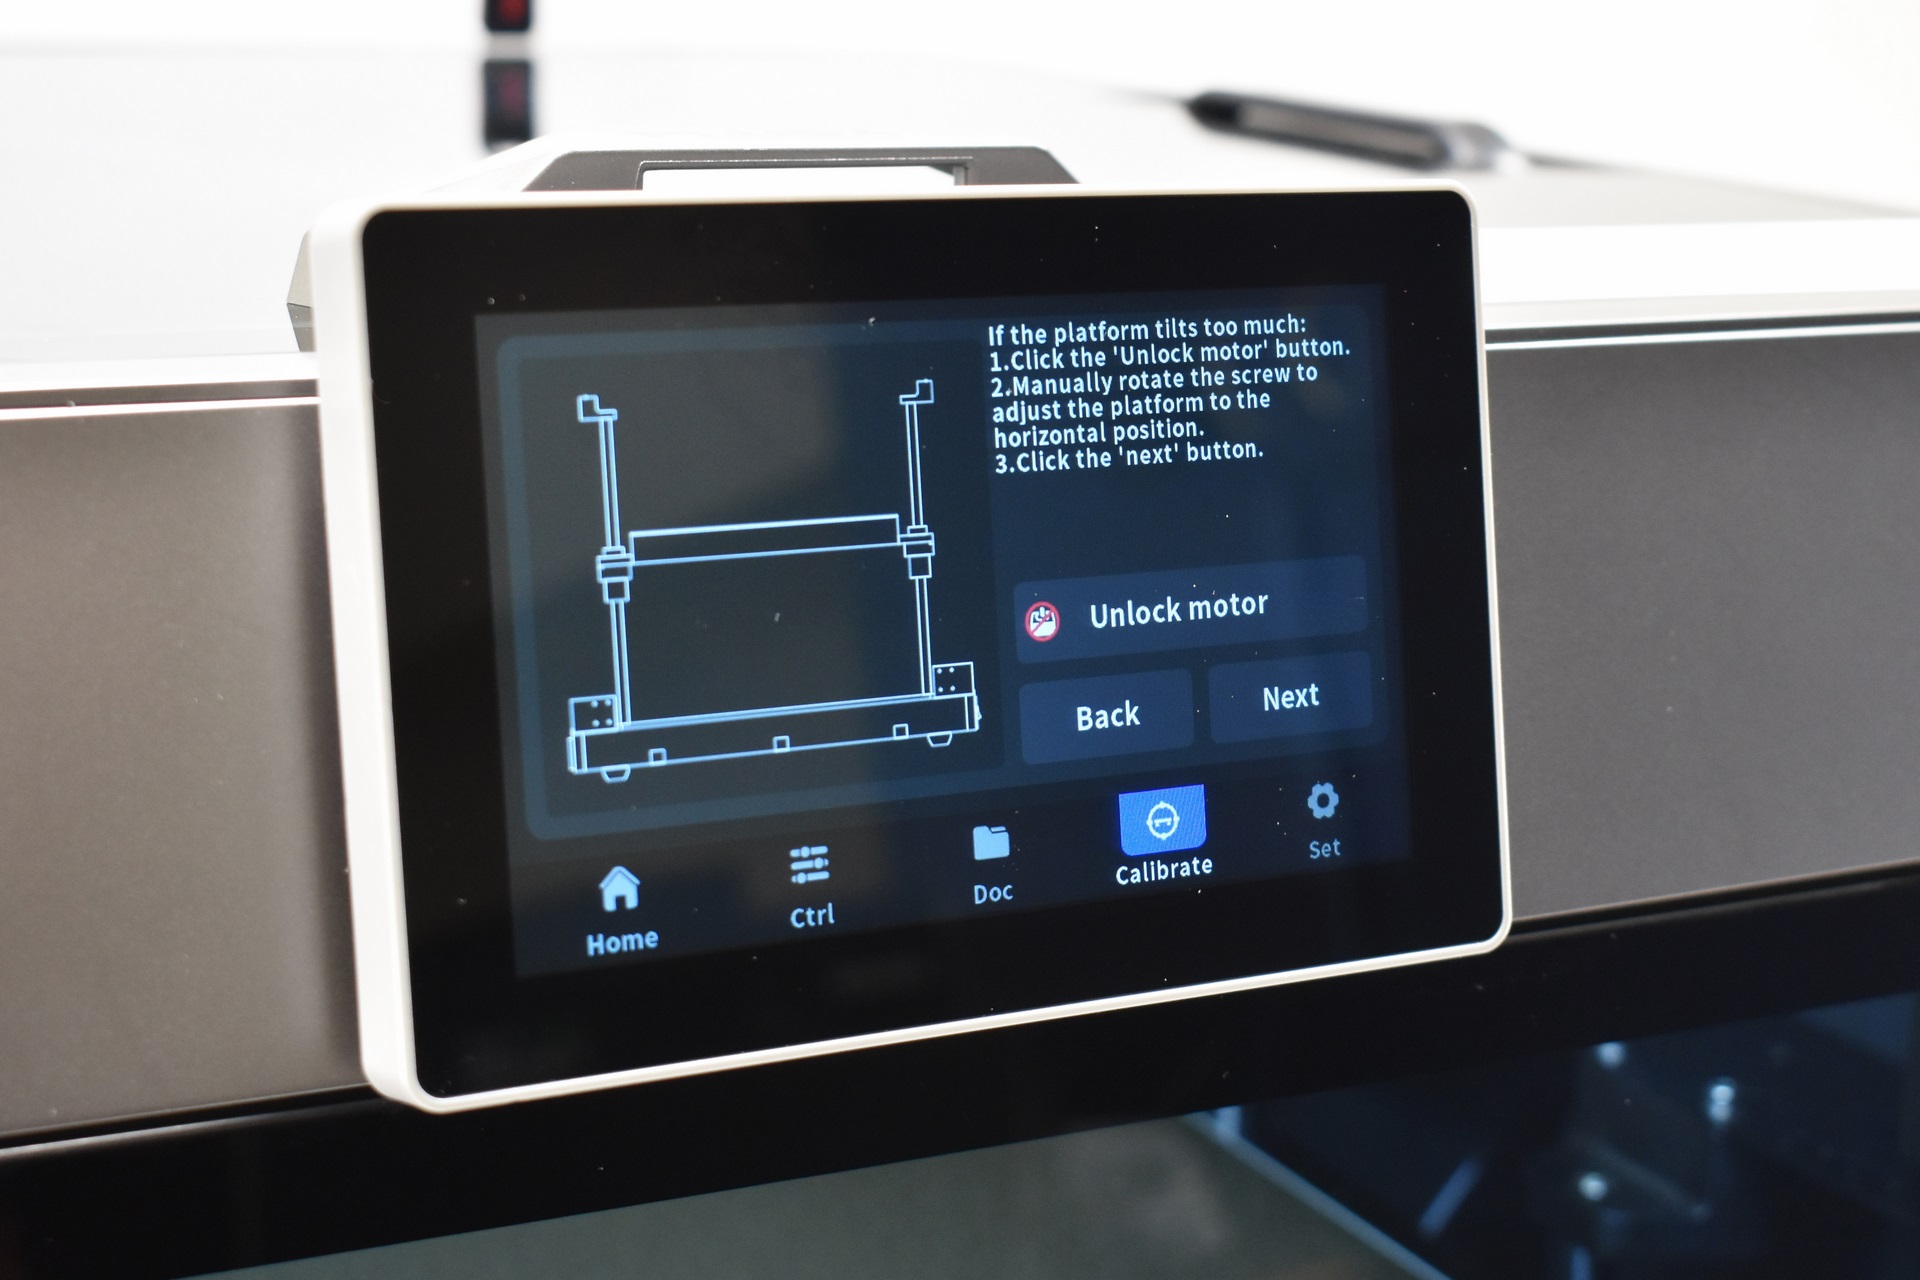
Typically, once you power the printer on you will have to select the language, follow instructions on what to remove and mount (basically everything I did in the previous page) and adjust the print plate.
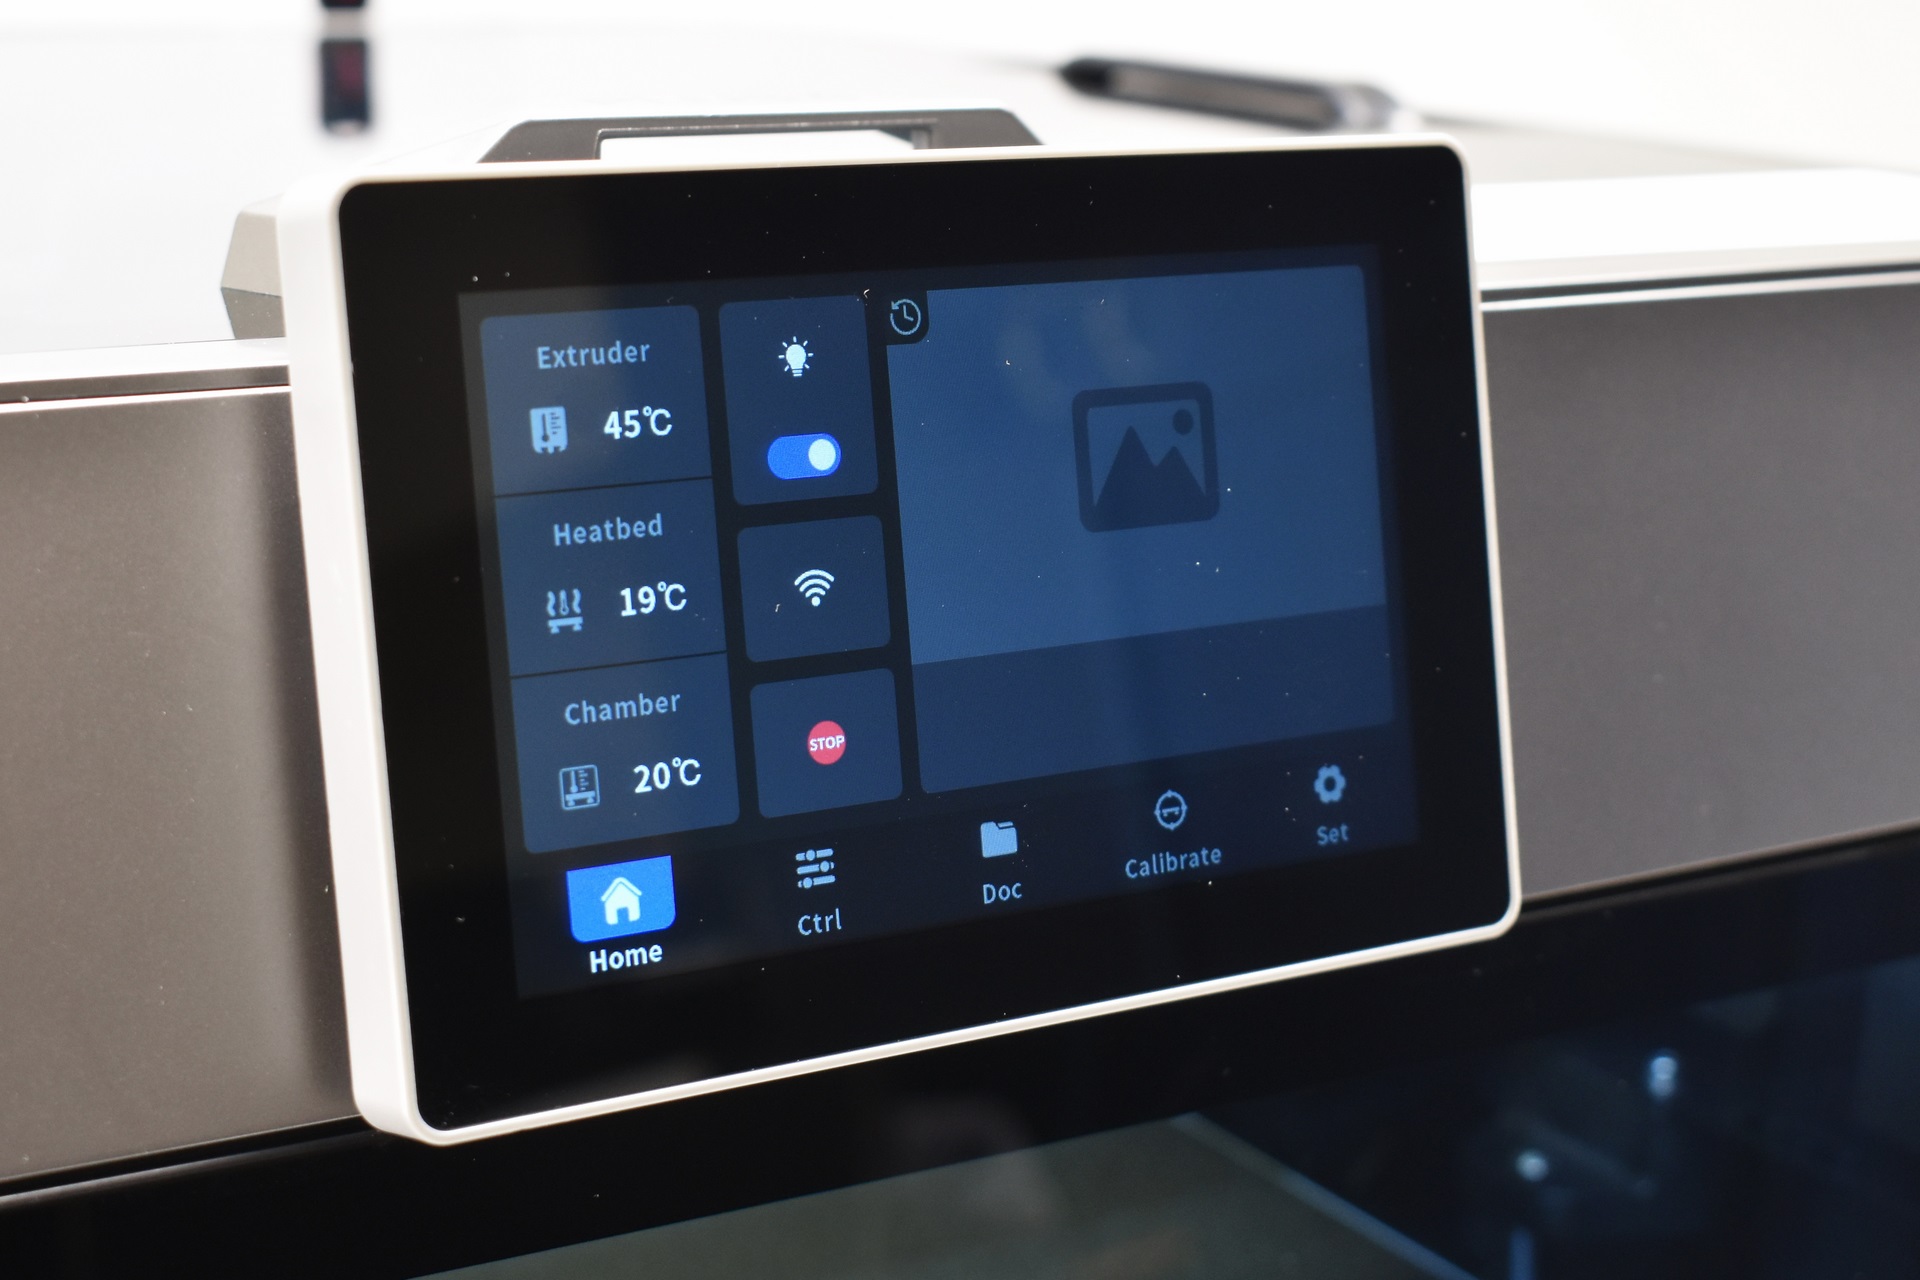
The initial tab displays temperatures, allows the end user to turn the LED strip on/off, enable/disable Wi-Fi and stop the printer entirely.
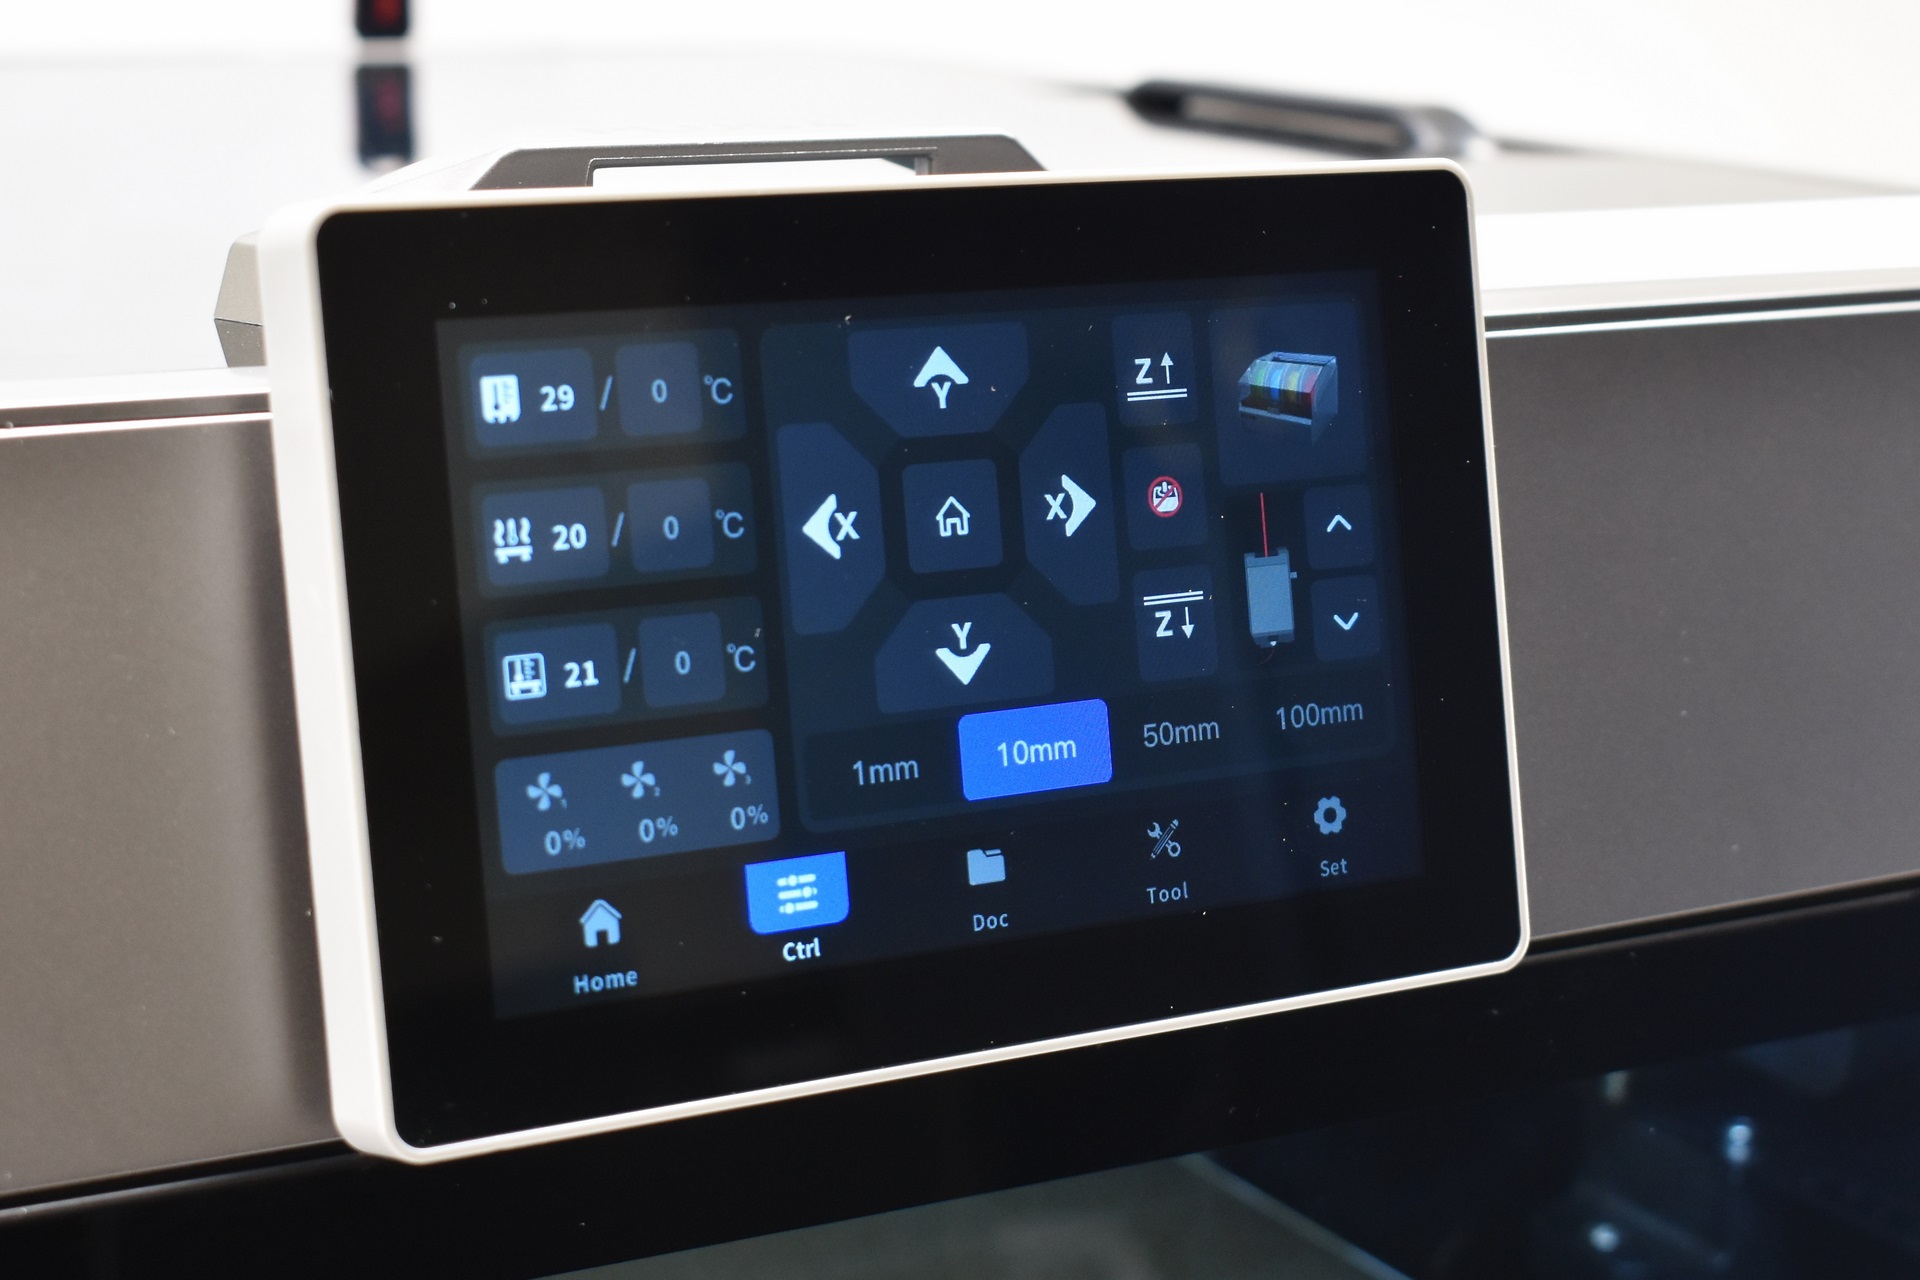
2nd tab allows you to control temperatures, fans, move the axis, retract and extrude filament and setup the box (if you have it).
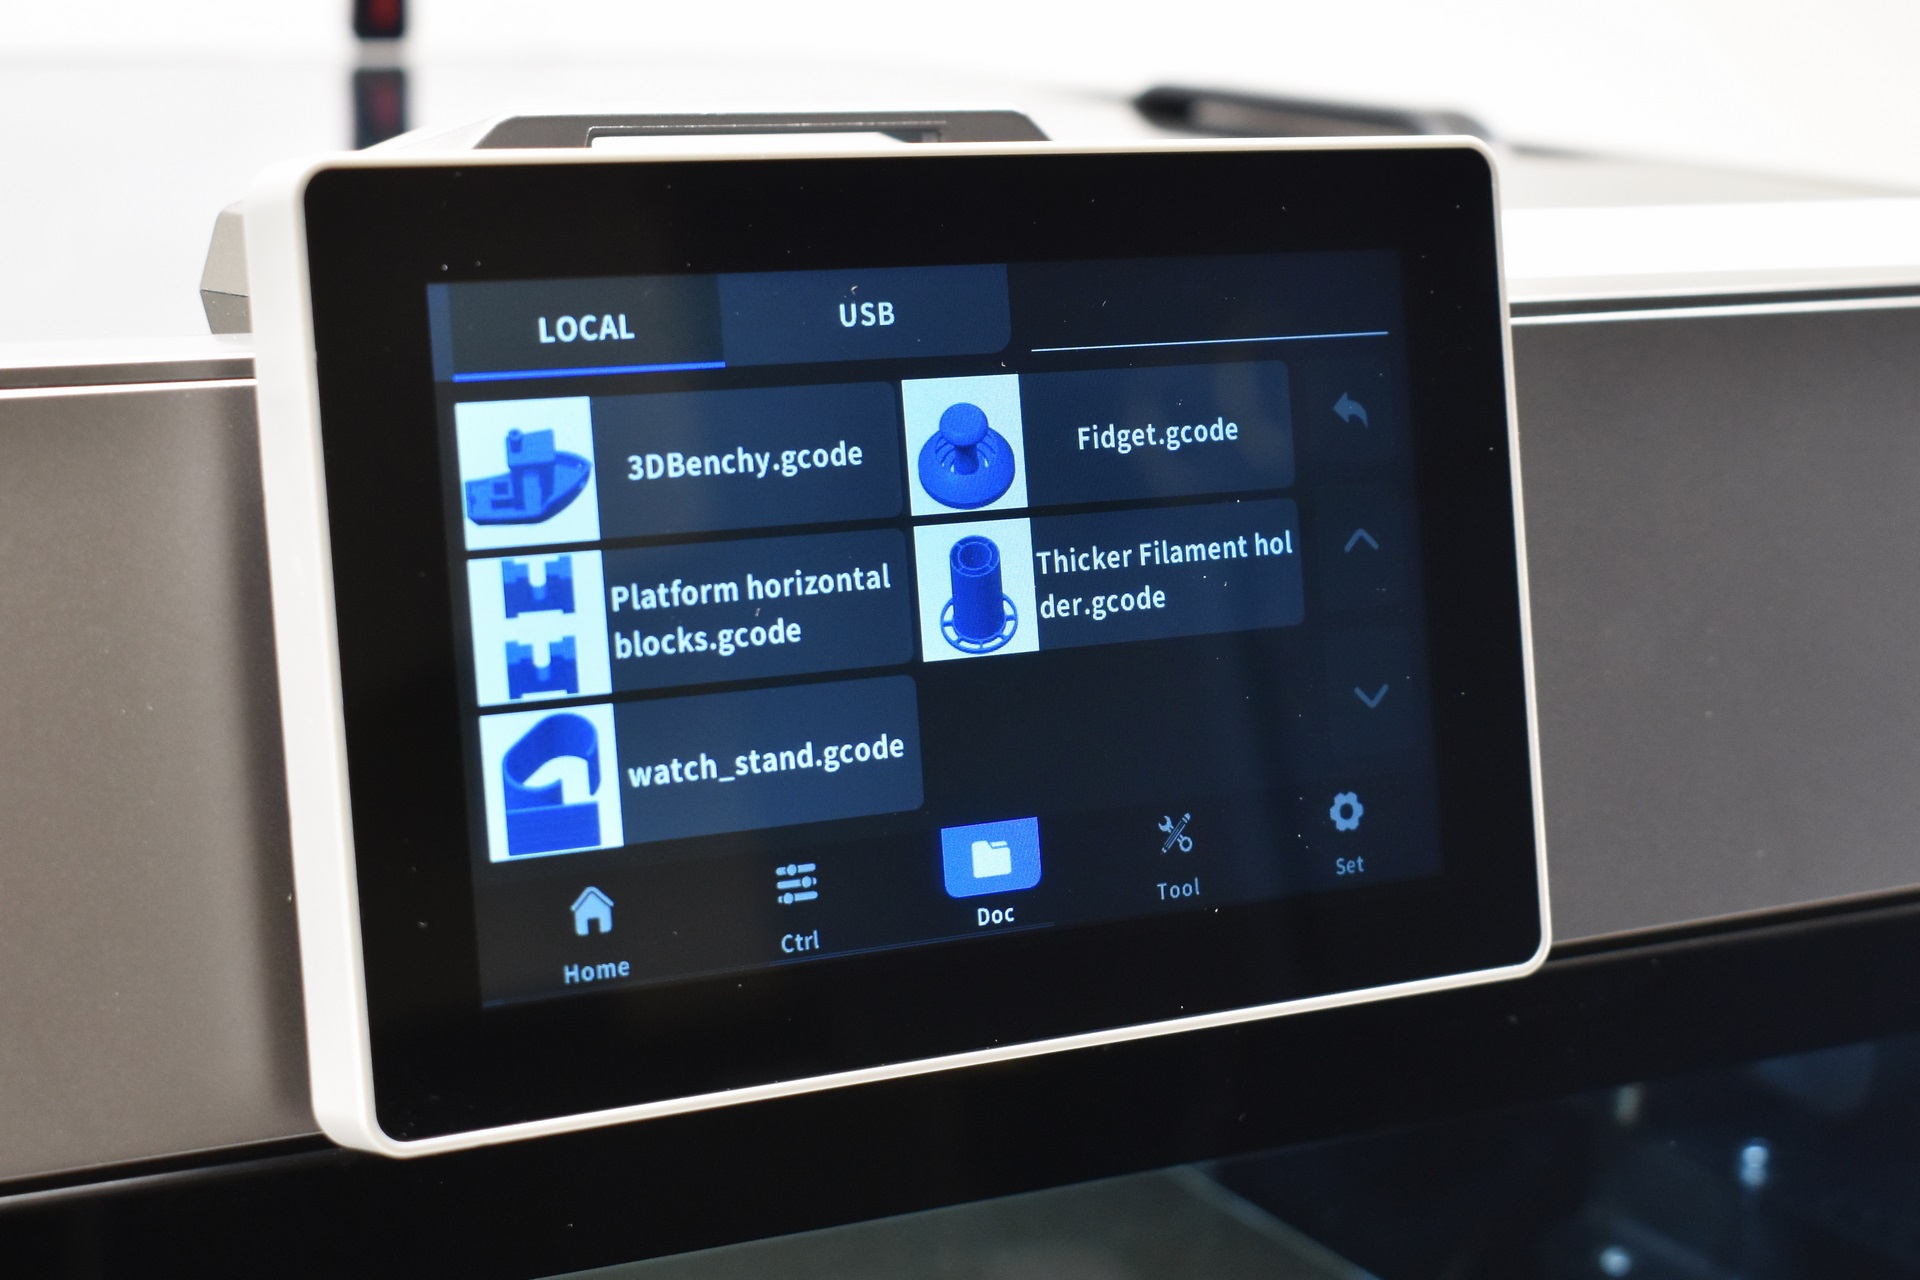
From the 3rd tab you can select print models either from the on board memory or the USB (whatever you print from the USB gets transferred on the onboard memory).
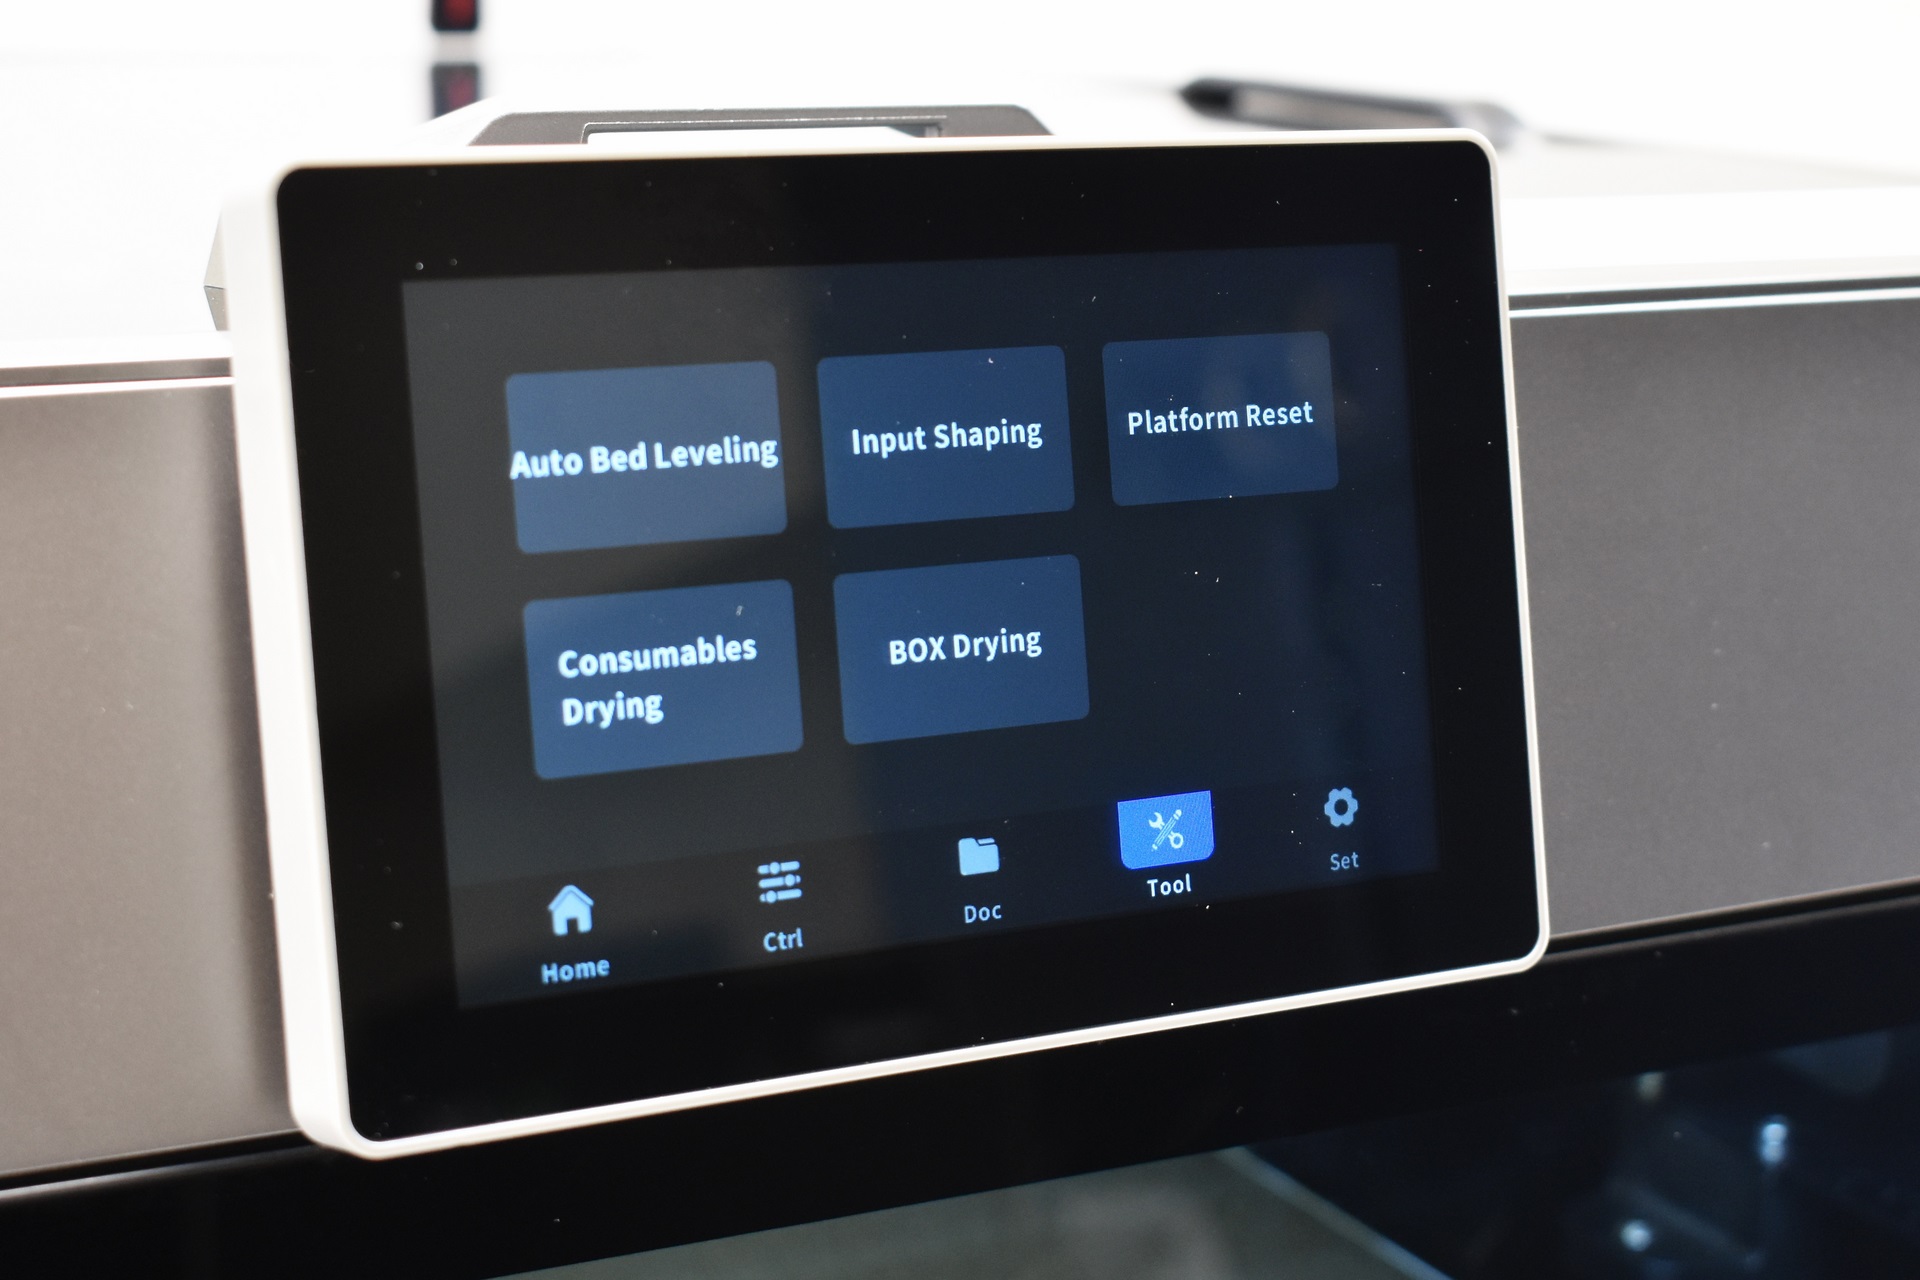
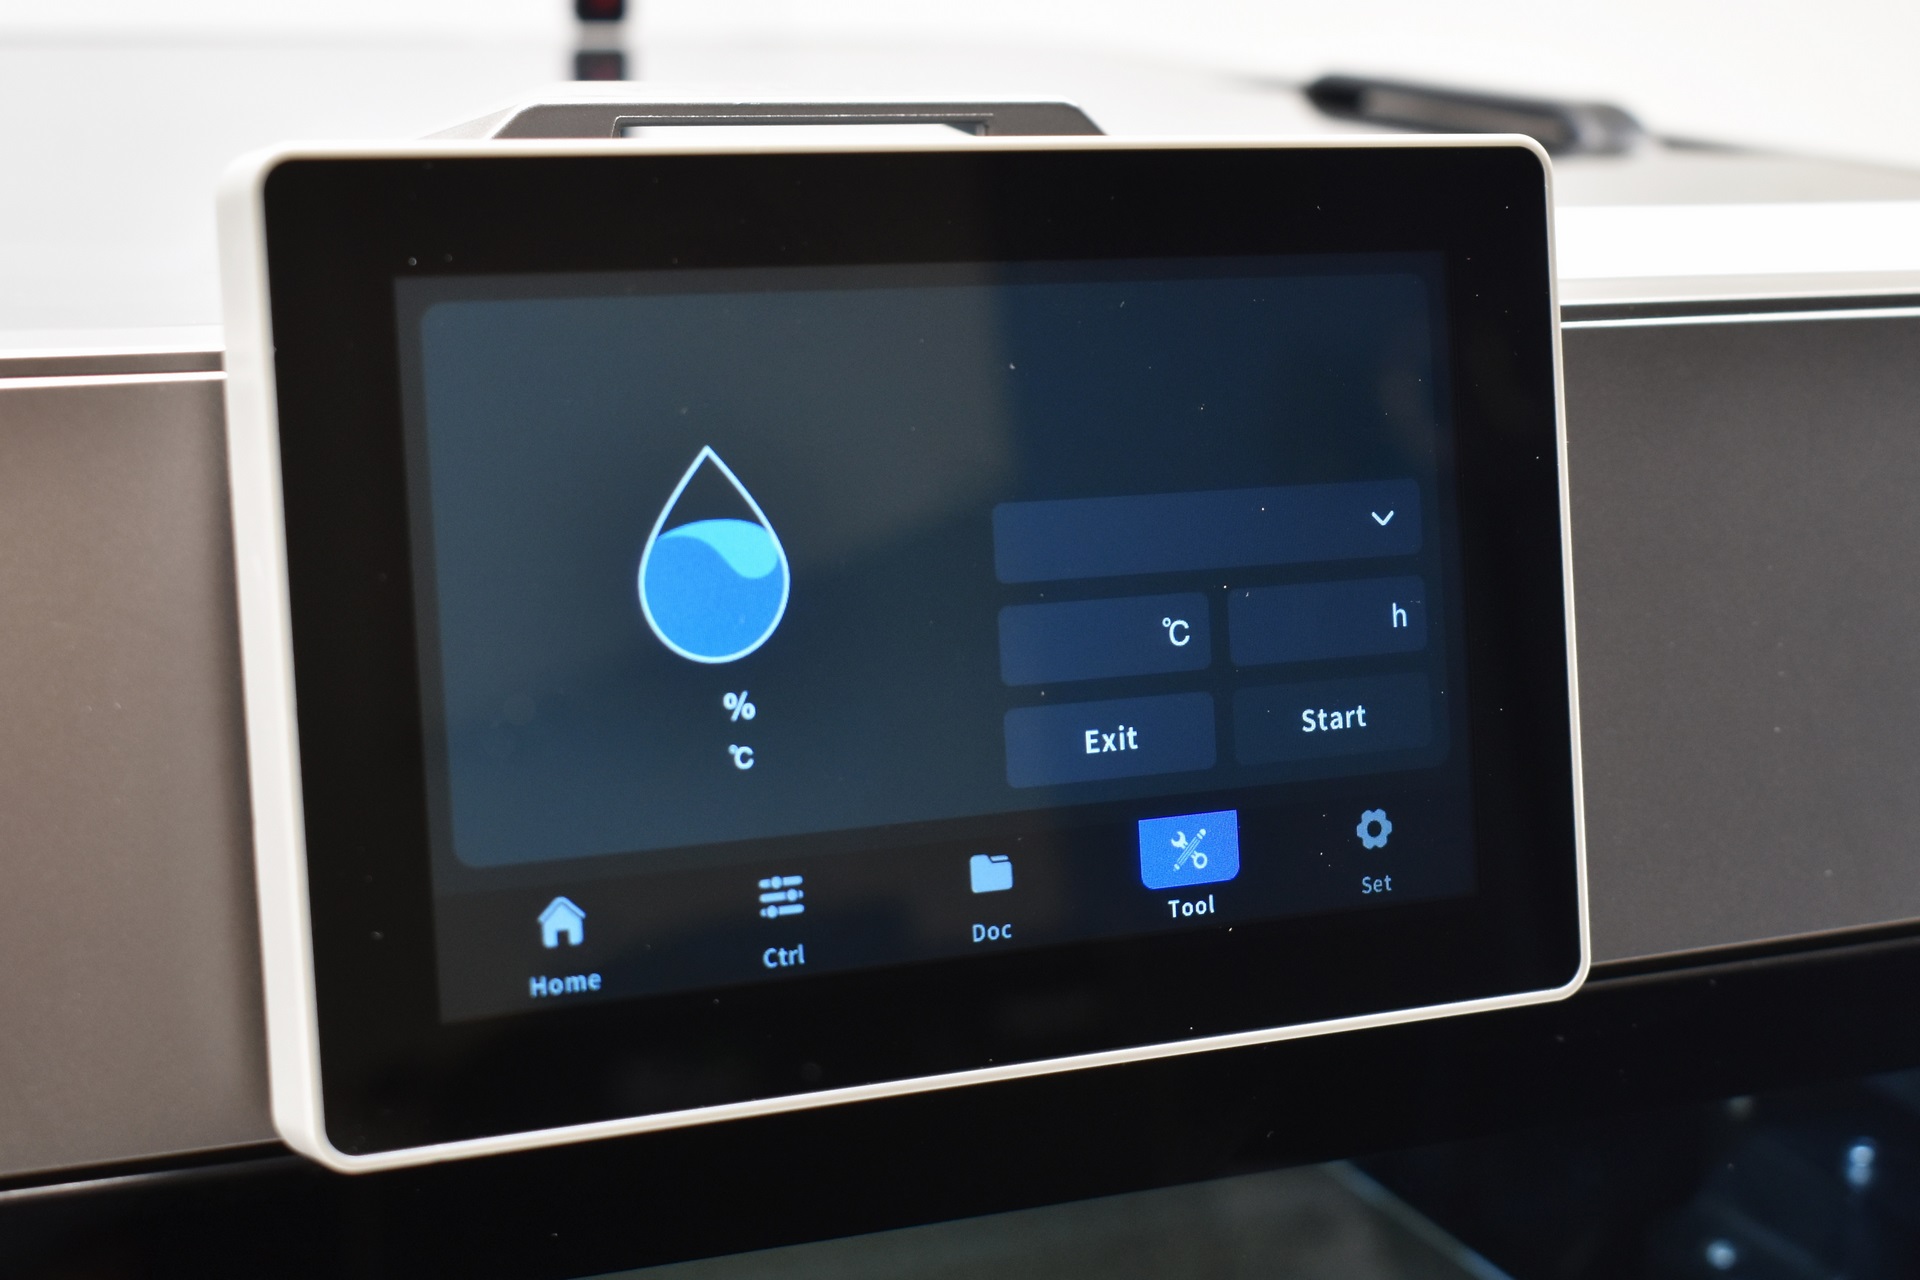
Bed leveling, input shaping, platform reset and filament drying are all placed in the 4th tab.
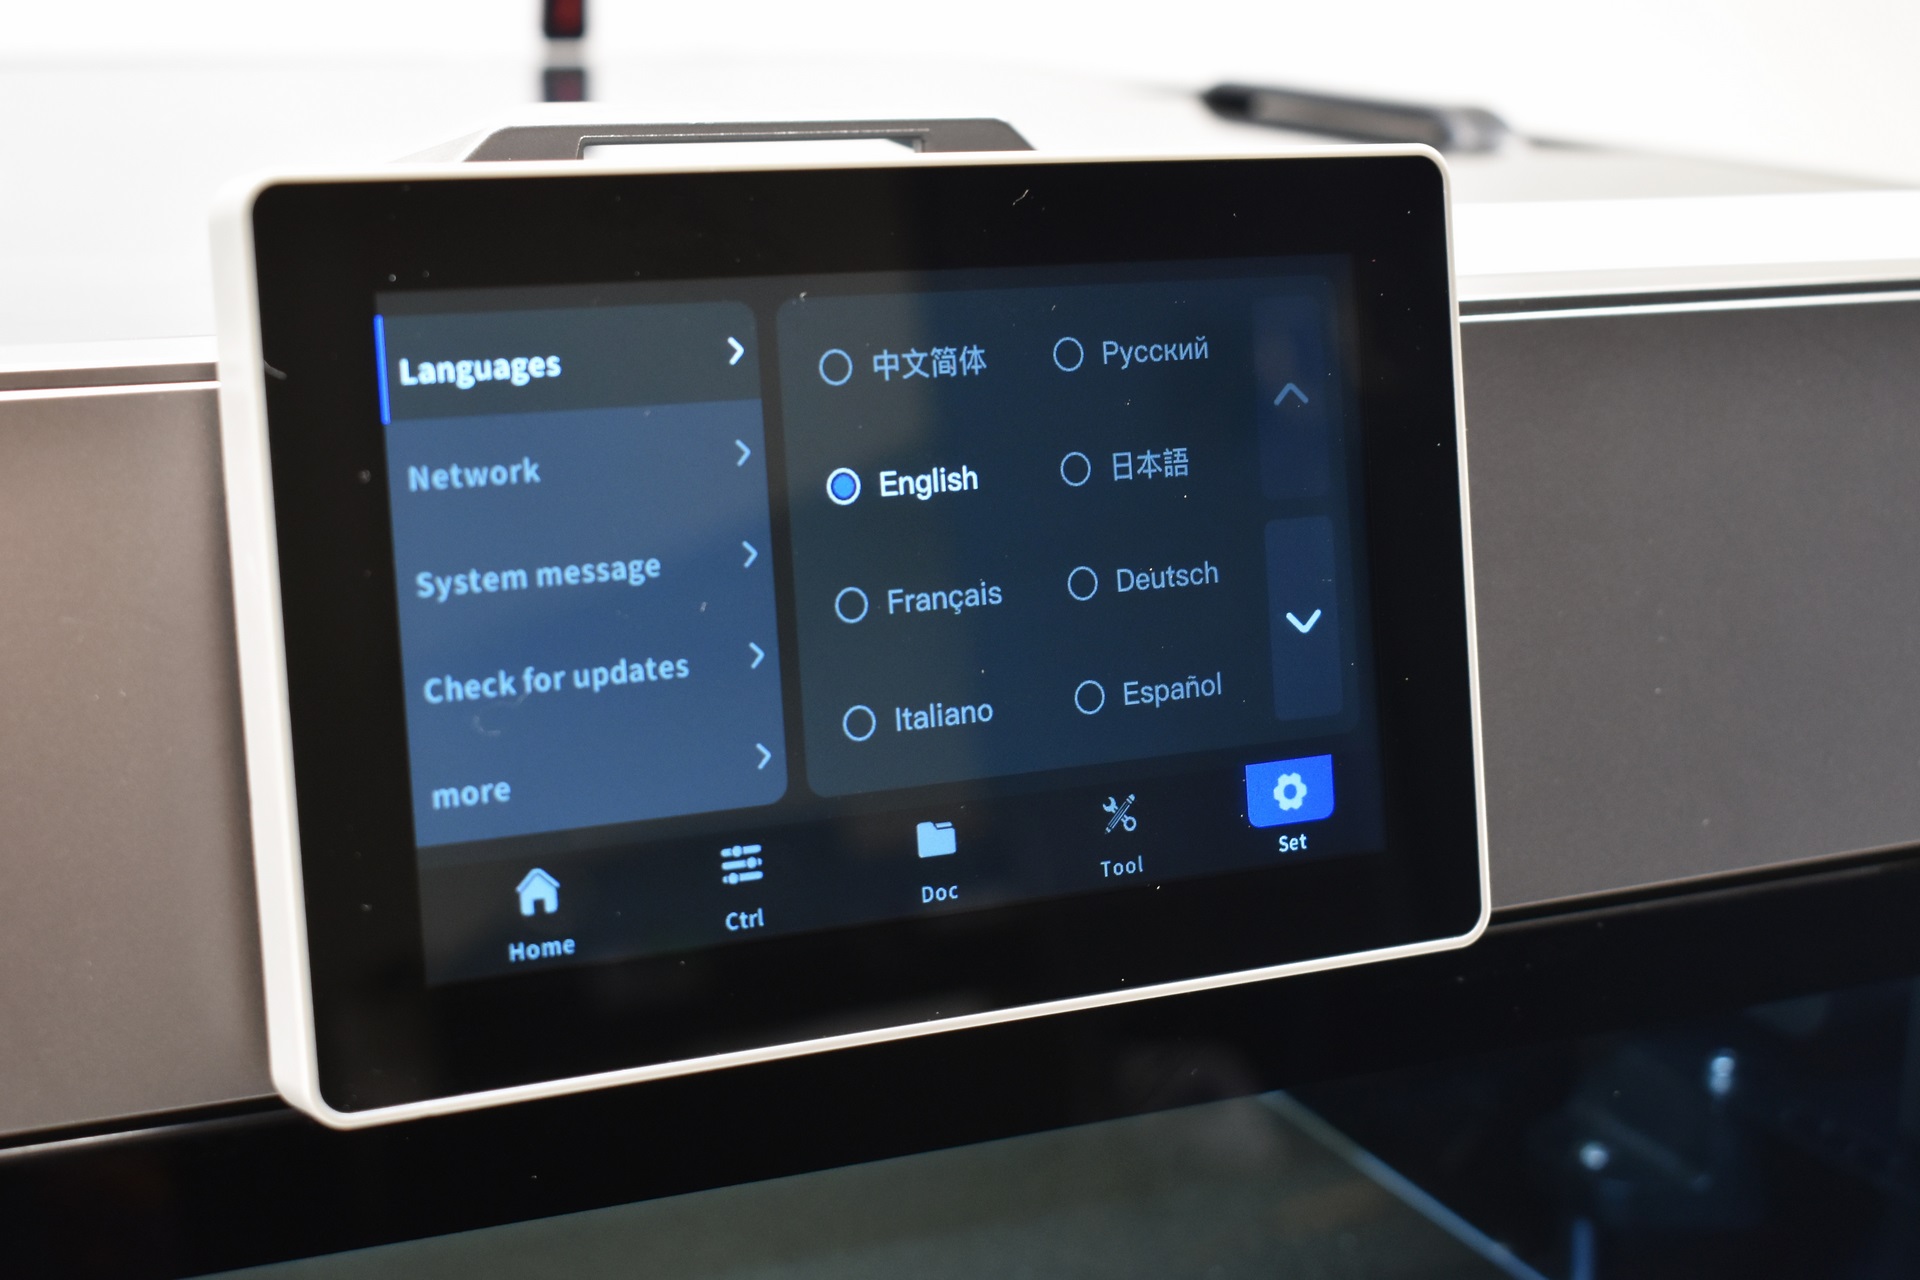
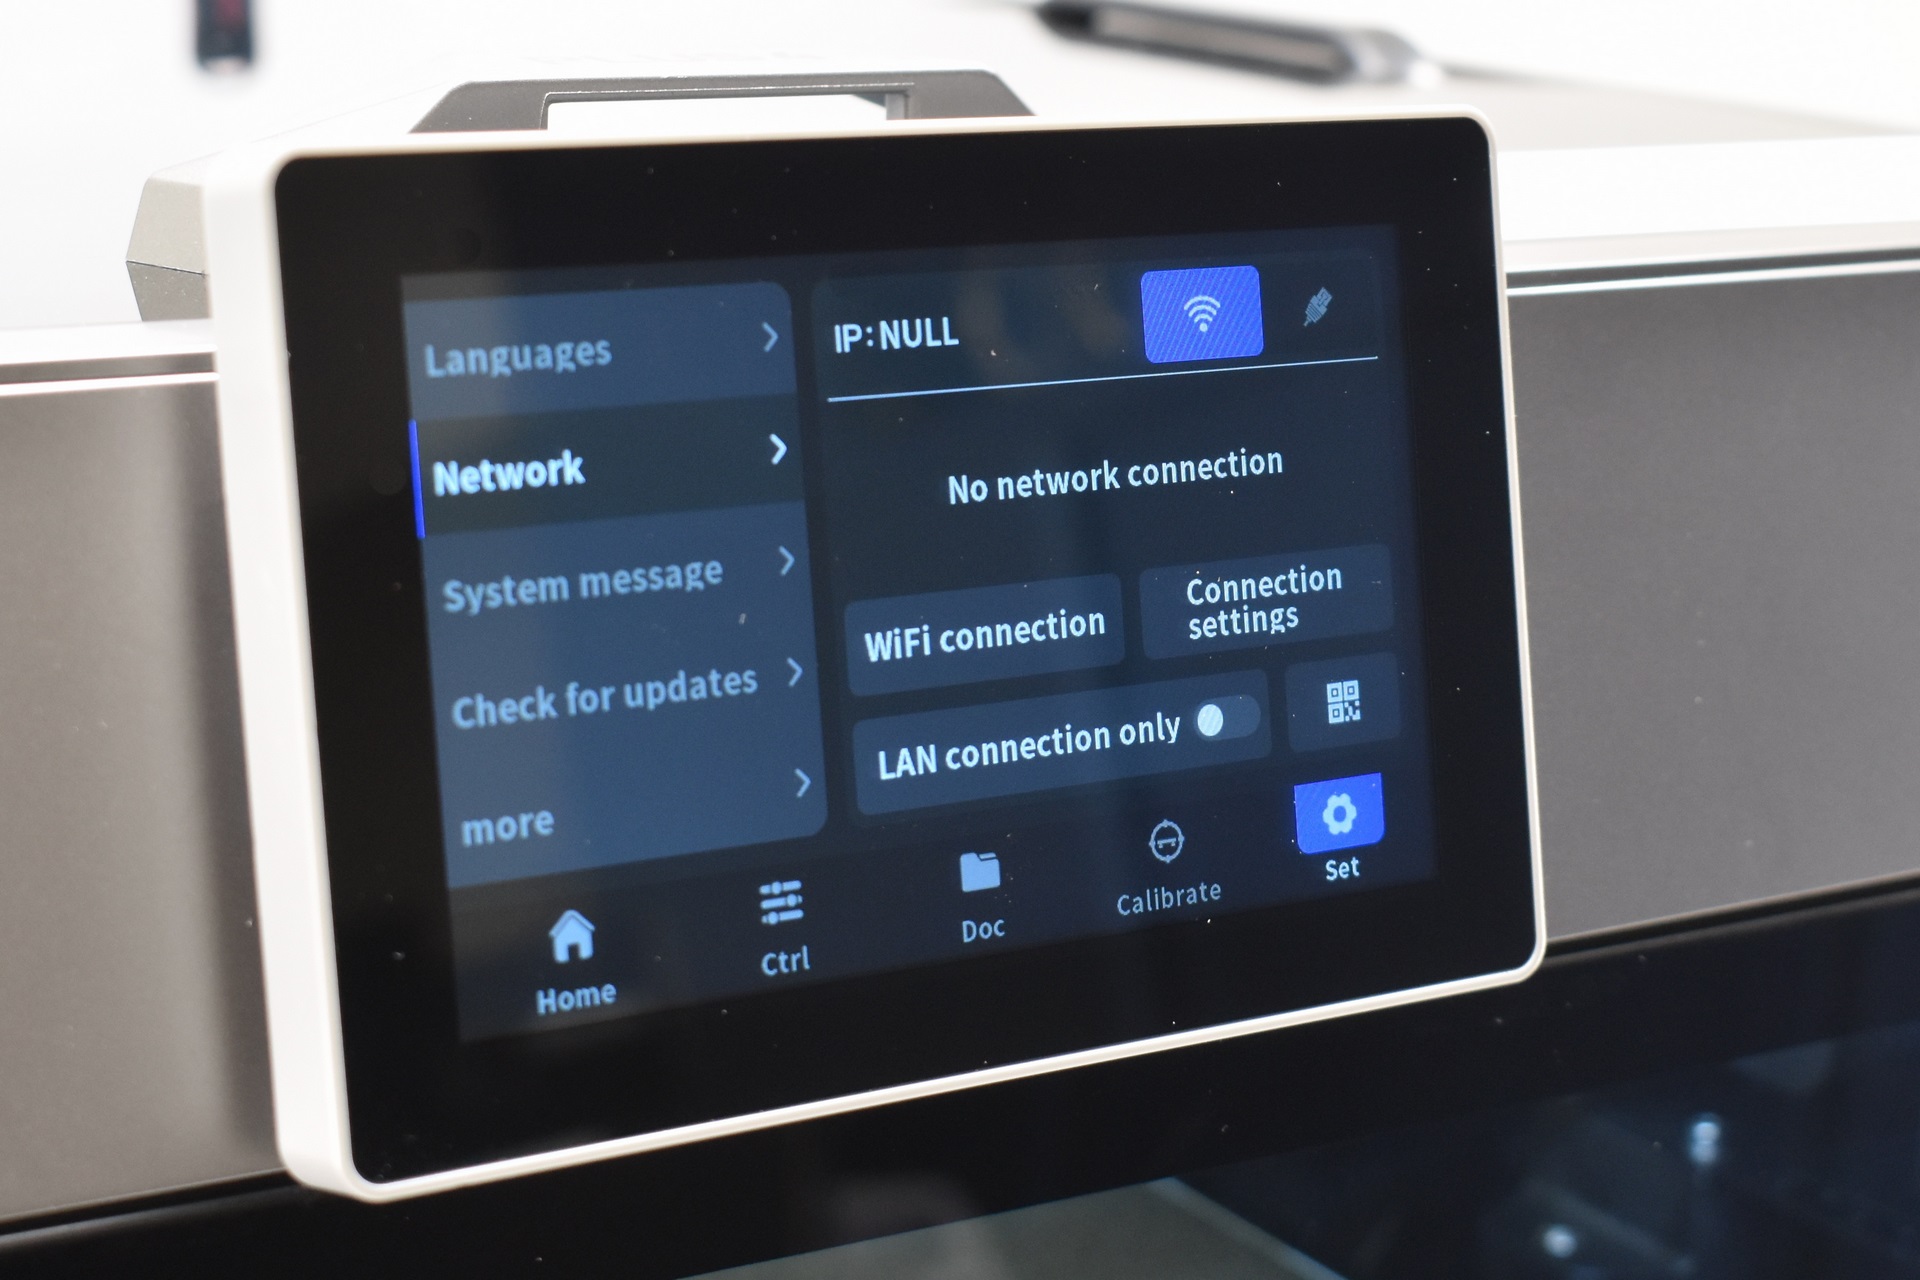
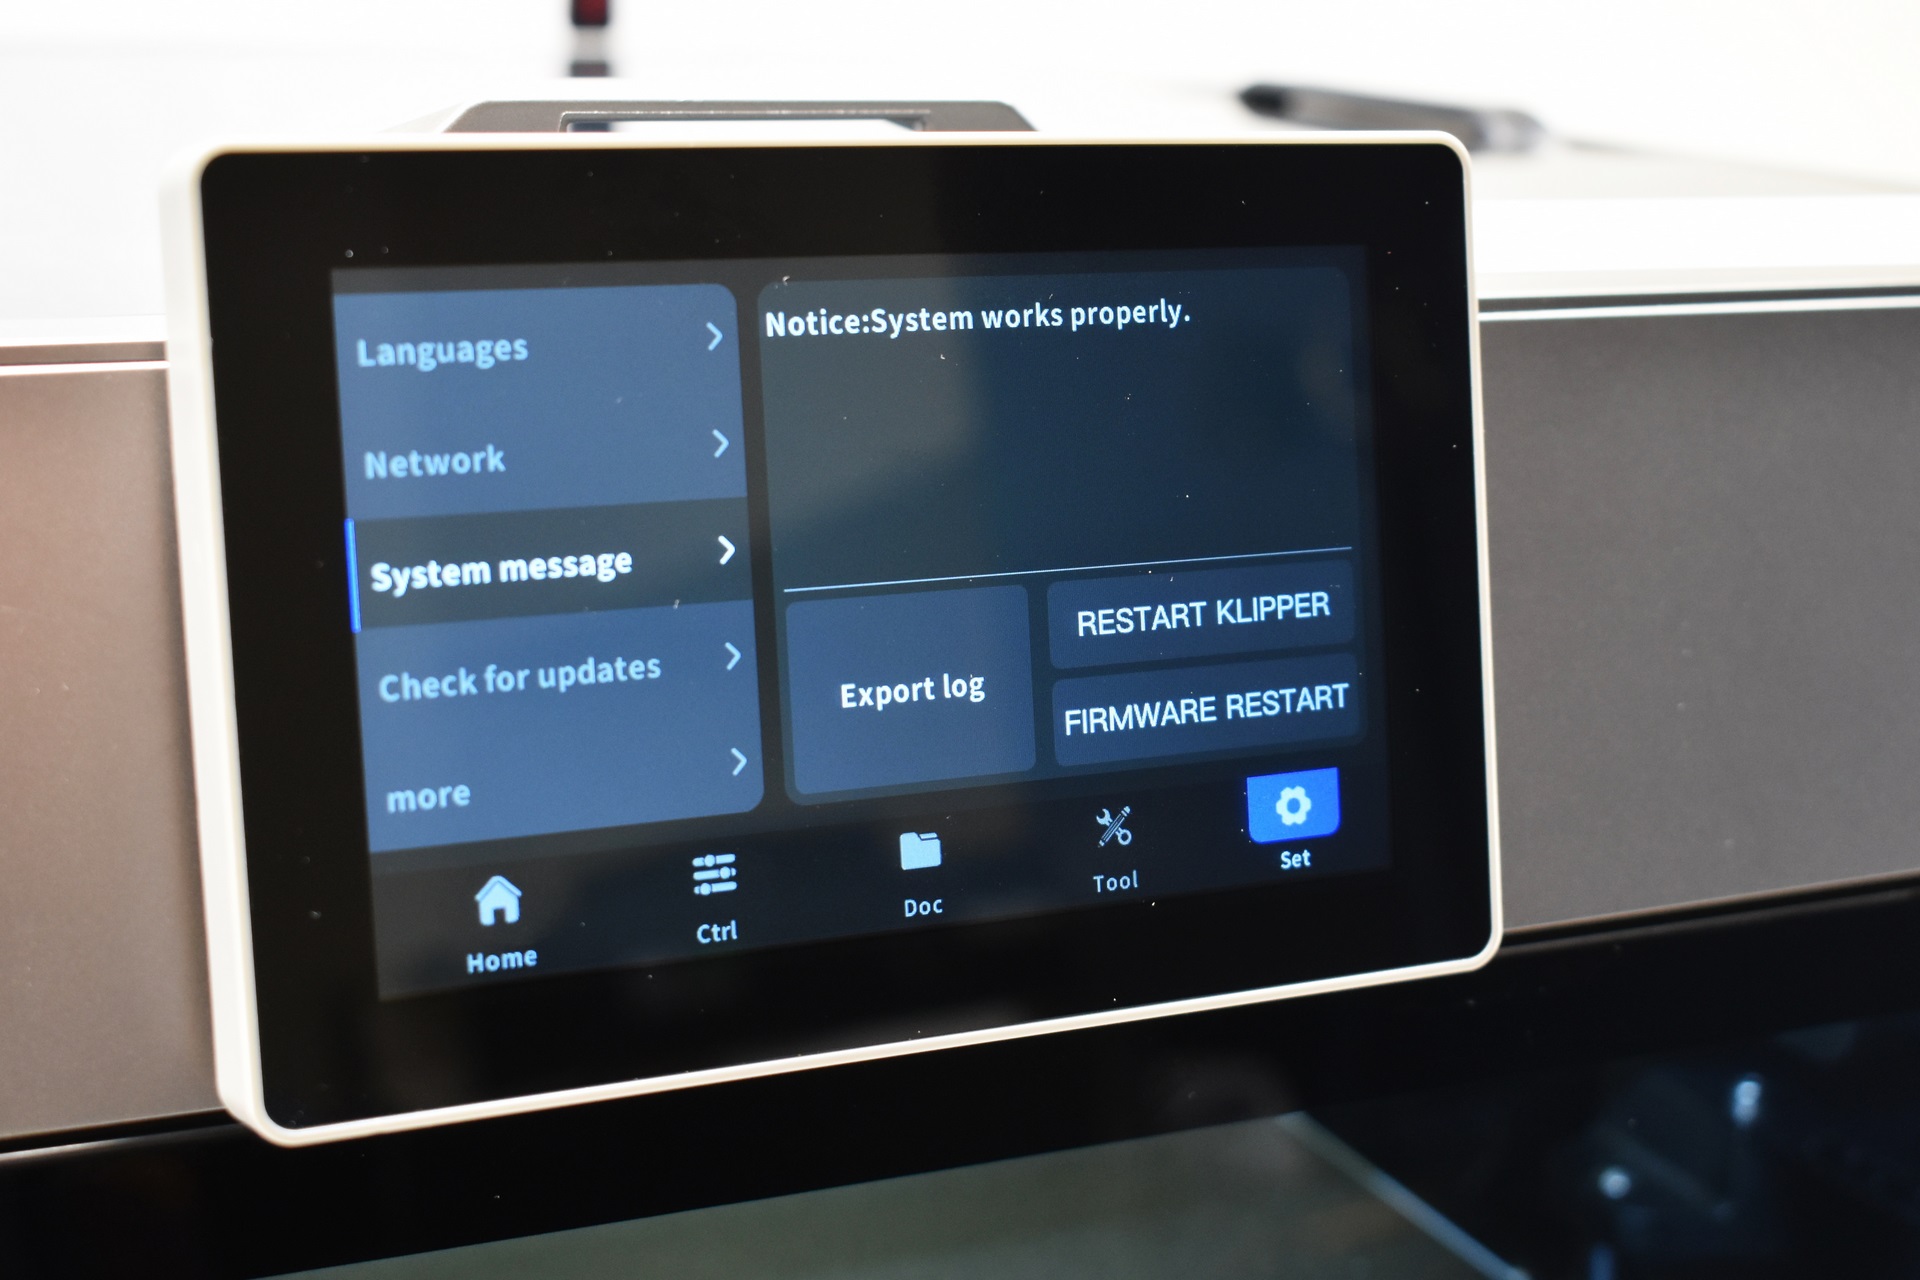
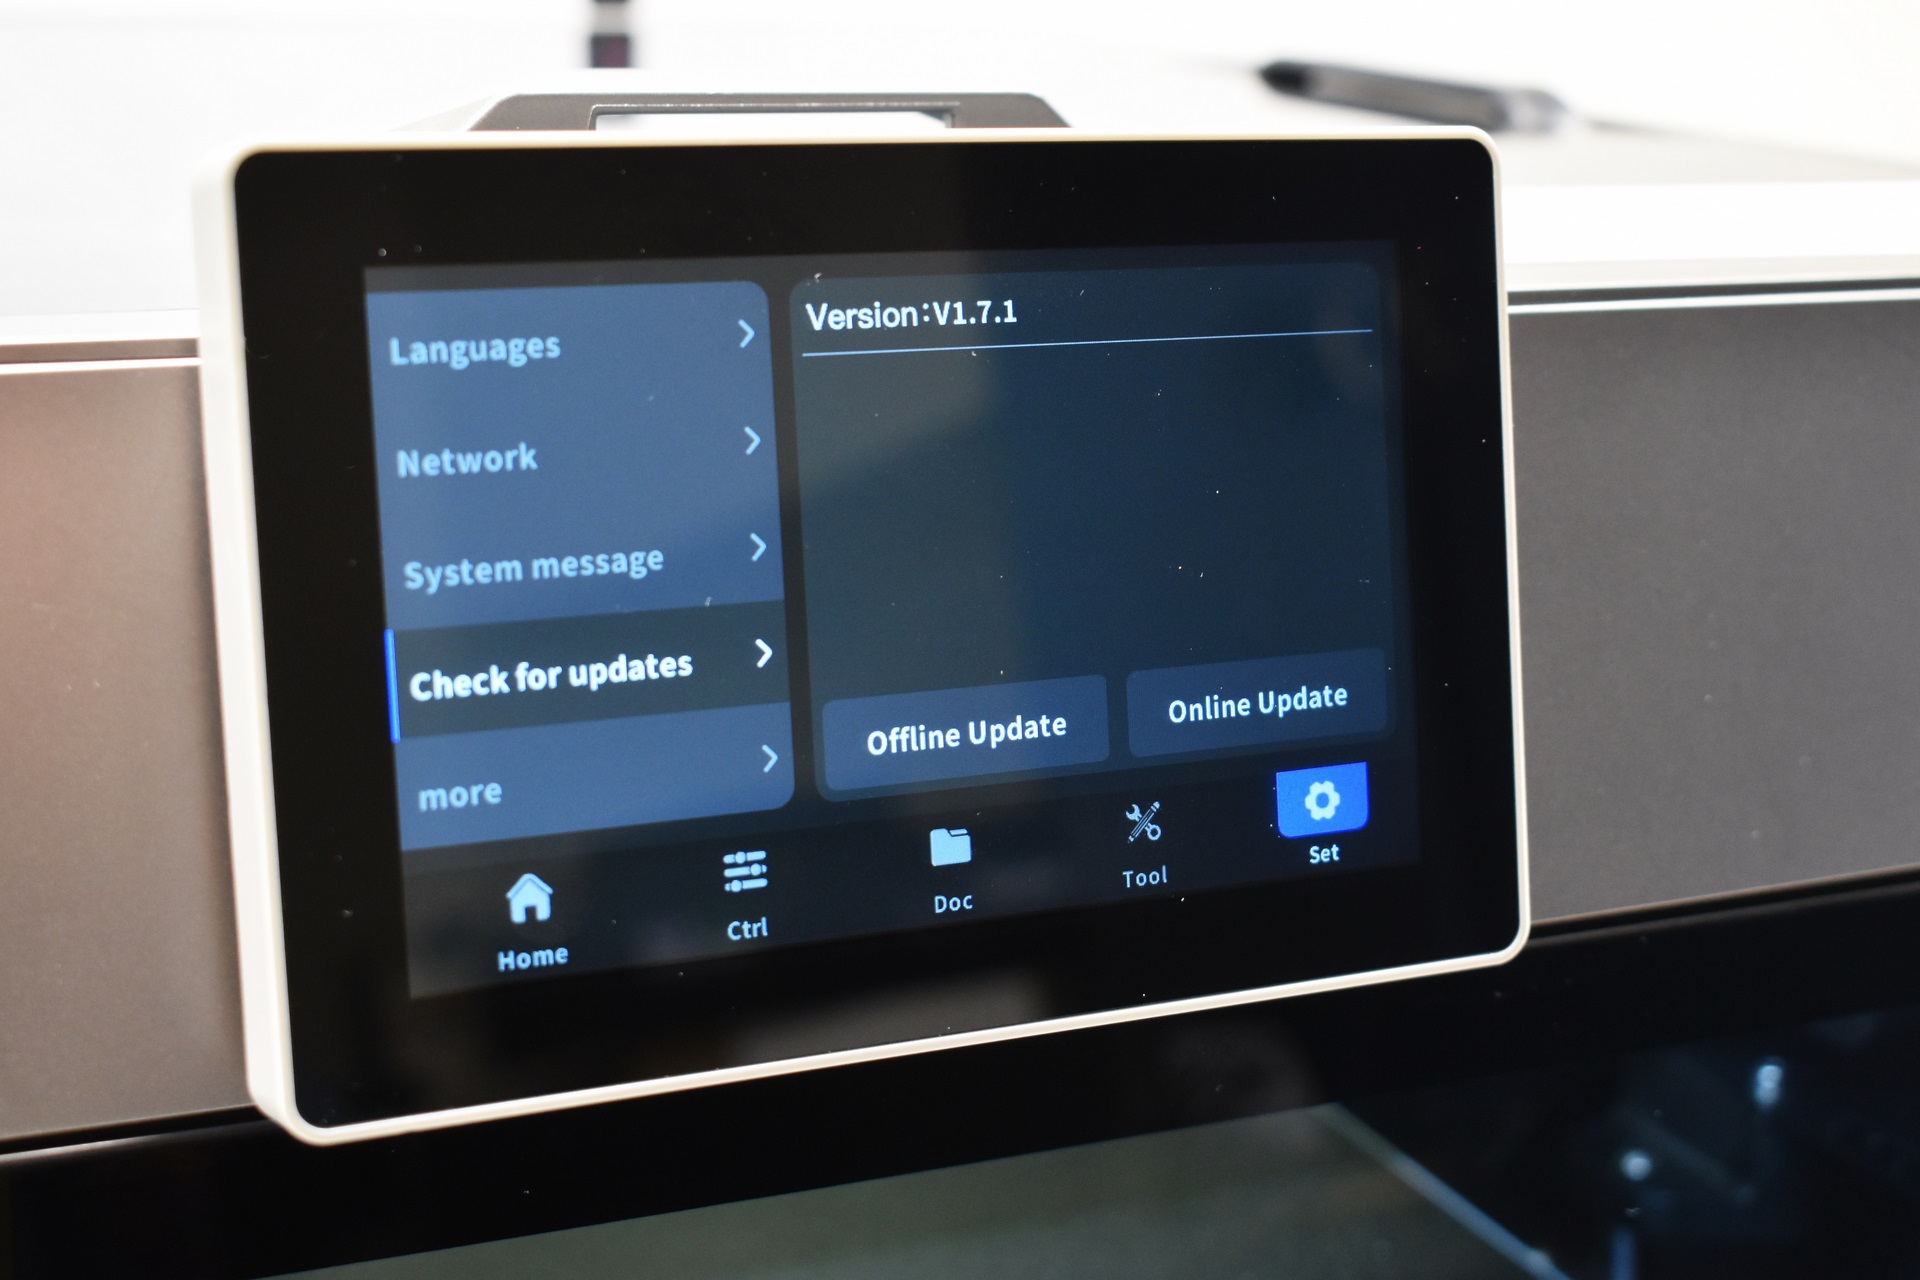
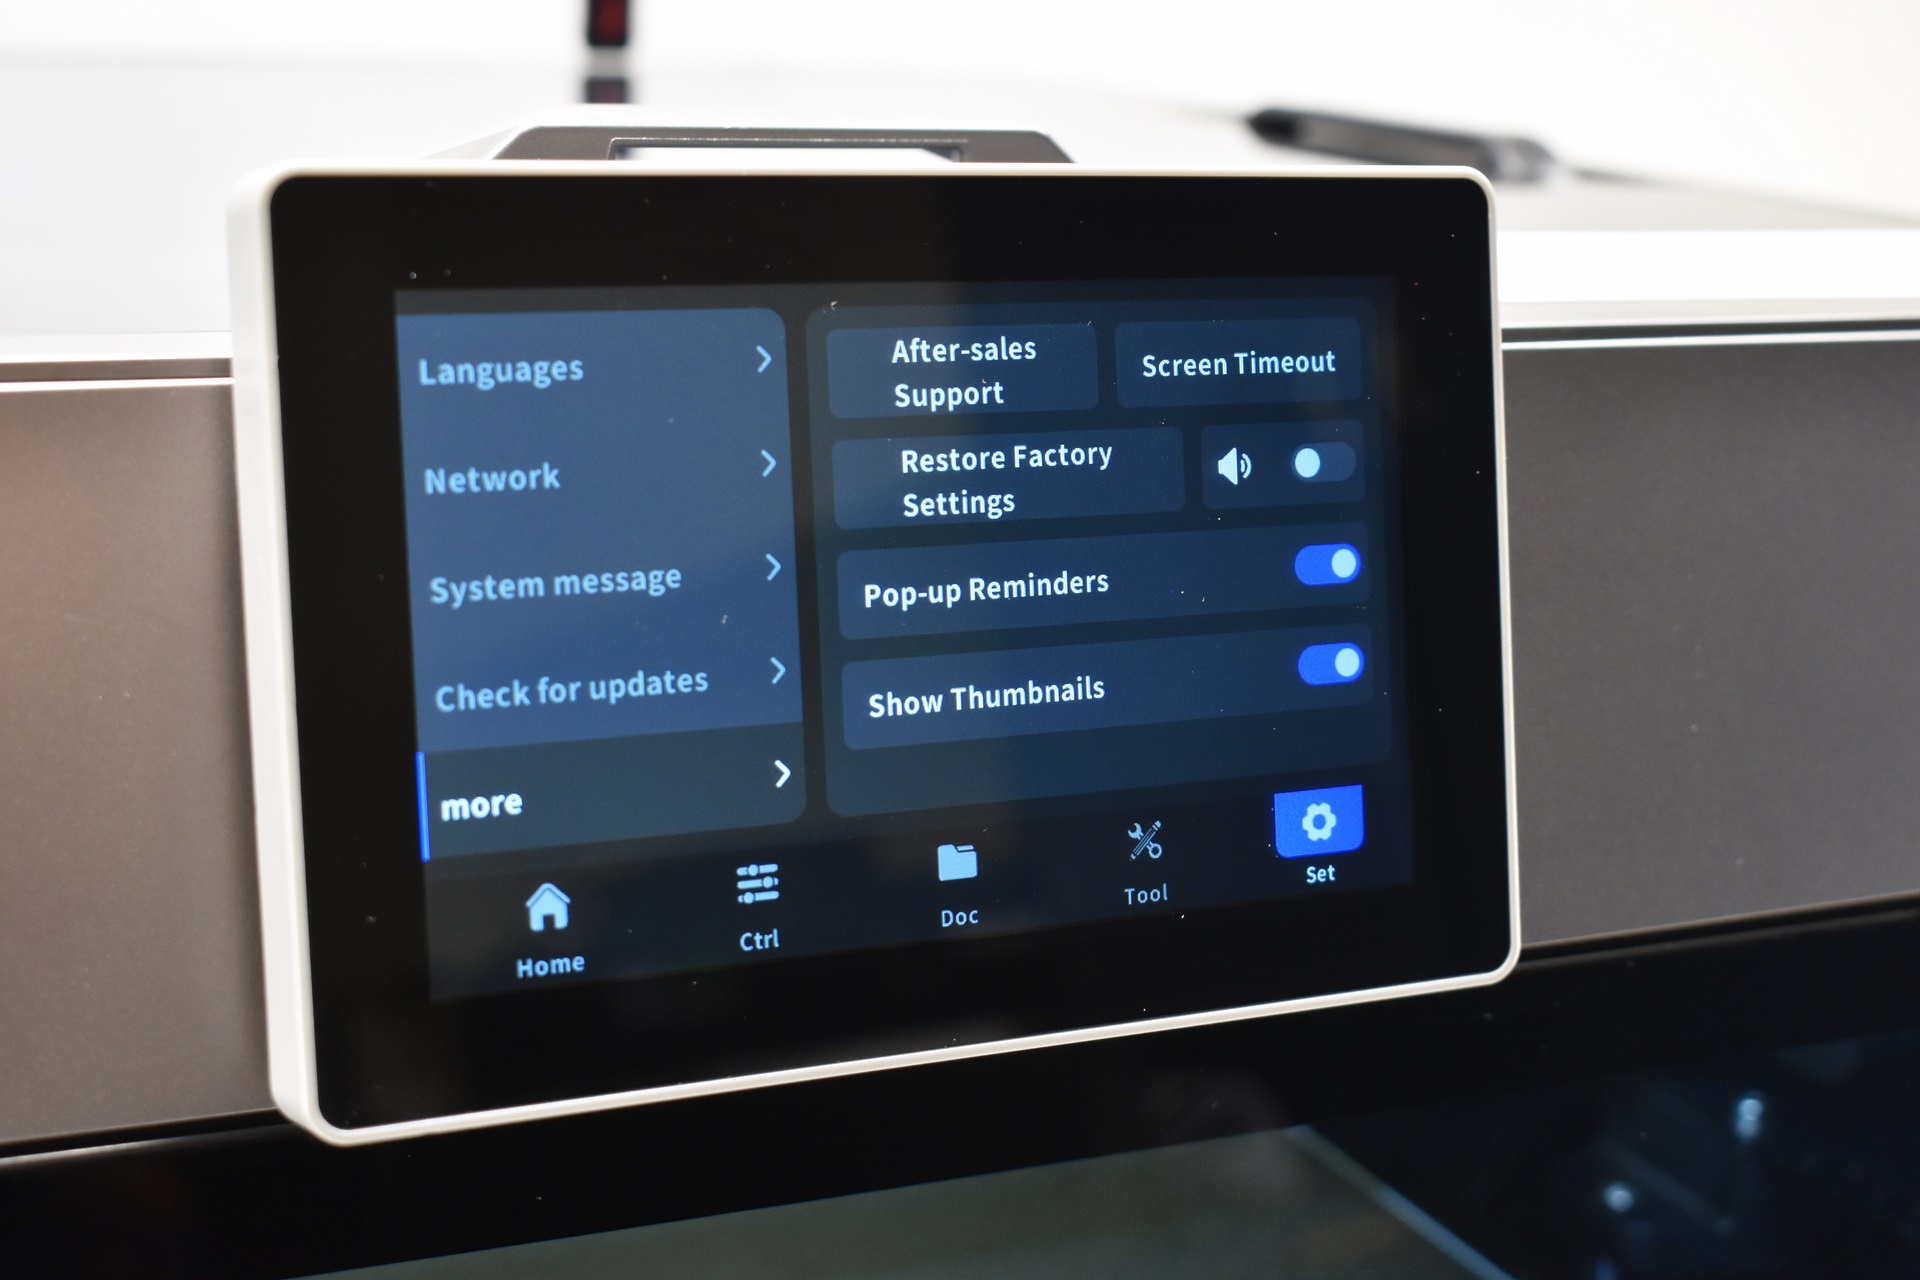
You can change the language, connect the printer to the internet (Wi-Fi and wired), export logs, restart both klipper and firmware, check for updates, restore factory defaults, contact after sales support, set the screen timeout, enable/disable sounds, and enable/disable pop up reminders and print file thumbnails.
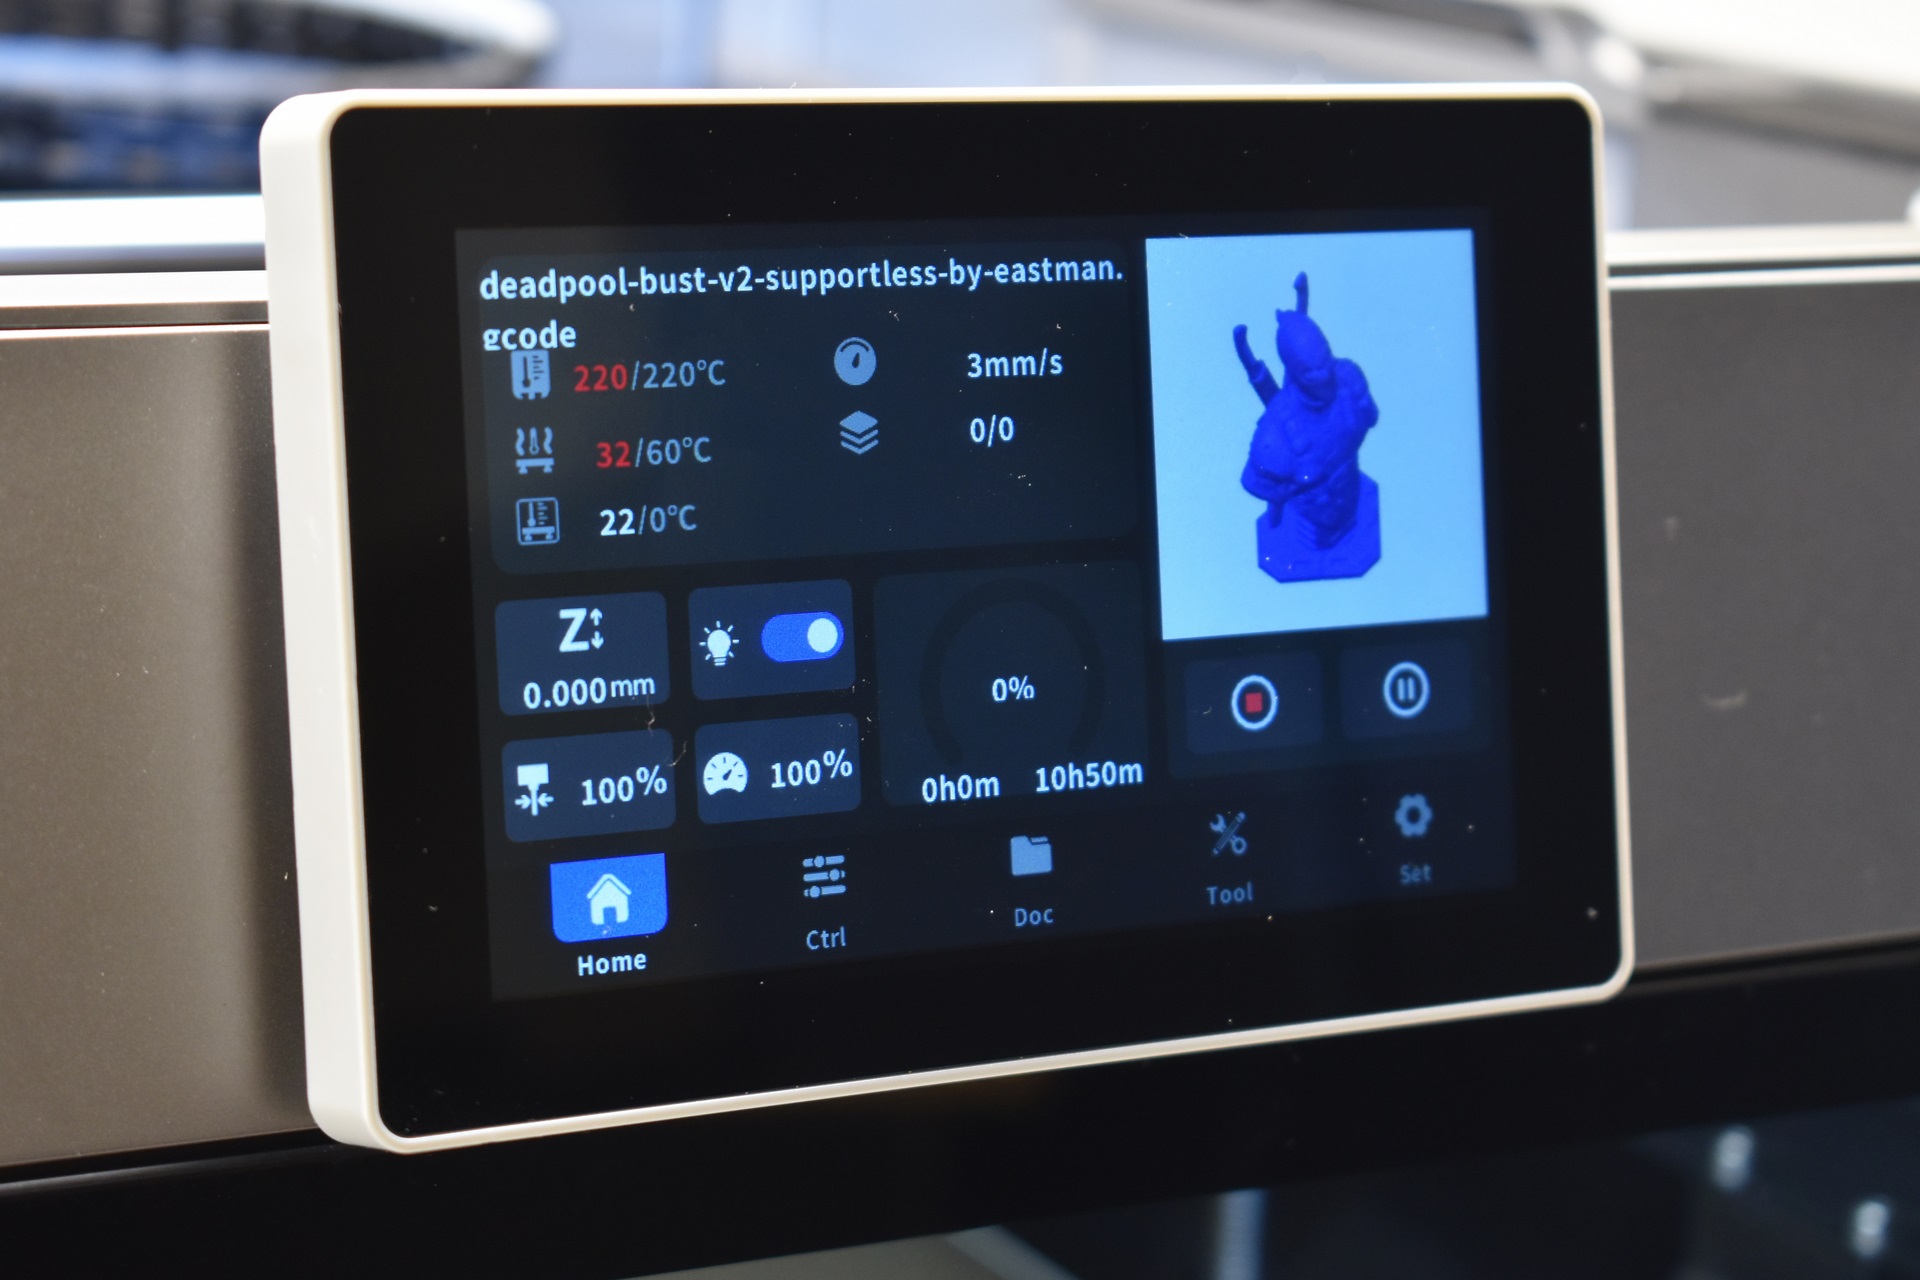
The print tab has everything you’d ever want (remaining time is not quite accurate however, one moment it would say 10 hours, the other 7 and the other 8).
QIDI LINK APP
The QIDI Link app has two modes, normal and expert.
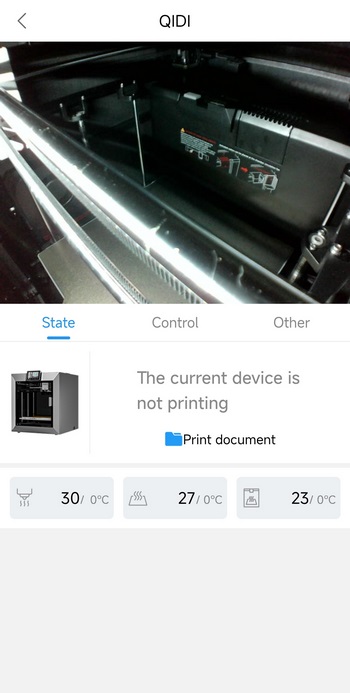
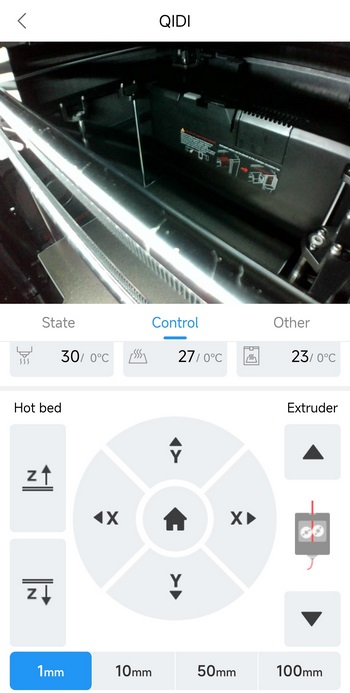
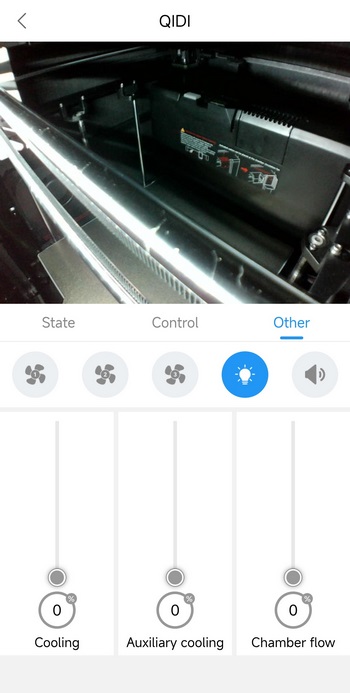
Normal mode allows you to see what the camera sees, check and adjust temperatures, move the axis and the extruder, retract and extrude filament, adjust the cooling fans, turn on/off the LED strip and enable/disable sounds.
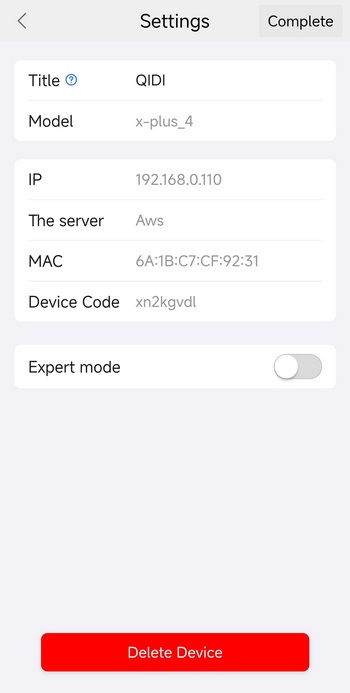
You can switch to expert mode from the settings tab as seen above.

Expert mode basically has two extensive tabs, first includes everything in the normal mode plus thermal readings and a temperature graph track chamber stability over time, console logs, data panel lists, converts captured layers into images and more.

Second tab is where you set the project’s name, location, and global behavior for how the printer interprets and previews toolpaths. It also controls how movement, lanes, guides, and visual elements are displayed during planning, so the print environment is organized and consistent before slicing or sending to the machine.
TESTING METHODOLOGY
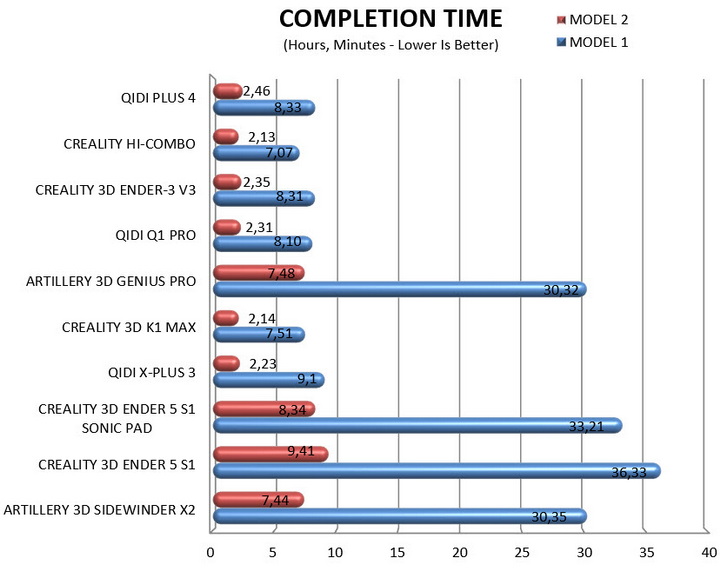
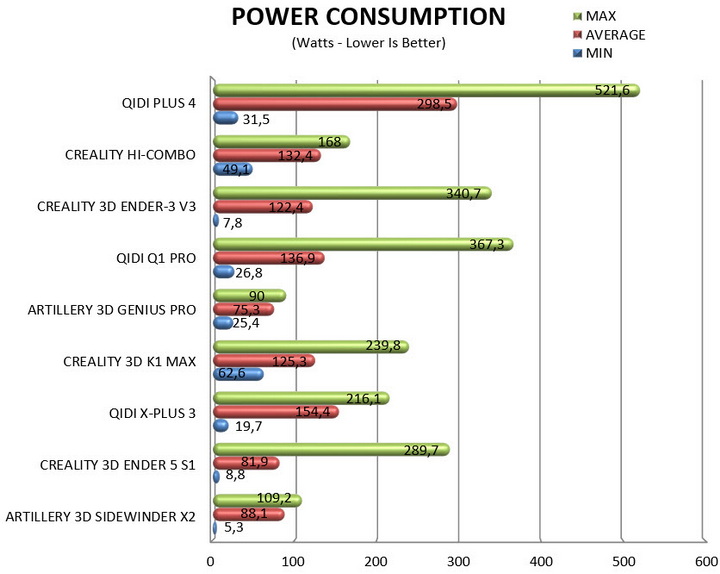
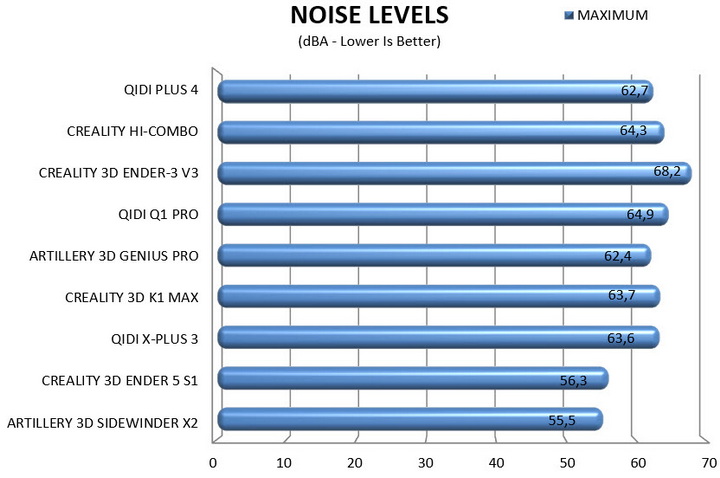
Unlike previous QIDI models this time over I used the QIDI Studio software with the same settings I use for all my 3D FDM printer reviews (PLA, quality of 0.16mm, 20% infill density and cubic infill pattern). Everything else also remains the same so I’ll be using 2 different sized models (downloaded from Cults3D / member Eastman) to record completion time at 100% speed. Second thing to test are noise levels and so once again I’ll be using my ExTech HD600 decibel meter placed roughly 30cm away to record the maximum noise coming from the 3D printer while printing. As for the 3rd test with the help of an UPS and two power meters I decided to also record not only the lowest and highest but also the average instant power consumption.
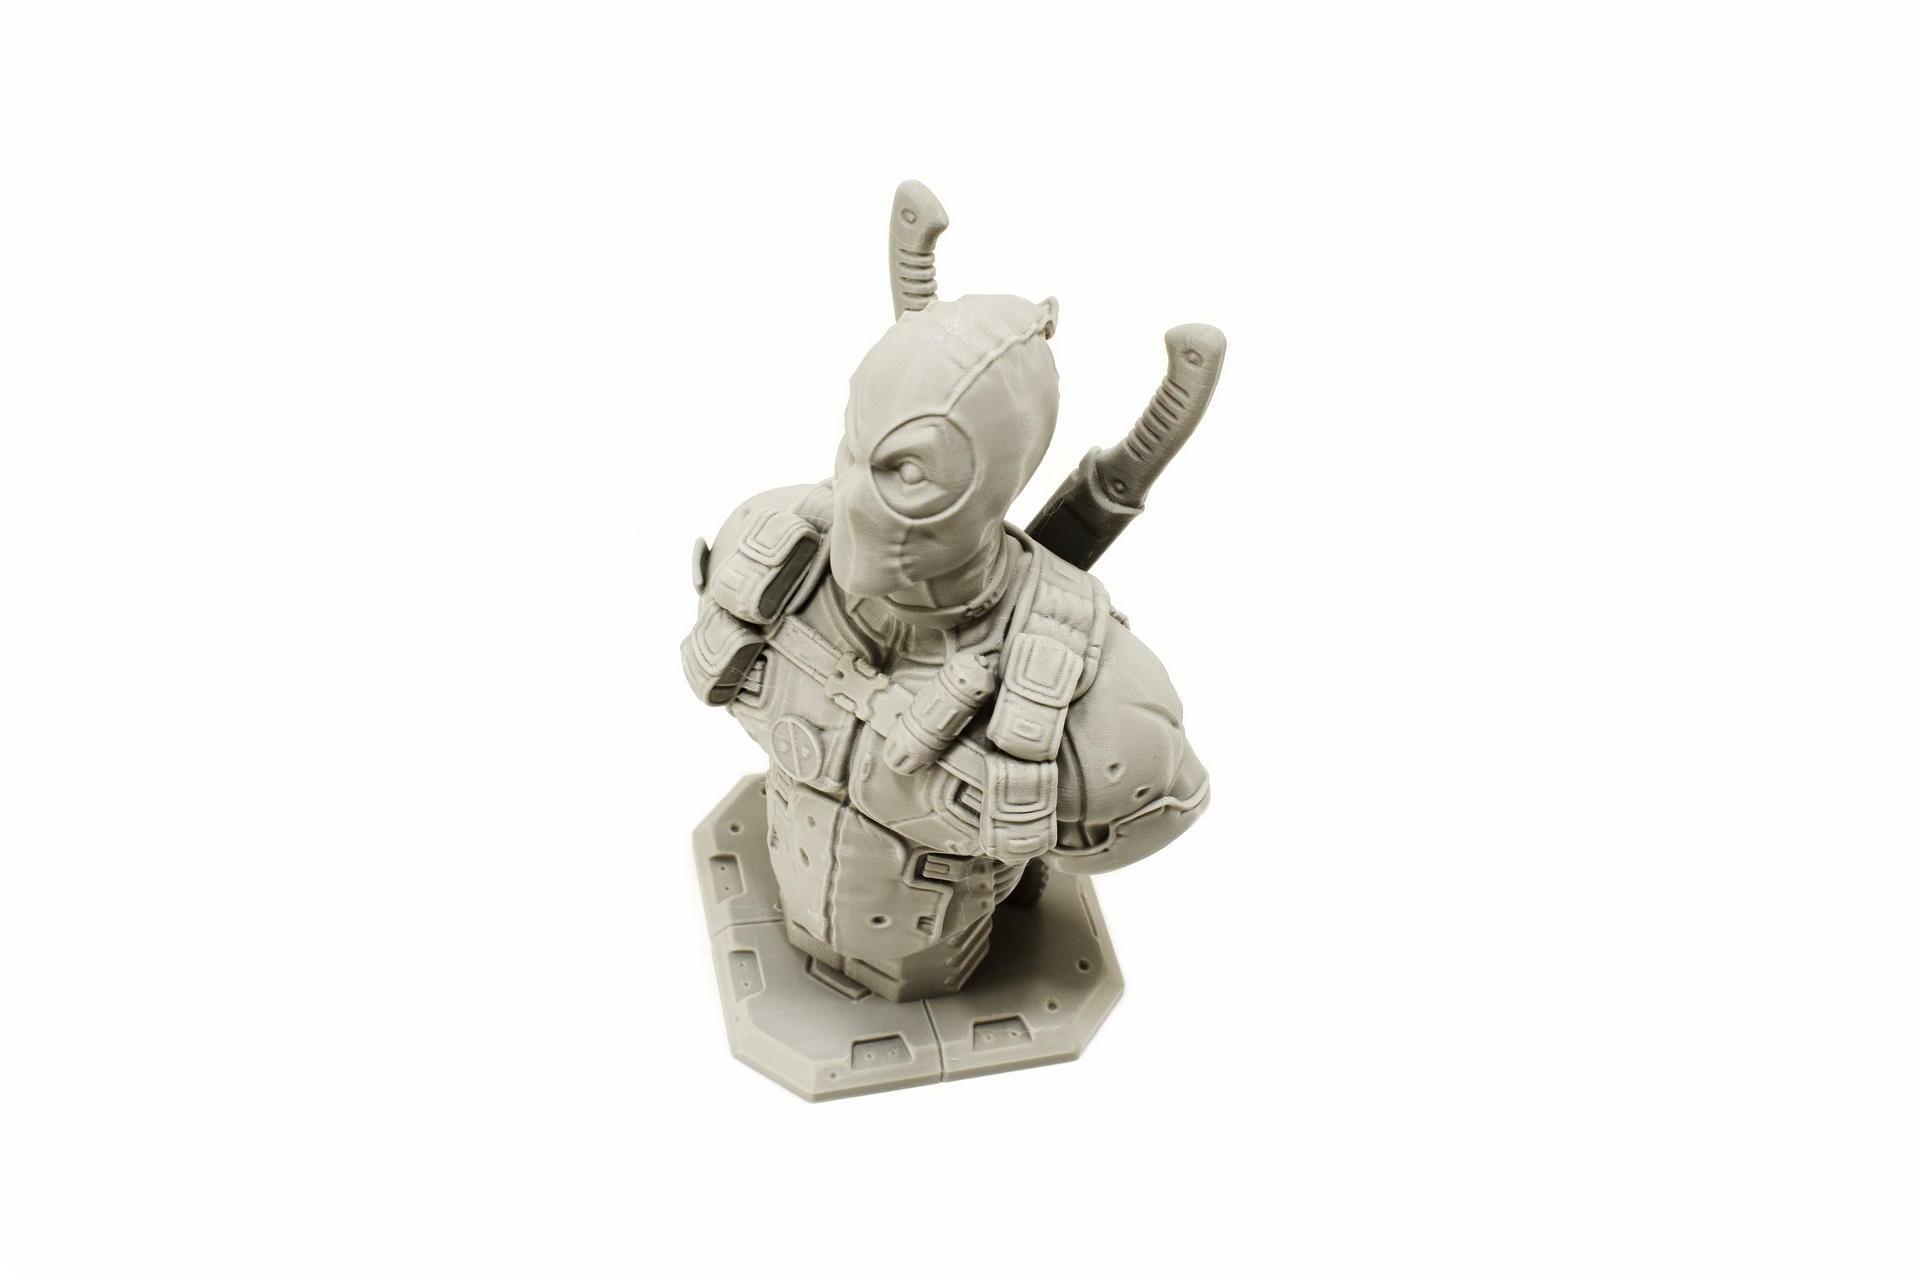
Printing quality is exactly what you’d expect from a high-end 3D printer. Yes, there are some tiny artifacts because of its high speed but nothing I haven’t seen by equally fast models. Also as mentioned before the timelapse camera records 480p video by default (timelapse video available on both YouTube and TikTok) so to change that you will need to place this line in the webcam.txt file via the app “camera_usb_options="-r 1920x1080 -f 10 -d /dev/v4l/webcam0".
TEST RESULTS
CONCLUSION
In real use, the Plus 4 behaves exactly as its spec sheet suggests, fast motion, clean control, and consistent results across everything from PLA to carbon‑fiber blends. The heated chamber and 370 °C extruder aren’t just headline features; they noticeably improve print reliability with engineering materials. Its drawbacks are predictable for a high‑speed CoreXY machine built around speed, higher power consumption (something to consider if you print frequently or run multiple machines) and the kind of airflow‑heavy noise that comes with aggressive cooling and rapid movement. For users who prioritize performance and material flexibility over silence, the Plus 4 by Qidi is a very strong option.
Just days away from 2026 the Plus 4 (X-Plus4) 3D Printer by QIDI retails for USD699 inside the USA (Amazon.com) and for 649Euros inside the EU (Amazon.de) so it’s priced extremely well for what it offers. Yes, it’s not perfect and it shares the same drawbacks as the Q1 Pro, but it’s also among the best of its class currently (certainly a step up from the Q1 Pro) and so the Golden Award is in order.

PROS
- Very Good Build Quality
- Speed (600m/s)
- Print Quality
- Temperature Controlled Chamber (65 Degrees)
- Heated Bed & Textured PEI Magnetic Plate
- Direct Drive Extruder
- Maximum Nozzle Temperature (370 Degrees)
- Manual & Automatic Leveling
- 5 Inch Color LCD Touch Screen
- WiFi 2.4G, RJ45 LAN & USB 2.0 Port
- Current Price (For Some)
CONS
- Noise Levels
- Power Consumption
- Camera Resolution (480p By Default)
- LINK App (Design)


.png)